Learn to work with Photoshop Layers in this introduction tutorial which show you the basics of layers.
View Other Articles in This Series
- How to set up Photoshop
- Photoshop Interface Explained (Part 1)
- Photoshop Interface Explained (Part 2)
- Introduction to the Photoshop Toolbar (Part 1)
- Introduction to the Photoshop Toolbar (Part 2)
- Introduction to the Photoshop Toolbar (Part 3)
- Photoshop Channels and Color
- Photoshop Selections (Part 1)
- Photoshop Selections (Part 2)
- Photoshop Layers
Resources
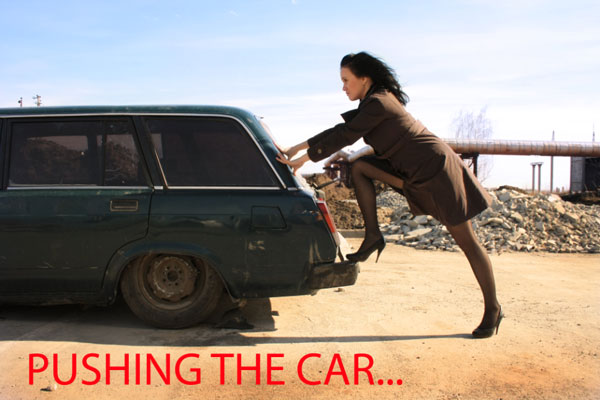
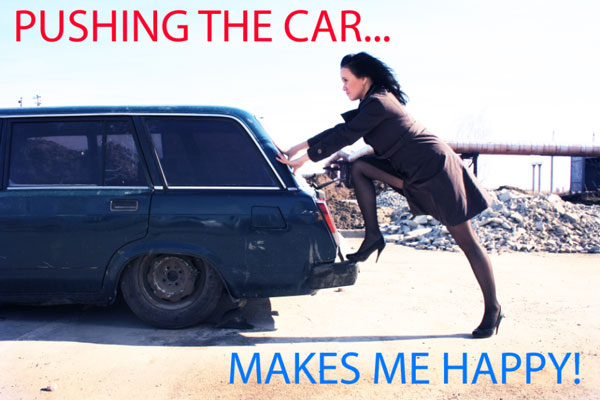
There is no simple way to start describing layers so let’s begin by seeing them in action. You can see I opened an image and I have some text that says “Pushing the car”.
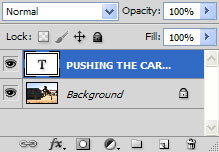
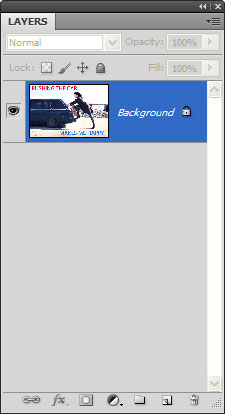
Now let’s take a look at the Layer palette (if it is not opened go to Window > Layers) below. You can see the background image and the text I have written over. The text is on a new layer. That’s what layers are, thank you for reading the tutorial, the end.
No, wait, I am joking. Don’t go yet. But that’s the essence of layers, having things on different layers and being able to manipulate them separately.
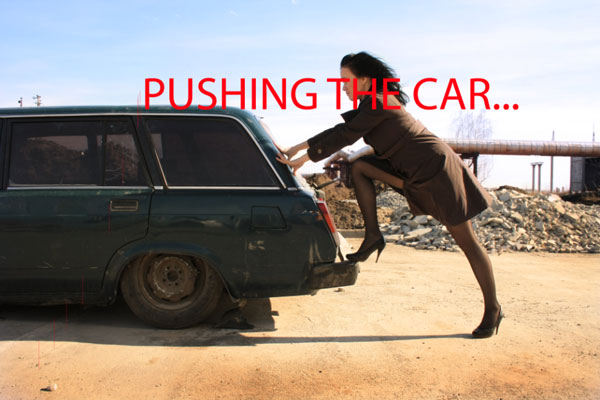
If I select the Move tool (V) and click on the text layer I can reposition it without affecting the background layer (the original image). I can resize the layer using Free Transform, I can apply Adjustments, I can erase, I can liquify, and I can apply filters and so on. And the best part is that I can do that without affecting other layers.
You may say to yourself: “But why in the world would I want that? Why make things complex? I just want to do it easily, without any complications”.
Well, you could do that and you know what? Let’s emulate that. Let’s do all the work on a single layer. I added some more text to the image, tweaked the colors with Color Balance (Image > Adjustments > Color Balance) and increased the contrast with Curves (Image > Adjustments > Curves).
As you can see in the Layers palette below all the work is done on a single layer. I am happy with it and I send it to my client. But, bad luck, my client is not in a bright mood and wants me to change the text from “MAKES ME HAPPY” to “MAKES ME SAD” and also change the color of the text to yellow. Oooops… I am in trouble. Because I have done all my work on a single layer I cannot change the text or alter it’s colors without affecting the whole image. So I have to start all over again…thanks a lot Photoshop!
“But that’s not my fault! You should’ve used layers!” replies Photoshop. And he’s right. Using layers gives us the ability to work non-destructively. That’s a nice concept and it basically means that I can alter different objects on my document as many times I want without making any permanent (irreversible) changes. So that’s something you should try to achieve with every document. It may seem a bit hard at first, but it will become second nature after a while and you will be thankful for this ability.
Now that we covered some conceptual grounds let’s see some practical examples and learn about different types of layers.
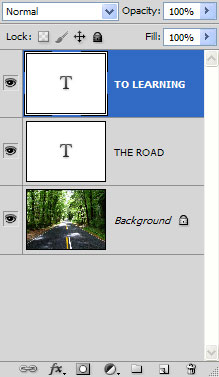
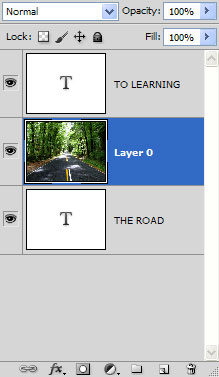
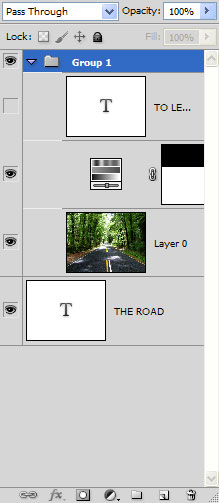
First take a look at the Layers palette. Notice how each layer is represented by a thumbnail and each has a little eye next to it. If you click on the eye icon you will turn off the visibility of that layer.
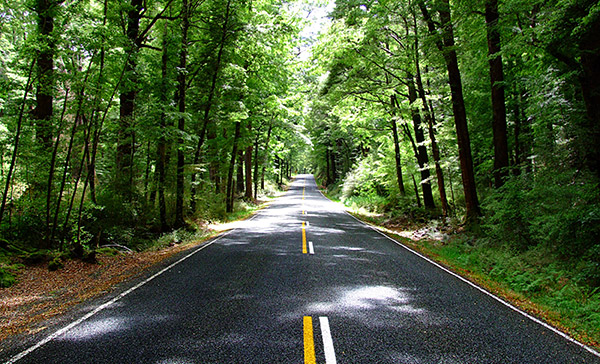
The layer on the top covers the bottom layer in terms of visibility. “TO LEARNING” layer covers both the “Background” layer and “THE ROAD” layer, while “THE ROAD” layer covers the “Background” layer. Notice the little lock at the right of the “Background” layer. This means that the layer is locked and you can’t perform certain operations on it (like moving it). If you open an image it will automatically become a background layer. To make the background layer a regular one simply double click on it and then click ok when the dialog box appears.
You can’t make changes to a layer that is not selected. Trying to move something on the screen while no layer is selected will result in a lot of frustration, even to experienced users. First click on the layer and make sure it’s selected (if it is selected it will be encompassed in a blue rectangle, like the “TO LEARNING” layer below) and then apply changes to it.
You can move layers up and down by simply dragging them with the mouse. In the example below I double clicked the “Background” layer to make it a regular layer and dragged the layer above the “THE ROAD” layer but below the “TO LEARNING” layer.
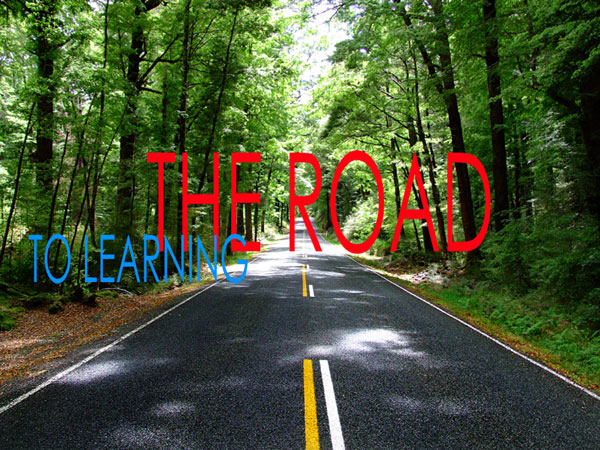
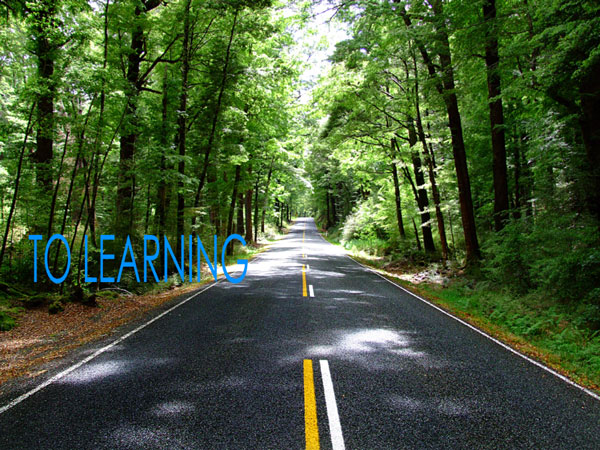
You can see the effect in the image below. Because it sits above the “THE ROAD” layer it covers it completely. “TO LEARNING” layer is still fully visible because it sits above the “Layer 0” layer.
But what if we want to make “TO LEARNING” layer semi-opaque? Well, then we could lower the opacity. In the image below I lowered the opacity to 50%. This means that the pixels of the layer “TO LEARNING” are only 50% visible thus allowing the pixels below them (pixels from the image with the road) to partially show through.

But we can do more. Have you ever heard of blending modes? They are basically recipes for how the pixels from the above layer blend with the pixels from the below layer. There is math involved and if you want to know more about them you can start by reading the Help file that comes with Photoshop. I changed the blend mode of the text layer “TO LEARNING” to Color Dodge and raised the Opacity to 100%. Notice that it has become brighter and it borrowed some texture from the layer below.

The available blending modes are shown in the image below. You can try and play with them to achieve interesting (or more likely unexpected) results but you should definitely try and understand them at least once in your life. You’ll make good use of them, of that I can assure you.

What kind of layers does Photoshop offer? Well, you saw text layers in the images above and pixel layers (Layer 0). Let me introduce you to adjustment layers. You’ve probably heard of Image Adjustments (like Curves or Brightness/ Contrast). The problem with these adjustments is that once you make them it’s not possible to adjust them further. Imagine that you apply a Curves Adjustment to a layer and darken it but after several other layers and adjustments you decide to lower the effect of the Curves Adjustment. Well, you can’t do that really (unless you do some tricky stuff with the History Brush tool or press Undo until your finger is numb).
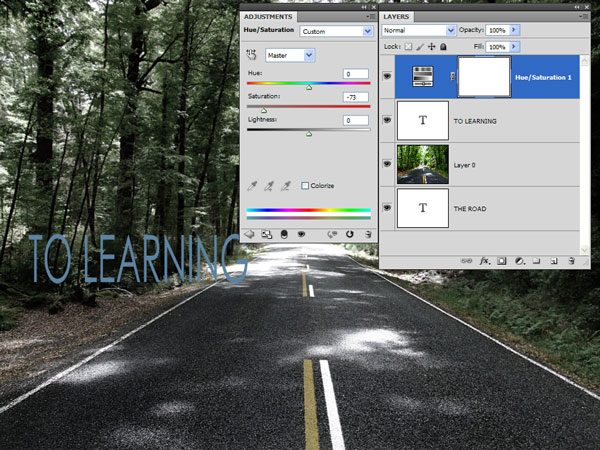
That is where Adjustment layers come in. They are just like Image Adjustments but while you can’t modify Image Adjustments once you have applied them you can always come back and modify an Adjustment layer. In the image below I applied a Hue/Saturation Adjustment layer. An Adjustment layers affects the entire layer below it. You can see that in the image below, it lowered the saturation of the whole image.
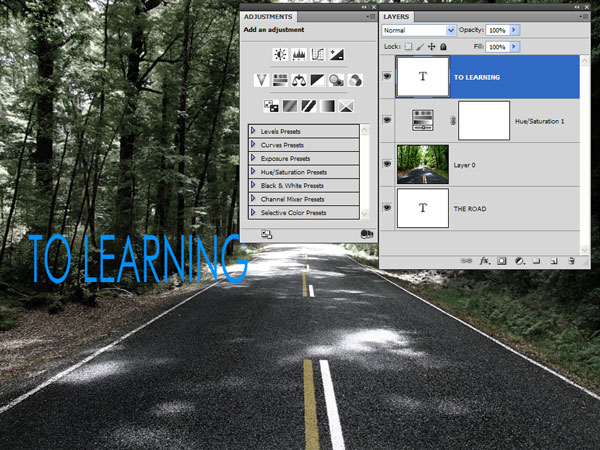
If I move the “TO LEARNING” layer above the Hue/Saturation Adjustment layer than the low saturation effect it’s no longer applied to it. You can see that in the image below.
This brings us to another subject that’s very dear to me: layer mask. They are a wonderful invention and once you start using them you start wondering how you could have lived without them. A layer mask is exactly what the name suggests: a mask over a layer. Imagine that you have a black, opaque mask. If you put a mask over something you’ll cover that thing completely. If you take the mask off, you can see the thing. If you half cover the thing, you can see only the half that is not covered by the mask. Actually, a layer mask is on the image above. Take a look and try to guess where the layer mask is. Got it? Now look at the image below to see if you guessed right.
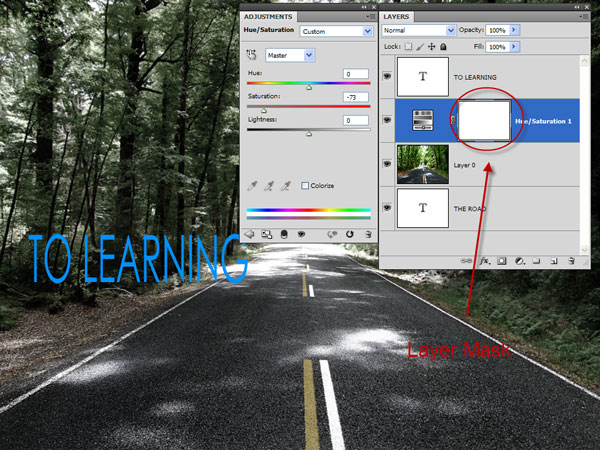
In a layer mask white reveals, black conceals and gray partially reveals (the darker the grey the less it reveals). Our layer mask is completely white and that means that it reveals everything, making the low saturation effect apply to the entire image (except of course the “TO LEARNING” layer which sits above the Hue/Saturation).
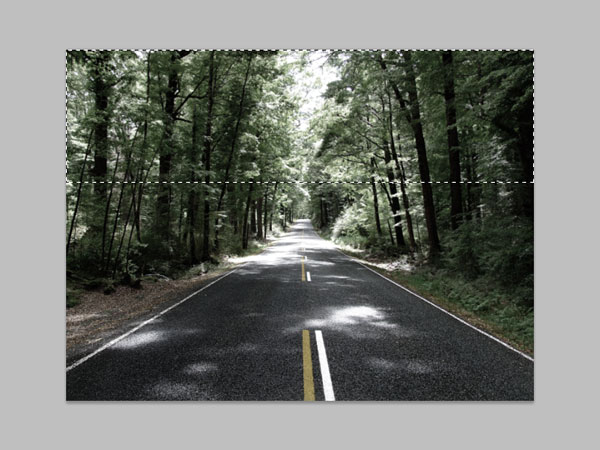
But what if we make half of the layer mask black? Select the Rectangular Marquee Tool, click in the layer mask and drag to make a selection as shown below.
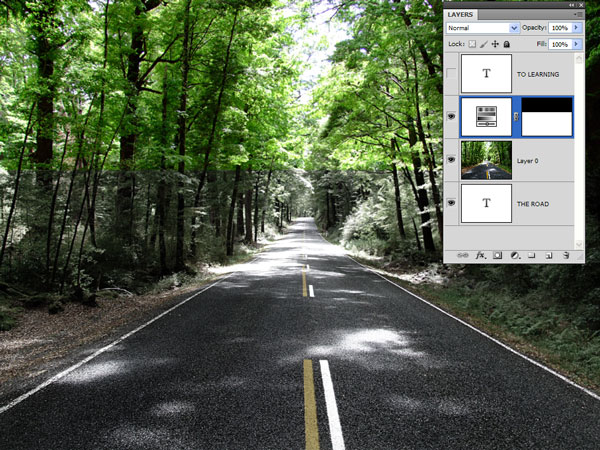
Press D to set default colors and Alt + Backspace to fill the selection with black. And voila, you just modified a layer mask. Notice that where the layer mask is black the Hue/Saturation effect is no longer applied and we can enjoy the green colors of the image below. Where the layer mask is white the Hue/Saturation is fully applied, making the image more of a dark and white one. But what if you painted with gray in the layer mask? Go ahead, select a brush and a gray color and paint in the layer mask. You’ll see how it partially hides the Hue/Saturation layer.
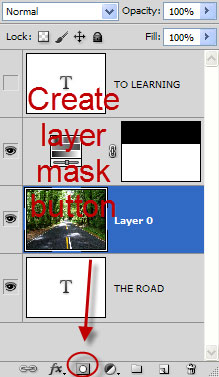
That’s nice, but how do we create our own layer masks and apply them to our layers? That’s very simple to do and there’s more than one way to do it. First select a layer for which you want to create a mask. Then choose Layer > Layer Mask > Reveal All to create a white layer mask or Layer > Layer Mask >Hide All to create a black layer mask. Or you can click on the little button in the Layers palette that looks like a box with a little circle in the middle.
But what if you have lots of layers and you want to organize them somehow? Then you should create Groups. To create Groups of layers simply select multiple layers (or one layer) by holding Ctrl and clicking on the layers you want to group. Then press Ctrl + G or choose Layer > Group Layers. You can add a layer mask to a layer group or you can move a Group just like a layer with the Move tool (V) thus adding new possibilities regarding editing and organization of your document.
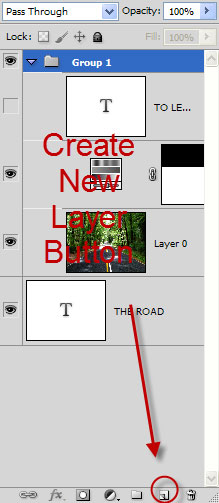
To create a new, empty layer on which you can draw or paste from other sources press Ctrl + Shift + Alt + N or choose Layer > New Layer (there is also a button on the layers palette, the one next to the little recycle bin).
Conclusion
That was just a simple introduction to the world of layers and it doesn’t cover all the aspects. However, I hope that I made you interested in the wonderful world of layers and motivated you, the reader, to further increase your knowledge in the area.