In today’s Photoshop tutorial, you will learn how to create a Christmas tree with shiny lights.
Don’t you feel the holiday cheer? Christmas is near and this is a great occasion to design something nice, like a greeting card or a merry website, while honing your graphic design skills? Follow these steps and you’ll be able to create a Christmas tree design in a jiffy!
Final Image
As always, this is the final image that we’ll be creating:

Tutorial Details
- Program: Adobe Photoshop CC
- Estimated Completion Time: 25 minutes
- Difficulty: Beginner – Intermediate
Resources
- Mystery Quest by Dave ‘Squid’ Cohen
Step 1
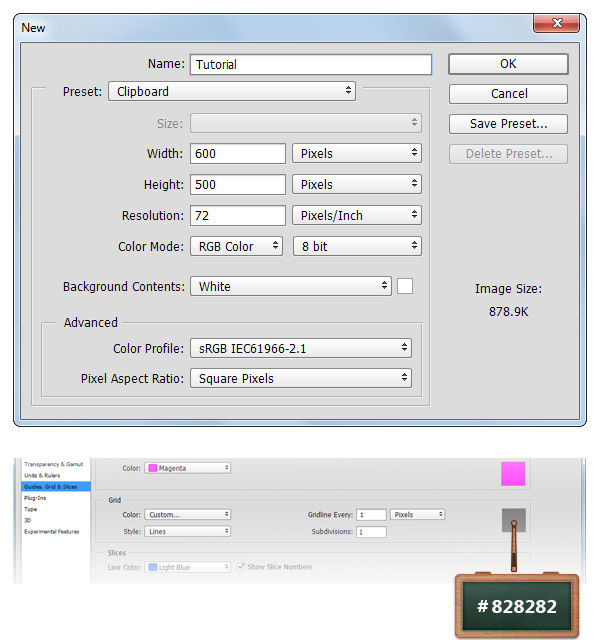
Create a 600x 500px document, go to View > Show > Grid to enable the Grid and then go to View > Snap To > Grid to enable the Snap to Grid. Hit Control + K to open the Preferences window, go to Guides, Grid & Slices and enter the settings mentioned in the next image. Along the tutorial, I turned off the grid ( Control + ‘ ) for you to have a better vision. The grid will make it easier for you to create/edit the shapes.
Step 2
Focus on the Layers panel, select the Background layer and click on the padlock icon to unlock the layer.
Concentrate on your Toolbar, set the foreground color to #1F1D1E, grab the Paint Bucket Tool and fill the canvas with the new color.

Step 3
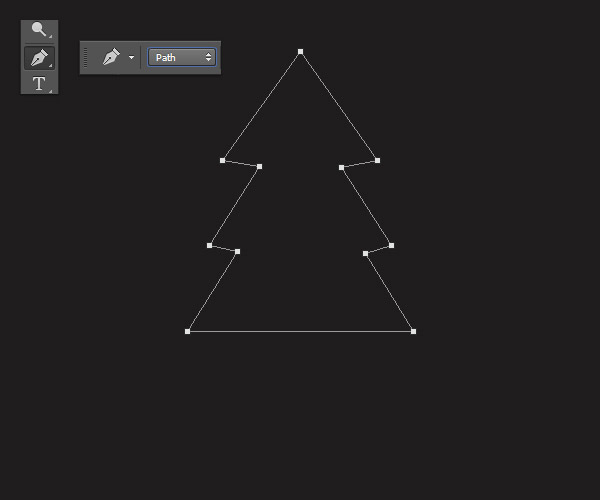
Pick the Pen Tool and make sure that the Pen tool mode is set to Path from the top bar.
Move to your canvas and create the following path.
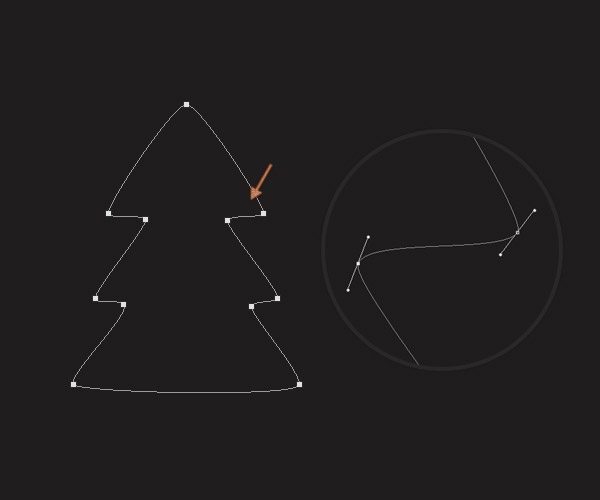
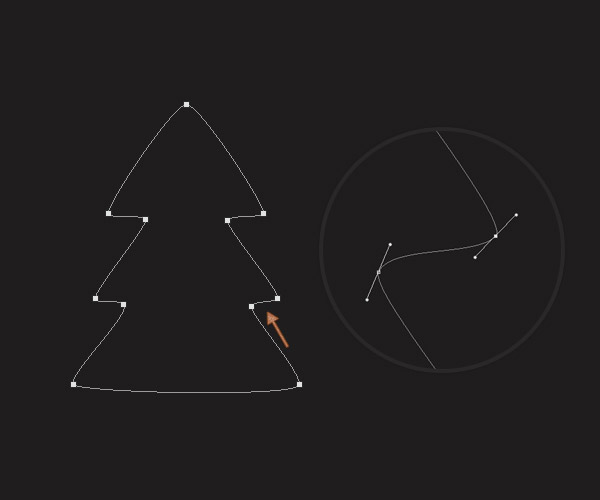
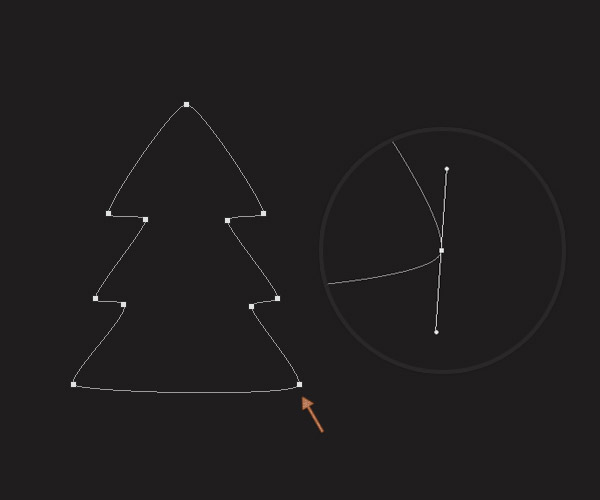
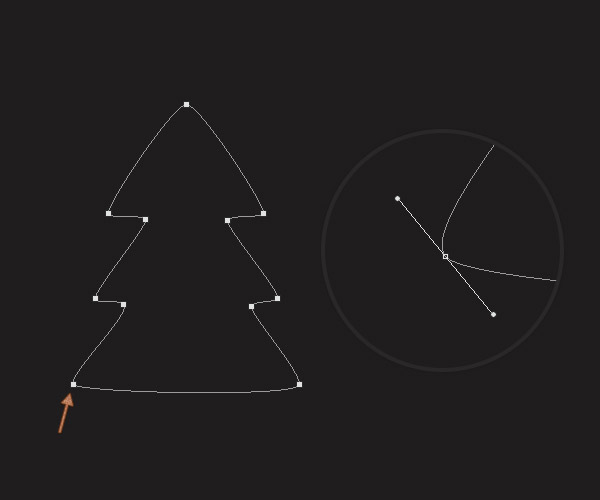
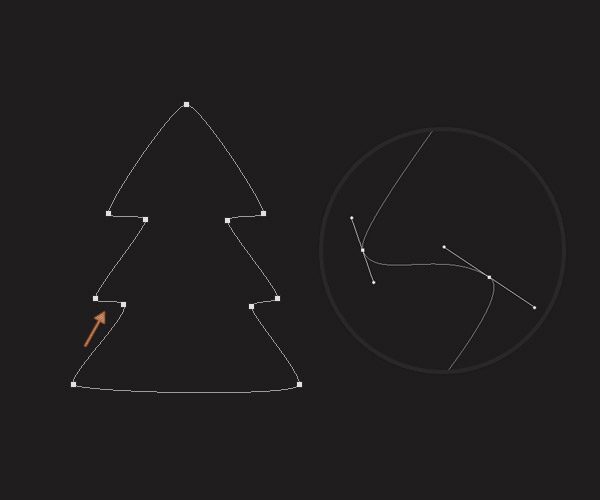
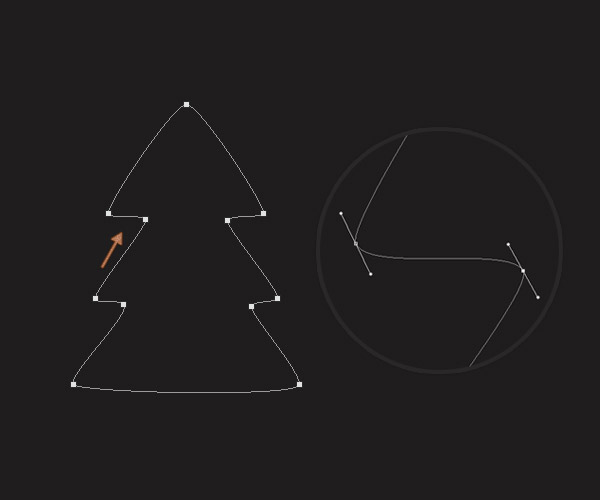
Step 4
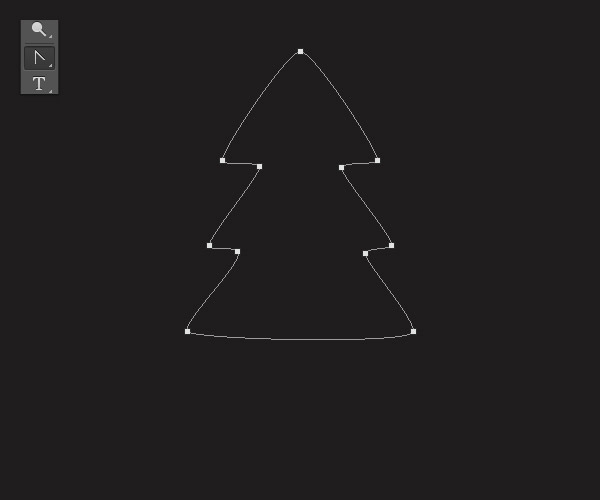
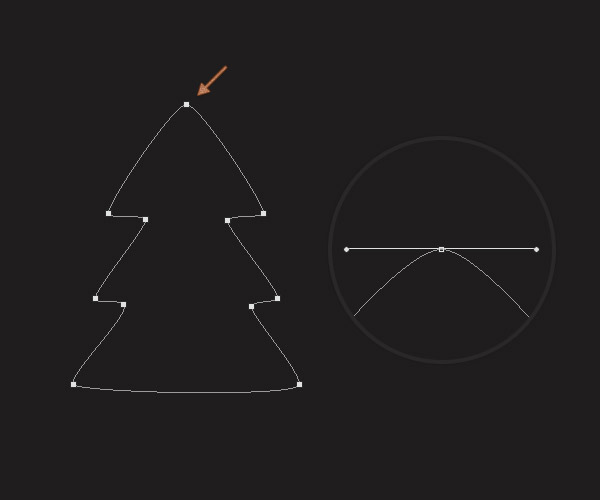
Select the Convert Point Tool, focus on the anchor points and then click and drag the anchor as you can see below.
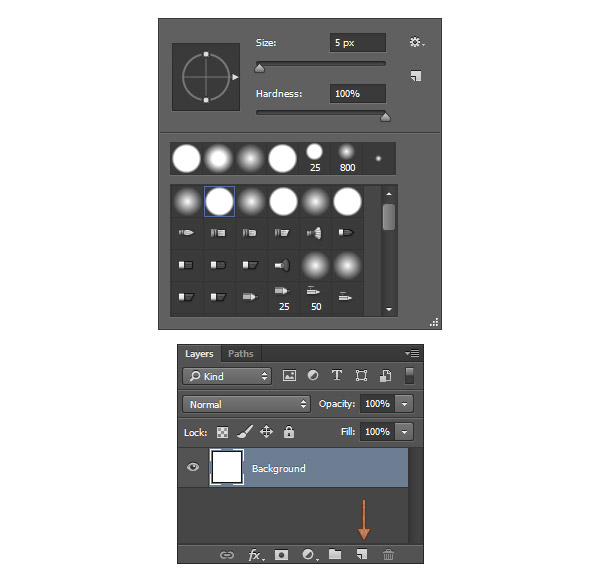
Step 5
Change the foreground color to #477216, pick the Brush Tool and set the Size to 5px and Hardness to 100%.
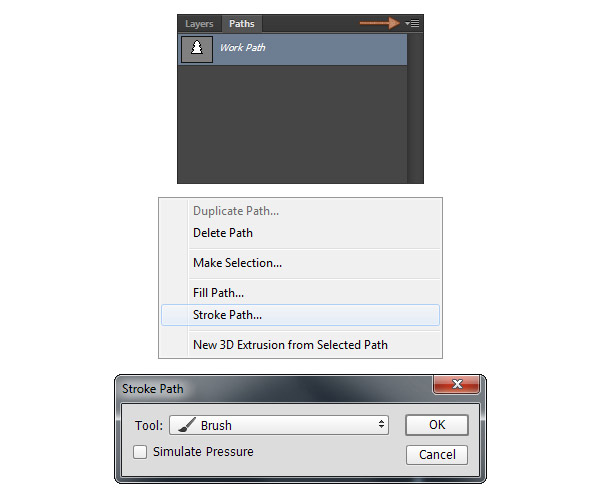
Focus on the Layers panel and create a new layer. Now, move to the Paths panel ( Window > Paths ), click on the small button from the right corner, go to Stroke Path, pick the Brush tool from the dropdown menu and hit enter.

Step 6
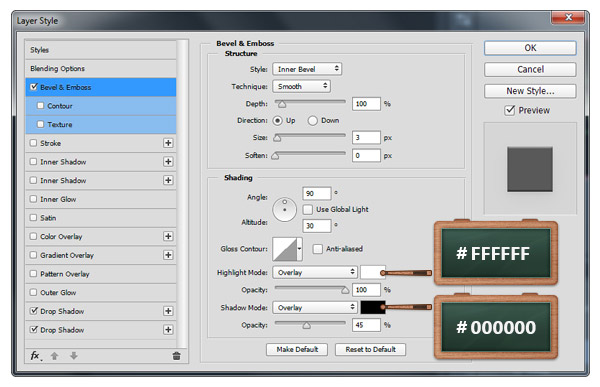
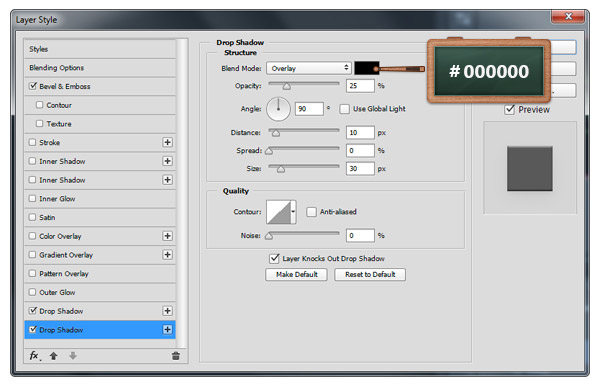
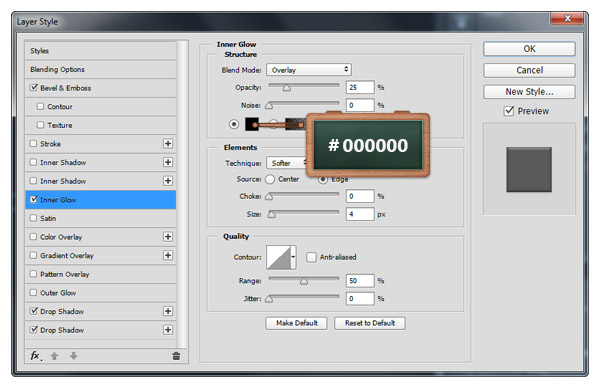
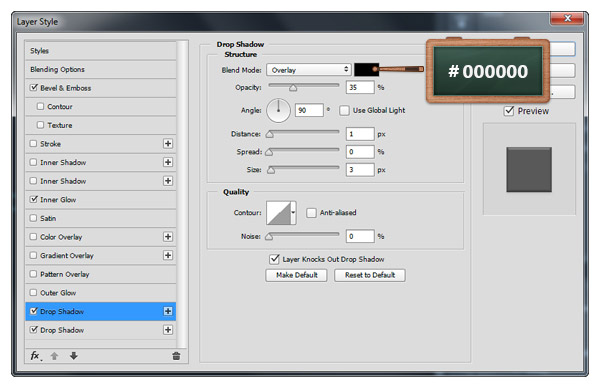
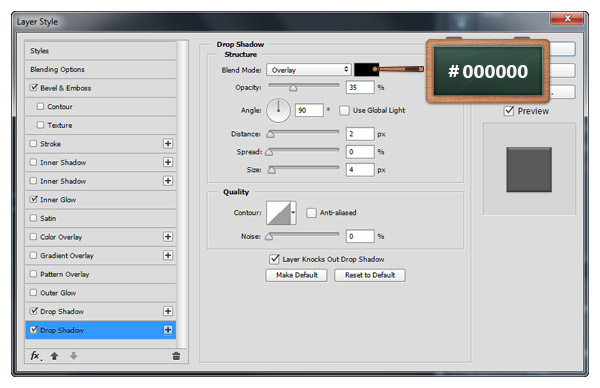
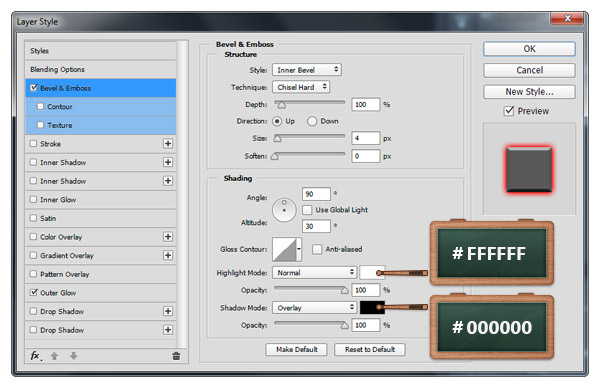
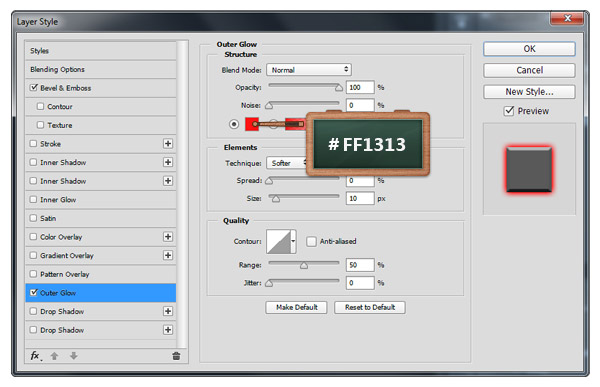
Open the Layer Style window for the layer made in the previous step and enter the settings mentioned below.


Step 7
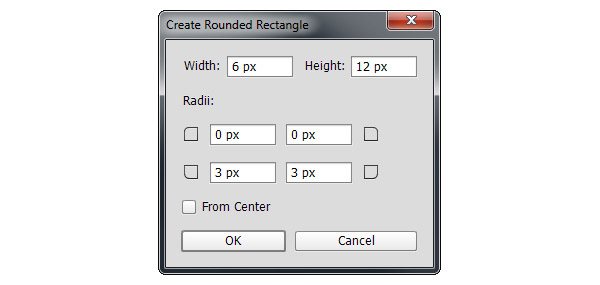
Change the foreground color to #5c5996, select the Rounded Rectangle Tool and click on your canvas to open the “Create Rounded Rectangle” window.
Enter the settings shown in the next image and then click the Ok button.
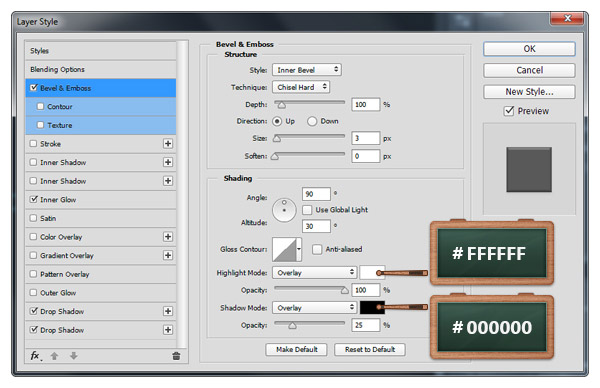
Open the Layer Style window for this vector shape and enter the settings from the following images.

Step 8
Set the foreground color to #E12F2F, grab the Ellipse Tool and create a 4x14px vector shape.
Make sure that the vector shape made in this step is still selected and place it as you can see in the last image.


Step 9
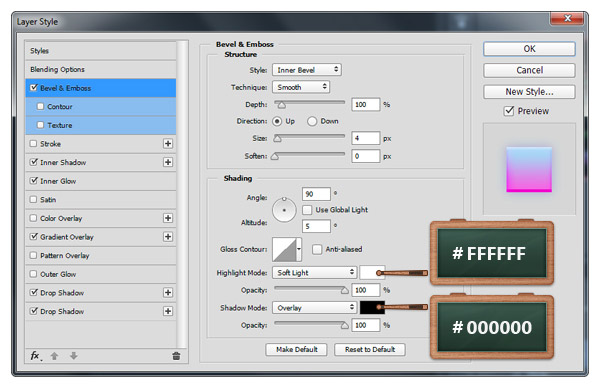
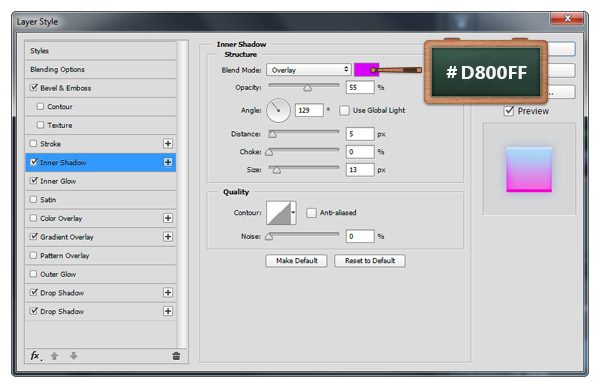
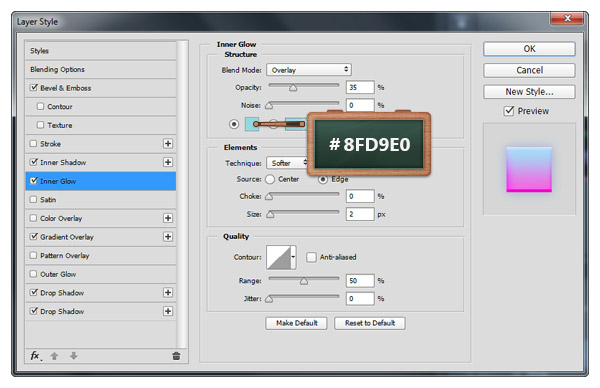
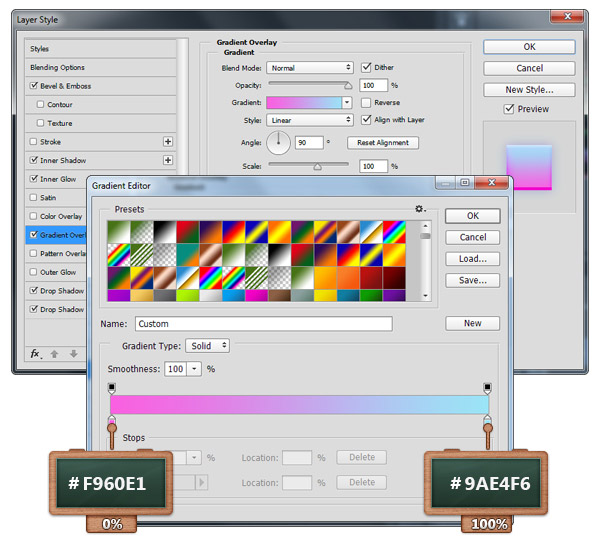
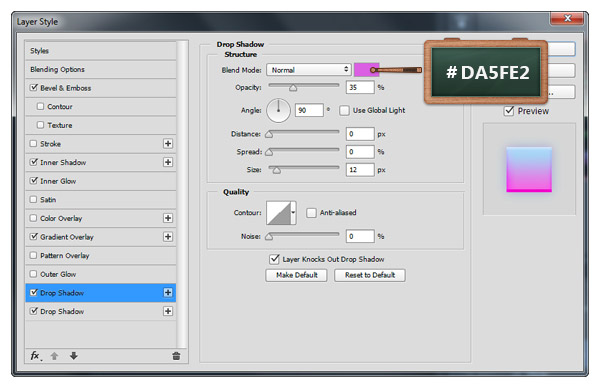
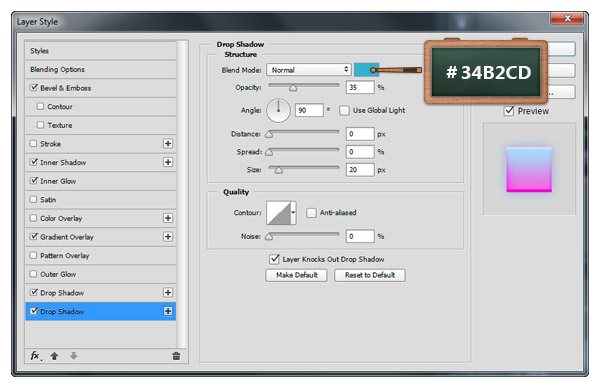
Open the Layer Style window for the vector shape made in the previous step and enter the settings mentioned in the next images.

Step 10
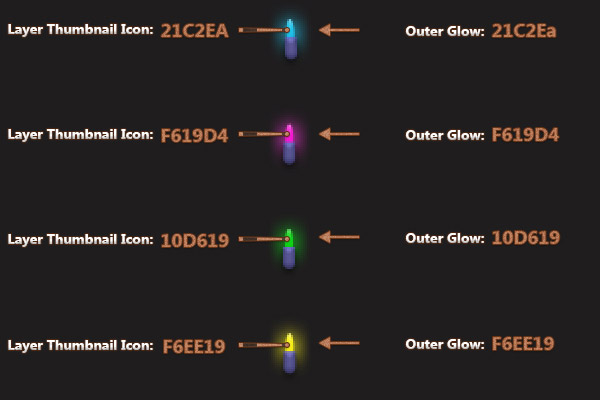
To change the color for your Christmas lights simply click on the Layer Thumbnail Icon for the red vector shape and pick the colors mentioned in the image below.
Step 11
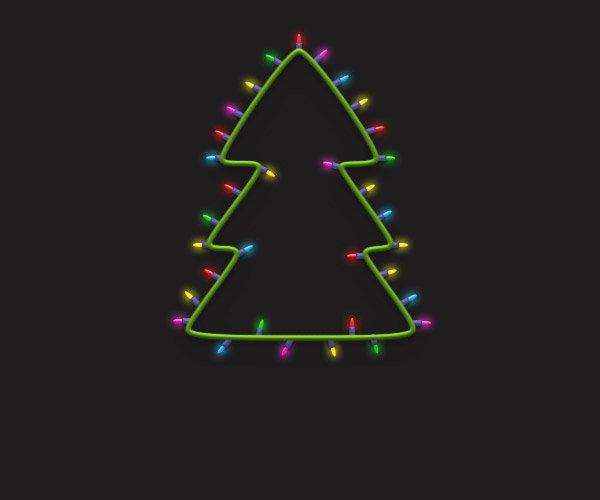
Now simply multiply the Christmas lights by using the Control + J keyboard shortcut and spread them roughly as you can see below.
Step 12
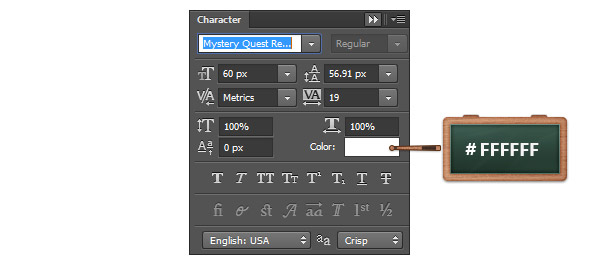
Pick the Horizontal Type Tool and use the Mystery Quest font.
Move to your canvas, add the “Merry Christmas” text with the Size set to 60px and the Color to #FFFFFF.

Step 12
Open the Layer Style window for your text and enter the settings mentioned in the next images.

And We’re Done!
Here is how your final result should look.