In this Photoshop tutorial we will add snow to a photo. The following steps are easy to follow and you can use them on any photo.
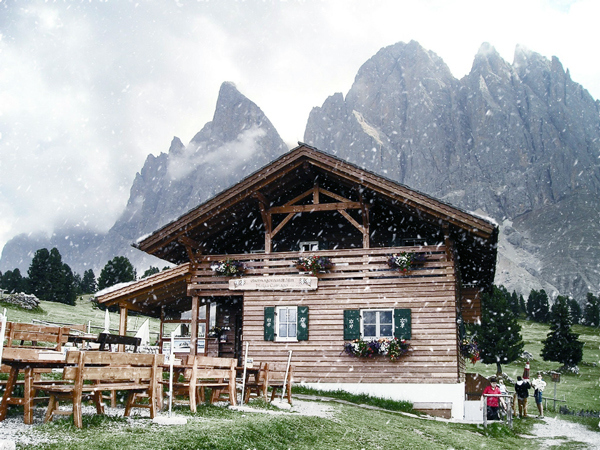
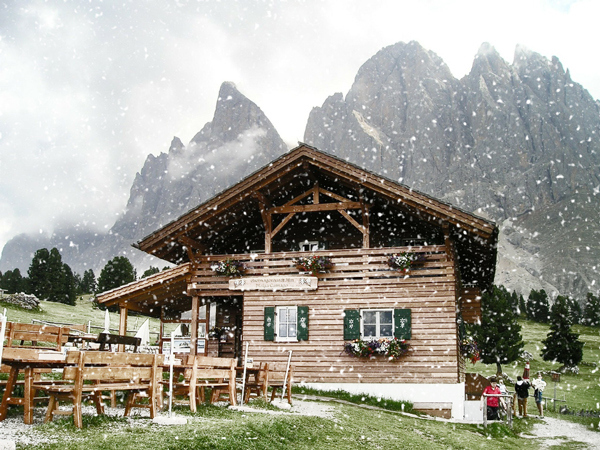
Final Image
Tutorial Details
- Program: Adobe Photoshop CC, Photoshop CS6, Photoshop CS5
- Estimated Completion Time: 45 minutes
- Difficulty: Beginner
Resources
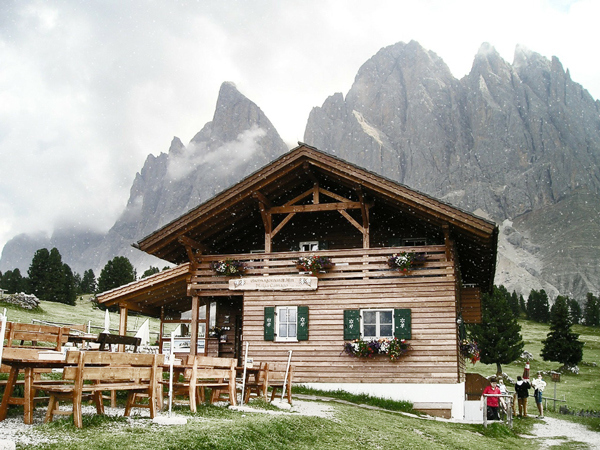
Step 1
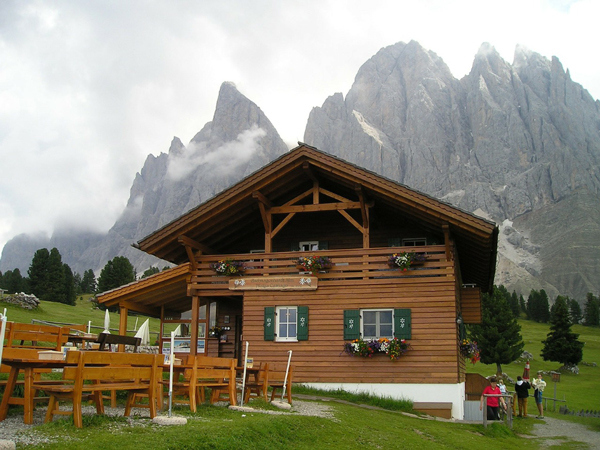
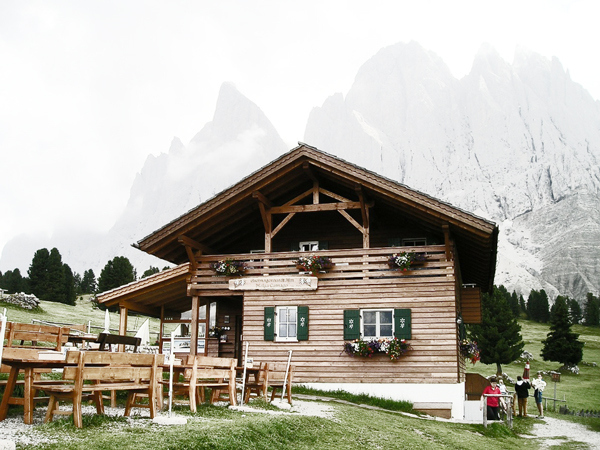
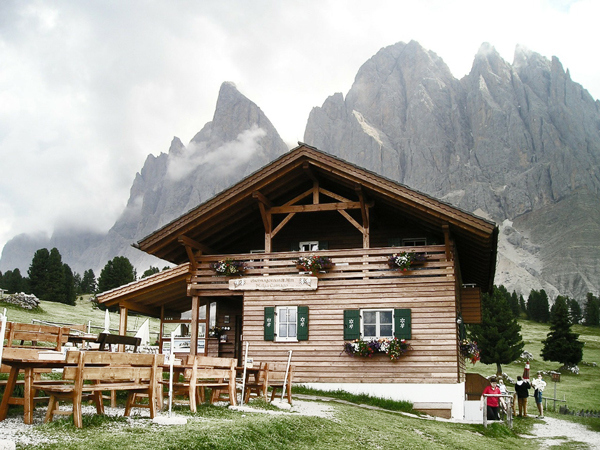
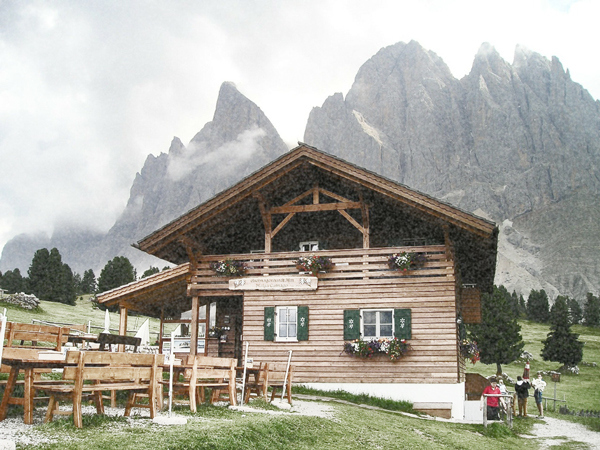
Open image “Cabin”.
Step 2
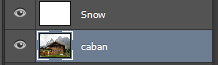
Create a new layer (Ctrl + Shift + Alt + N) and fill it with white (press D for default colors and Ctrl + Backspace to fill it with the background color).
Step 3
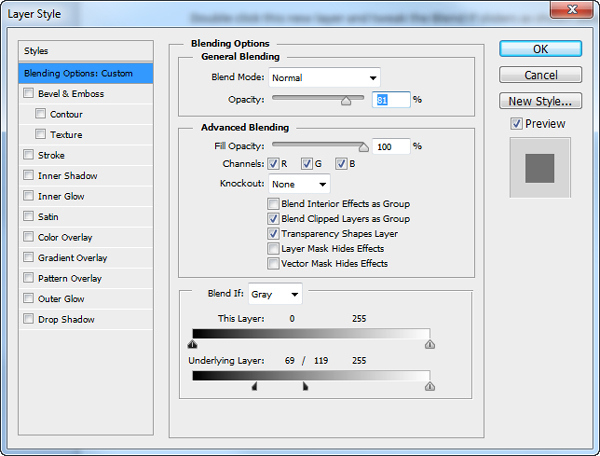
Double click this new layer and tweak the Blend If sliders as shown below. This will cause the underlying dark pixels from the layer below to replace the white pixels while leaving the lighter pixels to be covered with pure white. It’s a neat little trick to do with Blend If sliders but they are useful for a plethora of other tasks involving masking. So if you have time, learn how to use them, it will be useful one day.
Step 4
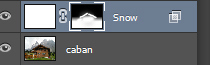
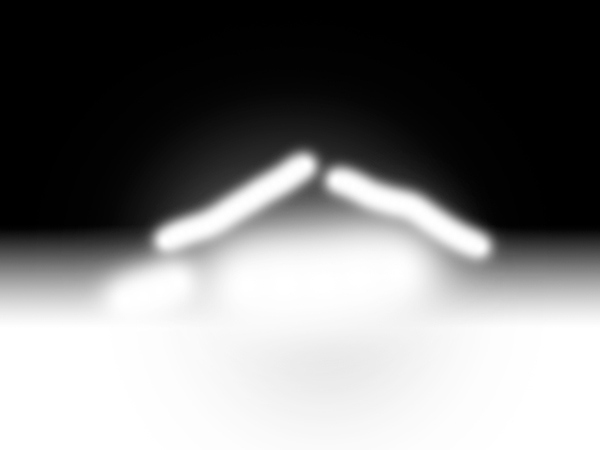
Add a layer mask to the snow layer (Layer > Layer Mask > Reveal All). Now with a round soft brush paint with black the mountains and other areas that look washed out.
Step 5
The image already looks like it is covered with snow but there are many more improvements we could make. For example some snowflakes.
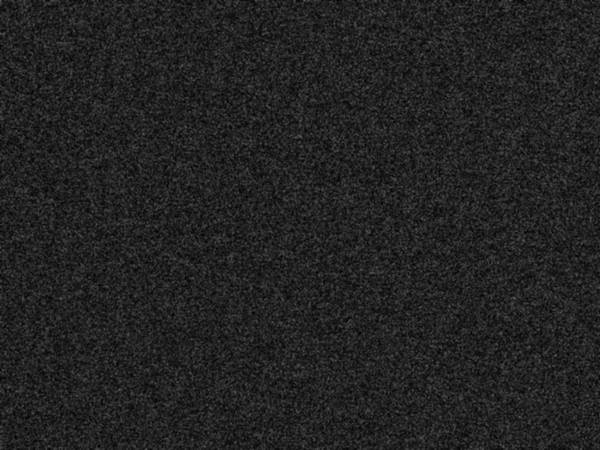
Create a new layer and fill it with black (press D and Alt + Backspace to fill the layer with the foreground color).

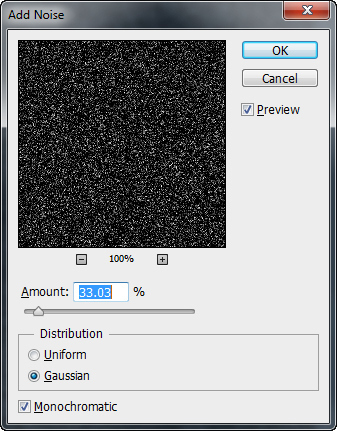
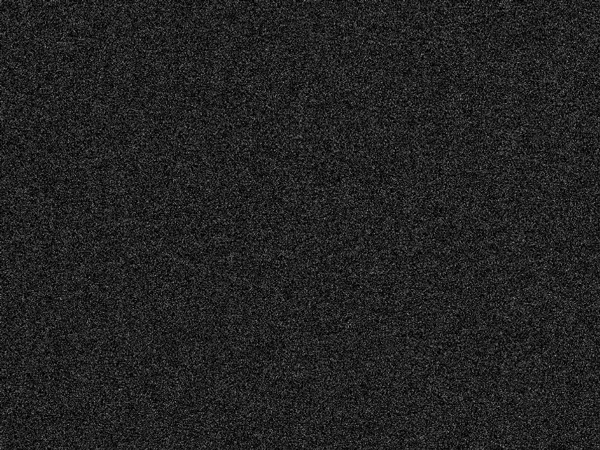
Now add some noise to this layer (Filter > Noise > Add Noise).
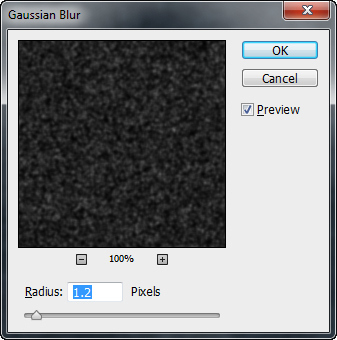
Add some blur to this noise layer (Filter > Blur > Gaussian Blur). The amount of blur will determine the size of the snowflakes so let’s start with something small, let’s say 1.2 pixels.
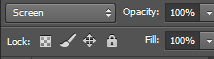
Now change this layer’s blending mode to Screen. This will cause the white little dots to show and hide the black pixels.
Step 6
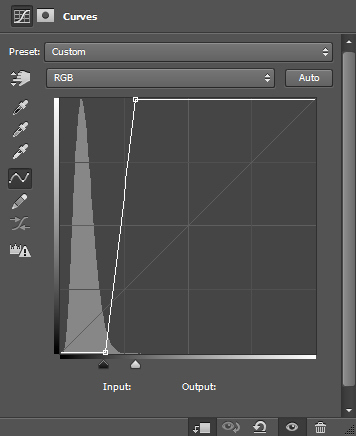
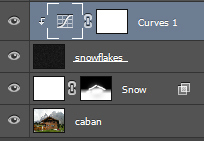
Now our snowflakes don’t look very good. They are barely visible and there are way to many. Let’s add a Curves Adjustment layer to fix this. Create a new Curves Adjustment layer by going to Layer > New Adjustment Layer > Curves. Also, clip the Curves Adjustment layer to the snowflakes layer by Alt-clicking between the two layers.
Tweak the sliders as shown below. This will hide most of the grey pixels and make the remaining ones white.
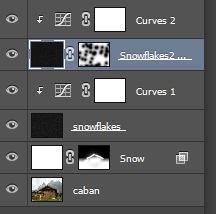
Step 7
Ok, so we have some snowflakes. The image looks alright but we know that snowflakes that appear in a photo are not all the same size due to the distance from the camera. So let’s add some bigger snowflakes. How? Repeat steps 5 and 6 but when you add blur to the noise layer use a stronger Gaussian Blur (you can try 2.5 or 3).

Step 8
Let’s hide some of the big snowflakes. Add a layer mask to the second snowflake layer (the one with big snowflakes) by choosing Layer > Layer Mask > Reveal All. Now with a round soft brush paint with black here and there to hide most of the big snowflakes.

Step 9
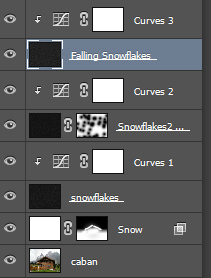
Now let’s add some falling snowflakes (like falling raindrops in a photo but instead of raindrops they are snowflakes, like in a snow blizzard). Repeat steps 5 and 6 again to create some static snowflakes.
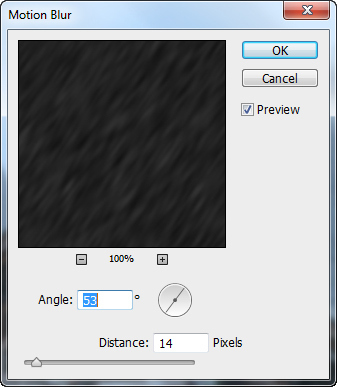
We will now add some motion to our newly created snowflakes. Select the snowflakes layer and apply a Motion Blur as shown below. This will cause the white static snowflakes to streak across the screen in the direction we choose in the Motion Blur window.

Step 10
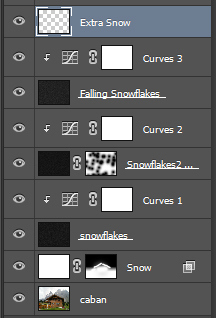
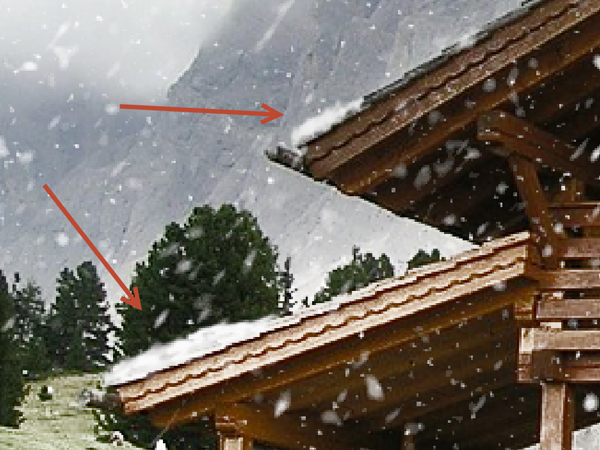
Let’s add some snow on the roof of the cabin for increased realism. With a chalk brush (or a regular round brush) pick an almost white color (e9e8e8). Paint some snow on the roof with this color.
After you’re done choose white (pure white # ffffff) and paint over the snow you’ve already added, but don’t cover it completely, leave some grey-white areas. The reason for this is that the snow is almost never completely white, but has some gray color in it.
Step 11
We are almost done. Because it’s supposedly a winter photo let’s add a bit of blue to it to strengthen the illusion. Create a new Color Balance Adjustment layer and add a little Cyan and Blue color.
And We’re Done!