This is an easy and quick lesson about how to create an interesting composition for social topic using few clip art pictures.
First of all, we need to find some appropriate pictures of hand, sky and city. For this purposes we may use Google Images or search in stock photo sites. So let’s start! Create a new document with size of 300×500 px and bring there our first picture of the sky in similar way as you can see at the picture bellow. You may use your own picture or just use mine.

Then we add the right clip art of the hand. Also you may use your own clip art or feel free to use mine. Locate it as on my picture below:

Now it is necessary to make color correction for the hand to get harmonious view with the background color. Use Image > Adjustments >Levels (Crrl+L) with the following options:
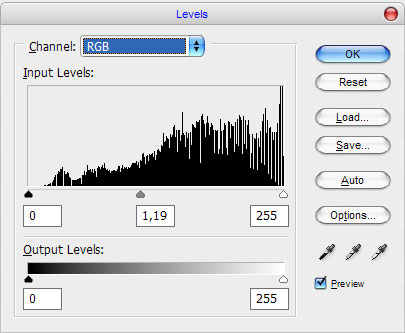
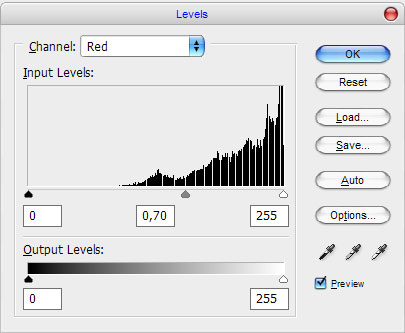
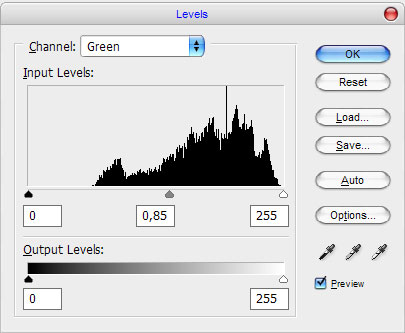
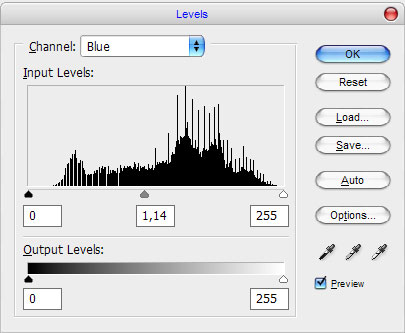
You may see the difference after correction:

Now we need to add proper picture which we will put in the hand. Open chosen clipart and bring it to your canvas. You may use my clip art as well. Then use the Elliptical Marquee Tool and make round selection with the pushed Shift to get the proper round selection.
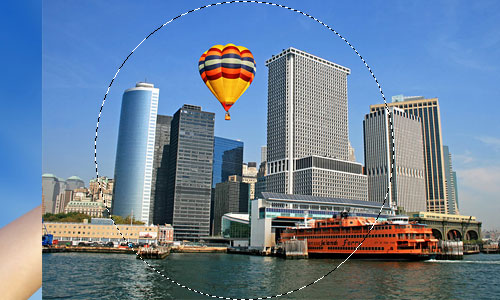
Then press Ctrl+Shift+J to cut the selected part of image to new layer and delete the previous layer, it’s useless now. Get back to layer with the cutted part of image and make it smaller about 35%.
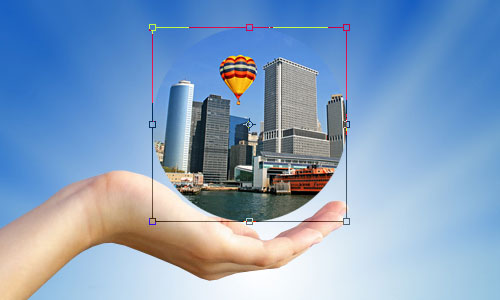
Ok, then select contents using Select > Load Selection and apply Filter > Distort > Spherize with similar settings to these:
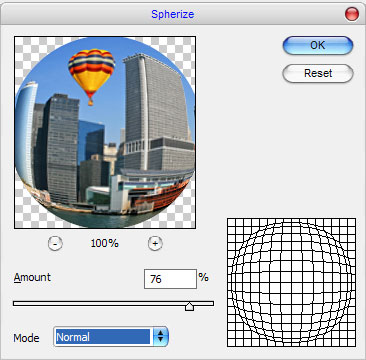
Your result should look as mine:

Deselect this part image with Ctrl+D. Then use the Sharpen Tool and focus the sharpness:

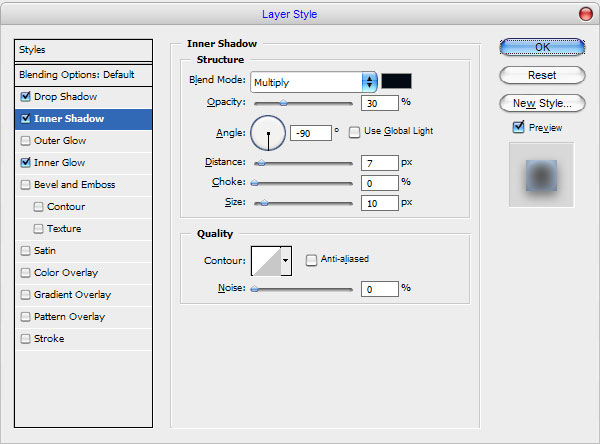
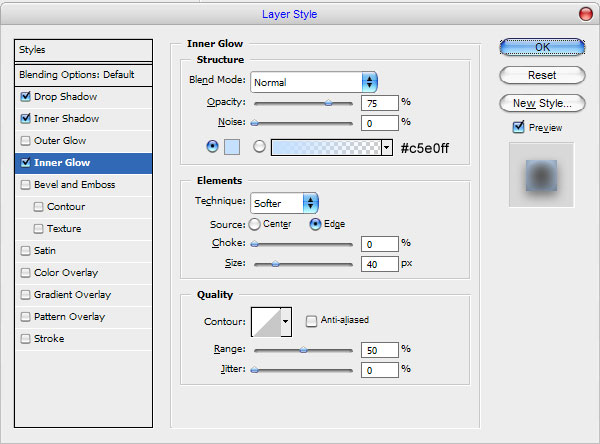
After that use the following Blending Options for this layer:
• Drop Shadow
• Inner Shadow
• Inner Glow
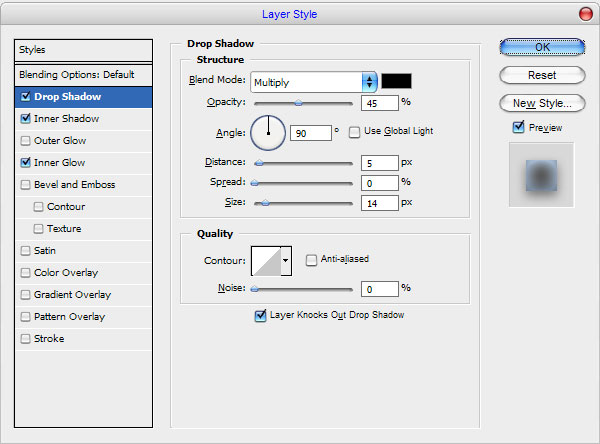
We should get the following picture as the result:

Then use the Burn Tool (Brush: 80 px, Range: Midtones, Exposure: 30%) and add some darkness the bottom part of a circle. You may see this effect on the picture bellow:

After that use the Elliptical Marquee Tool, make selection as you can see on my picture bellow, create a new layer and fill it with the white to transparent gradient.

Now, create a new selection and press Delete to clean selected part or image.

Deselect chosen area with Ctrl+D and your result should look as mine:

At this point our lesson is over! We have a very nice composing, don’t we? Also you may create another composing for different topics. Have fun!

