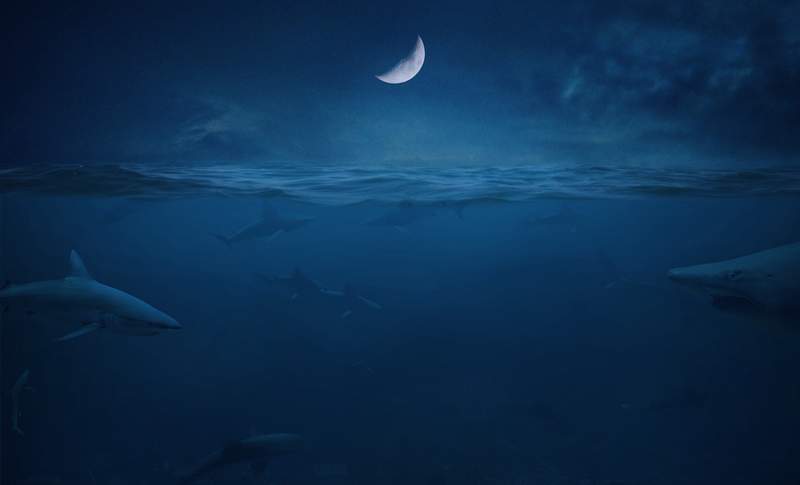
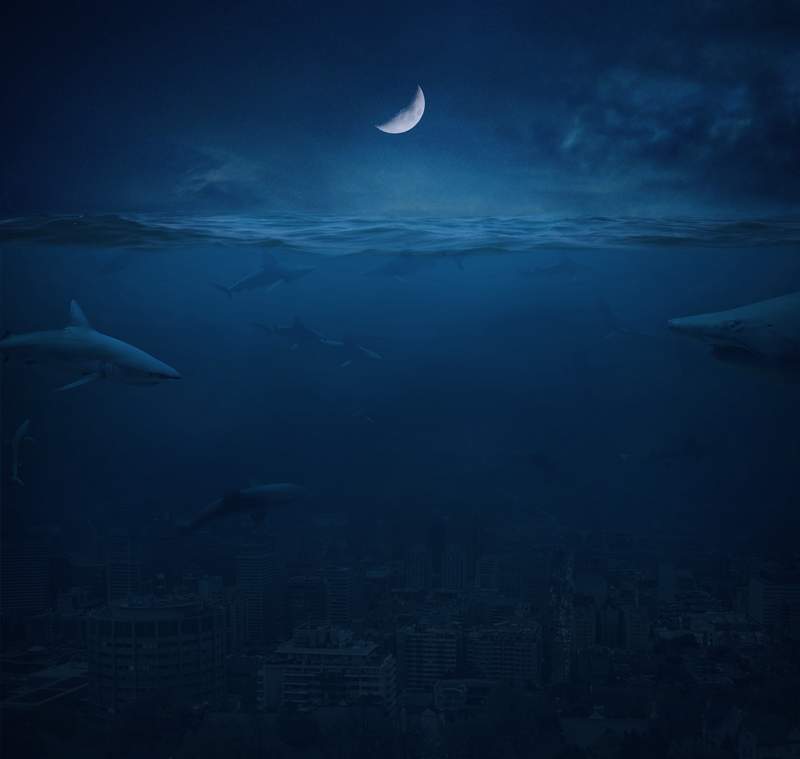
In this photo manipulation tutorial I’ll show you how to create an underwater city scene.
Using Photoshop you’ll learn how to create a dark underwater environment using some stock images, adjust light and contrast, enhance color and more.
Final Image
Tutorial Details
- Program : Photoshop CS3+
- Estimated Completion Time : 90 minutes
- Difficulty : Intermediate
Resources
Step 1
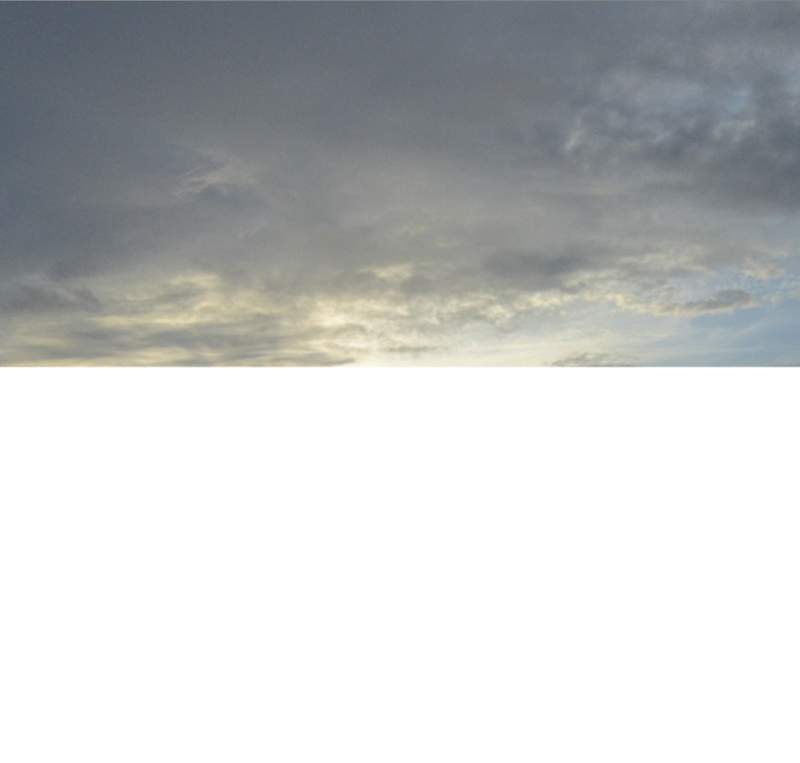
Create a new 1500×1424 px document in Photoshop and fill it with white. Open the sky image and use the Rectangular Marquee Tool (M) to select the sky area only. Drag it into the white canvas using the Move Tool (V) and place it in the upper half.
Step 2
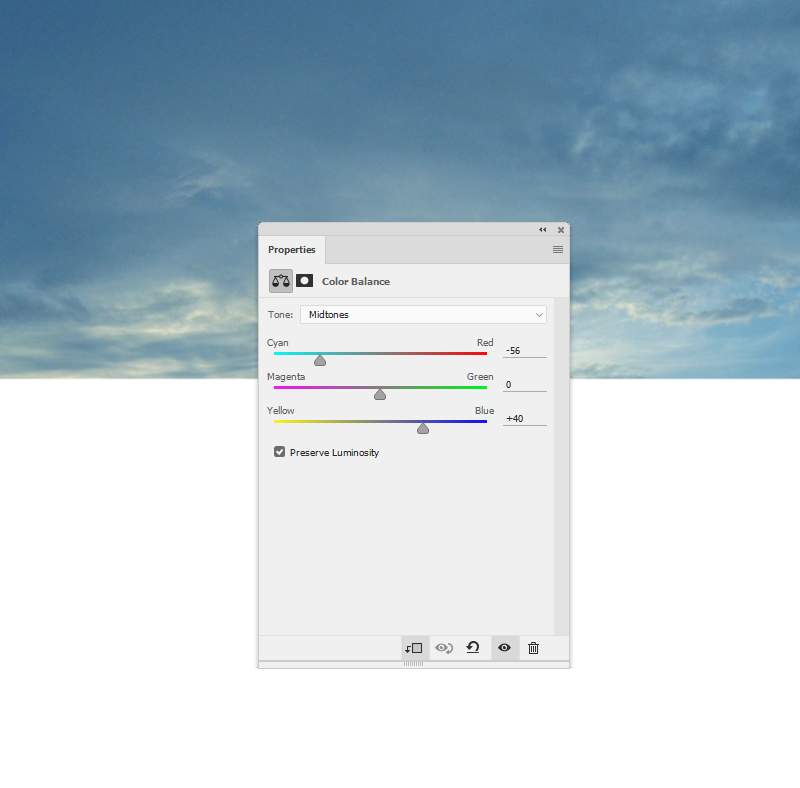
Go to Layer > New Adjustment Layer > Color Balance and set it as Clipping Mask. Change the Midtones settings:
Step 3
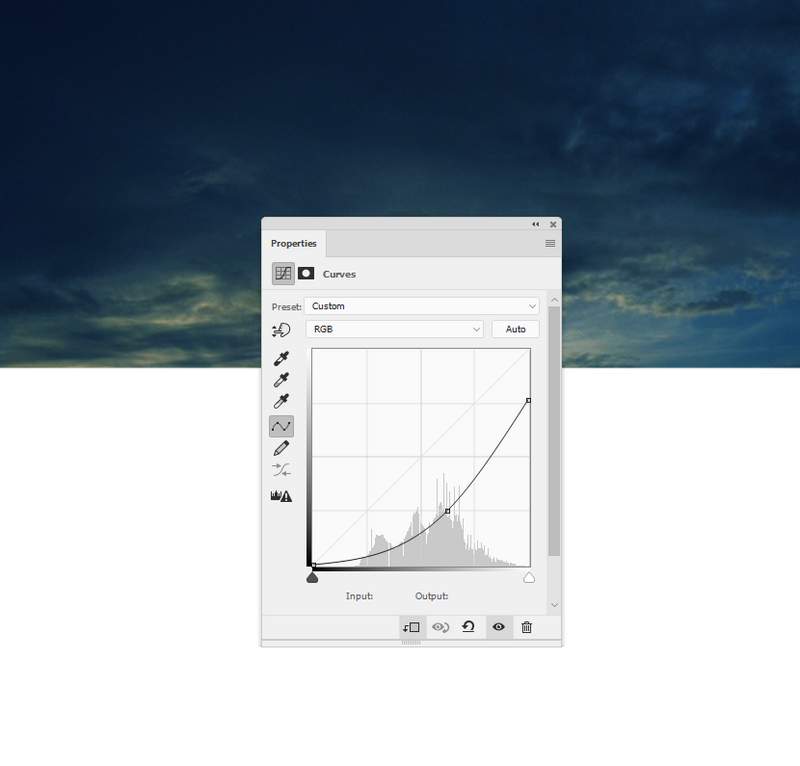
Use a Curves adjustment layer and reduce the lightness. We aim to make a dark scene so the sky should be darker.
Step 4
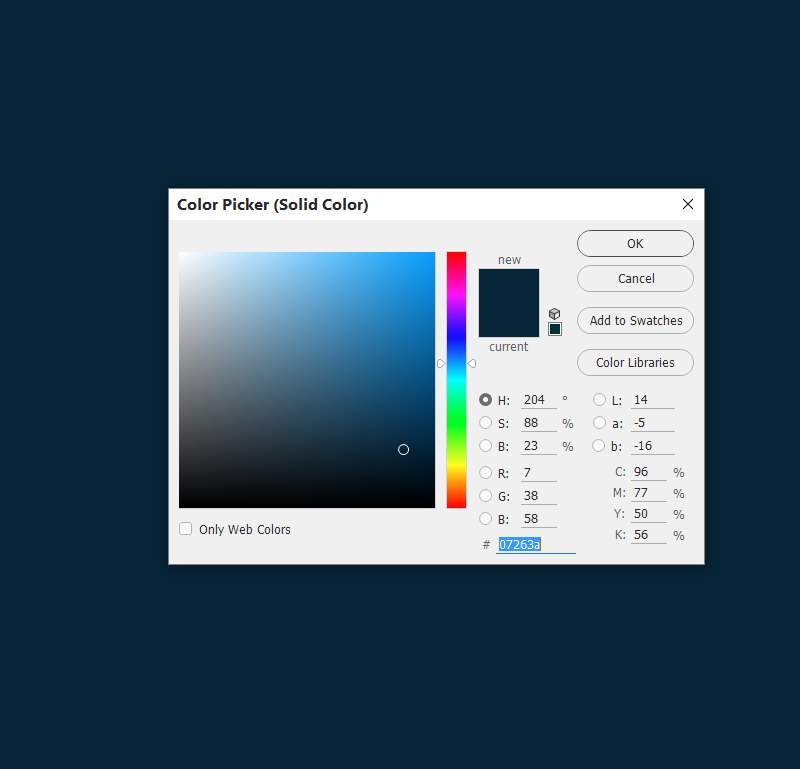
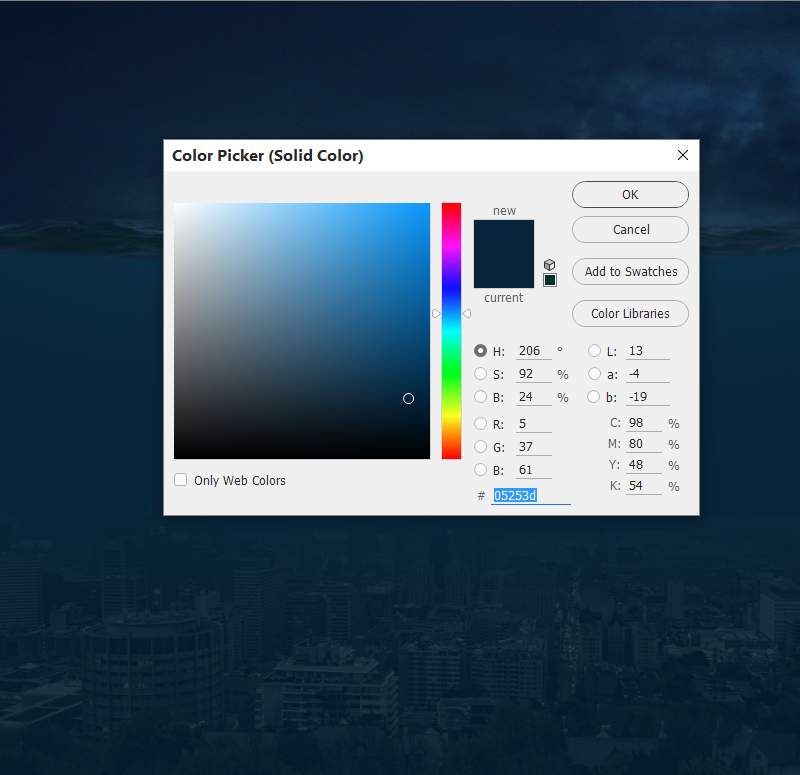
To create the base for the underwater part, make a Color Fill layer and pick the color #07263a .
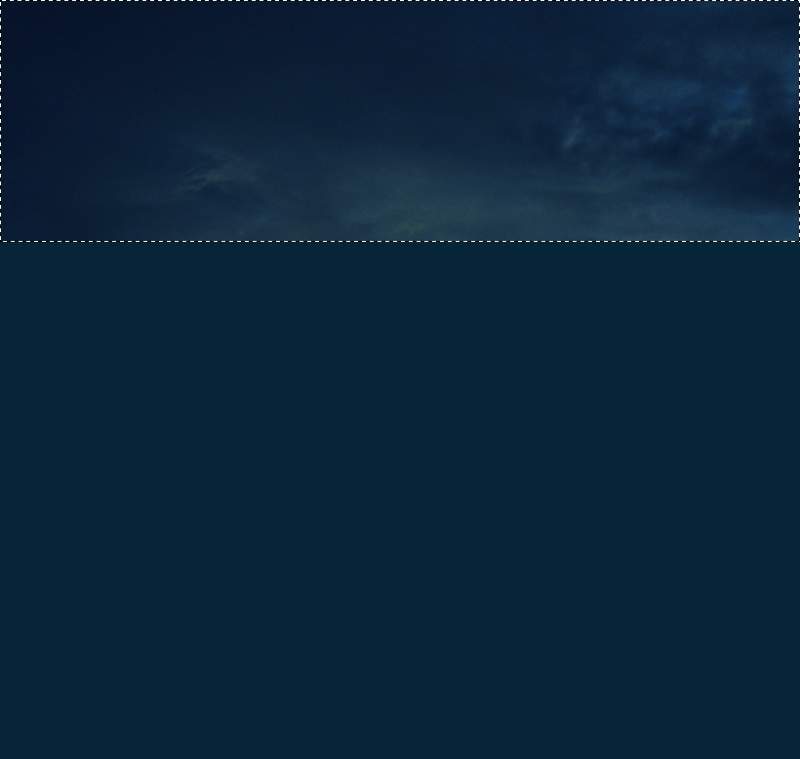
On this layer mask, use the Rectangular Marquee Tool to select the top of the canvas. Make sure that the foreground turned to white and click Delete . We will have the result below:
Step 5
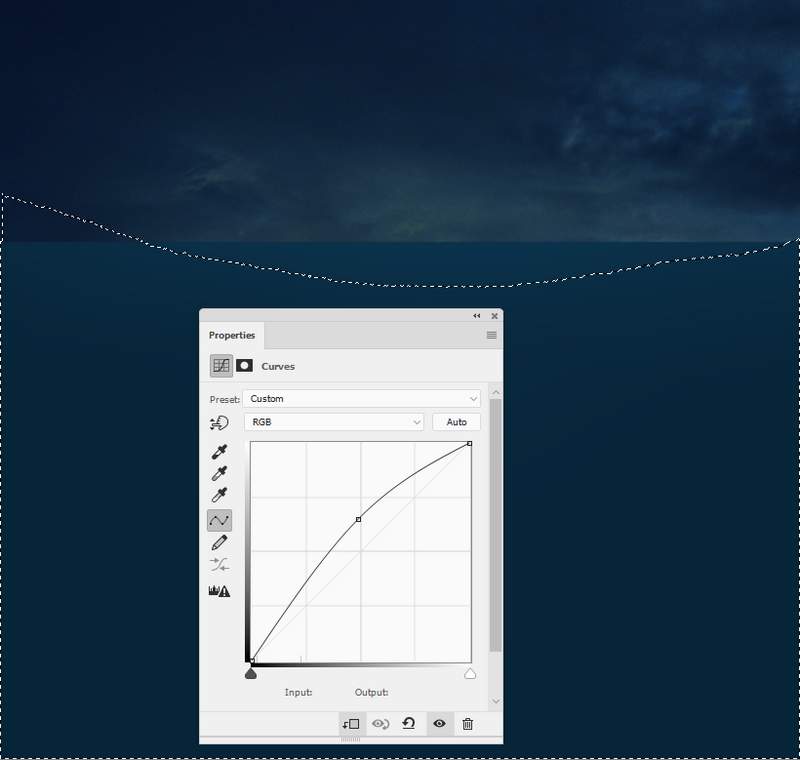
Make a Curves adjustment layer (set it as Clipping Mask ) and increase the lightness. On the layer mask, use a soft black brush to paint over the lower area and leave the effect only visible on the top of the surface.
Step 6
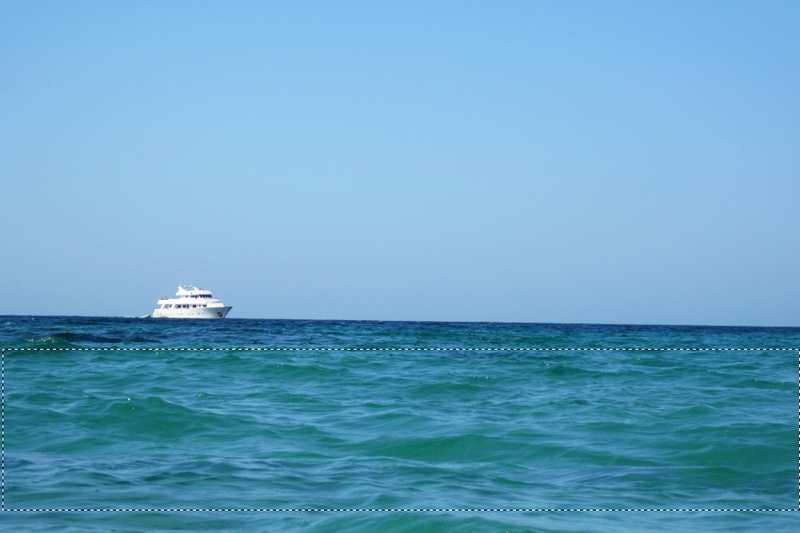
Open the sea image. Select a sea area and move it on the top of the underwater part. Use the Free Transform Tool (Control-T) to change its perspective.
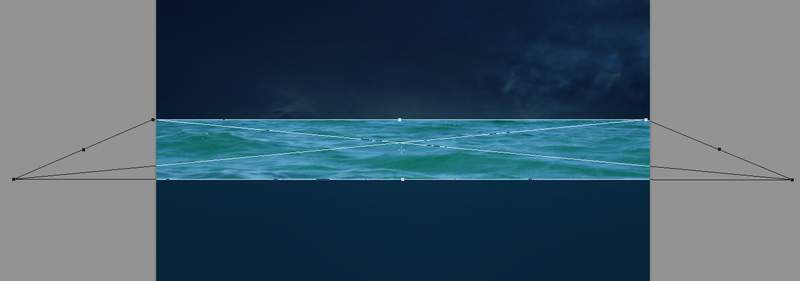
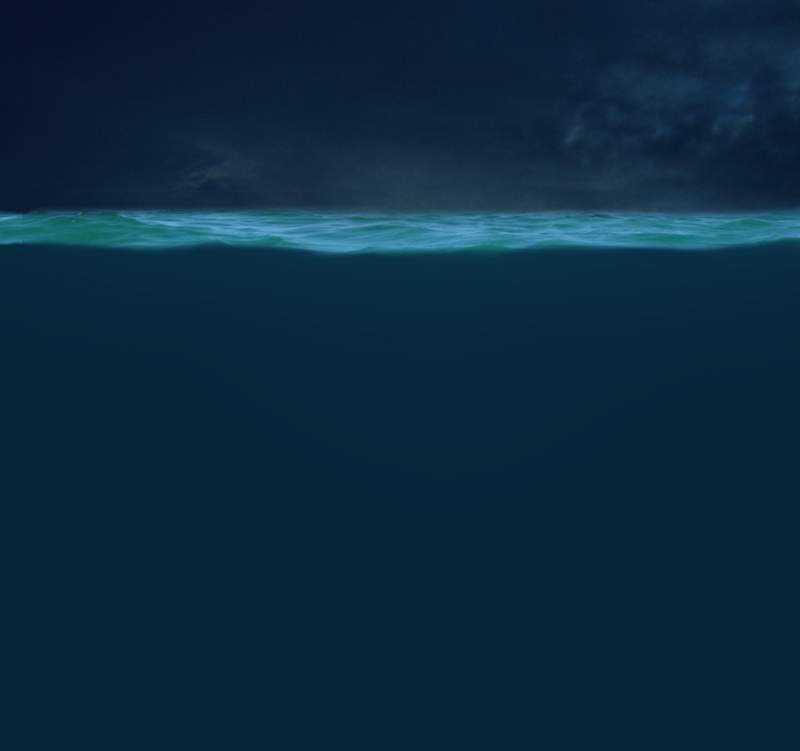
Add a mask to this layer and use a medium-soft black brush to erase the hard edges and make the sea’s surface narrower.
Step 7
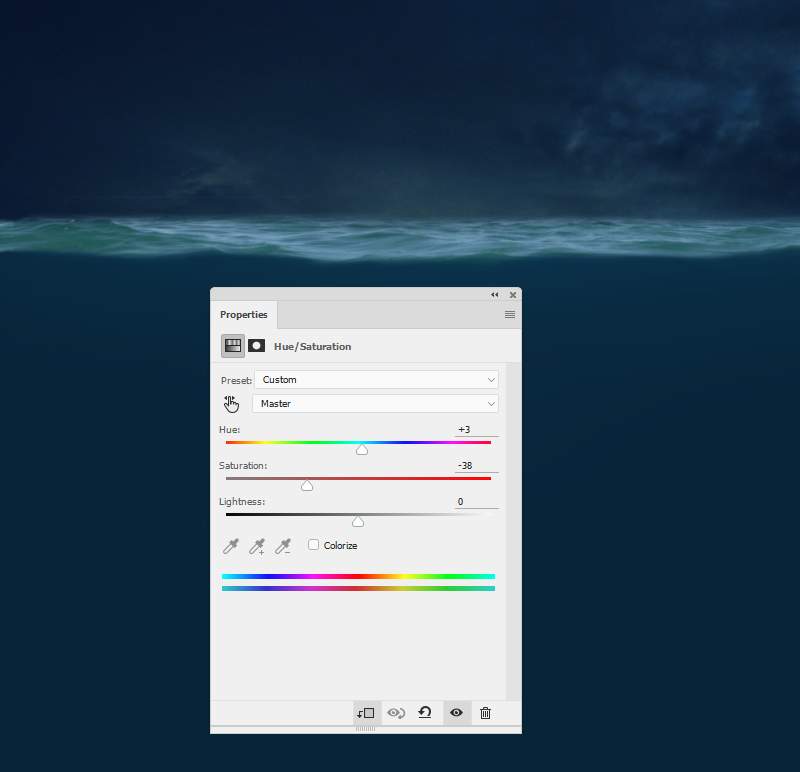
Add a Hue/Saturation adjustment layer and change the Master values:
Step 8
Use a Color Balance and alter the Midtones settings:

Step 9
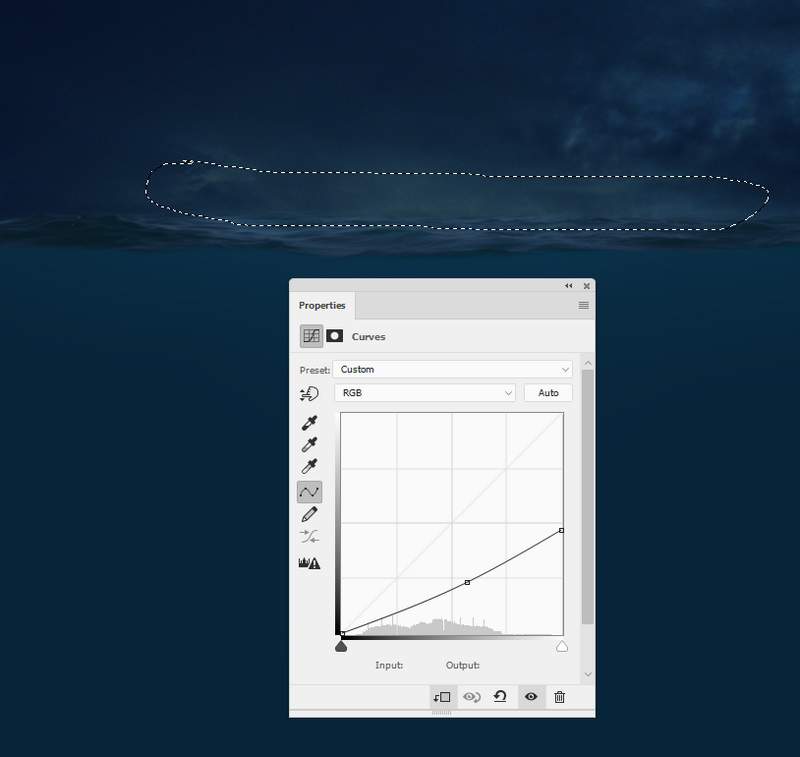
Make a Curves adjustment layer and change the lightness as shown. Paint on the top middle of the surface with a soft black brush, opacity about 10-15% to make this part not too dark.
Step 10
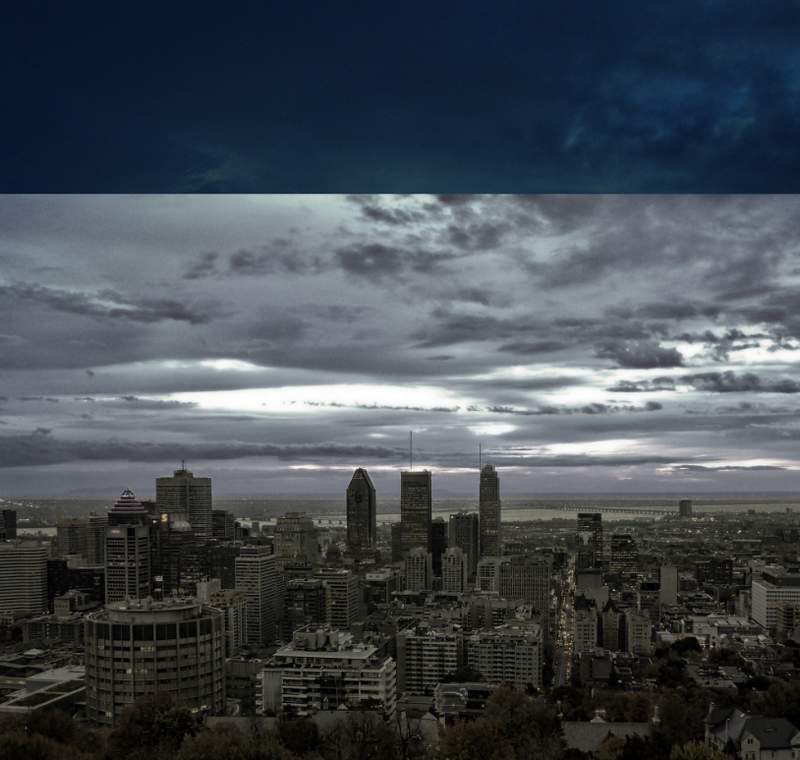
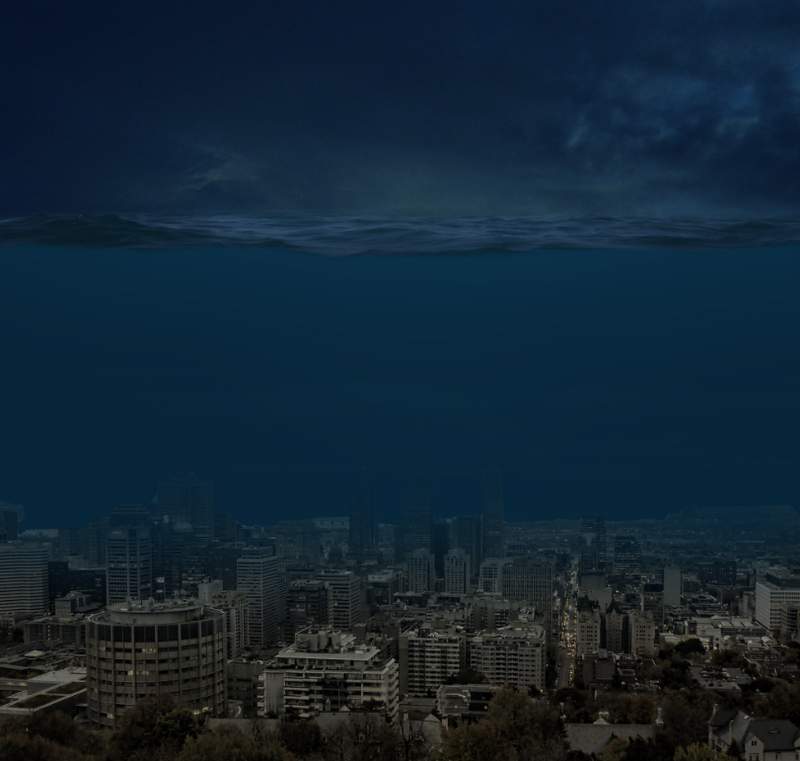
Place the city image in the bottom half of the canvas and use a layer mask to remove the sky, make the edge of the city fade into the underwater area.
Step 11
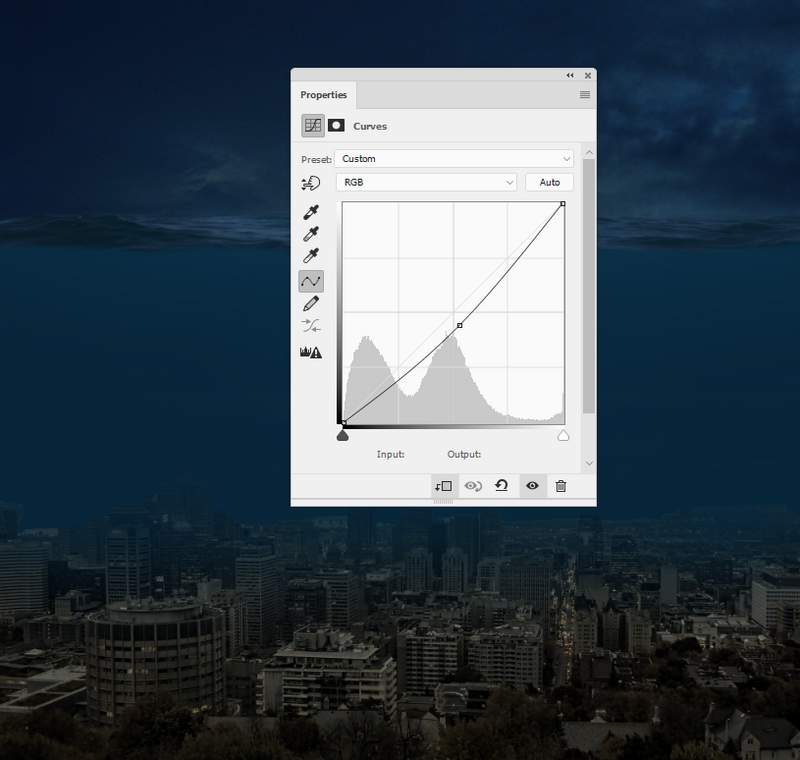
Create a Curves adjustment layer to make the city a bit darker:
Step 12
To make the city blend better with the underwater part, create a Color Fill layer and pick a dark blue color (#05253d ). Lower the opacity of this layer to 70% .
Step 13
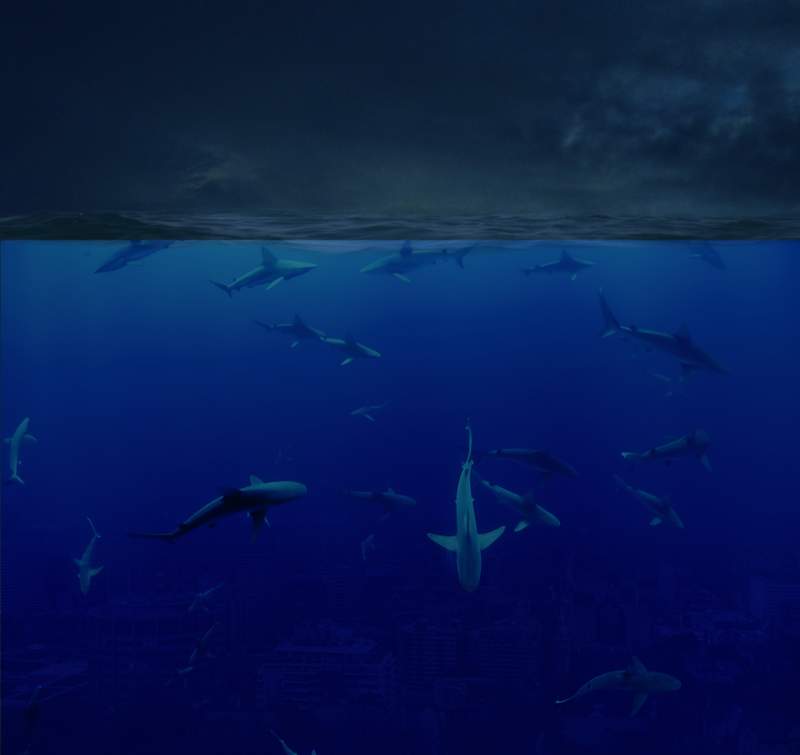
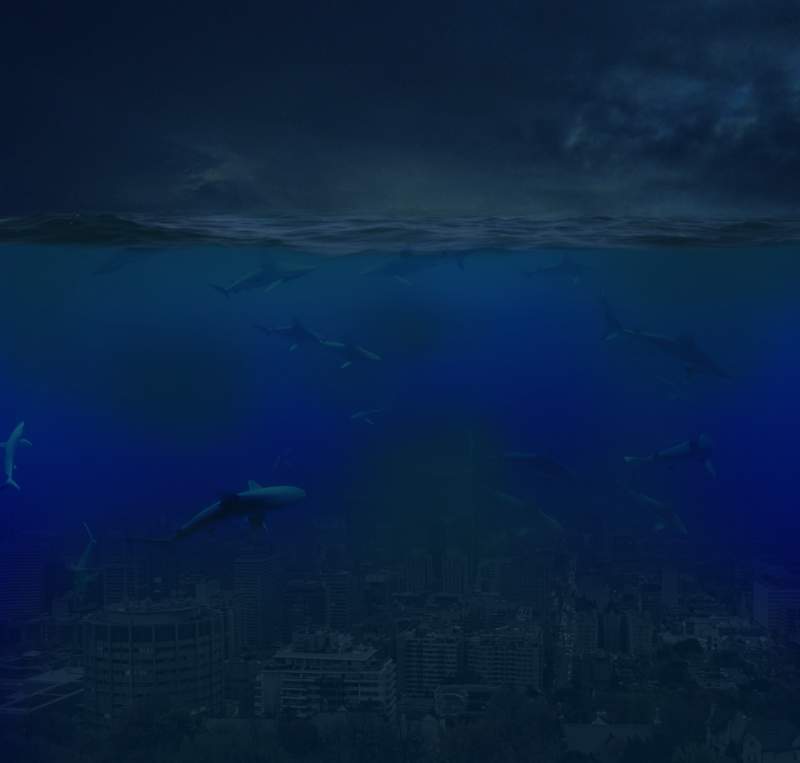
Move the sharks 1 image onto the bottom of the canvas and use a layer mask to remove the hard edges and blend it with the existing underwater area.
Step 14
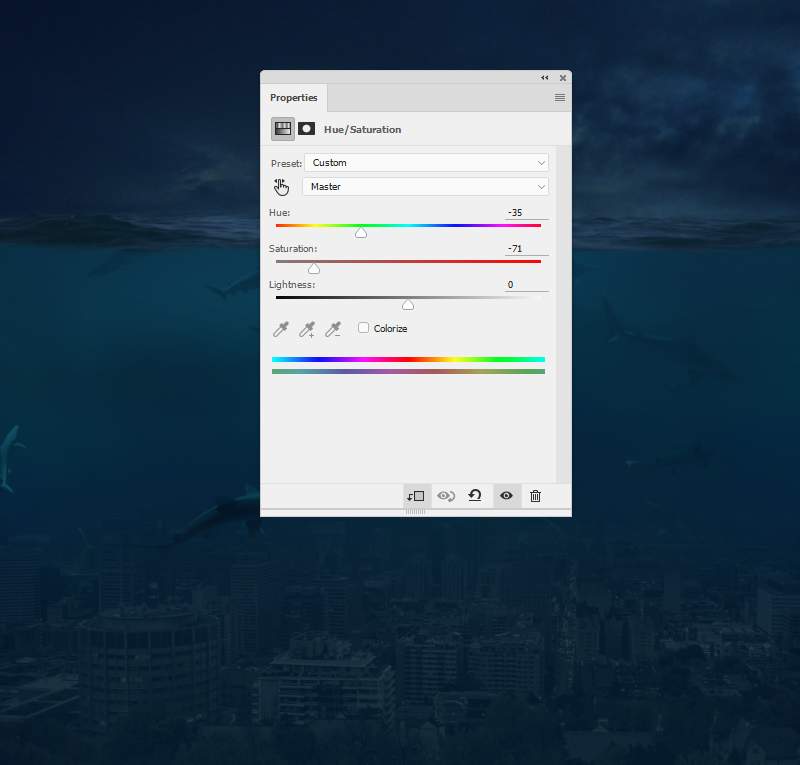
Use a Hue/Saturation adjustment layer to change this part’s color:
Step 15
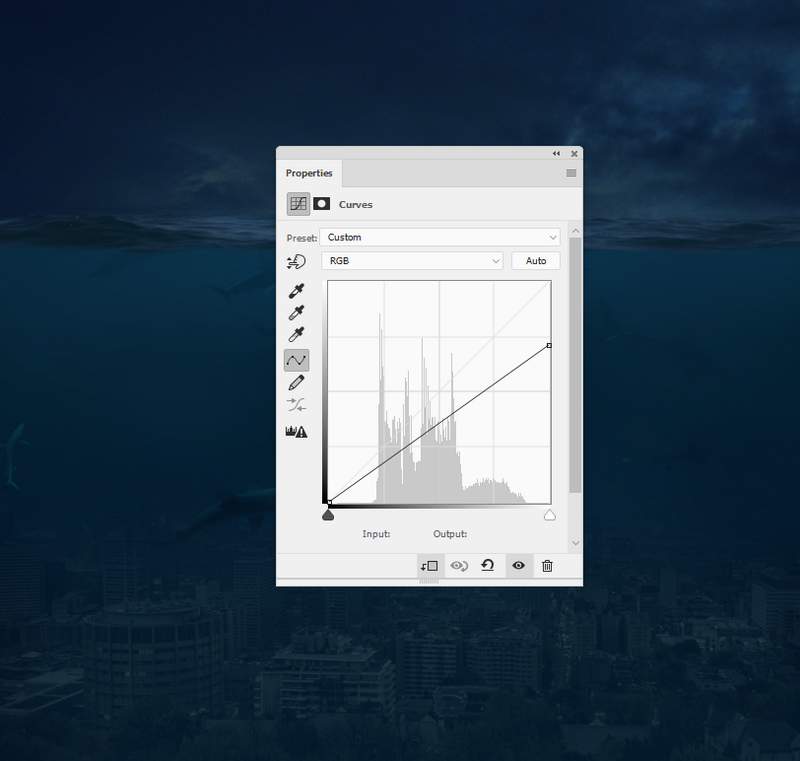
Create a Curves adjustment layer to darken this part a bit:
Step 16
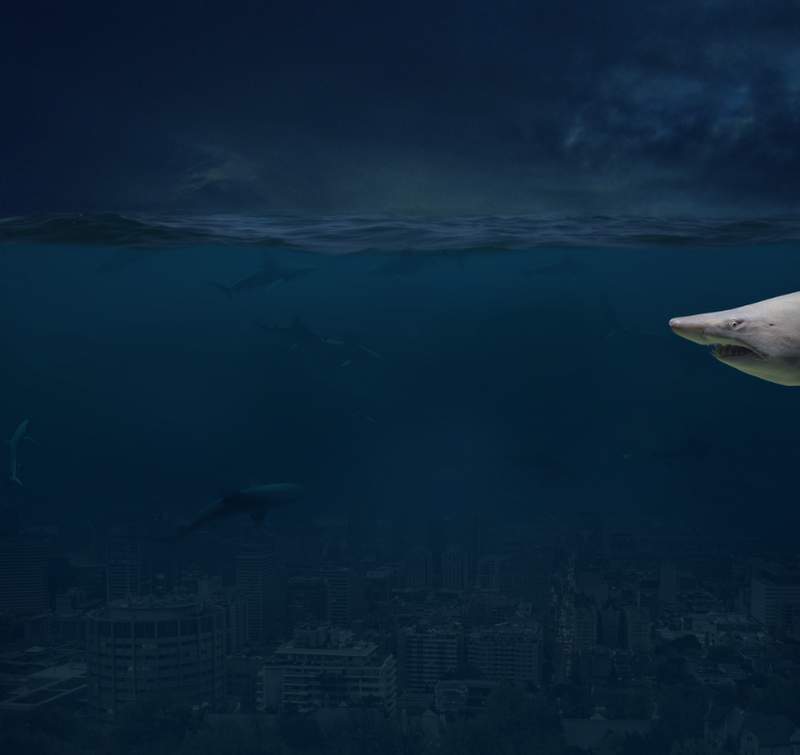
Cut out the shark 2 from the background and place him at the right edge of the canvas.
Step 17
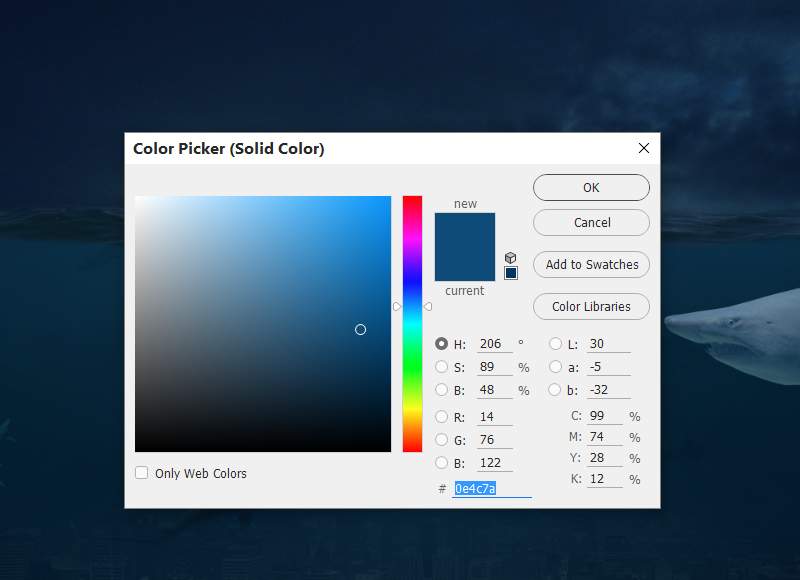
Make a Color Fill layer and select the color #0e4c7a . Reduce the opacity of this layer to 50% .
Step 18
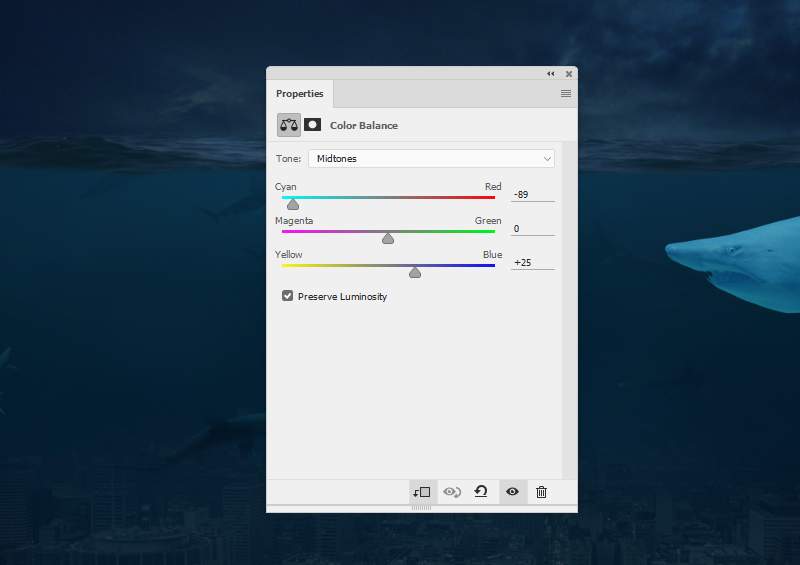
Add a Color Balance adjustment layer and alter the Midtones settings:
Step 19
Make a Curves adjustment layer to make the shark much darker. Use a brush with a lowered opacity (15-20% ) to paint on the top of the shark as we aim to make the light source from the top center so it should get some light.
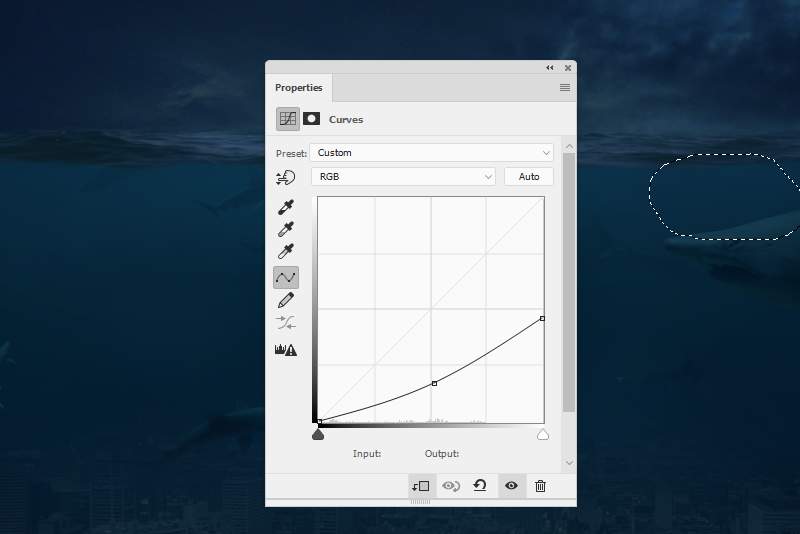
Step 20
Place the shark 3 at the left edge of the scene after isolating him from the background.
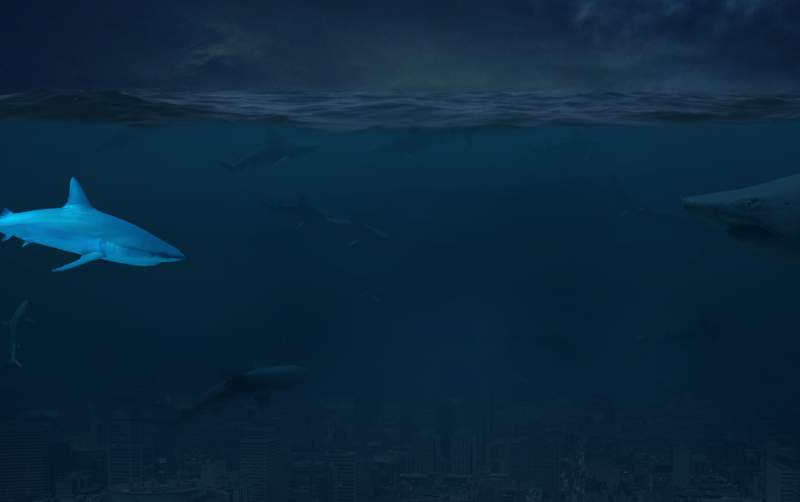
Step 21
Use a Hue/Saturation adjustment layer to desaturate the shark a little.
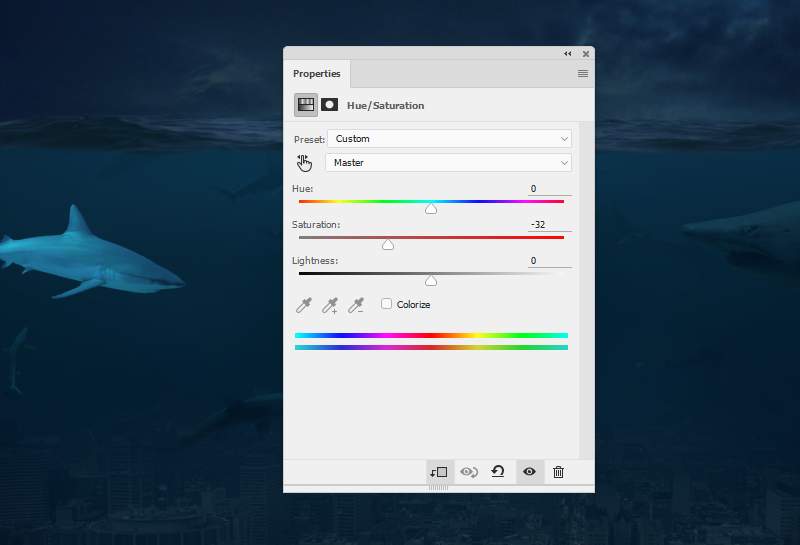
Step 22
Create a Curves adjustment layer to darken the shark. Paint on the top of him to reveal some light there.
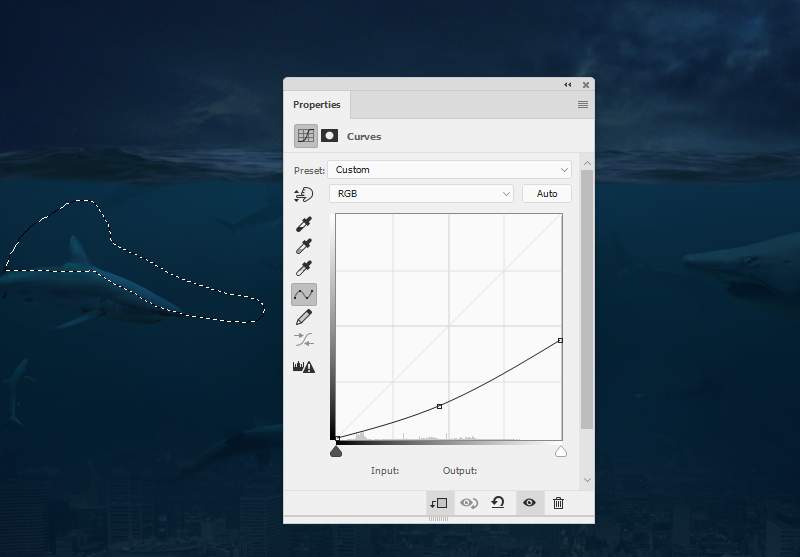
Step 23
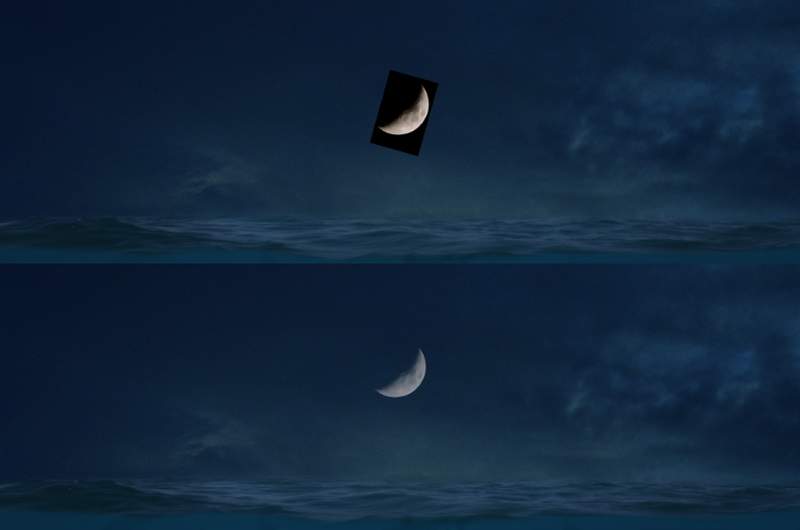
Add the moon image to the top center of the canvas and change the mode of this layer to Screen 60% . It will remove the dark edges around the moon.
Step 24
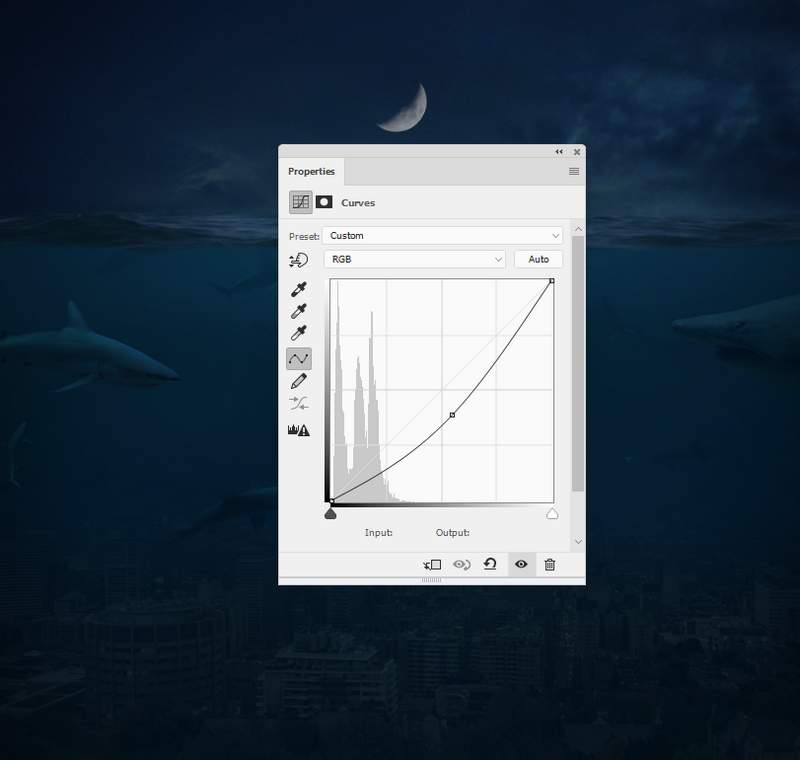
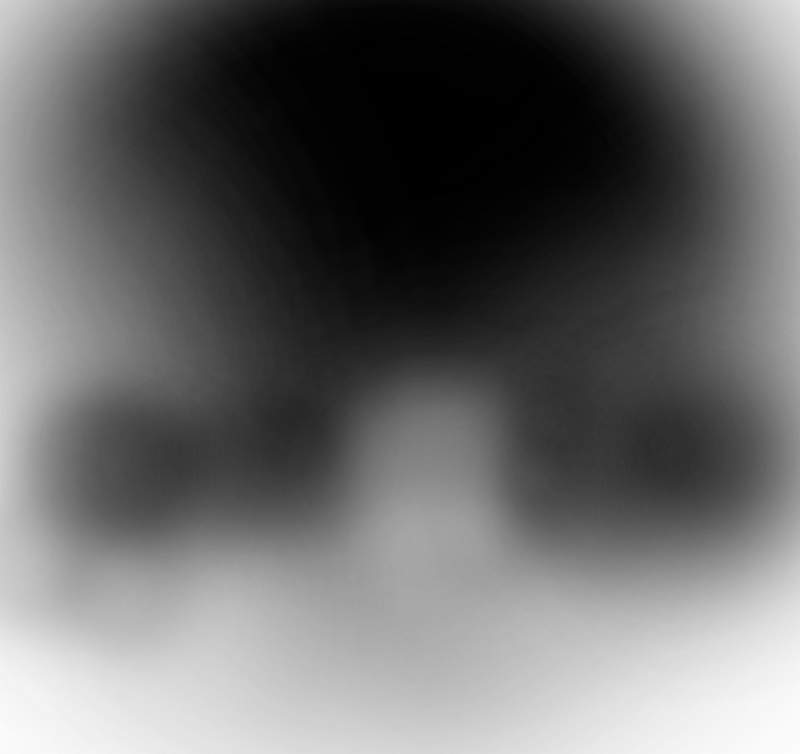
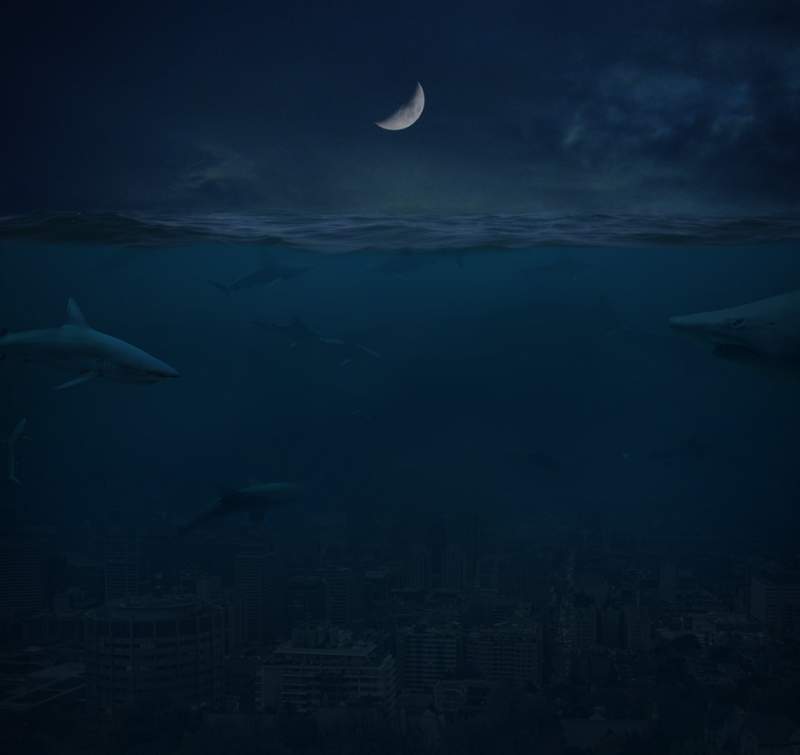
Create a Curves adjustment layer on top of the layers and decrease the lightness. Paint on the middle and leave the dark effect visible stronger at the edges.
Step 25
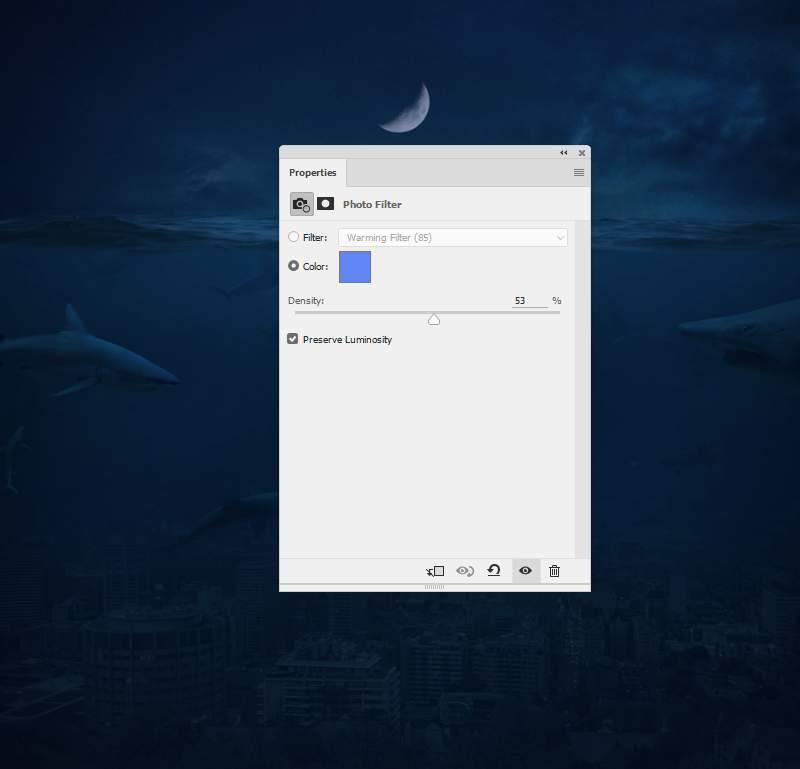
Add a Photo Filter adjustment layer and pick the color #5f86f5 .
Step 26
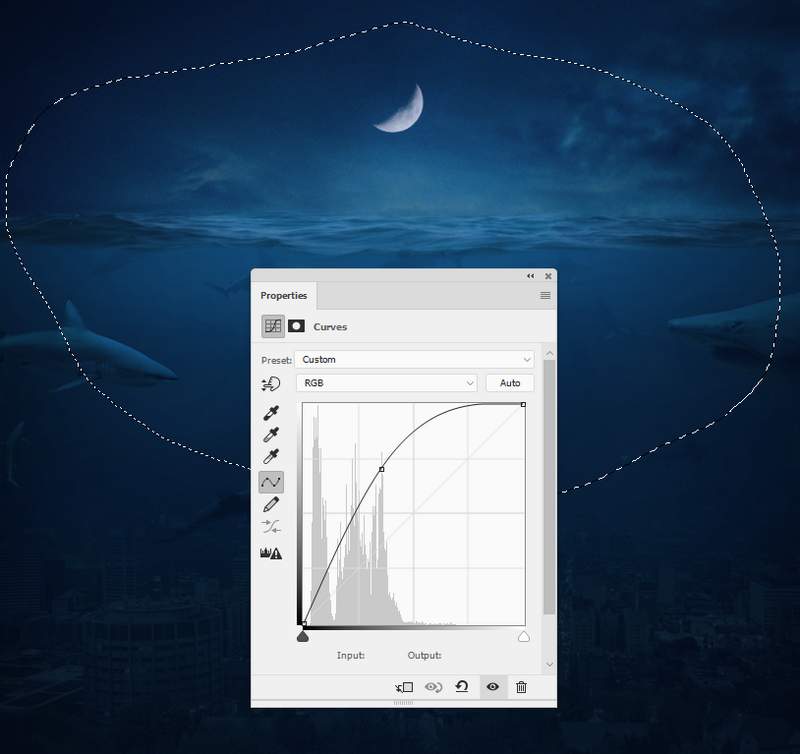
Make another Curves adjustment layer to bring more light to the top middle of the scene. Use a soft black brush to paint around the edges so they won’t be affected by this adjustment layer.
And We’re Done!
I hope that you enjoyed the tutorial.


