In this Photoshop tutorial, you will learn how to create a motion blur effect for your photograph.
Final Image
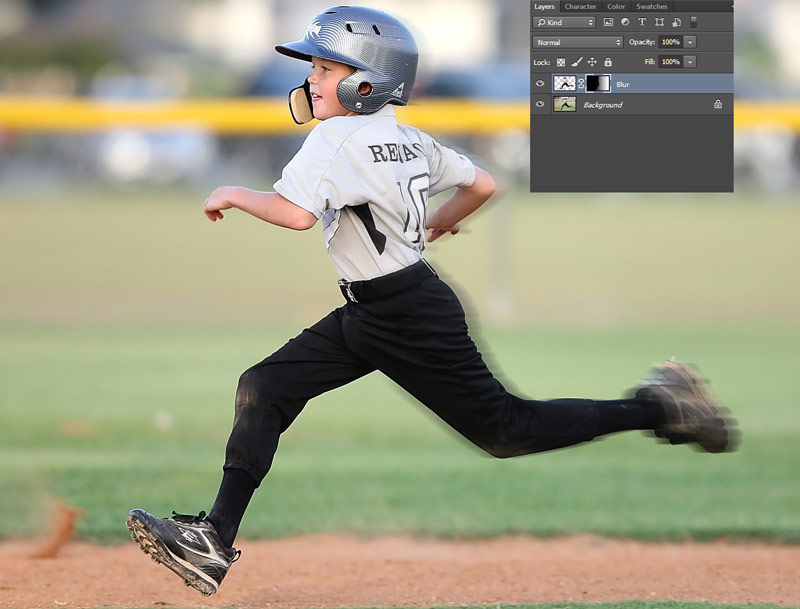
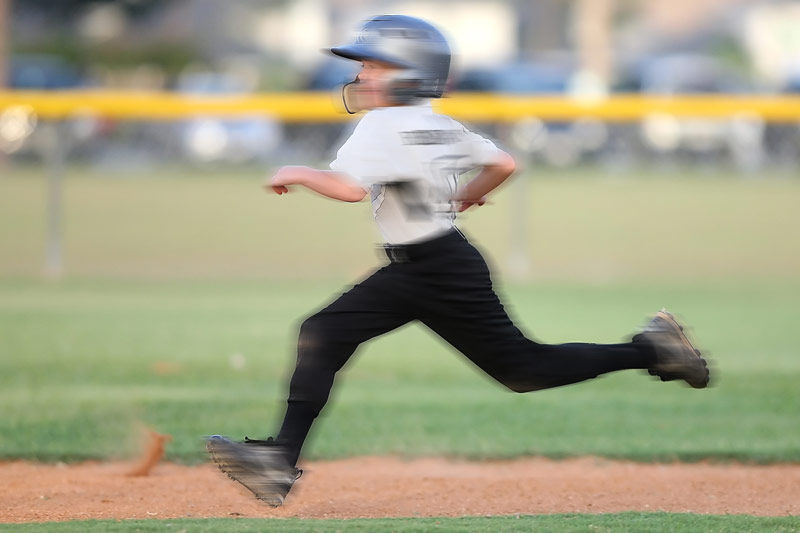
As always, this is the final image that we’ll be creating:
Tutorial Details
- Program: Adobe Photoshop CC2015
- Estimated Completion Time: 30 minutes
- Difficulty: Beginner – Intermediate
Resources
Introduction
Motion blur is the streaking effect that occurs when objects are photographed moving rapidly, or at a long shutter speed.
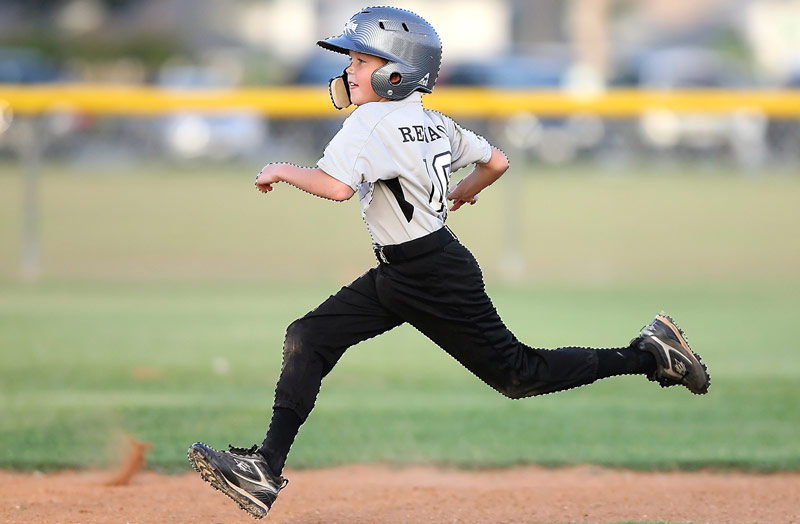
Often, you’ll want to capture something moving (like the child running in the example below) using a fast shutter speed, to guarantee you get your subject in focus. That can, unfortunately, take away the effect of the motion that blur helps convey. In some cases, it can be useful to add that blur back in, in post-production.
Here, we’ll show you a couple of methods of adding motion and interest using blur.
Step 1
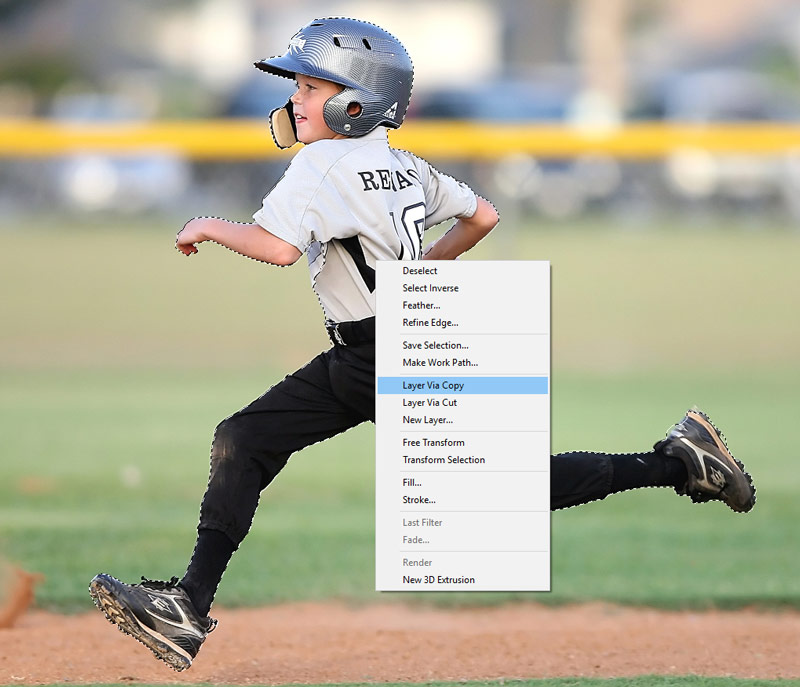
Select the object you want to apply motion to use the Quick Selection, Lasso or Pen Tool.
Step 2
Copy the selection to a new layer.
Step 3
Go to Filter > Blur > Motion Blur.
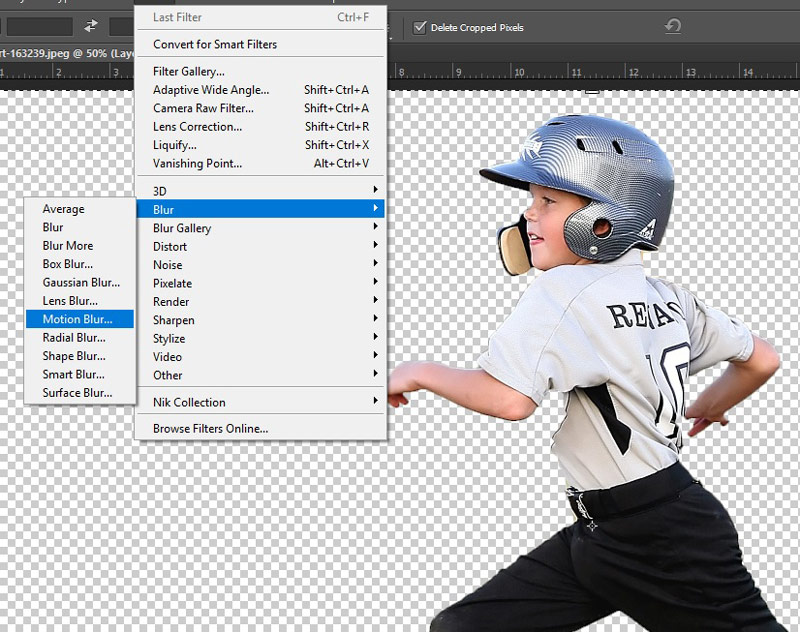
You can use Angle to change the direction of the blur, so in our case we want it to move from right to left.

Adjust the Distance slider until you have the desired length of blur lines.
Step 4
Your photo should now look something like this.
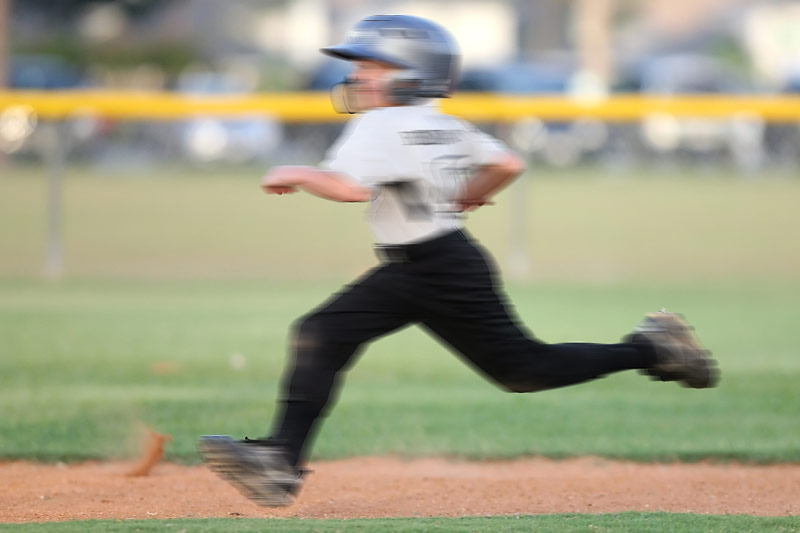
If you want to increase in the intensity of the blur, you can duplicate the layer a few times. If you do this, merge the layers into one again afterward.
Step 5
Add a layer mask to your blur layer and either brush out the blur that isn’t needed or, if you want to make sure it’s more gradual, use a gradient.
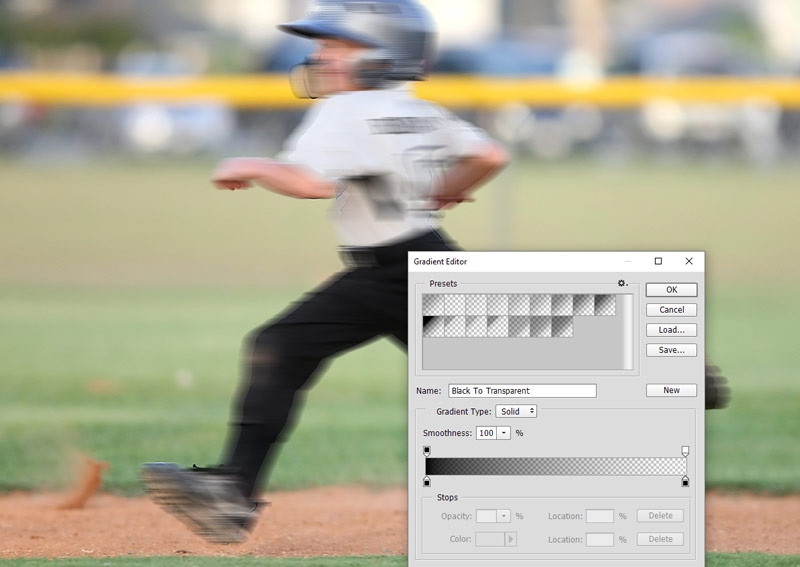
Tidy up with a brush afterward for any obvious areas like the face.
More Controlled Blur
If you’d like to have more control over how you use blur, you can try this method.
Step 1
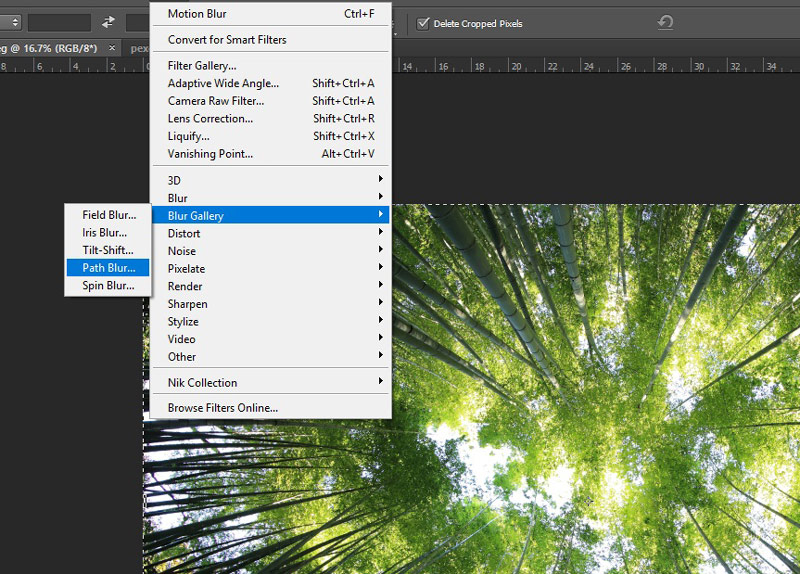
Duplicate your background and go to Filter > Blur Gallery > Path Blur.
Step 2
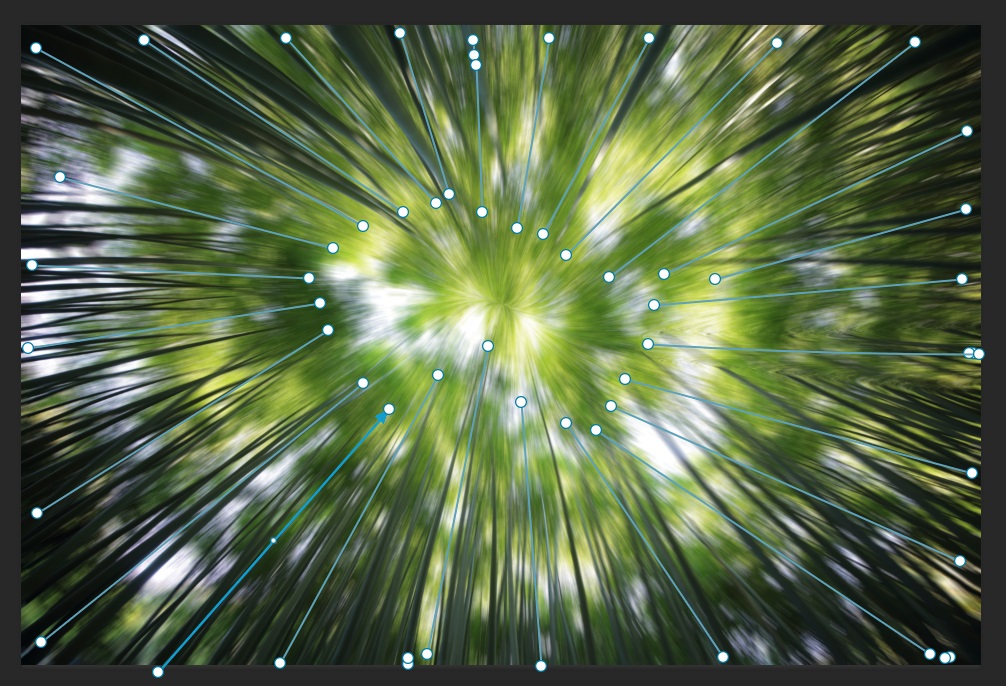
Clicking on the image will create a point. You can then drag a line out to the center of the image and click again to release it. The blur will then replicate the same path. Replicate this around the image, staying away from the very center.
Step 3
When you’re done, hit okay and add a mask to your blur layer. Using a soft brush, brush out the blur in the middle of your image.
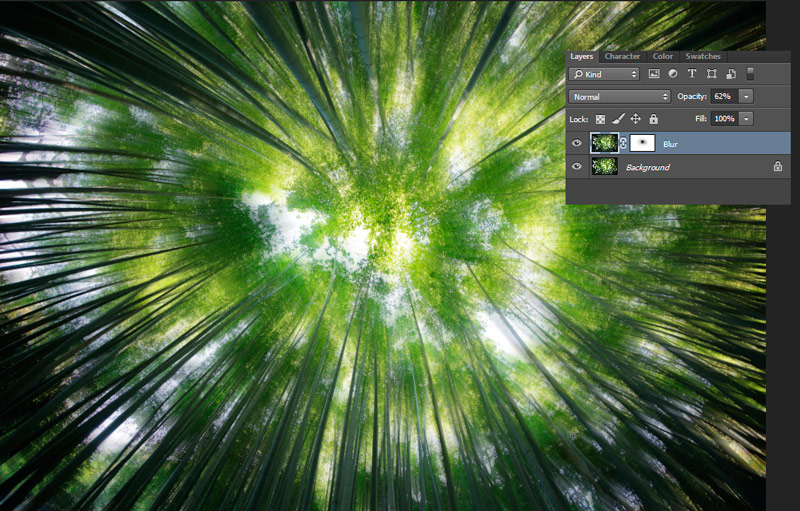
Drop the opacity on the whole layer to around 60%.
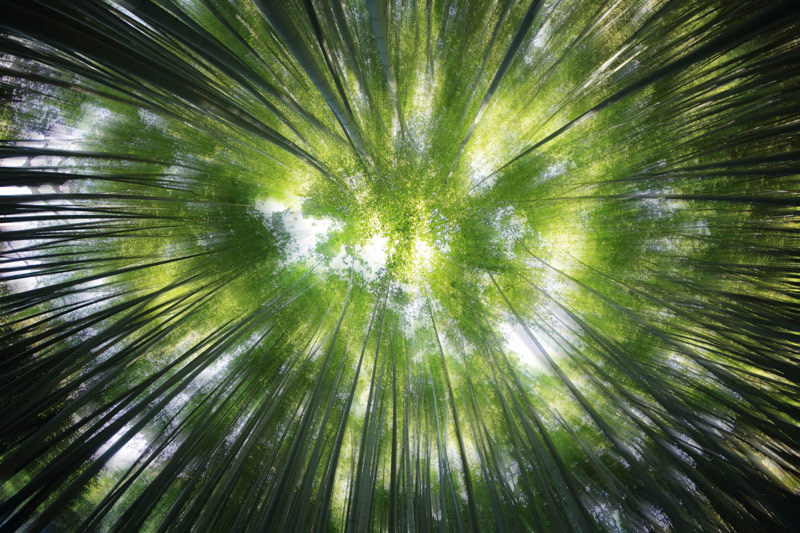
And We’re Done!
This technique is often called a zoom blur and can be a great effect for livening up photographs or for creating bespoke backgrounds to use with other images.