
In this Photoshop tutorial we will create a pixel explosion effect. We will create our own custom brush for achieving the explosion effect and add a couple of adjustment layers.
Final Image
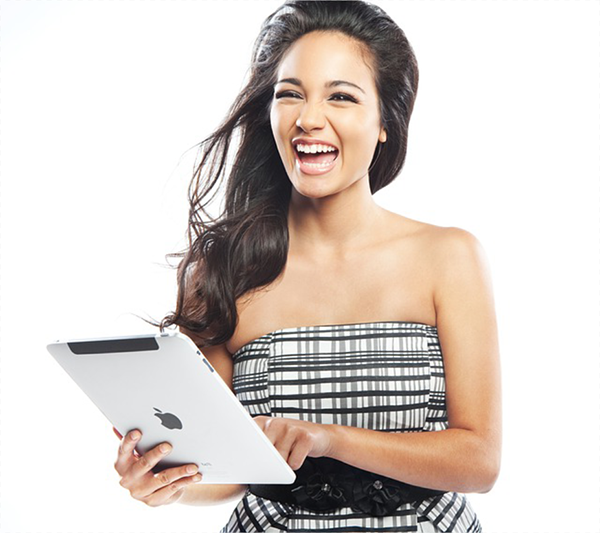
As always, this is the final image that we’ll be creating:

Tutorial Details
- Program: Adobe Photoshop CS3
- Estimated Completion Time: 40 minutes
- Difficulty: Beginner-Intermediate
Resources
Step 1
In this tutorial we will How to Create a Pixel Explosion Effect in Photoshop 11 that can be easily applied to your photos.
Open the file “Girl”. This is the base on which we will create our pixel explosion effect. Before we start working on the effect we will flip the image horizontally – this way we will have the iPad on the right and the explosion on the left. Go to Image > Image Rotation > Flip Canvas Horizontal to flip the image.
Step 2
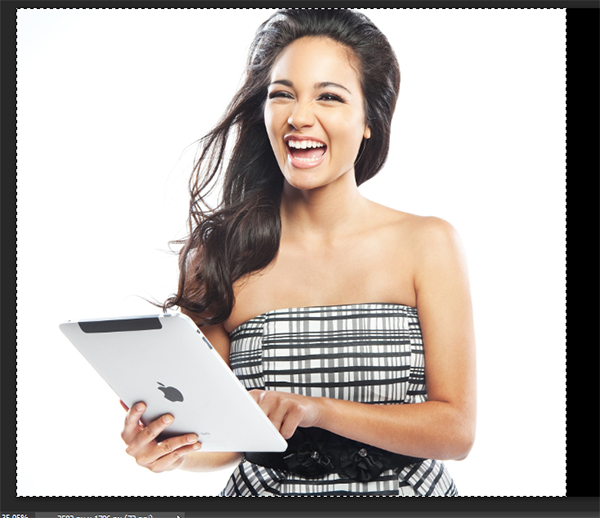
We will need more space for our pixel explosion to fit in. Let’s resize the canvas. Select the Crop Tool (C) and drag the right handle to resize the image to the right as shown below.

Step 3
Use the Rectangular Marquee Tool to create a selection around the left white rectangle of our photo (and ignore the black area).
Step 4
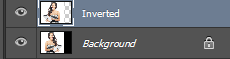
Press Ctrl + J to extract the selection on a new layer and name this layer “Inverted”.
Step 5
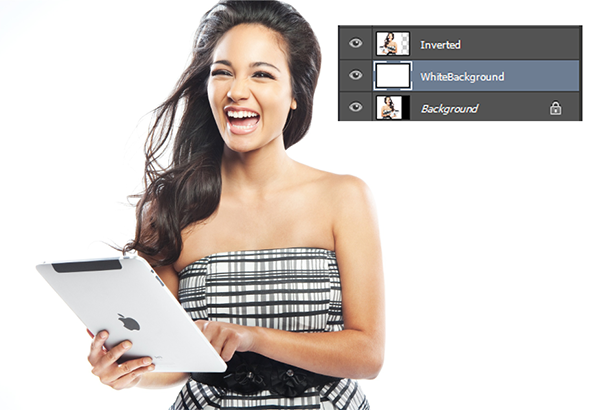
Create a new layer (Ctrl + Shift + Alt + N) and fill it with white(Shift + F5). Place this layer below the “Inverted” layer. As you can see by doing this we will hide the ugly black rectangle that appeared during the resizing of our image.
Step 6
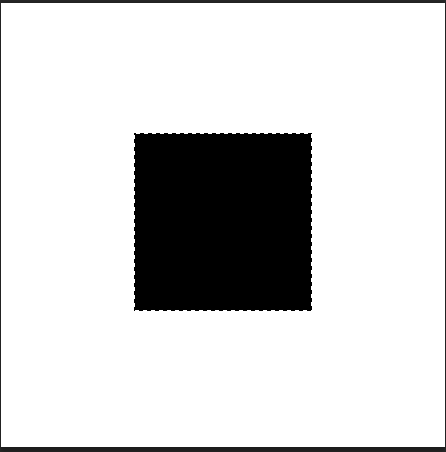
Now we will create a custom brush for our pixel explosion effect. Create a new (temporary)document (Ctrl + N) 512x512 pixels. Select the Rectangular Marquee Tool (M) and hold shift while creating a square selection. Press D to set the colors to their defaults and press Alt + Backspace to fill the rectangle with white.
Step 7
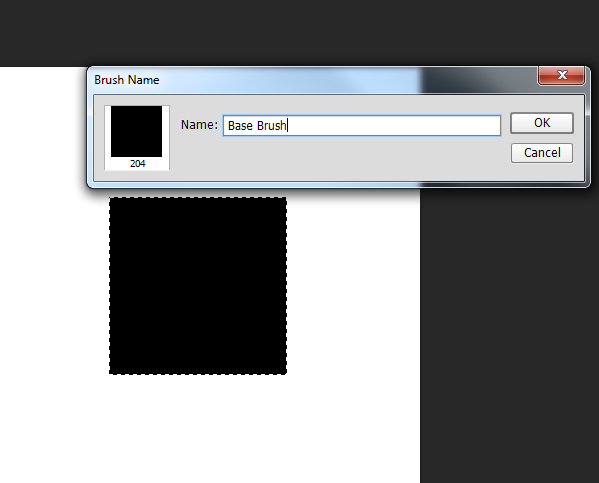
Choose Edit > Define Brush Preset and give a name to this brush (“Base Brush“ in my case). Press Ok when you’re done. You can also press Ctrl + D to deselect everything.
Step 8
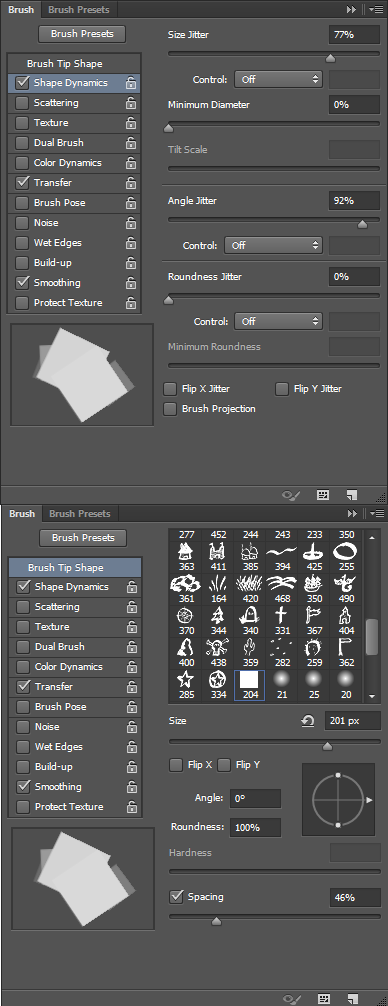
Open the Brush palette (F5) and add some size and angle dynamic behavior as shown below. Next go to Brush Tip Shape tab and increase the Spacing to 46%.
Step 9
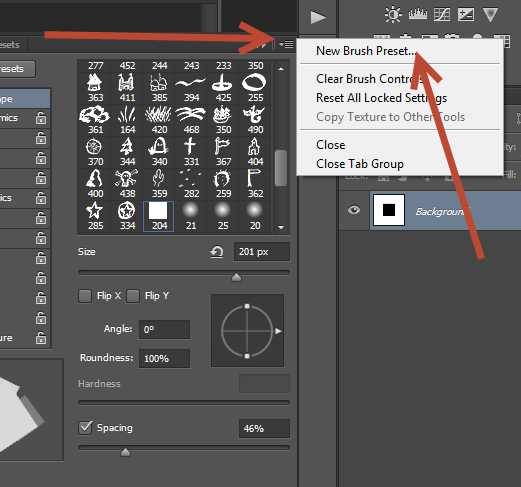
Save this brush by clicking on the small arrow icon (found in the right upper portion of the brush palette) and choose New Brush Preset. Name the brush “Pixel Explosion” and click ok. Close this temporary document and go back to our main document. Don’t forget to save the document (Ctrl + S) just in case something unexpected (like a power failure or a Photoshop crash) happens.
Step 10
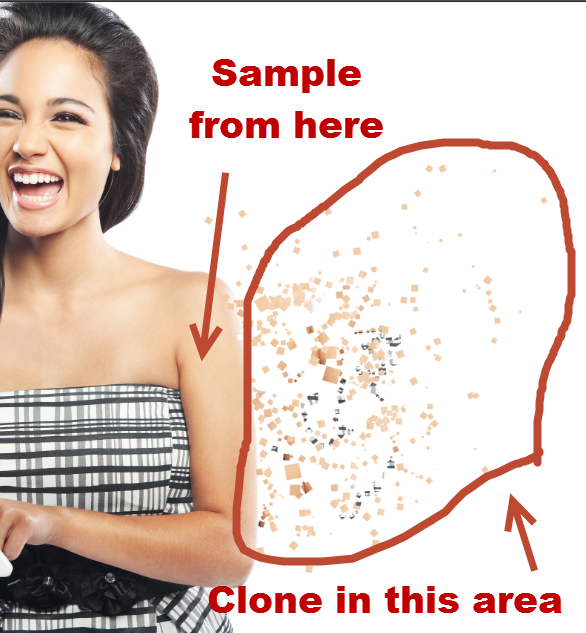
Create a new layer (Ctrl + Shift + Alt + N) and select the Clone Stamp Tool (S).
From the Brush Presets palette (Window > Brush Presets) choose the pixel explosion brush we created in the previous steps.
Alt-click somewhere on the right arm (as viewed from our perspective) to sample and go to the right of the arm and start cloning (simply hold the mouse button and draw as you would with a regular brush).
Lower or increase the size of the brush to add more randomness but keep the opacity at 100%.
Step 11
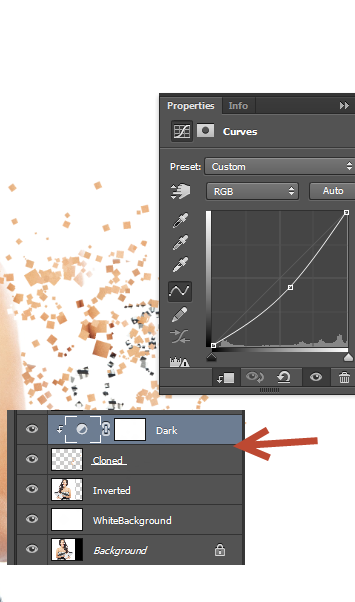
Create a new Curves Adjustment Layer (Layer > New Adjustment Layer > Curves) and drag the curve down to darken. Clip the Curves Adjustment Layer to the cloned pixels from step 10 by holding the Alt key and clicking between the two layers in the layers palette.
Adjustment layers emulate the effect of image adjustments (found in Image > Adjustments > …) but have the advantage of not being applied permanently. Adjustment Layers can be turned on or off, deleted, have a custom opacity and a custom blending mode. By using adjustment layers you will edit your image in a non-destructive way.
Step 12
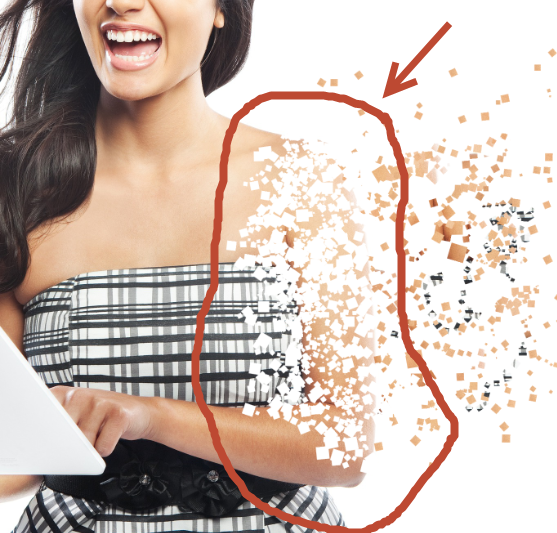
Now let’s create the missing pieces from the girl’s arm and dress.
Create a new layer (Ctrl + Shift + Alt + N) and select the Brush Tool (B). Choose white as foreground color and paint with white (and our custom pixel explosion brush selected) over the girl’s arm as indicated below.
Vary the size of the brush slightly to achieve a more random effect but always keep the opacity at 100%.
Step 13
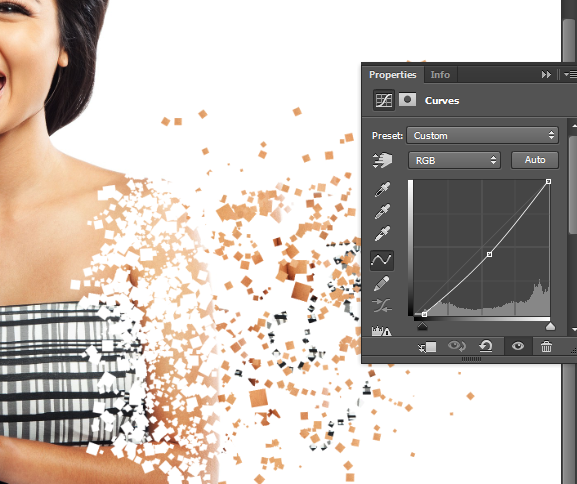
We are almost done! Let’s improve the overall look of our scene by increasing the contrast and darkening the scene. Create a new Curves Adjustment Layer (Layer > New Adjustment Layer > Curves) and use the settings shown below.
As you can see dragging the left slider to the right will increase the contrast and dragging the curve down will darken the image.
Step 14
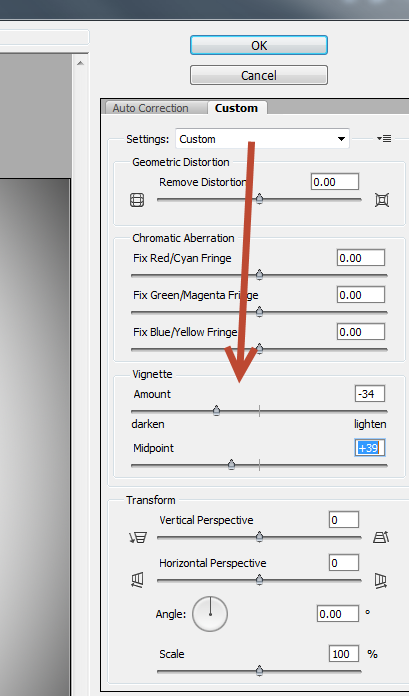
As a final step let’s create a vignette effect.
Create a new layer (Ctrl + Shift + Alt + N) and fill it with white Shift + F5).
Choose Filter > Lens Correction and go to the Custom Tab. Use the settings indicated below to create a nice symmetric vignette.
Press OK and change the blending mode of the vignette layer to Multiply. As you can see the white color disappears leaving only the black border around the photo.
And We’re Done!