In this Photoshop tutorial I’ll show you how to create a clean and simple iOS app interface for a fictitious reading app.
We’ll start totally from scratch and I’ll walk you through the process of creating a structured and organised app interface including imagery combined with stylish typography and basic navigation.
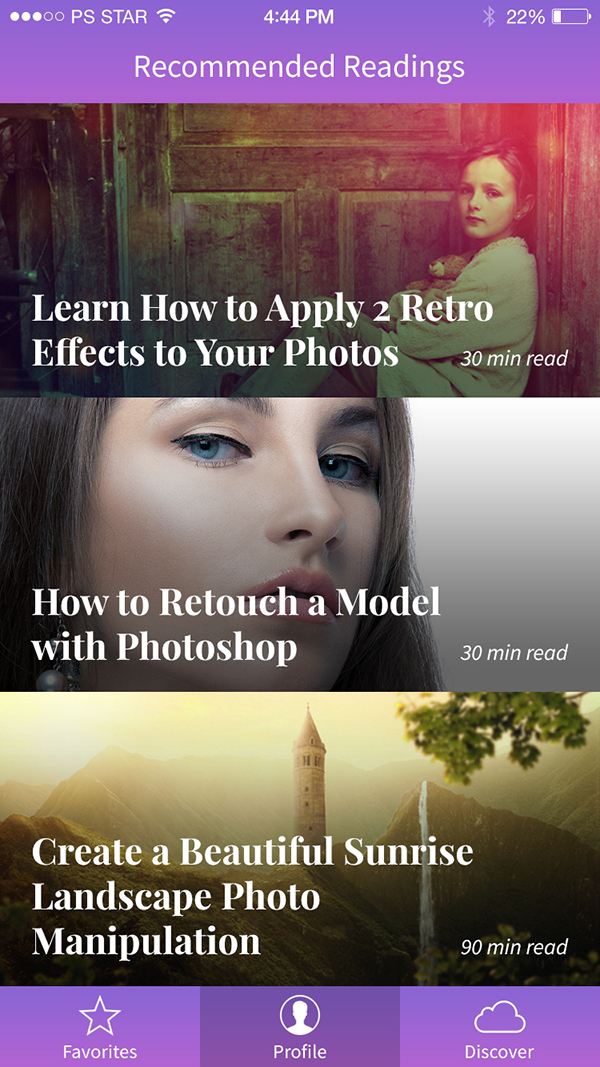
Final Image
Tutorial Details
- Program: Photoshop CS3+
- Estimated Completion Time: 30 minutes
- Difficulty: Beginner
Resources
- Free Source Sans Pro Font
- Free Playfair Display Font
- Free star icon
- Free user icon
- Free cloud icon
- Free iOS 8 GUI PSD (iPhone 6)
- Free iPhone 6 mockups
Step 1
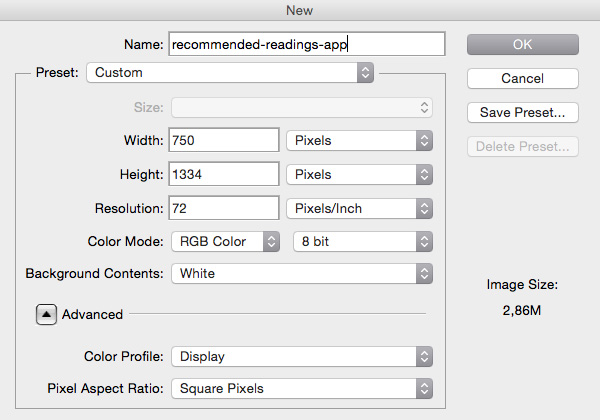
Lets get started by creating a new document in Photoshop. Hit CMD/CTRL+N and set the width to 750px and the height to 1334px, it’s the resolution of iPhone 6.
Step 2
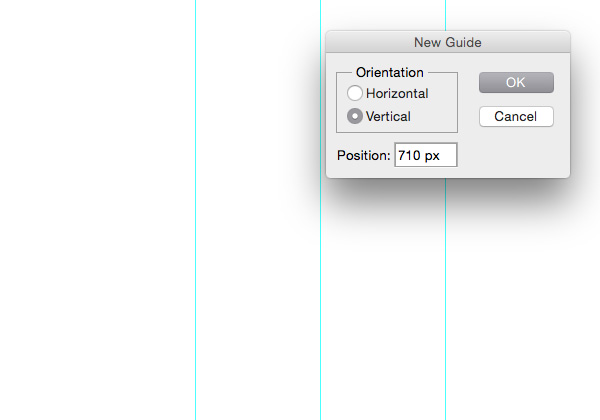
Now it’s time to map out some vertical guidelines that will help us make our interface aligned and structurized. Go to View > New Guide… and set following vertical guidelines: 40px, 250px, 375px, 500px and 710px.
Step 3
Now create a new layer group (Layer > New > Group…) called “Top Bar” and grab the Rectangle Tool (U) and draw a 750x129px sized rectangle shape.
Place it at the very top of the document and right click the mouse button on its layer to choose Blending Options... from the menu.
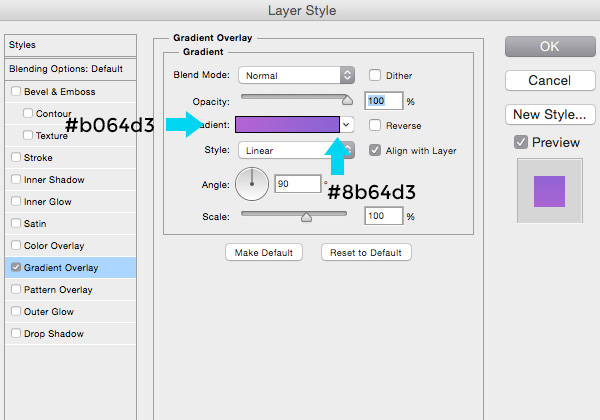
Step 4
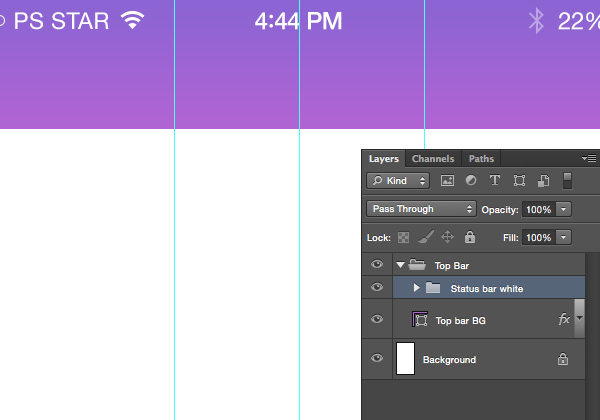
Now go ahead and download free iOS 8 GUI PSD (iPhone 6) and drag the Status bar black group to your document and re-use the status bar customising carrier, time and battery indicator.
Change the group name and elements color to white #FFFFFF by double-clicking on the layer thumbnails or changing their color using the Horizontal Type Tool (T).
Step 5
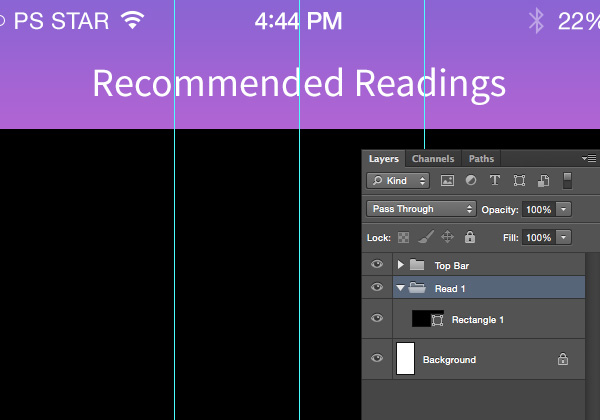
Now choose the Horizontal Type Tool (T), pick Source Sans Pro (Regular) 40px size font and type the app screen headline, in this case “Recommended Readings”, use white #FFFFFF for the color to ensure high contrast.

Step 6
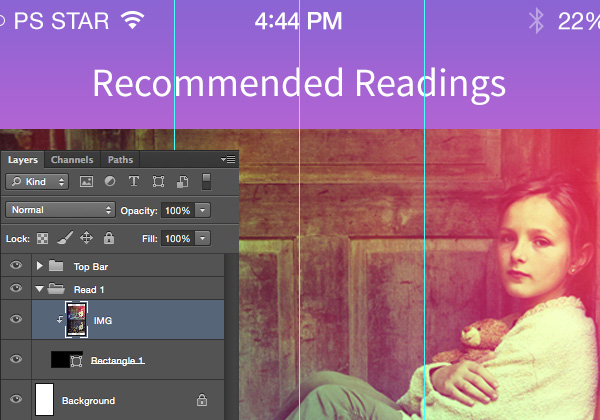
Minimise the “Top Bar” group by clicking the little arrow next to the group title and create a new group(Layer > New > Group…) called “Read 1”.
After that pick the Rectangle Tool (U) again and draw a 750x368px sized rectangle shape that will be our background base for the article.
Step 7
Now find an image to illustrate your article and drag it to your Photoshop document.
Place the image layer above the recently created rectangle shape and hold down the Alt key and mouse over the image thumbnail until you see a little arrow pointing down, then release the mouse button to create a Clipping Mask that shows only the contents placed in the parent base, in our case we’ll see the part of the image that overlaps the rectangle shape and nothing more.
I’ve used an image from Learn How to Apply 2 Retro Effects to Your Photos tutorial here on Photoshop Star.
Step 8
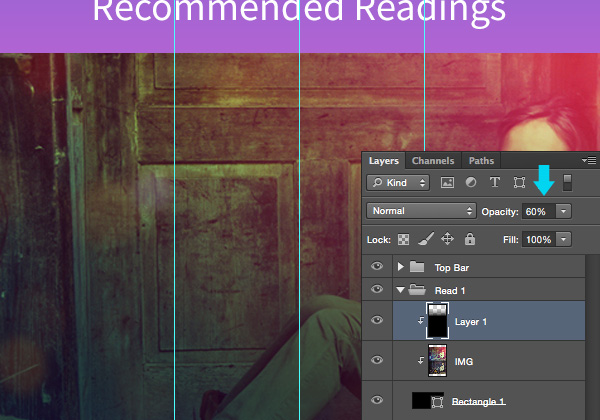
Always think about all scenarios that could happen with your app. Images might not load or will be very bright or dark so we need to play safe and include a fallback if something bad happens. For that reason lets add a black to transparent gradient that will be a base for the title of the article.
Pick the Gradient Tool (G) and make it black to transparent.

After that create a new layer (Layer > New > Layer…) titled “Shadow” and create a Clipping Mask as we did for the image. Then hold down the Shift key and draw a gradient from the bottom to the top of the image and reduce the layer Opacity to 60%.
Step 9
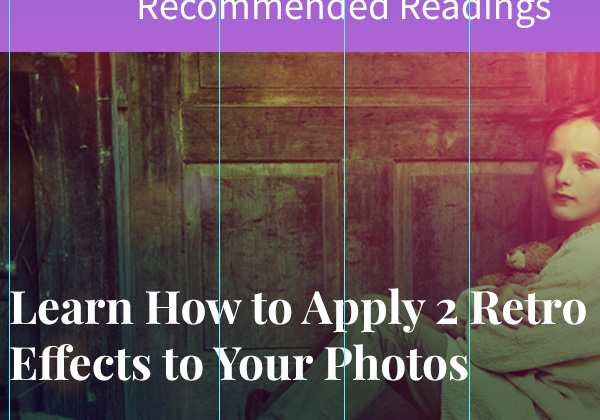
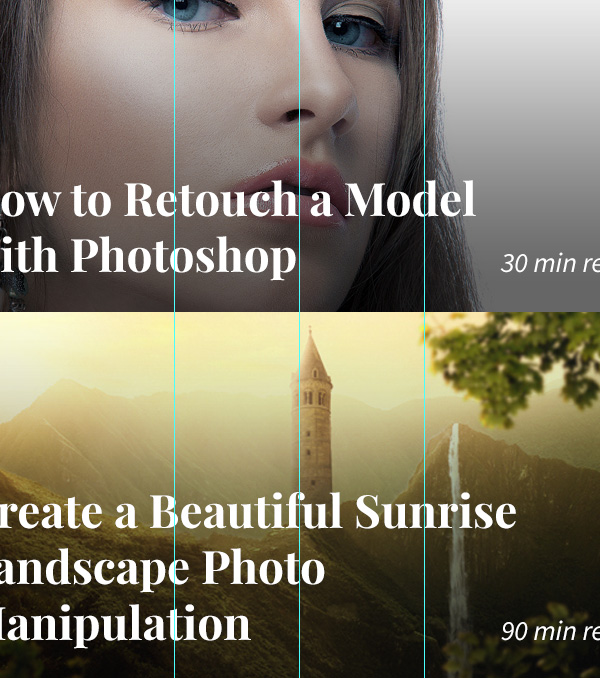
Now it’s time to place our recommended article title that has to be big enough for people to scan quickly and scroll down if they find it not interesting.
Pick the Horizontal Type Tool (T) again and choose Playfair Display (Bold) 46px size font and type the title of the article.
Make sure to place after the first vertical guideline leaving plenty of space on the left, also consider leaving space below the title so it looks clean and balanced.
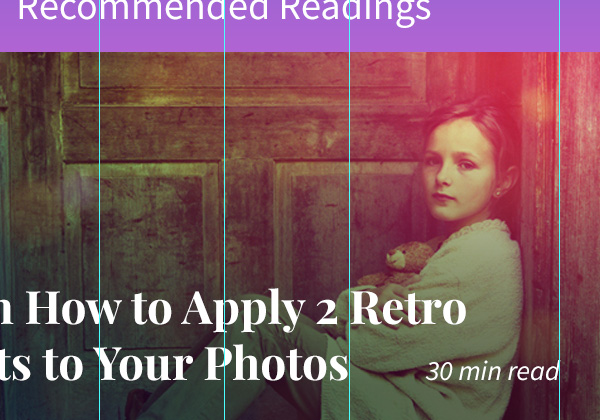
Using the same Horizontal Type Tool (T) pick Source Sans Pro (Italic) 28px size font and type the reading time of the article and place it on the right, right before the last vertical guideline.
Step 10
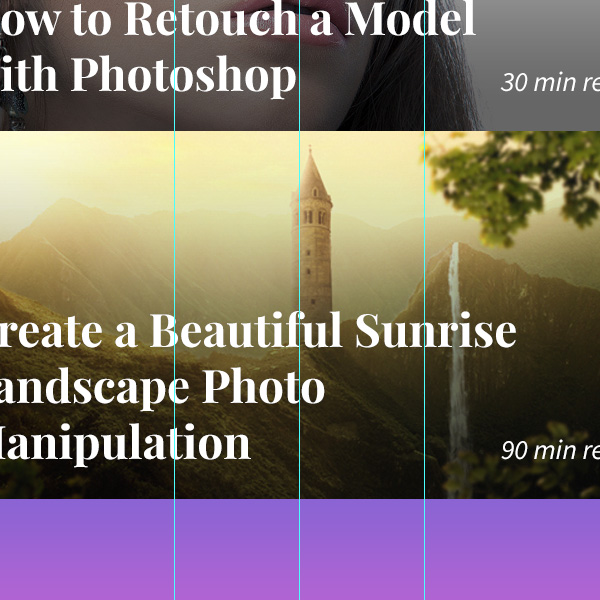
Now minimise the “Read 1” group by clicking the little arrow next to the group name and duplicate it twice hitting CMD/CTRL+J and place them below each other.
After that rename the groups to “Read 2” and “Read 3” to keep things more organised and customise your new articles with new images, titles and reading times.
I’ve used the following tutorials for titles, images and reading times:
Step 11
Finally we need to create a navigation that will allow users to navigate through our app.
Create a new group called “Navigation Bar” and open up the “Top Bar” group to find the rectangle shape layer, duplicate it by hitting CMD/CTRL+J and move it into the newly created group.
After that hit CMD/CTRL+T and resize your rectangle to fit the space between the last article group and the bottom of the document. In my case it’s 750x101px.
Step 12
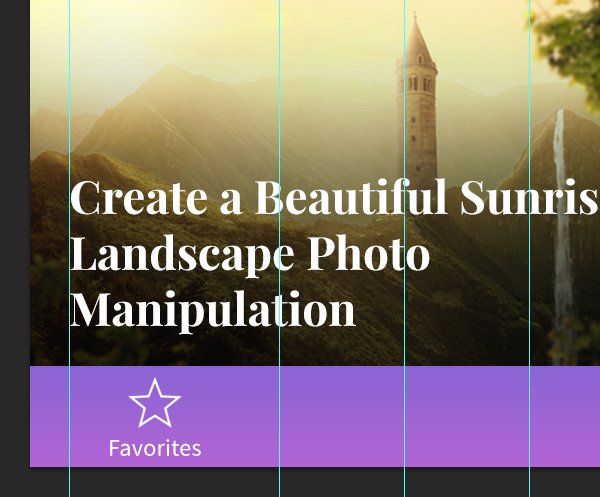
Go to Iconfinder and download free star icon.
Drag it into your document and place it in between the document corner and second vertical guideline.
Right mouse click on the icon’s layer and choose Blending Options… and apply the Color Overlay option filling the icon with white #FFFFFF.
Hit CMD/CTRL+T to resize the icon to 54x52px.
![]()
![]()
Step 13
Now pick the Horizontal Type Tool (T) again, choose Source Sans Pro (Regular) font, set size to 24px and type “Favorites” so people can make more sense of your icon in the navigation bar.
Place it slightly below the icon leaving a consistent amount of space above and below the elements.
Step 14
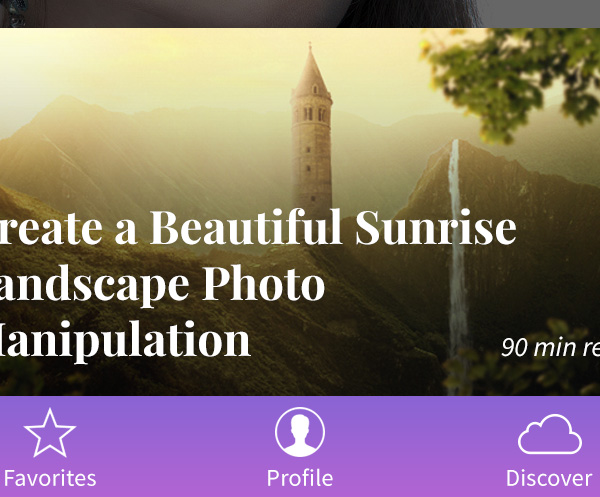
Repeat the previous step twice and create two more navigation links with free user and cloud icons. In my case I’ve used “Profile” and “Discover” as icon labels.
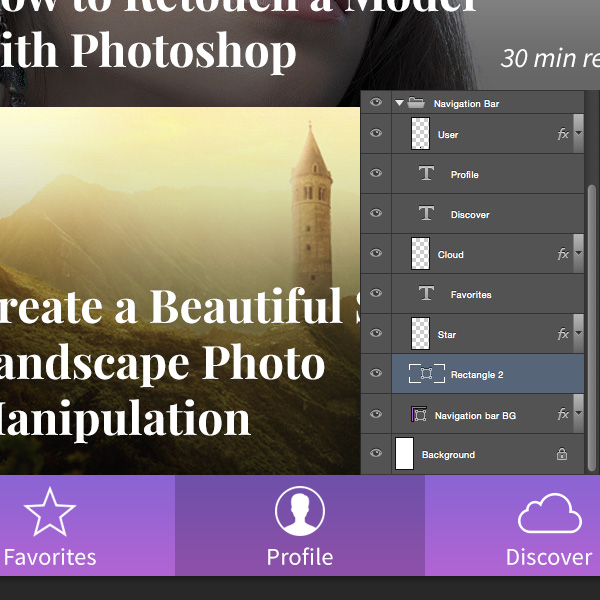
Step 15
One more thing to do to complete our navigation bar is to separate the active menu selection from the rest. As you may already have noticed, the Profile icon is filled with solid color where others are just lines. To make it more obvious lets make its background darker.
Take the Rectangle Tool (U) and draw a black #000000 rectangle between the second and fourth vertical guidelines.
Reduce its Opacity to 20% and there you have it, a nice selected menu.
Congratulations!
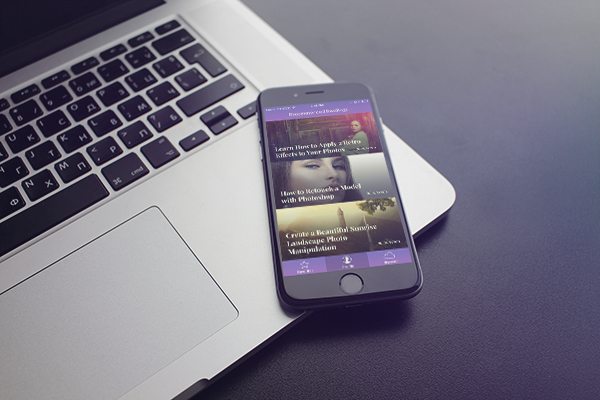
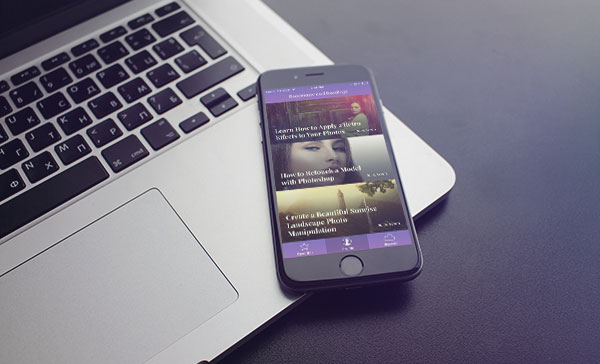
Congratulations! You’re done with your ‘Recommended Readings’ iOS app interface! To make it look even cooler, for presentations or your portfolio place it into one of these fancy and free iPhone 6 mockups.