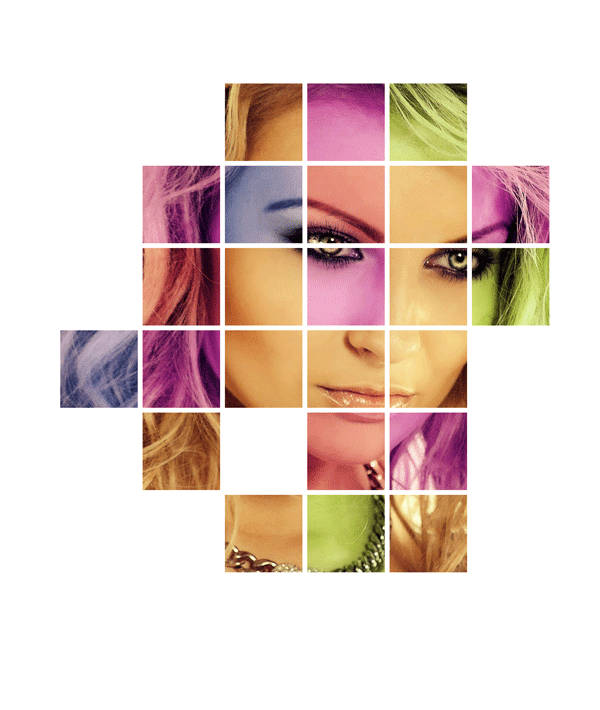
In the following Photoshop tutorial you’ll learn how to add a Grid effect to any photo. We will use selections and layer masks in order to achieve the grid effect.
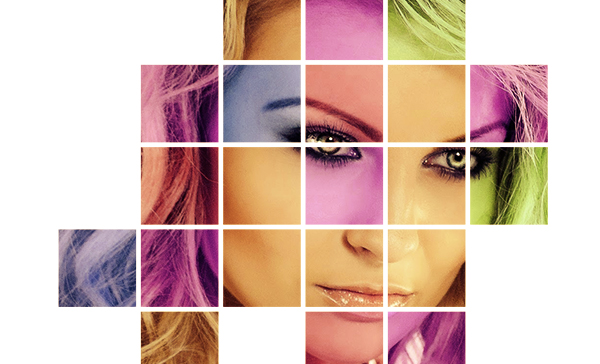
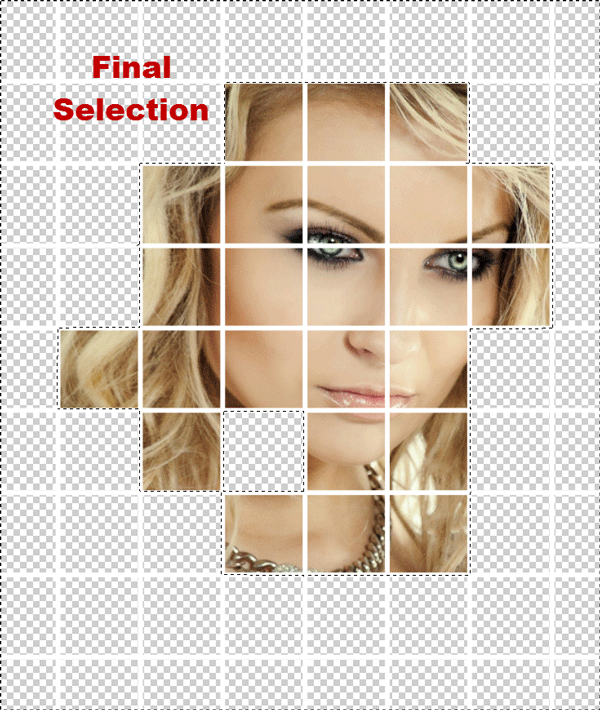
Final Image
As always, this is the final image that we’ll be creating:
Tutorial Details
- Program: Adobe Illustrator CS3
- Estimated Completion Time: 30 minutes
- Difficulty: Beginner-Intermediate
Resources
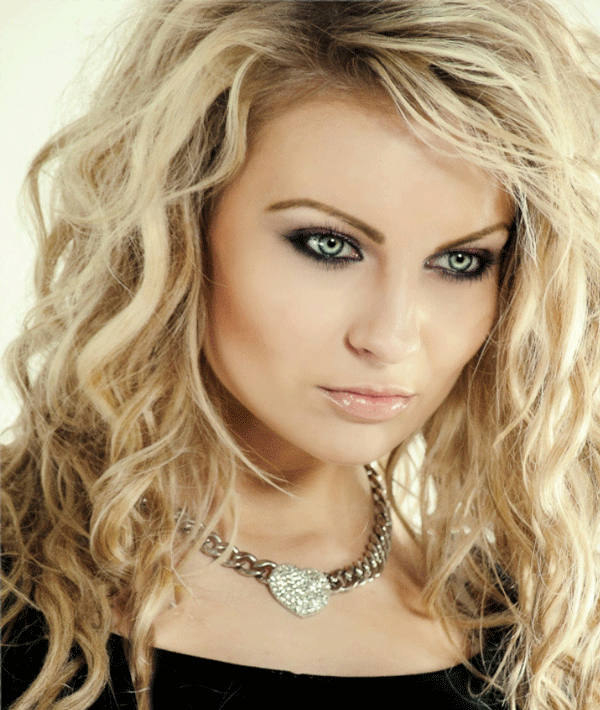
Step 1
Open the photo you want the grid effect applied to. It works best on portraits and faces but you can try whatever photo you want. Give a name to this layer (in my case I named the layer “Girl”).
Step 2
Now we will create a white grid. First create a new layer by pressing Ctrl + Alt + N. Now select the Single Column Marquee Tool and click once anywhere on the photo. You will see a 1px width vertical selection.
Step 3
Press D to set the background and foreground to default colors (black and white). If you press Ctrl + Backspace you will fill the selection with white. You should press Ctrl + D to deselect everything.
Step 4
Let’s duplicate this white vertical line multiple times. First press Ctrl + J to duplicate this line. Now press Ctrl + T to enter Free Transform. Hold the Shift key and press the right arrow 16 times to move the line 160 pixels to the right and press Enter.
Step 5
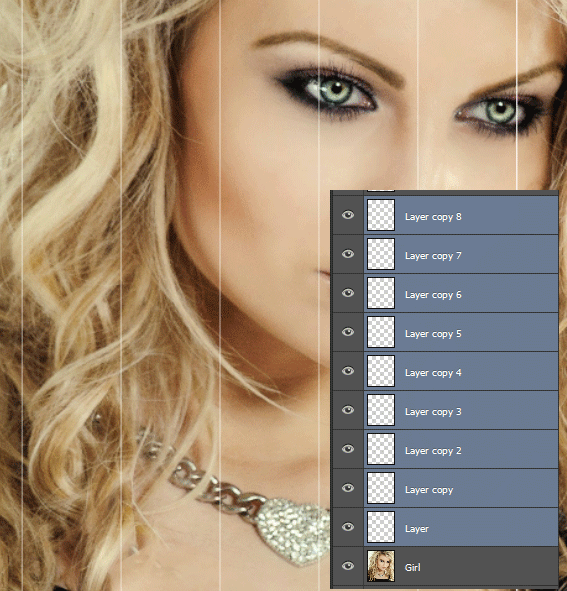
Now press Ctrl + Shift + Alt + T ten times in order to repeat the transform and duplicate command. Here is how our layer palette should look:
Step 6
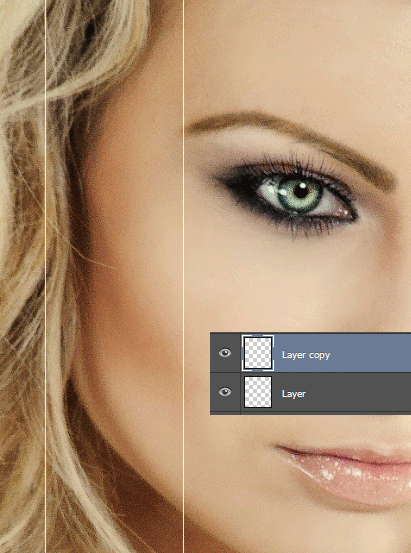
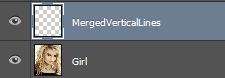
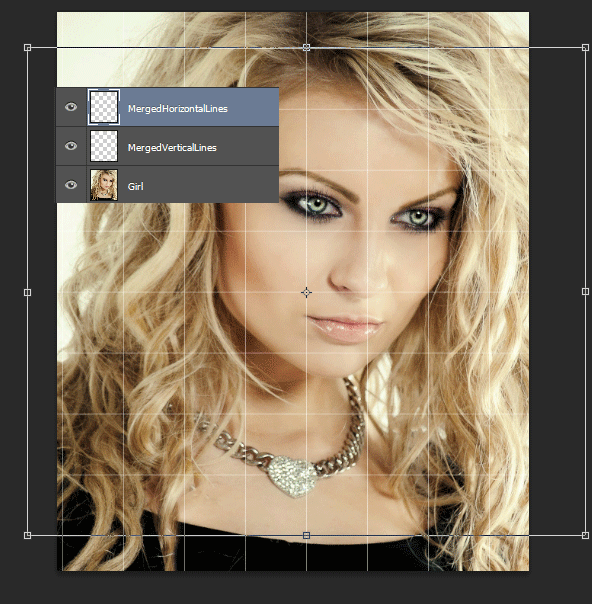
Select all the layers we created at step 4 and 5 (all the vertical white lines) and press Ctrl + E to merge them together. You can select multiple layers by holding Ctrl and clicking on each layer. Name the layer that results from merging “Merged Vertical Lines”.
Step 7
Duplicate the “Merged Vertical Lines” layer by pressing Ctrl + J. Press Ctrl + T to enter Free Transform and rotate the duplicate 90 degrees. Name the new layer “Merged Horizontal Lines”.
Step 8
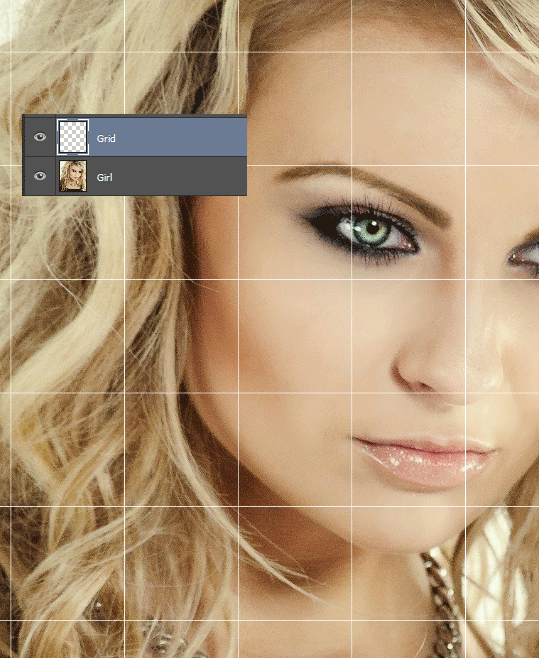
In this step we will select both “Merged Vertical Lines” and “Merged Horizontal Lines” by holding Ctrl and clicking on each layer. Now we’ll press Ctrl + E again to merge the two layers into a single layer. Name this layer grid.
Step 9
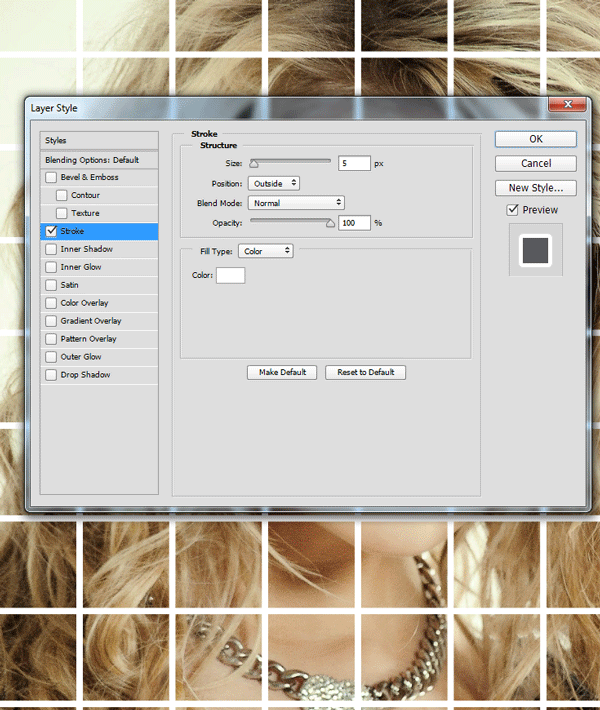
The grid we made is a little bit too thin. Let’s add some thickness to it. Double click the “Grid” layer to open the Blending Options window. Now check the Stroke checkbox and use a 5px white stroke as shown in the image below.
Step 10
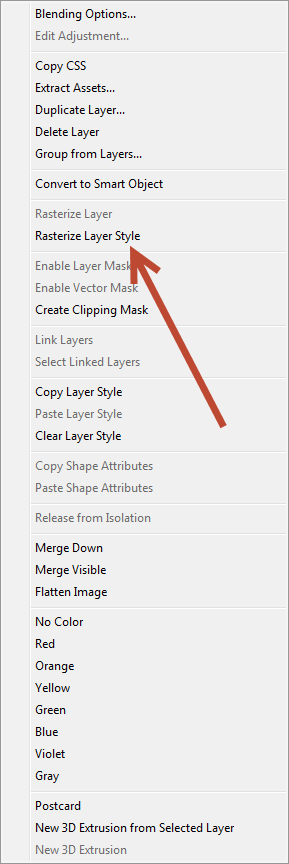
We are almost done with the creation of the grid. There is one more thing to do and that is to rasterize the stroke effect (rasterizing will transform the stroke effect into actual pixels). Right click the “grid” layer and from the drop down menu choose “Rasterize Layer Style”. Nothing will change with the image but you will notice the effect layer style disappearing from underneath the layer name.
Note: If you are not using CS6, you will have to add a new, empty layer above the grid layer. Select both the empty layer and the grid layer and merge them.
Step 11
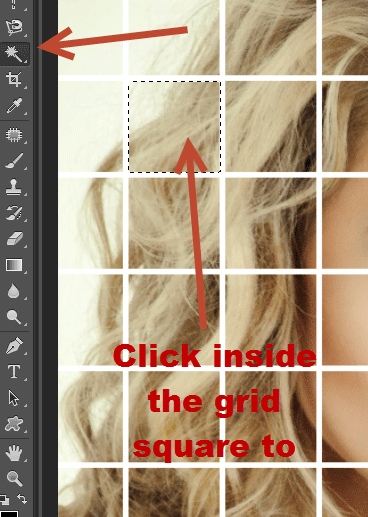
Now I’ll show you how to select a grid square. Select the Magic Wand Tool (W) and click once anywhere inside a grid square (but make sure that the grid layer is the active layer – just click once on it in the layer palette to make sure). Once you know how to select a square press Ctrl + D to deselect everything – we’ll use this in a later step.
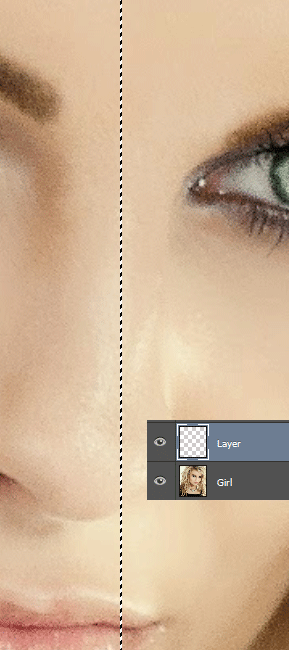
Step 12
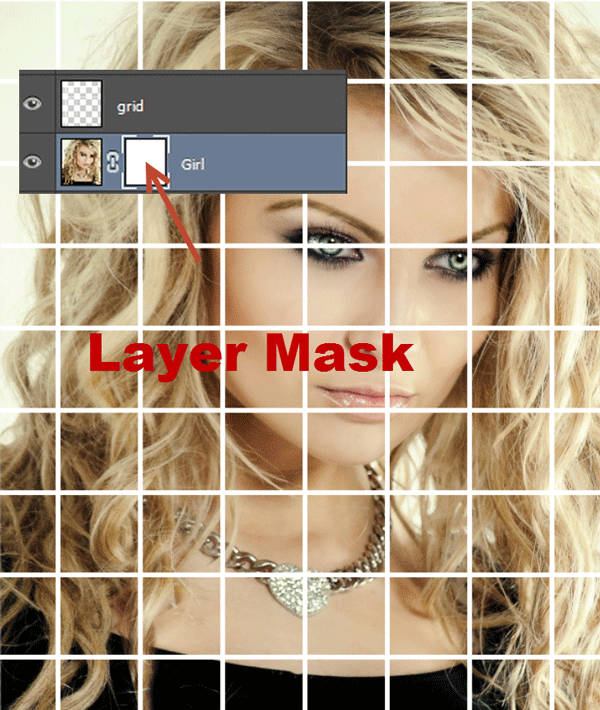
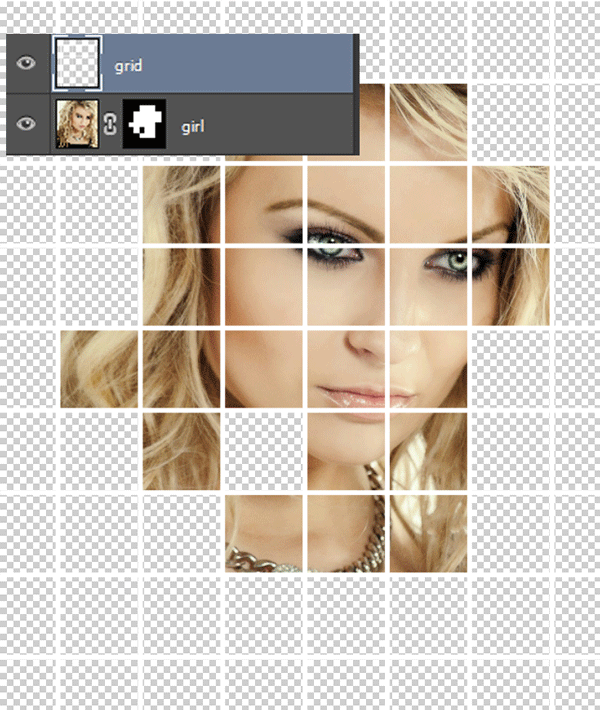
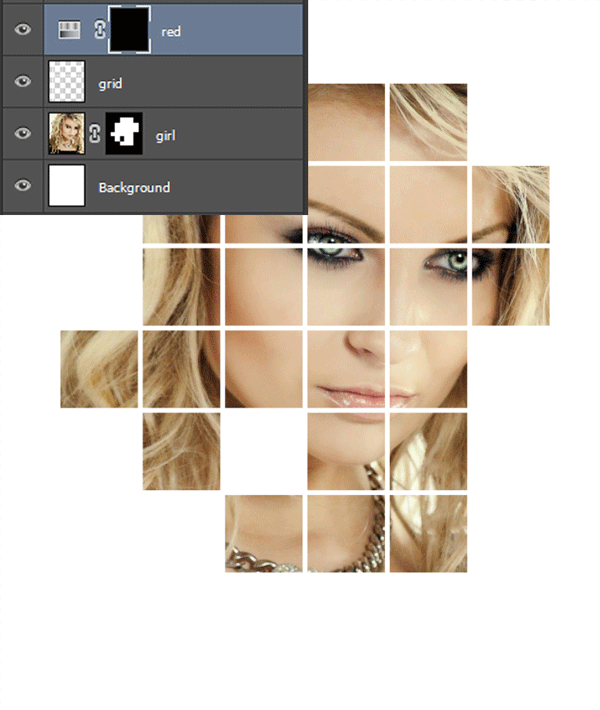
Add a layer mask to the “Girl” layer. We will use this mask to hide certain portions of the face with the help of the grid we created. If a layer mask is black the layer will be completely hidden and if it is white it is completely visible. If we paint over the layer mask with black we will hide the areas of the layer where we’ve painted. In order to add a layer mask go to Layer > Layer Mask > Reveal All.
Step 13
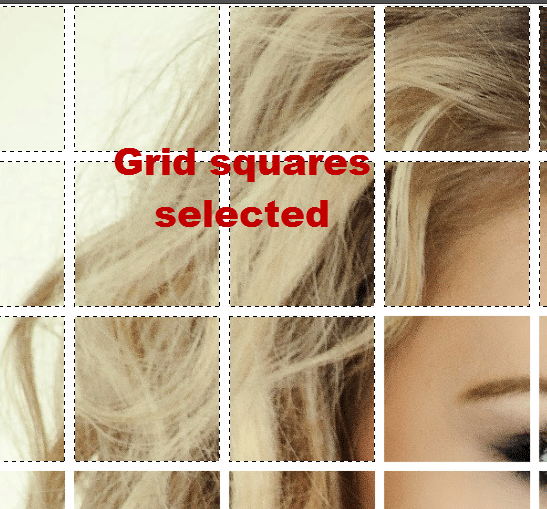
Your next task is to create a selection as shown below. Use the trick I showed you in step 11 to select grid squares (hold Shift while selecting the squares with the Magic Wand in order to add to the selection).
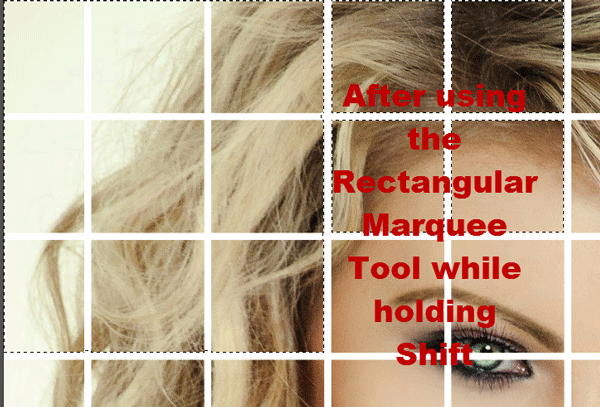
Once you’re done select the Rectangular Marquee Tool and hold shift to add the remaining grid lines that will have remained from selecting the grid squares.
Step 14
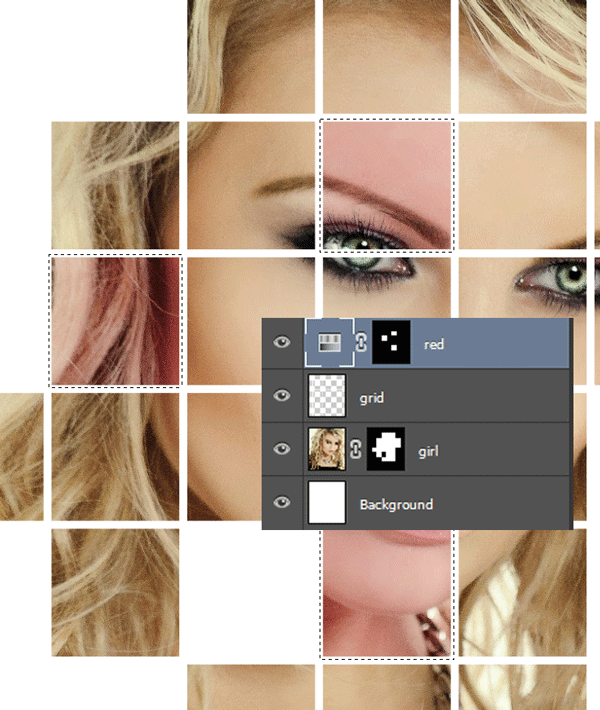
Now press D again to set the default colors and click once on the layer mask of the layer “Girl” to select it. Press Ctrl + Shift + I to invert the selection and press Ctrl + backspace to fill the selection with black. You should see a result like the one shown below.
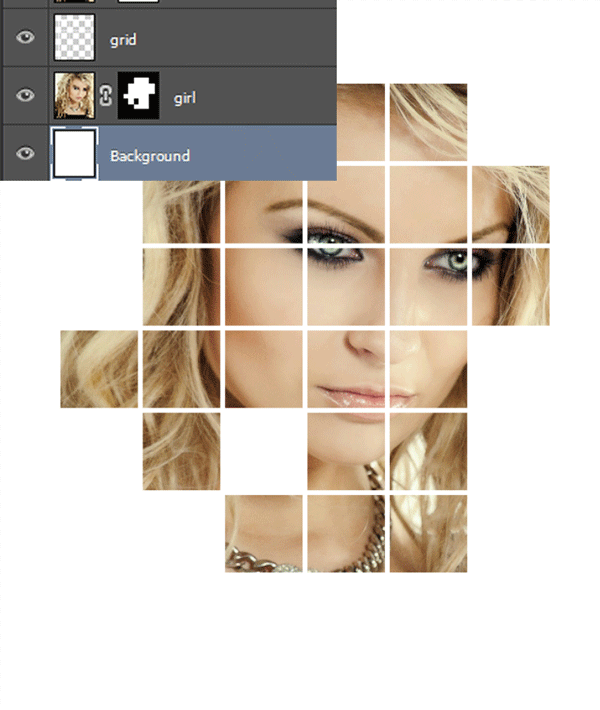
Step 15
Create a new layer by pressing Ctrl + Shift + Alt + N. Fill this layer with white (press D to set the default colors and Ctrl + Backspace to fill it with the background color). Move this layer below the girl layer in the layer palette. Because both the grid and the background are white we are able to achieve the effect shown below.
Step 16
Now it’s time to colorize the grid. Create Hue/Saturation Adjustment Layer ( Layer > New Adjustment Layer > Hue/Saturation) and drag the hue slider to -19 to colorize the image in red (you may achieve a different color depending on what photo you opened). Name this layer after the color it gives the photo (in my case “red”).
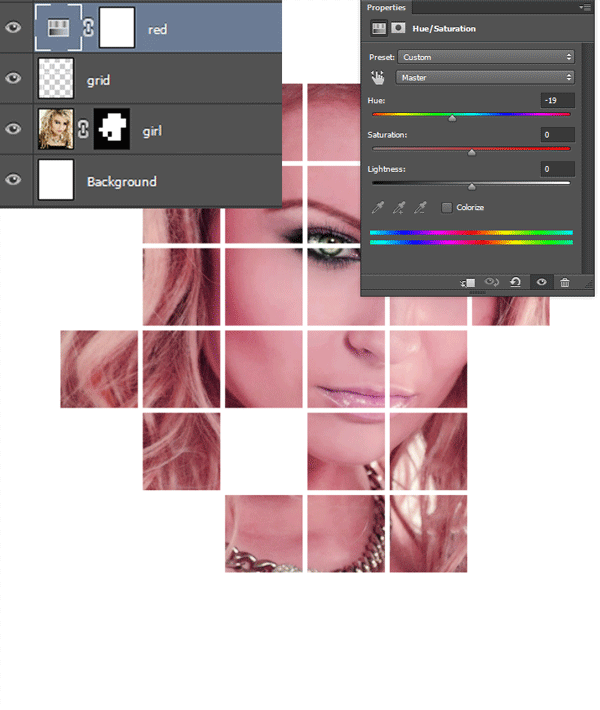
Step 17
Click once on the “red” layer mask in order to select it. Press D to set the default colors and press Ctrl + Backspace to fill it with black. The red effect should not be visible anymore.
Step 18
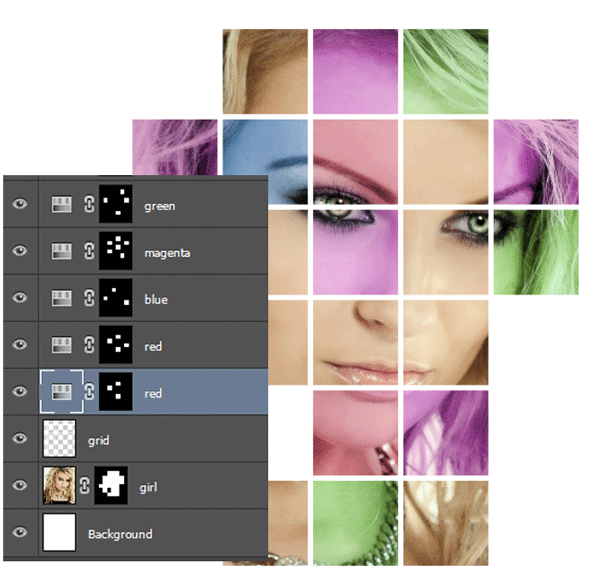
Click on the grid layer in order to select it. Choose the Magic Wand Tool again (W) and click on the grid squares you want the colorization effect to occur while holding Shift in order to add to selection. Now click back to the “red” layer mask and press Alt + Backspace to fill the selection with white thus revealing the colorization effect on the grid squares. Press Ctrl + D to deselect everything.
Step 19
Repeat steps 16 to 18 a couple more times for different colors (create a Hue/Saturation Adjustment layer and drag the hue slider to the selected color, fill the layer mask with black, click on the grid layer to make it active and with the Magic Wand tool select the grid square you want colorized, go back to the Hue/Saturation Adjustment Layer and press Alt + Backspace to fill that selection with white and reveal the colorization effect).
Step 20
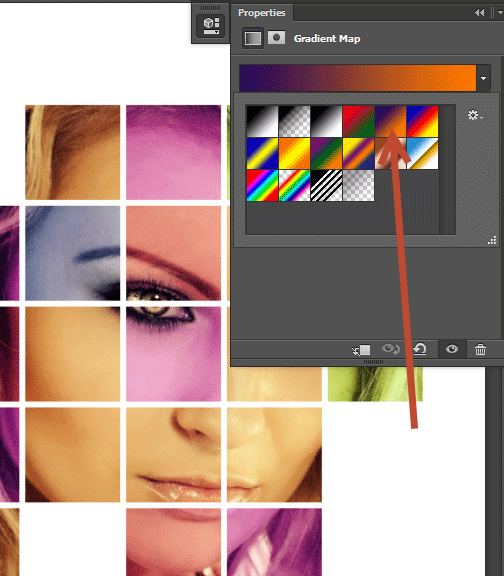
Finally create a Gradient Map Adjustment Layer ( Layer > New Adjustment Layer > Gradient Map) and choose the standard Blue To Orange gradient. Change the blending mode of the layer to Soft Light and lower the Opacity to 87%.
And We’re Done!