In this tutorial i will teach how you can create in a few steps the effect of liquid plastic on Photoshop.
Final Image

Resources
Step 1
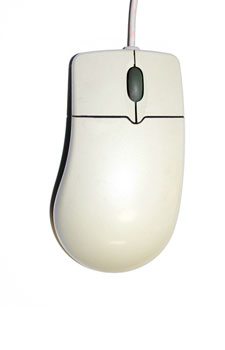
Open file. First thing which you need to do is to unlock the background layer. To do this, double click on the “Background” layer and name it “Mouse”. Move layer a little bit upper, then create new layer under “Mouse” layer named “Background” and fill it with white color
Step 2
Now get color sample from the bottom part of mouse by using Eyedropper Tool. I got color #c3bea3.
Step 3
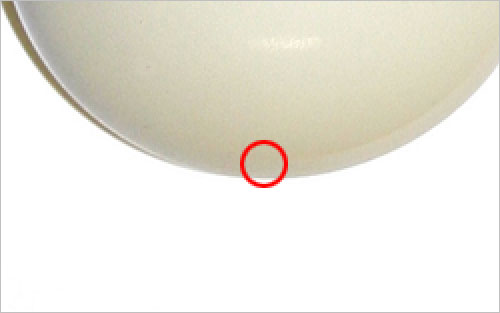
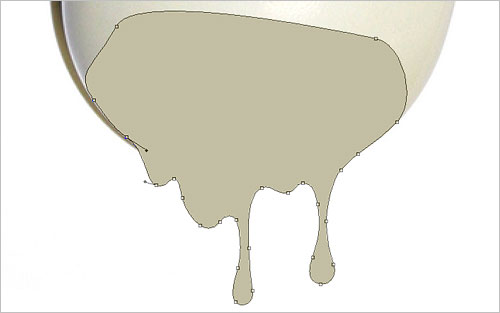
Select the Pen Tool (Shape layers mode) and try to create shape of falling droplets somewhere on the bottom part of mouse using the same color as we selected before.
Step 4
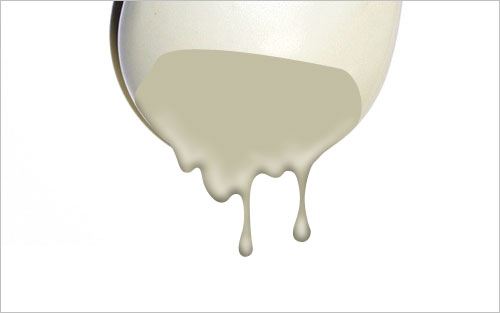
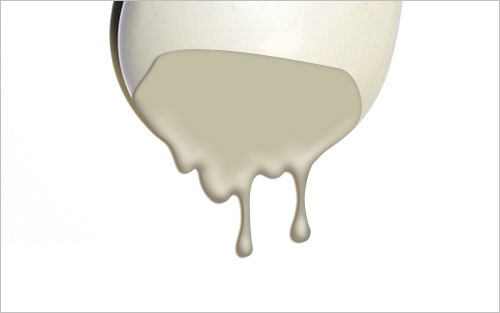
When our shape is done, just rasterize it with Layer > Rasterize > Shape. Then select the Burn Tool (Brush: 20px, Range: Highlights, Exposure: 40%) and make bottom parts of run a little bit darken.

Step 5
After that select the Dodge Tool (Brush: 25px, Range: Midtones, Exposure: 35%) and make small dodge work in places where the light should fall.
Step 6
Go to Layer > Layer Style and apply the following layer styles to this layer:

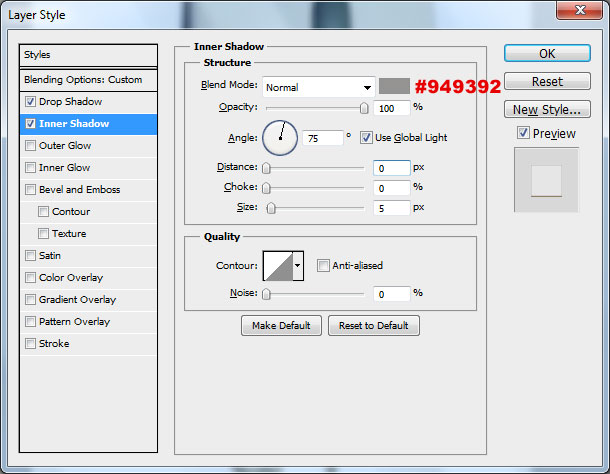
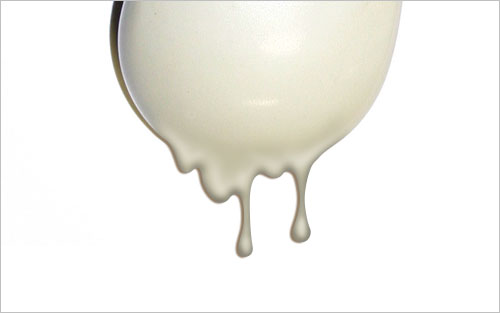
You should get this effect:
Step 7
Create a new layer above and merge it with previous to get all the effects in one layer. After that select the Eraser Tool and soft round brush about 50 pixels to remove visible border between current layer and mouse.
Step 8
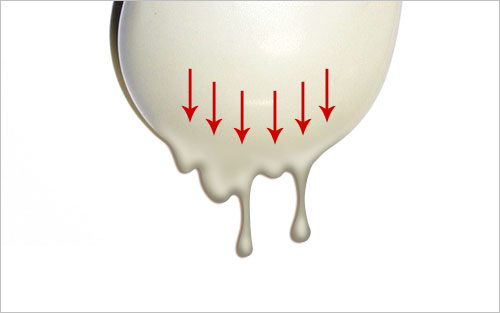
Then select the Dodge Tool (Brush: 60px, Range: Midtones, Exposure: 10%) to remove color difference between keyboard layer and run layer.
Step 9
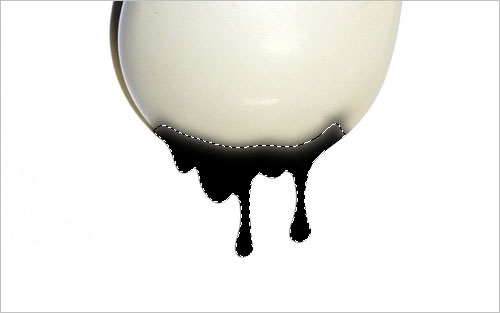
As we can see, keyboard surface has some noise on the surface. It means that we have to add the same texture to the run surface. Select this layer with Select > Load Selection, then create new layer and fill it with black color.
Step 10
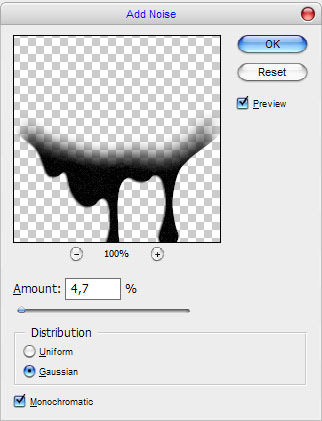
After that remove selection with Ctrl+D and apply Filter > Noise > Add Noise with similar settings to these:
Step 11
Change layer mode to Screen and you will get the next result:
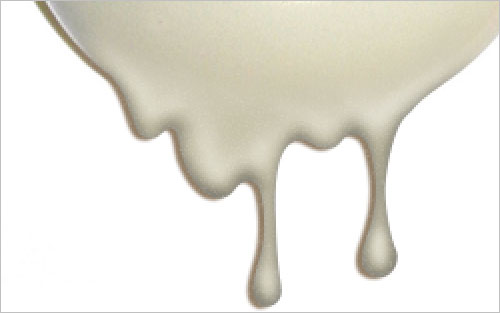
Final Image