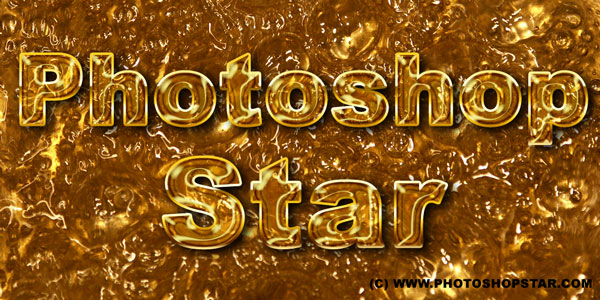
I’m going to share with you how to make a caramel text effect by using some layer styles. First, find some suitable background to demonstrate our text effect on it.
Final Image

Step 1
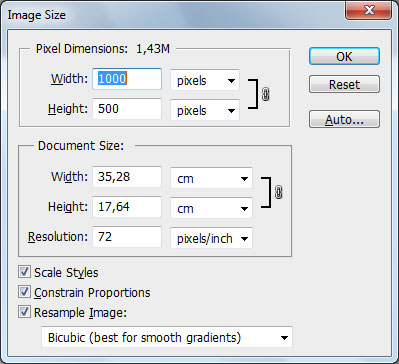
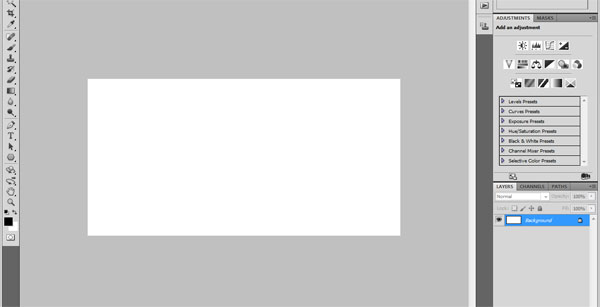
Create a new document with size of 1000 x 500 pixels with default settings (RGB, 72 dpi, white background).
Step 2
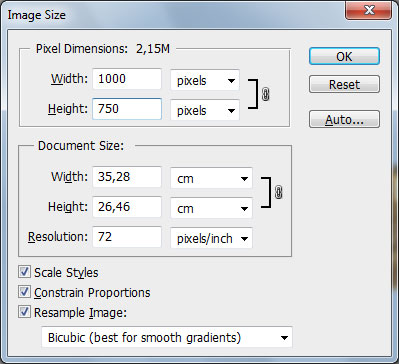
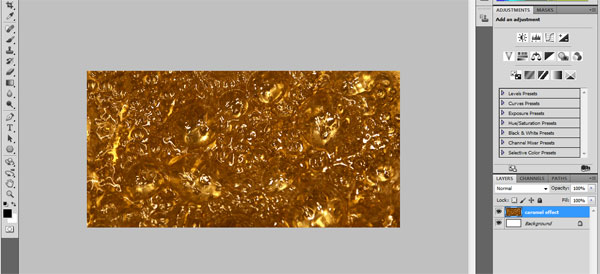
I am going to use a image to create caramel effect. I found one good image at stock.xchange for this tutorial. Open it and go to Image > Image Size and change width to 1000 px. After that copy it to our document as new layer (i named this layer “Caramel effect”).
Step 3
Create a new layer called “Text” and select the Horizontal Type Tool (T) with these settings: Arial, Black, 230 px, Smooth. Write your text on the middle of canvas, for example “Photoshop” in whatever color you want.

Step 4
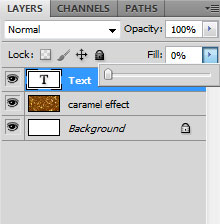
We are now going to create caramel text effect. First set up Fill to 0% for this text layer.
Step 5
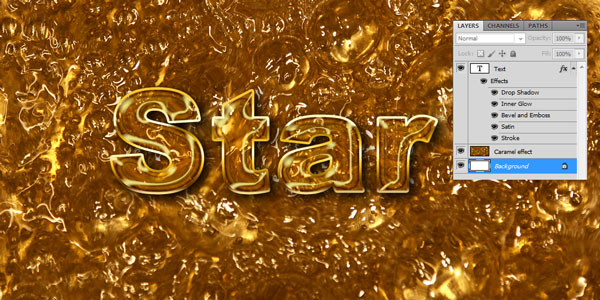
Go to Layer > Layer Style and apply the following layer styles to the text layer:
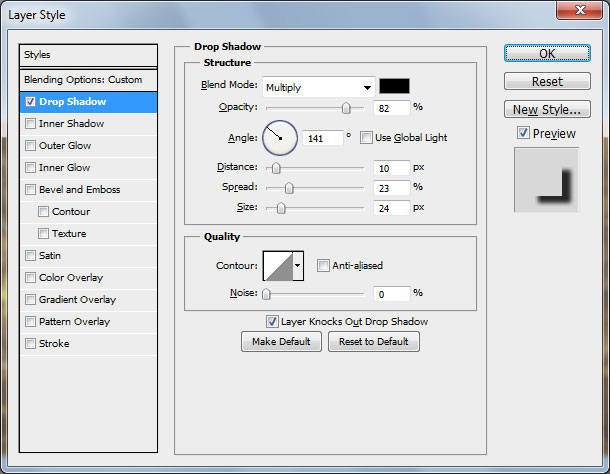
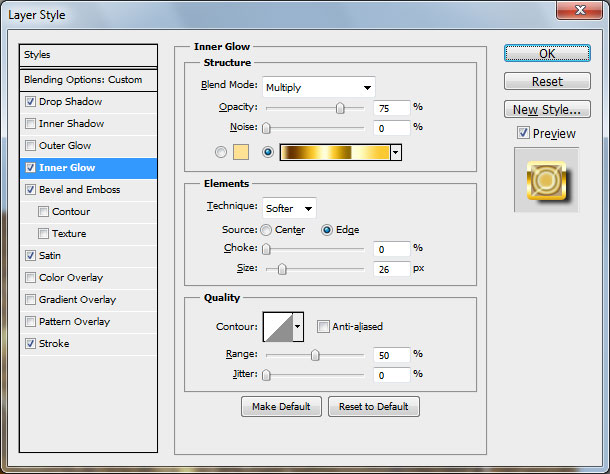
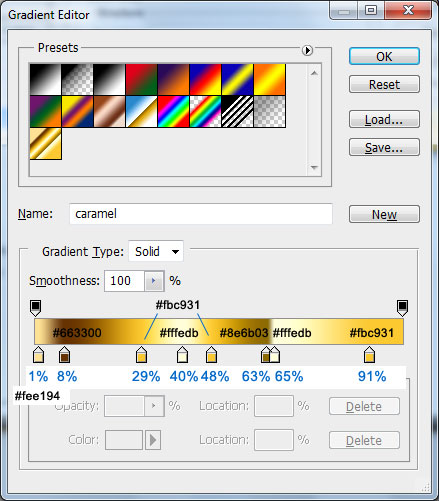
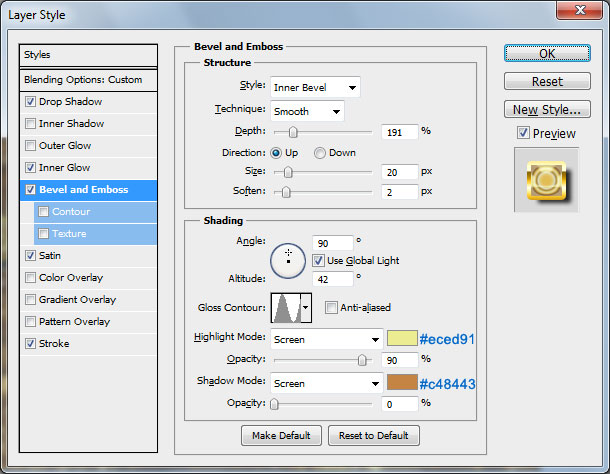
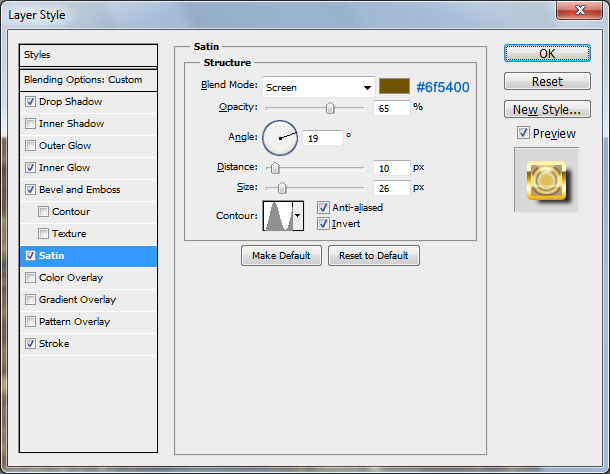
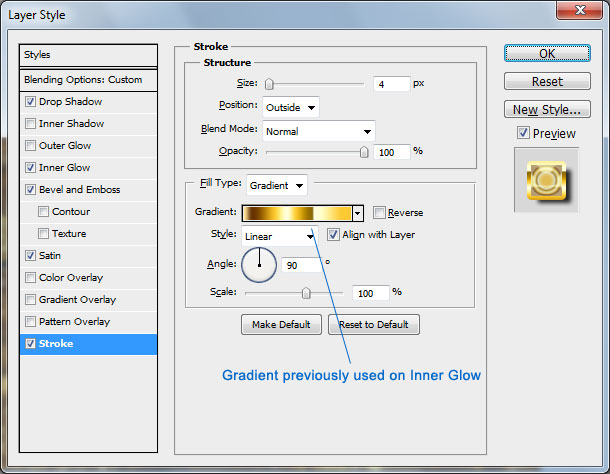
After applying all these Blending Options we should get something like my image below:
Step 6
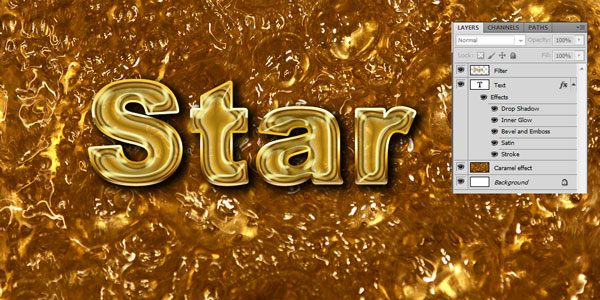
Now I would like to increase contrast on the text. For this duplicate text layer (Ctrl+J) and then create new layer named “Filter”. Merge both layers (new text layer and “Filter” layer) to get all text effects in one layer.
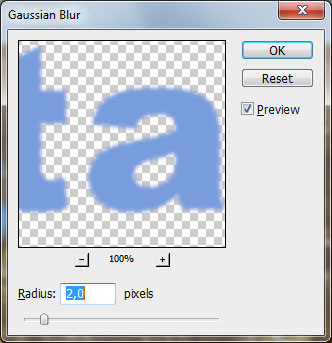
After that apply Filter > Blur > Gaussian Blur with next presets:
Step 7
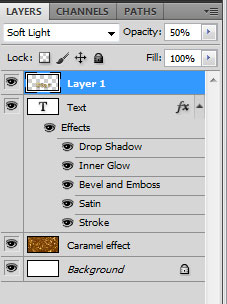
Change layer mode to Soft Light and Opacity to 50%.
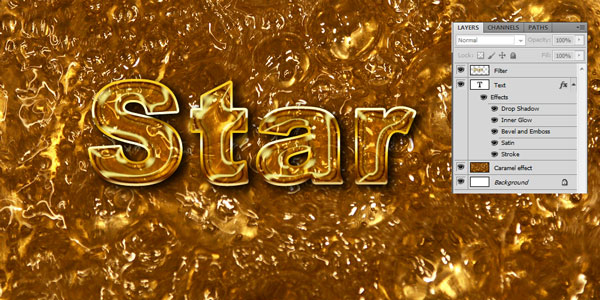
Final Image
