In this tutorial i am going to teach you how you can create one very interesting photo stylizing effect by fragments.
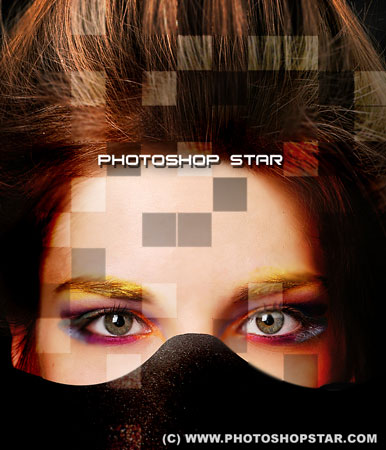
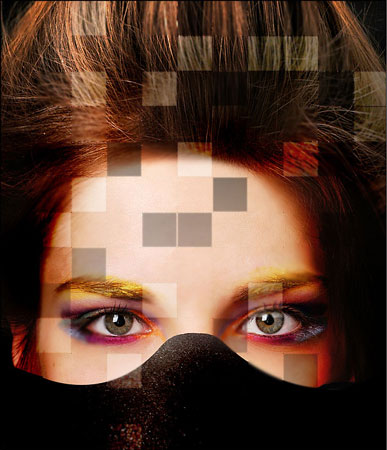
Final Image Preview
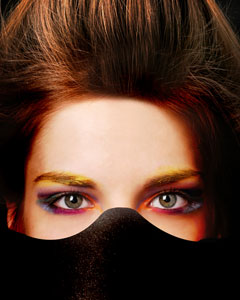
Resources
Step 1
Open up the photo in Photoshop. Go to Image > Image Size and resize it to 600×750 pixels.
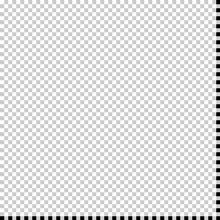
Step 2
For this tutorial i will need to create a grid before we can start with stylizing our photo. Create a new document with size of 55×55 pixels and draw black and white dots by using Pencil Tool (Size: 1px) as on picture below.
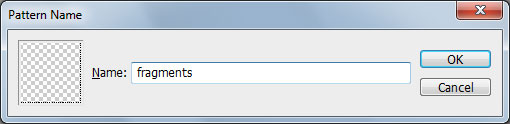
Step 3
Then go to Edit > Define Pattern and save it as pattern. After that you can close this document without saving. Go back to main document, create new layer and fill it with Paint Bucket Tool by using our created pattern.
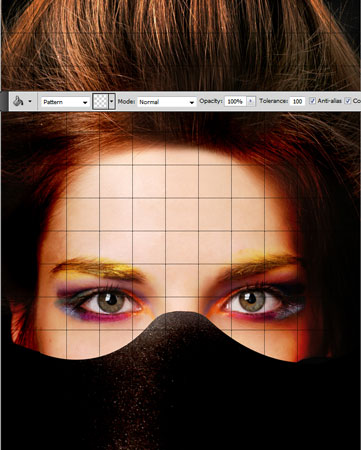
Step 4
With pattern layer still selected, change layer to Overlay with opacity of 80%.

Step 5
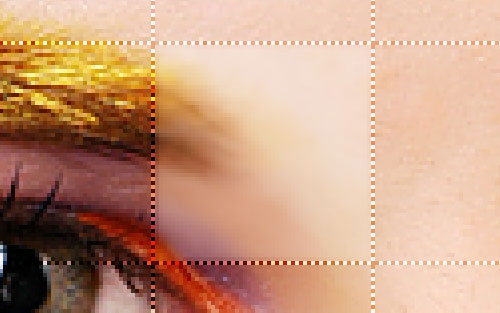
After that go back to our background layer. All the actions we will be making with it only. Get out the Rectangular Marquee Tool to create selection like on my screenshot below. Hold Shift button to get proportional to the square selection.

Step 6
Apply the Dodge Tool (Brush: 100px, Range: Midtones, Exposure: 30%) for this selected area.

Step 7
Then select the Blur Tool (Strength: 50%) to blur this area.
Step 8
Remove selected area with Ctrl+D. We got effect like this:
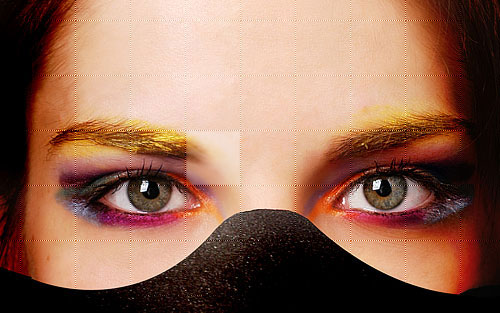
Step 9
Add more cells on the same way:
Step 10
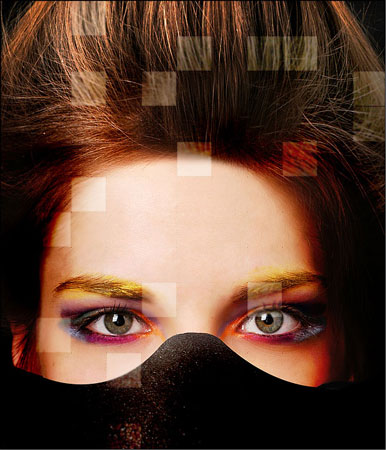
After that we should add more dark cells for this effect use Burn Tool (Brush: 100px, Range: Midtones, Exposure: 40%) instead of Dodge Tool.

Step 11
In the end I would like to add a few blurred cells without changing brightness.
Step 12
Now let’s add some text. Get out the Horizontal Type Tool (just the regular one) and write out some text with white color. I’ve used the font called Bitsumishi (30 pt, Crisp).

Step 13
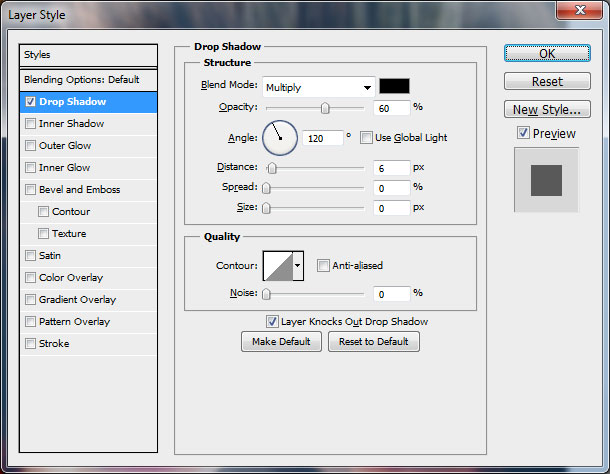
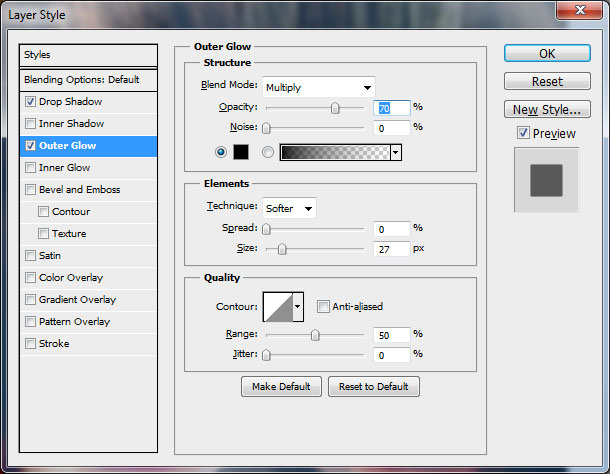
Right-click the layer and go into the Blending Options and apply Drop Shadow and Outer Glow to this layer:
Final Image