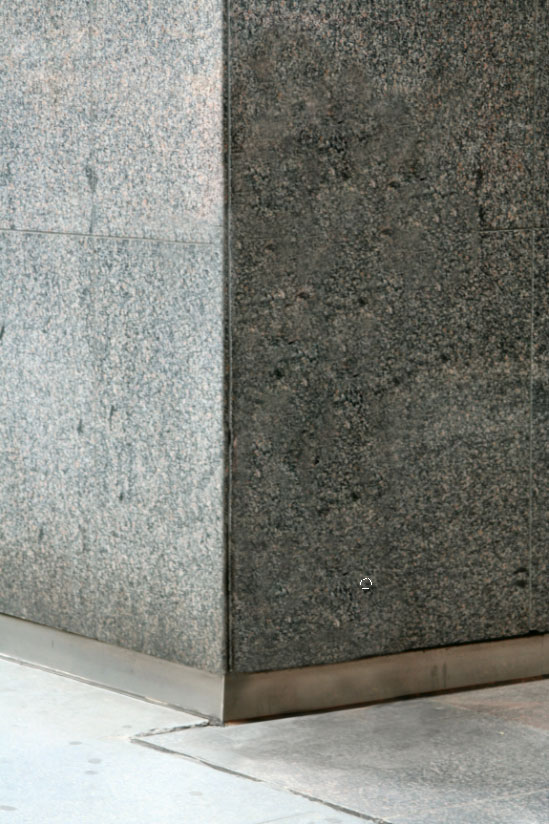
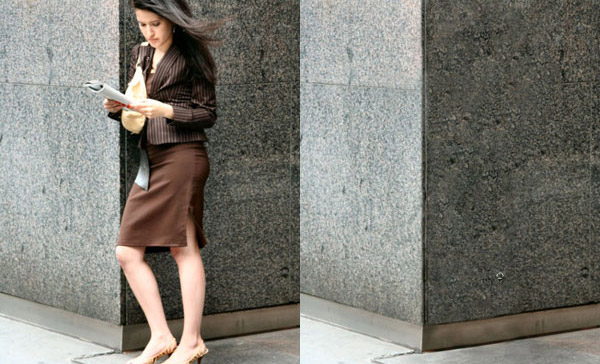
In this Photoshop tutorial you will learn how to remove a person from a photo.
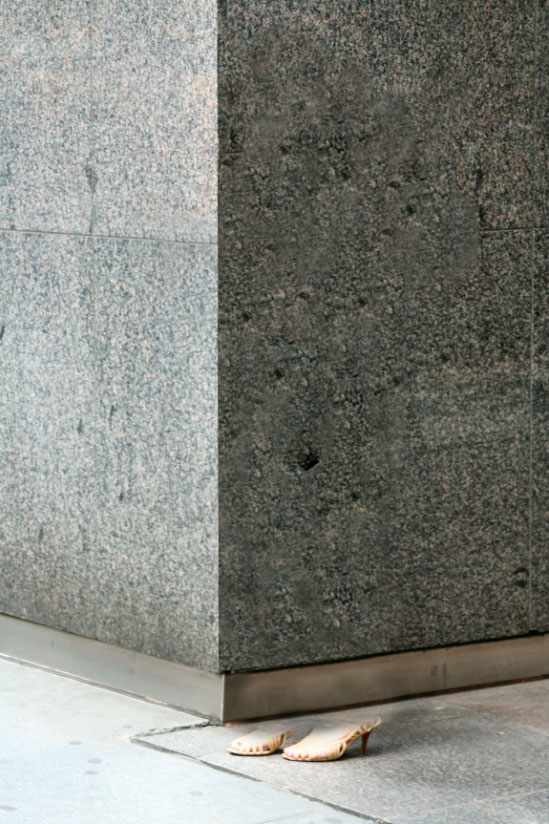
Final Image Preview (Before and After)
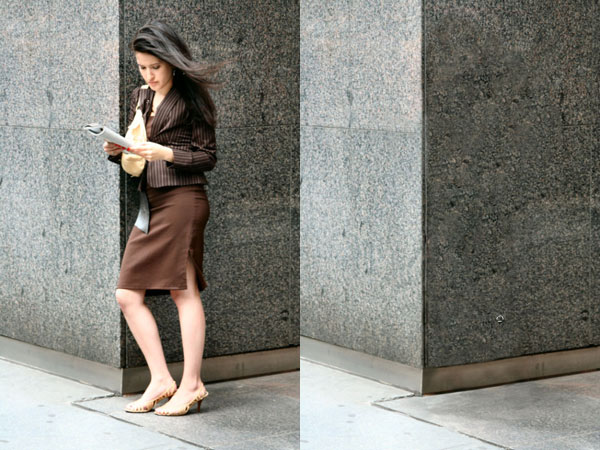
Resources
Step 1
Open the photo “Waiting Woman”.

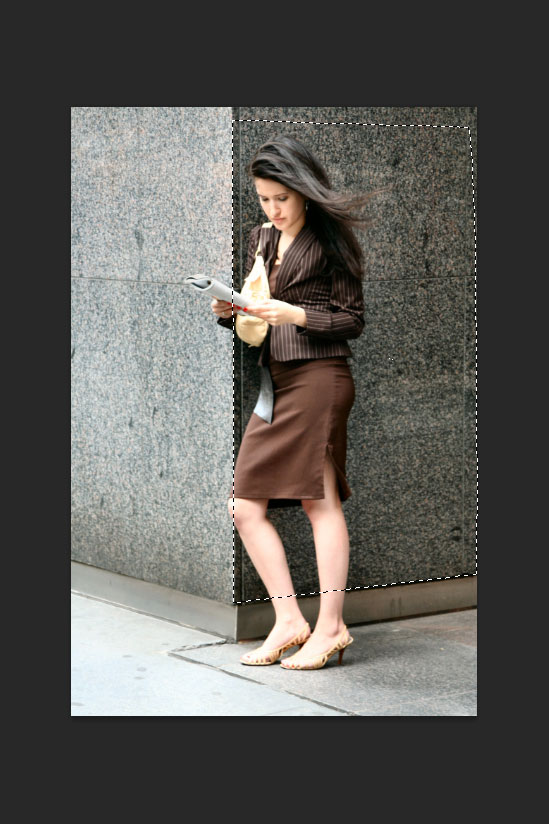
Create a new layer (Ctrl + Shift + Alt + N) and make a selection of the wall facing us (use either the Pen Tool or the Polygonal Lasso Tool).
Step 2
Use the Clone Stamp Tool to remove the woman. Because we have a selection, all the cloning will be done inside the selection, without affecting the rest of the image. Also, you should save the selection because we will need it for later use. To save a selection go to Select > Save Selection.
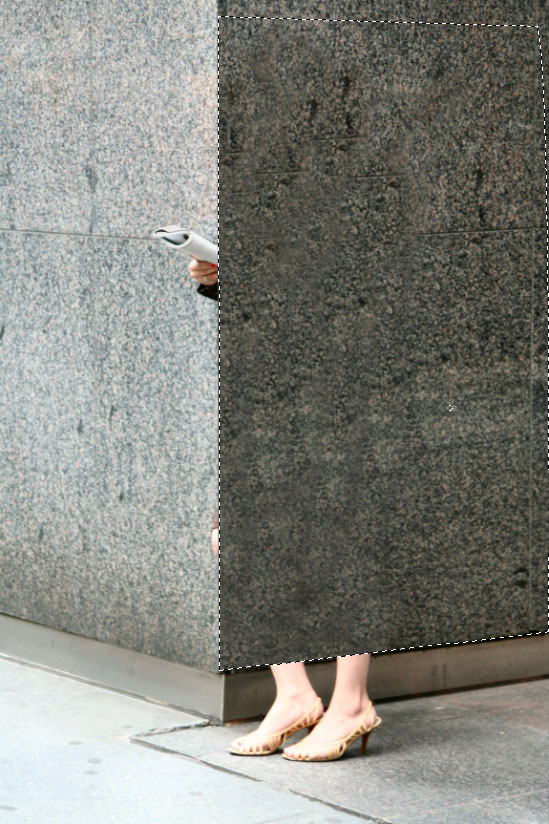
Step 3
Notice how patterns emerge again. You may be thinking that selecting the Clone Stamp tool and laboriously removing each pattern would be the solution. No, I have an easier method and the name of that method is the Patch Tool, which is perfect for this kind of work. Select the Patch tool and duplicate the layer on which you cloned.

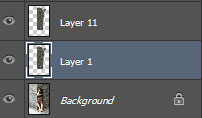
This is how your layers should look (except for the names, as they change accordingly, to how many layers you have created so far).
Also, make sure that in the tool’s Option Panel you have the following settings:

Now create an irregular selection on a patterned area and drag it somewhere on a good area.
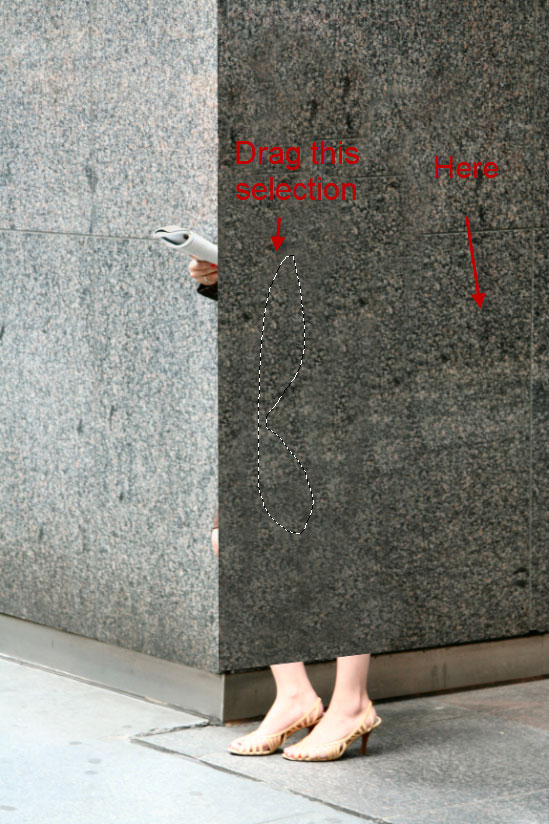
And watch the magic. You will notice that Photoshop blends the area you selected with the area on which you dragged your selection, making our patterned area not so patterned anymore but integrated into the overall randomness of the wall. Repeat the step above by dragging the selection a couple more times over other good areas for a good result. Select another patterned area and repeat. Continue to do so until all (or most of) the patterns are removed.
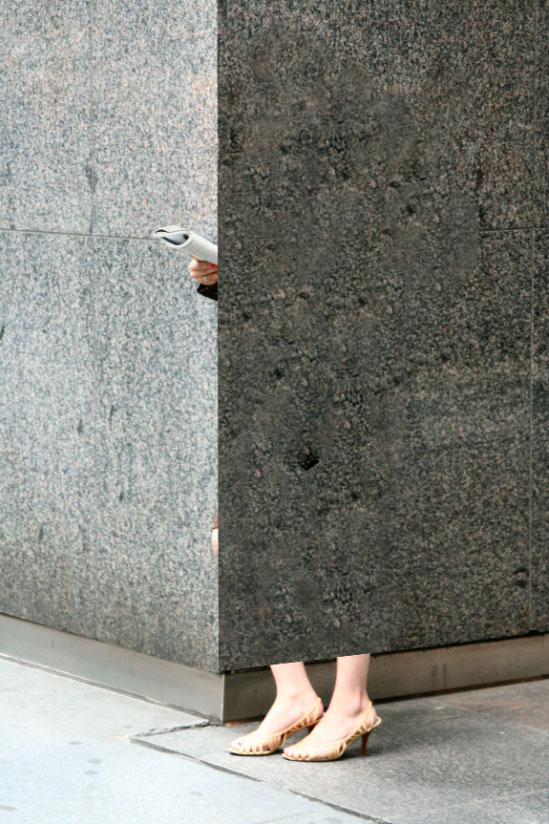
Step 4
Remember the saved selection? Load it by going to Select > Load Selection and invert it (Ctrl + Shit + I). Now with the Clone Stamp Tool remove what is left of the lady’s knee and some of her feet.
Step 5
And now for the treat. Select Filter > Vanishing Point. Press C to select the Create Plane Tool and create a grid like shown below.
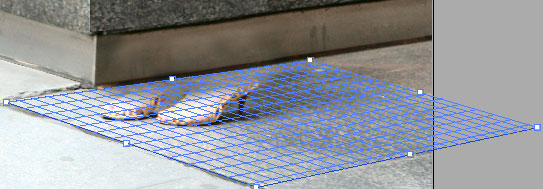
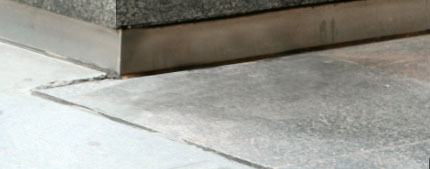
Now press S to select the Stamp tool and start removing what is left of the lady’s feet. Notice that the cloning is done in perspective, according to the grid we previously created. Lower the opacity of the brush to achieve better blending.
Step 6
Ok, almost done, time to improve the little flaws and imperfections. Notice how the corner of the wall looks fake because that’s where our selection ended.
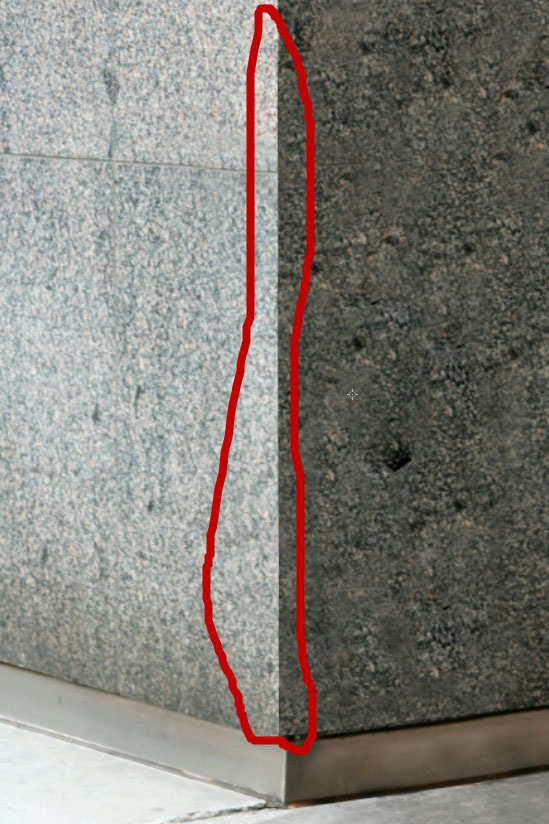
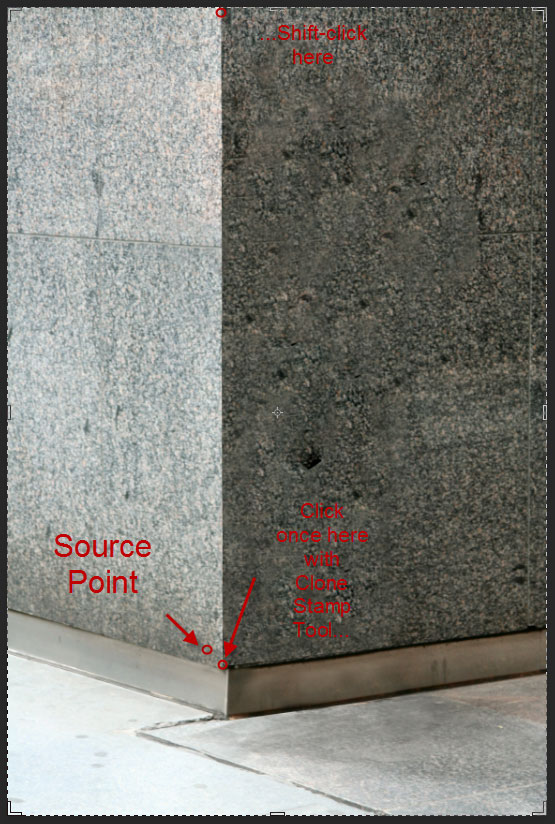
To correct this select the Clone Stamp tool and click to select a source point as shown below, then click once at the base of the corner and Shift-click at the upper point of the corner.
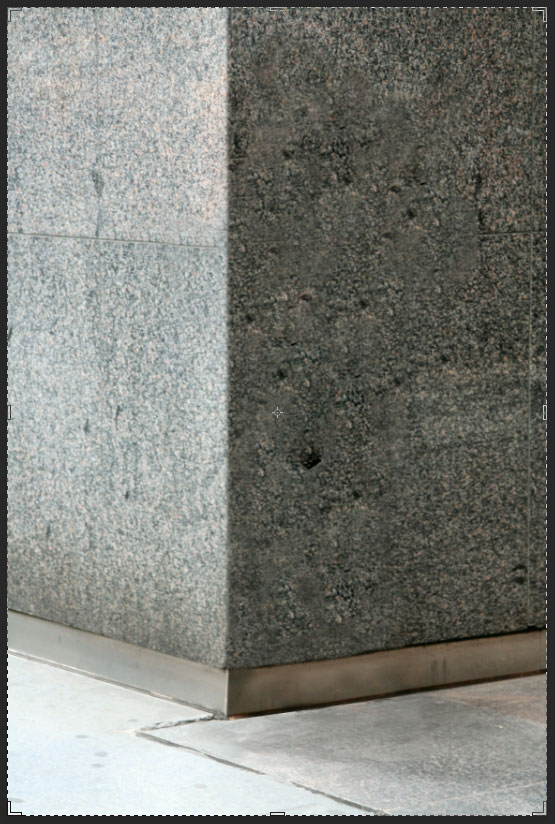
I did some more detail cloning and you can see my results below.
Final Image
