Last week tutorial got a lot of feedback and so here you have a new tutorial now using clone tool. In this Photoshop tutorial you will learn how to remove a person from an image and recreate the background to look very natural.
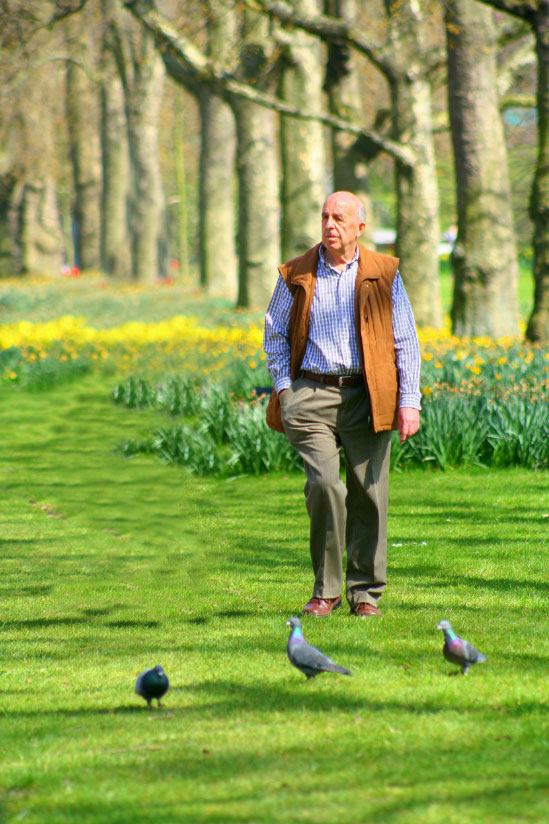
Final Image Preview

Resources
Step 1
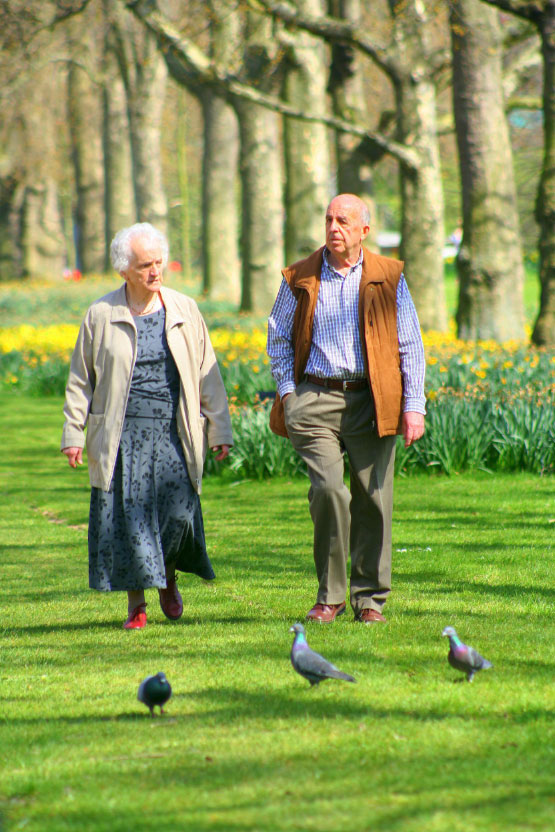
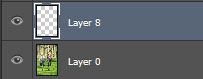
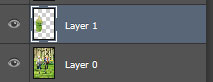
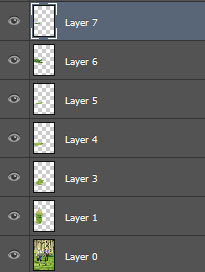
Open the photo “Old Couple” and create a new layer above the background layer.
Step 2
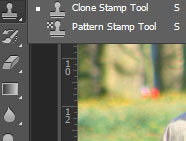
Select the Clone Stamp tool.
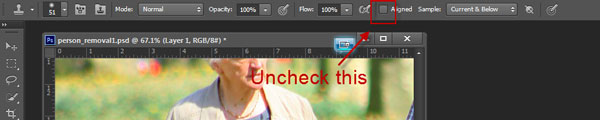
In order to successfully use the Clone Stamp tool you first must define a source point (the point from which you will sample pixels for cloning). To define a source point simply Alt-click on the photo and then start painting. You will notice that you will paint with the pixels from the area where you defined your source point. Now that you figured out how the Clone Stamp Tool works, undo what you just draw (Ctrl+ Z) and uncheck Align checkbox on the tool options panel.
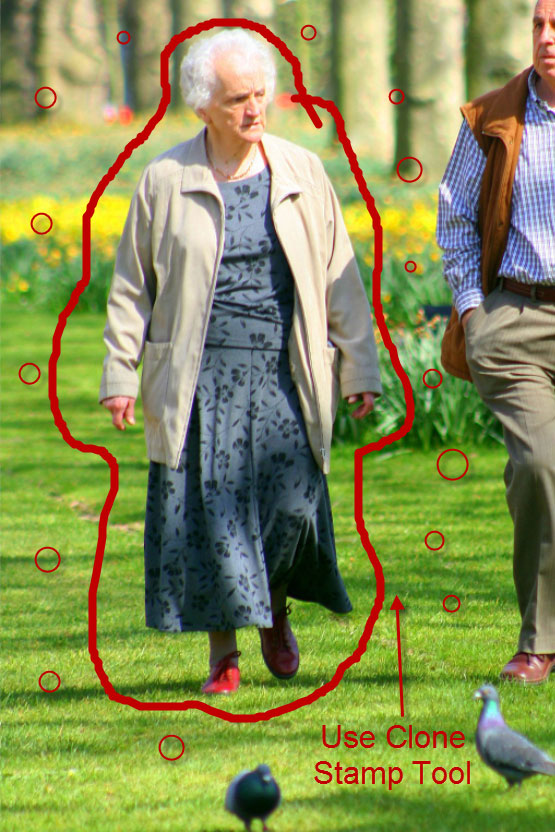
Now define some source points around the old lady and use the Clone Stamp Tool to paint over it. There is no established recipe on how you should use the Clone Stamp Tool in each specific case. Just use your common sense and try to cover the old lady totally. Don’t worry too much about repeating patches of grass or other irregularities for now as we will address them later.
In the image below the little red circles are suggestions for source points (Alt-click).
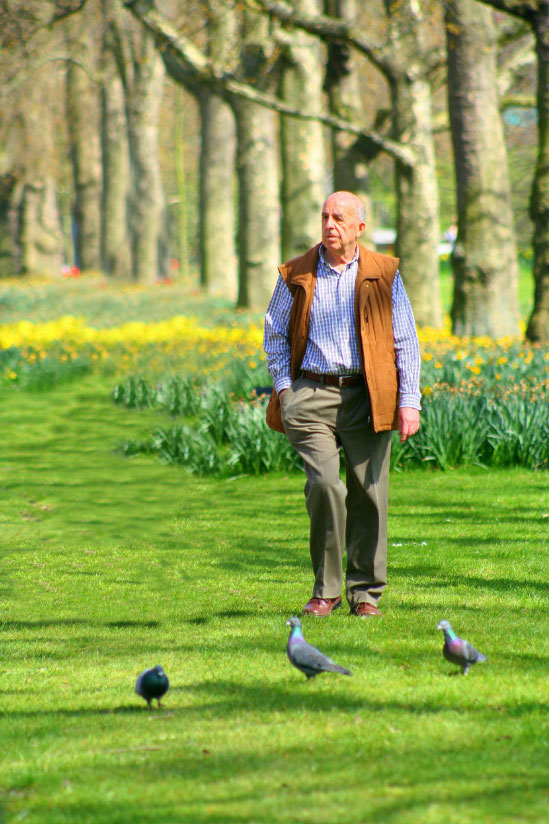
Now you should have the something resembling the image below.
And don’t forget that you should paint each stage of cloning on a new layer. So at this first stage we will have a background layer and a new layer.
Notice that despite my best efforts I still have some ugly repeating patterns (that’s the side effect of using the Clone Stamp Tool). In the next steps I (and hopefully you) will address the issue.
Step 3
Create a new layer (Ctrl + Shift + Alt + N) and with the Clone Stamp tool try to remove some of those patterns.
Notice how on the right of the old man, at his feet level, the grass is sharper than the grass further away (at his knee level). Let’s try to achieve the same result on the left side. Set your source point from a place where the grass is sharp and carefully clone some more.
The flowers in the background end suddenly and it looks fake so we should continue the flowers to the left edge of the picture. You know the drill: new layer (Ctrl + Shift + Alt + N) and the Clone Stamp Tool.
STEP 4
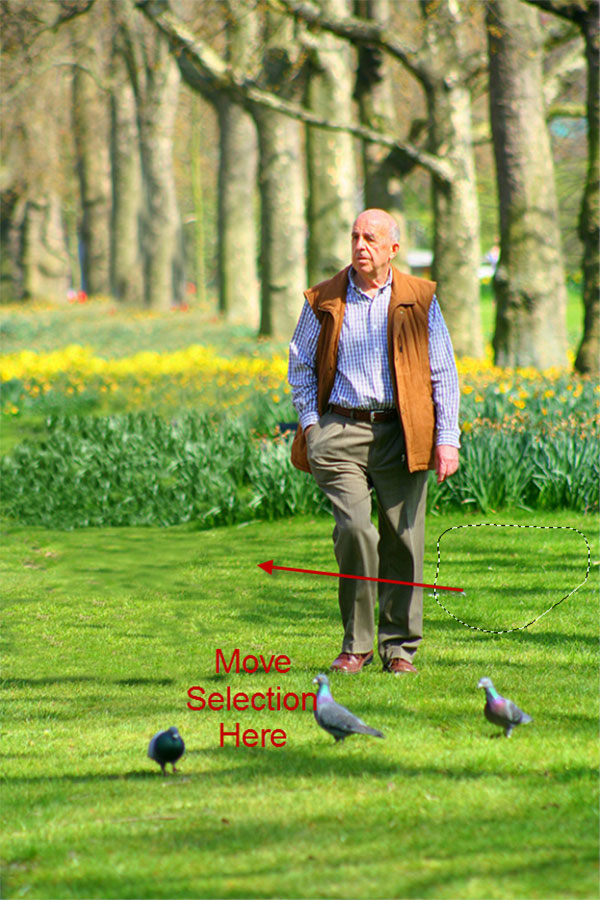
The result still looks a bit unnatural so let’s create a selection of good grass from the right side of the old man. Create a selection using you favorite selection tool, press Ctrl + Shift + C to copy merged, create a new layer (Ctrl + Shift + Alt + N) and paste merged (Ctlrl + Shift + Alt + V). Move the newly created layer to the left side of the old man.
Add a layer mask to the newly created layer (Layer > Layer Mask > Reveal All) and with a round soft brush paint with black the hard edges in the layer mask. This step will blend the copied grass with the existing grass nicely. Repeat a couple more times with patches of grass from different places to cover some of the ugly grass.
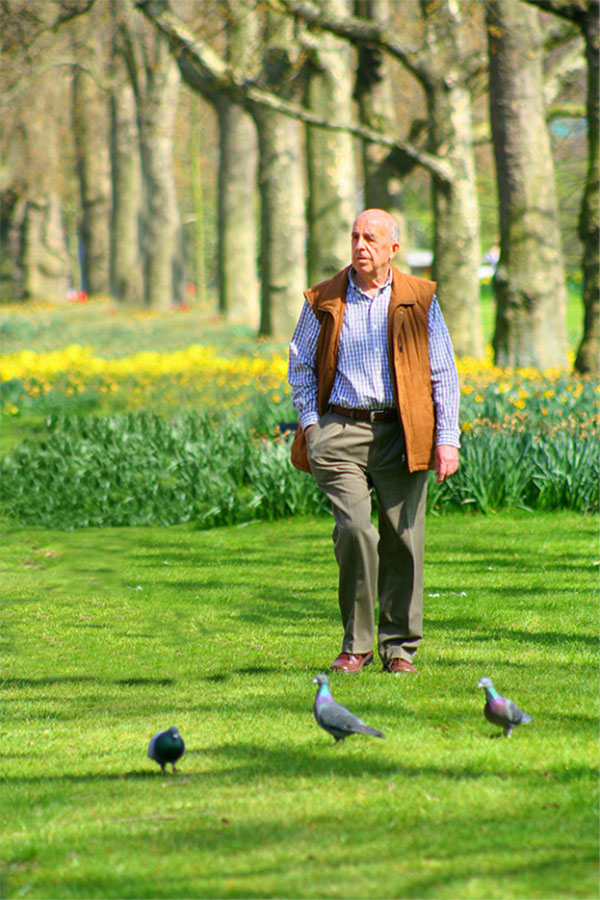
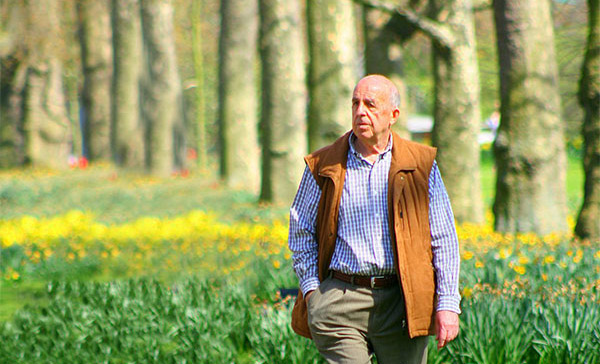
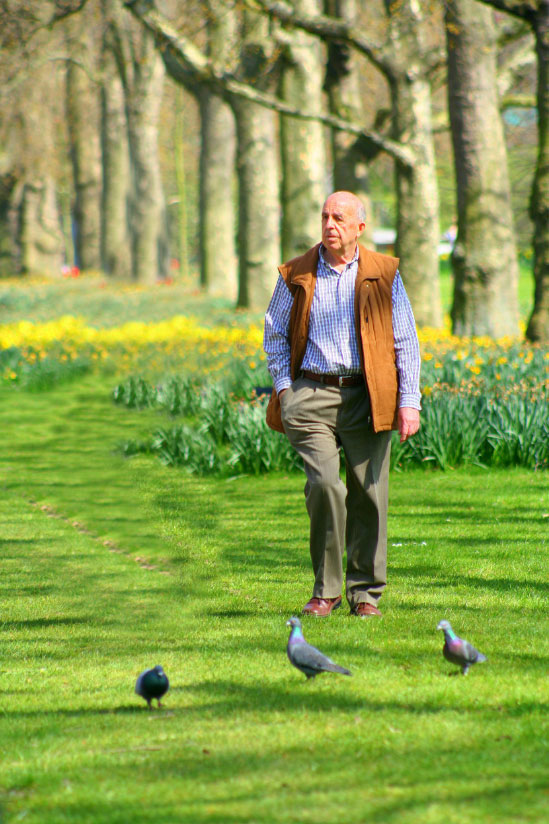
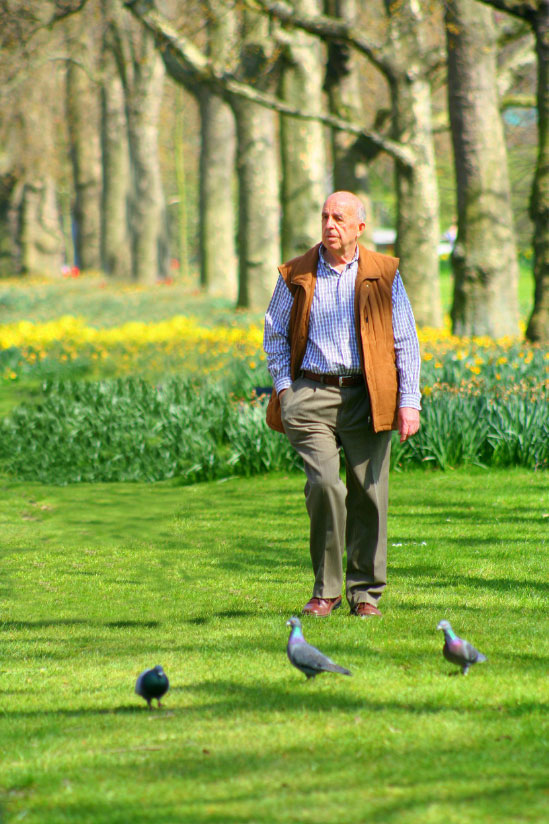
Final Image
And this is the final result.