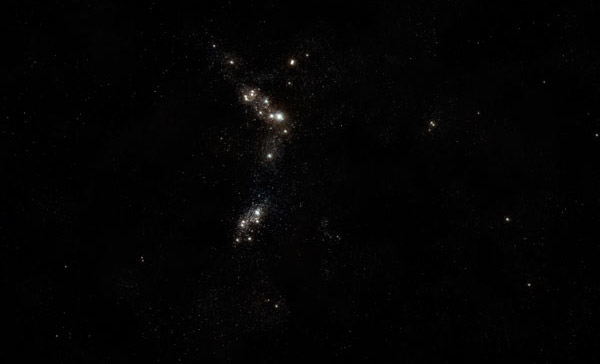
In this Photoshop tutorial we will learn how to create a realistic looking starfield using mainly noise and clouds filter.
Final Image Preview

Resources
Step 1
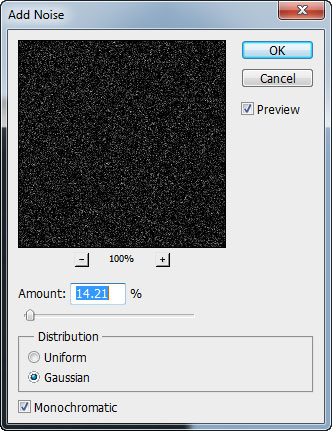
Create a file with 2000×1236 px. Fill with black and then make a duplicate layer (Ctrl+J). Choose Filter > Noise > Add Noise.

Step 2
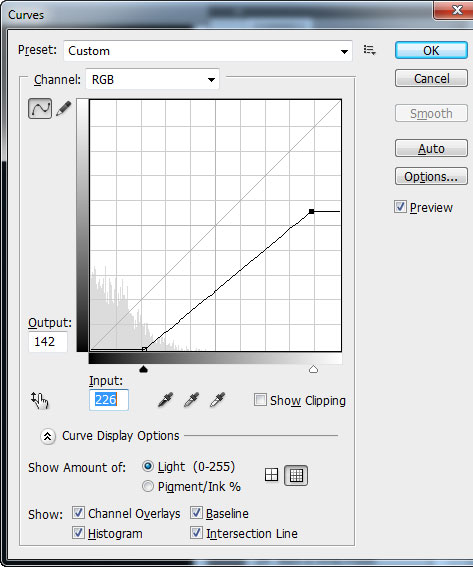
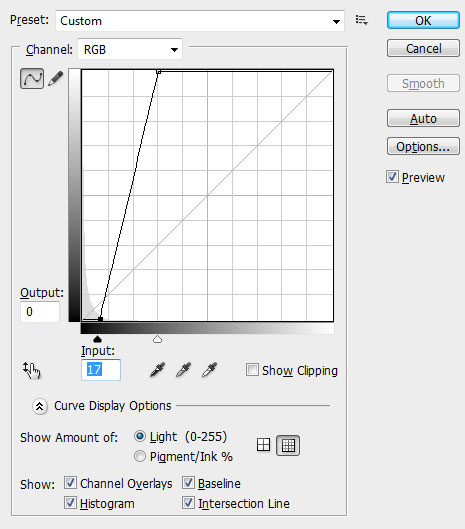
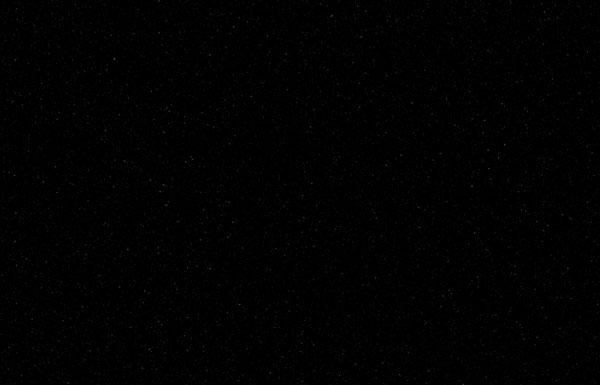
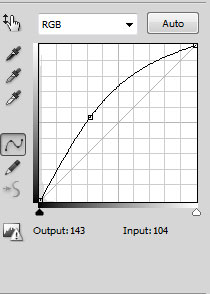
Choose Image > Adjustments > Curves and apply the settings shown below. This step will help us get rid of the dim stars and will brighten the remaining ones.
Step 3
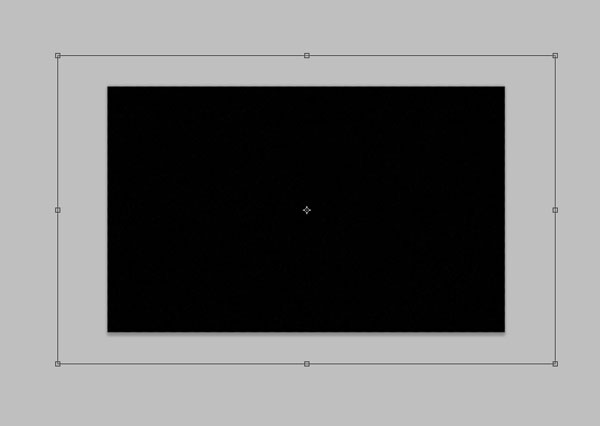
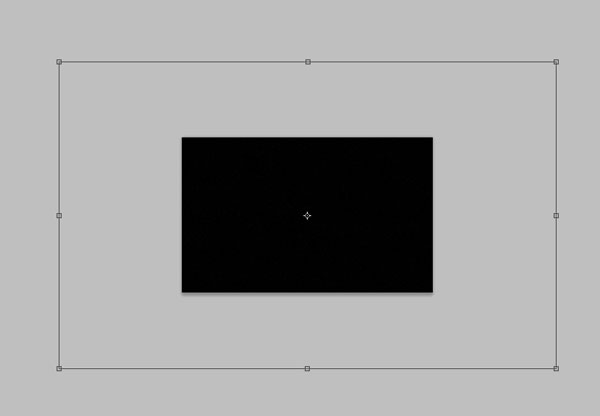
Duplicate the layer and using Free Transform increase it’s size like shown below. Than choose Image > Adjustments > Curves. Change the blend mode to Screen. This will be the second layer of stars so we want them to be more bright.
Step 4
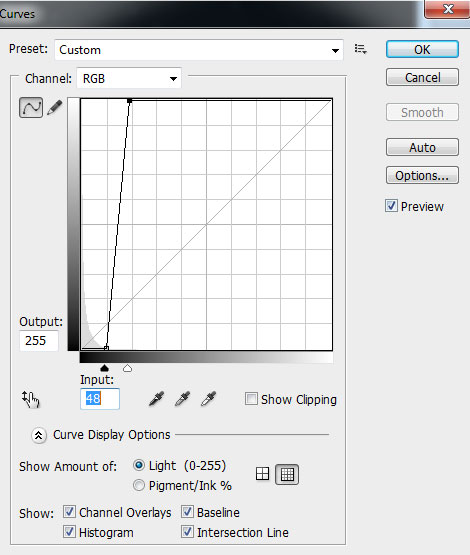
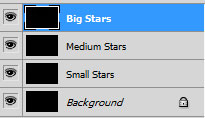
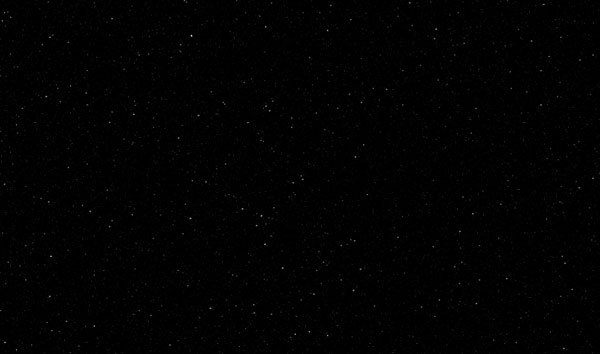
Duplicate first stars layer again and move it on top. Use Free Transform to make it twice the size of the image. Choose Image > Adjustments > Curves and apply the settings shown below.
Step 5
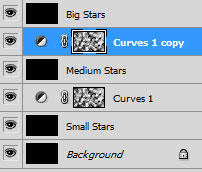
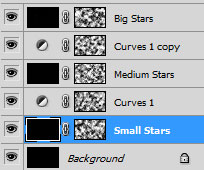
To make the stars look even more natural we will add 2 Curves adjustments layers to our small and medium stars layers. After that click in each Curves Adjustment layer mask to make sure it’s selected.
Go to Filters > Render > Clouds and press Ctrl+Al+F to randomize the clouds generation.This step will add a variance in brightness in a random way. Make sure to clipp each adjustment layer to the coresponding stars layer. Lower the opacity until it looks good.
Step 6
Add a layer mask to each stars layer and run the Clouds filter on each. The stars start to look really good at this point but we will do some more.
Step 7
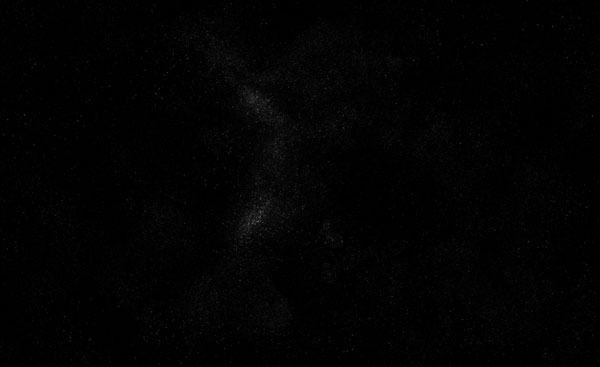
Add a new layer on top and select the Clone tool. Choose a hard edge brush, change the tool blending mode to Screen and start on cloning. We are aiming for some nice stars clusters so put your Wacom at work. Change the layer blend mode to Screen. Also beware that the images I provided may look a bit messy but that is because of the way Photoshop “drops” pixels when you zoom out. It should look good at 100% zoom level.
Step 8
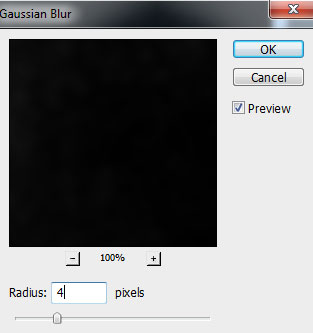
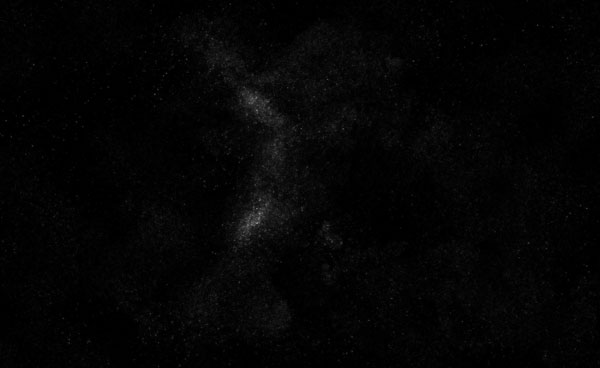
Press Ctrl+Alt+Shift+E to make a new layer from all visible pixels. Apply a 4 px Gaussian Blur filter and change the layer blend mode to Linear Dodge.
This step will add some nice glow to our stars.
Step 9
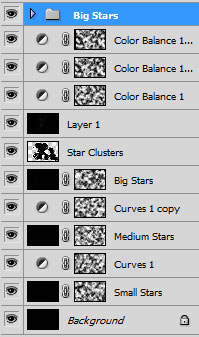
Let’s add a bit of color. Add a Color Balance adjustment layer and choose a color. Change the blend mode to Soft Light and apply a Clouds filter to the layer mask.
Add another Color Balance adjustment layer but this time choose another color. I choose blue for the first and orange for the second because complementary colors look good together. Change the layer blend mode to Color Dodge and apply a Clouds Filter to the layer mask. Press Ctrl+Alt+F a couple of times to randomize the effect and make it stronger. Lower the opacity if the effect is to strong.
Step 10
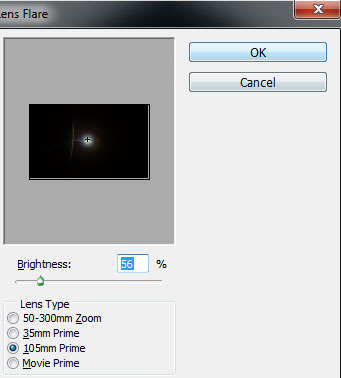
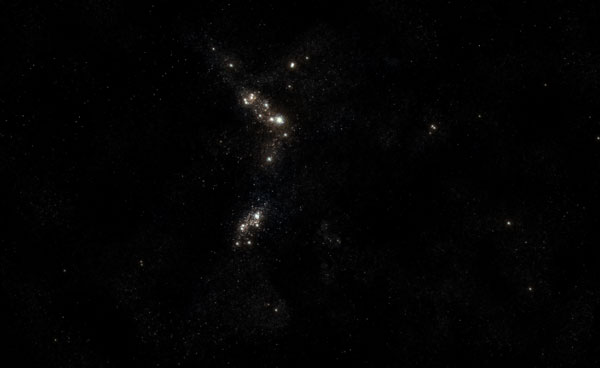
Add a new layer, fill it with black and change it’s blend mode to Linear Dodge. Then choose Filter > Render > Lens Flare. Resize this layer and place it in your star clusters.
Make as many duplicates as you feel and place them all over the star field, but don’t forget to resize every to mimique randomness.
Step 11
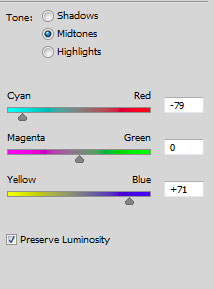
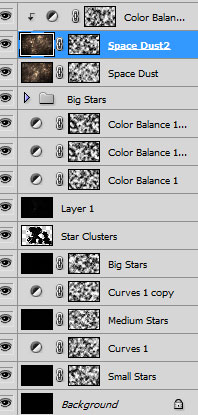
Let’s add some space dust. Open file “Apophys Fractal” and place it into our document. Resize it until it fits the canvas then add a layer mask and generate some clouds. Lower the opacity to 5% and change the blend mode to Screen. Duplicate the layer and rotate it 180 degrees. Add a Color Balance adjustment layer and after you select a color generate some clouds in the layer mask. Clip this layer to the layer below.
Final Image


