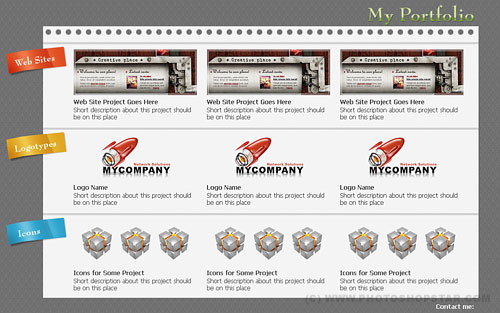
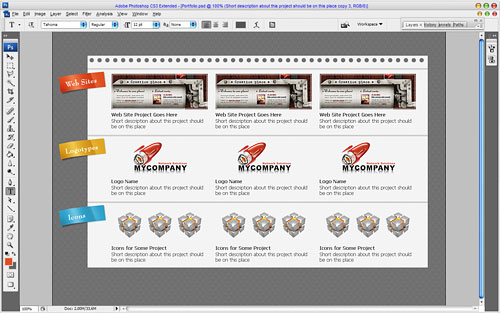
Here I’m going to show you how to make the website original design where you can put your portfolio.
Firstly, you’ll have to create a new document in which you can make this web site. For this tutorial I’m going to be using a size of 1000×700 pixels with the default resolution (DPI) of 72. Then you need to find the pattern to add on the background. I found this one. Also feel free to use your own patterns. Open up the file and apply Edit > Define Pattern to save this picture as pattern, after that go back to our main document and use Paint Bucket Tool (just use Pattern mode instead of Foreground).
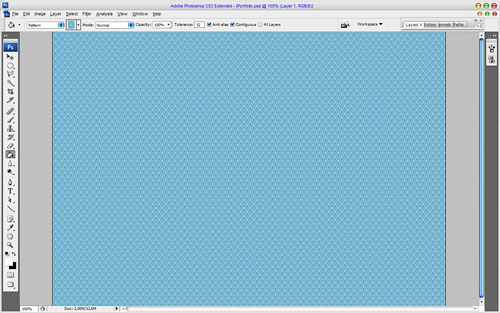
Then press Ctrl+Shift+E to desaturate pattern.

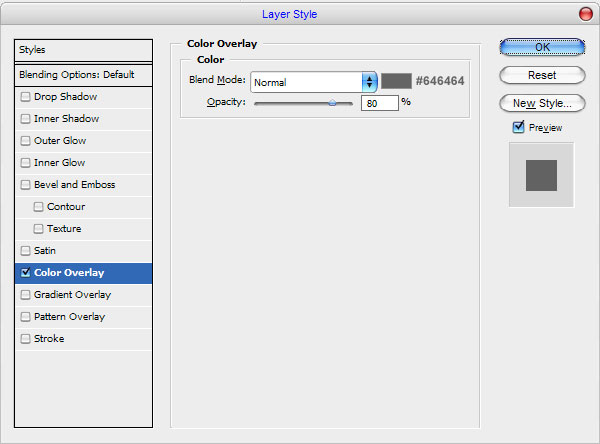
Apply Color Overlay layer style to the background layer.
See the result below:

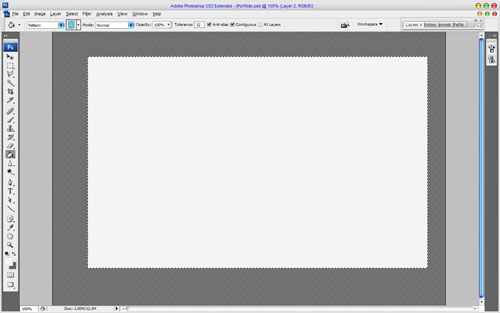
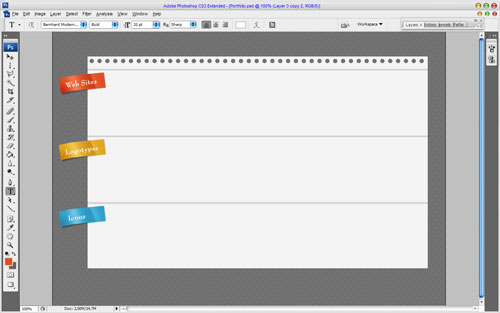
Ok, we are done with background. Move to the next step. I would like to create the window for content. Create a new layer, then select the Rectangular Marquee Tool to make selection as on my picture below and fill it with color of #f4f4f4.
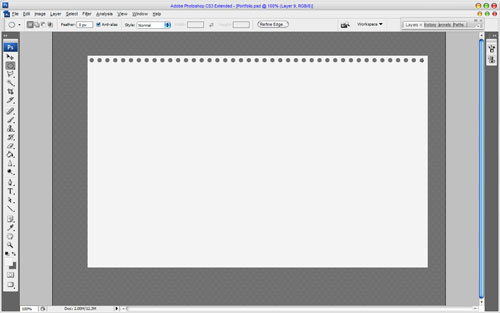
Remove selection with Ctrl+D. Then I would bring it paper view. Use the Elliptical Marquee Tool make round selection as on my picture below and press Delete to clear selected area.

Hold Shift button and press Right Arrow button two times to move selected area 20 pixels right and press Delete again. Do the same things until u finish white paper area.
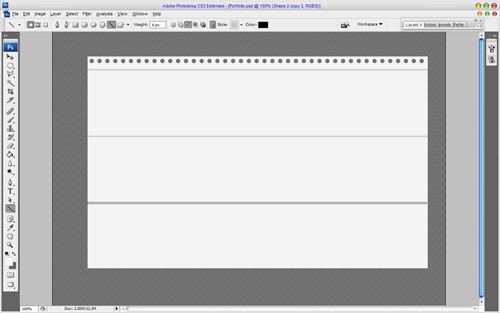
Remove selection with Ctrl+D and move to the next step. Time to divide worksheet area on three main parts: Web Sites, Logotypes and Icons. Select the Line Tool and line weight about 4 pixels, then draw out the line with black color. After that set up opacity about 15% for this layer.
Add two lines more.
Time to add labels. How we can do this? Let me show you. Create a new layer and create the selection using Rectangular Marquee Tool. Fill selected area with color of #e04e21.
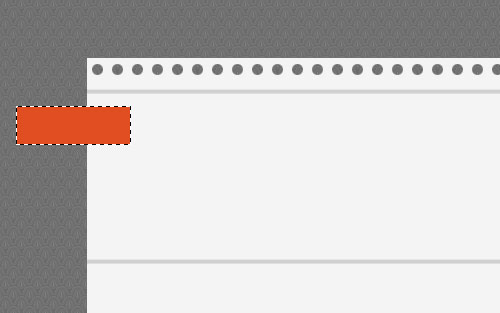
Then select the Polygonal Lasso Tool to create another one selection as was shown on my picture bellow.

Then use the Burn Tool (Brush: 45 px, Range: Midtones, Exposure: 30%) to add a dark spots to the selected label area.
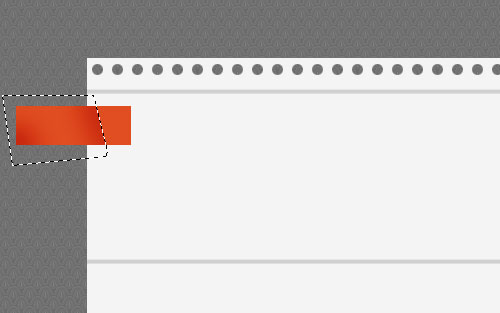
Then use the Dodge Tool (Brush: 45 px, Range: Midtones, Exposure: 30%) to bring this label volume form.

After that invert the selection with Ctrl+Shift+I and make dodge work a little bit more.

Remove selection with Ctrl+D and press Ctrl+T to rotate the label and then apply Edit > Transform > Warp to transform it a little bit.
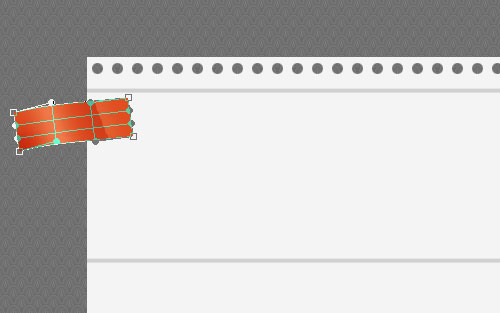
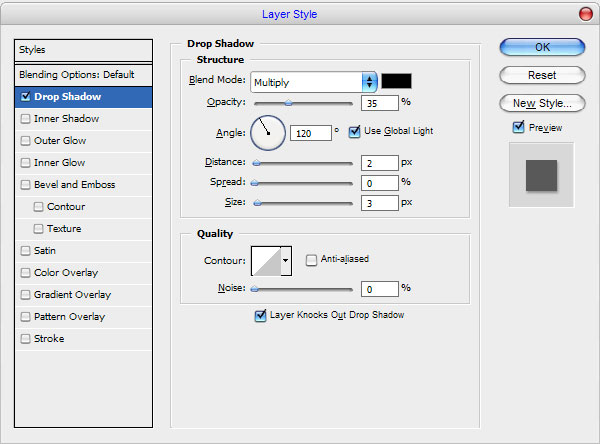
Ok, now time to add the shadow to the label. Apply Drop Shadow layer style to current layer style:
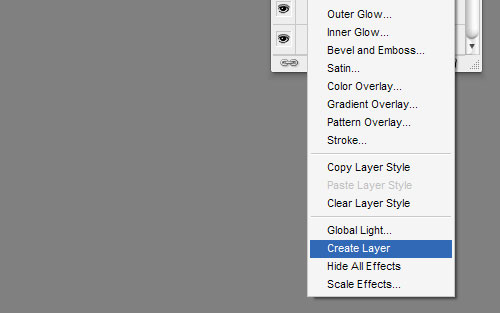
Then right-click on the layer thumbnails panel and select Create Layer.
Go to the layer under and apply Edit > Transform > Distort to transform it a little:
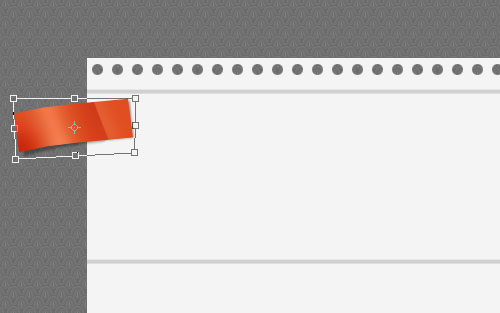
Then I would like to add a title. Select the Horizontal Type Tool and write out the name of the label.

I used Bernhard Modern font as my font choice. Now rotate the text a little using Ctrl+T.

First label is ready. Add two more labels in the same way.
Ok, move to the next step. We need to add the content. I went to Google Images and found some picture as website example there. Feel free to download it from here . Open up the picture and crop it with Crop Tool:
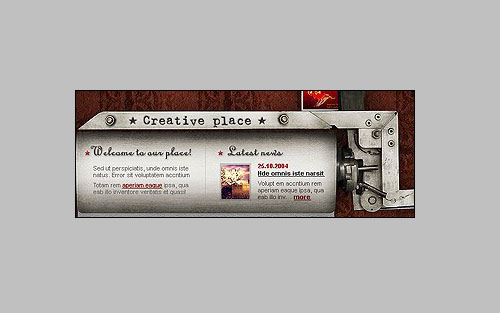
Then bring it to our main canvas and reduce a little bit after.
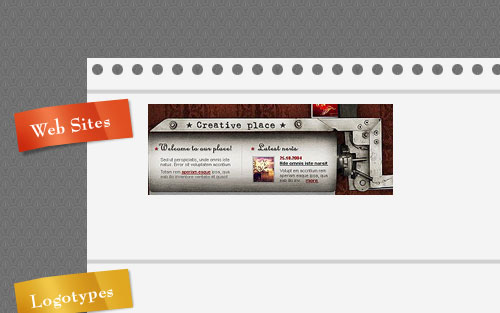
Apply Inner Glow layer style to this layer.
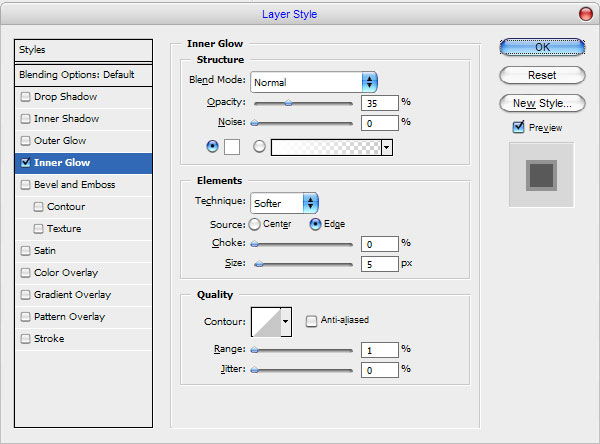
The result should be next:
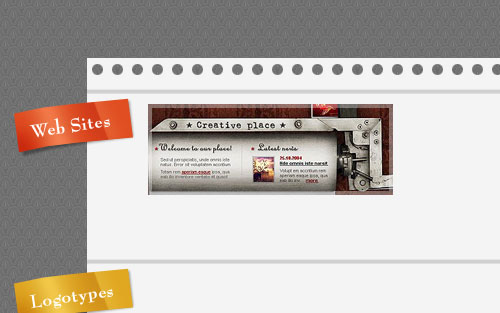
Now I need to add the name of project with a short description. Select the Horizontal Type Tool again and write out some text in few lines using color of #45454 and Tahoma font.
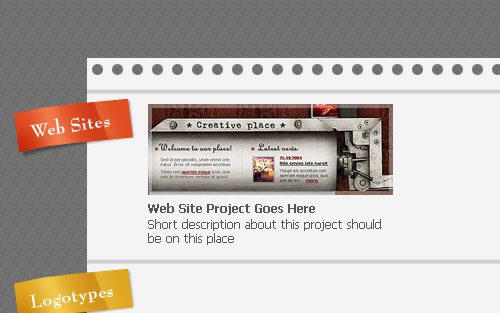
Add more content in the same way. Logo picture you can download from here and icon picture you can download from here.
Ok, after that move to the next step. I would bring the logo to our portfolio. Select the Horizontal Type Tool gain and write out the text using the color of #b2d763 and Bernhard Modern font again.
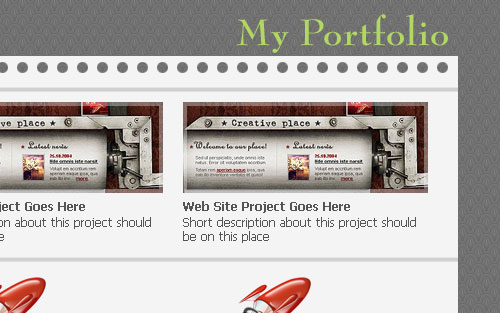
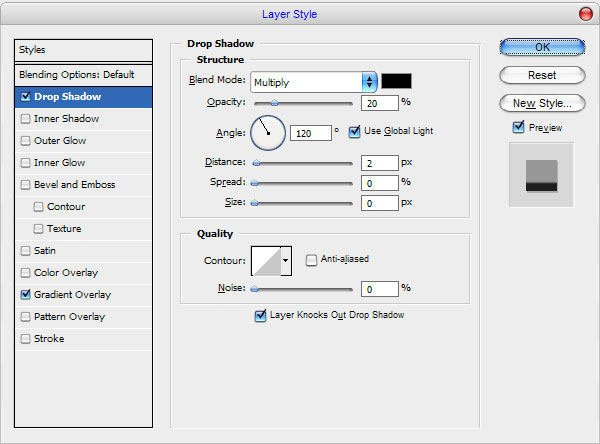
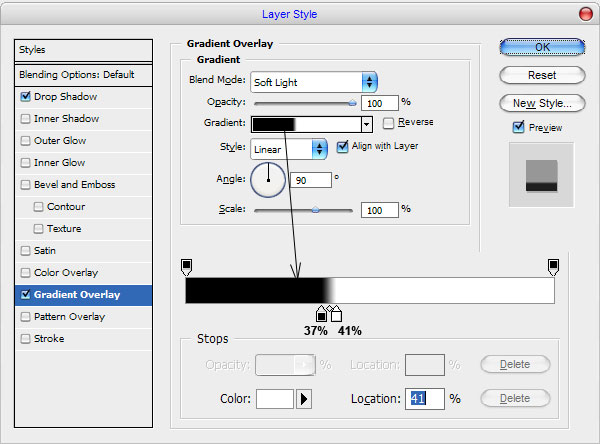
After that apply Drop Shadow and Gradient Overlay layer styles to the text layer.
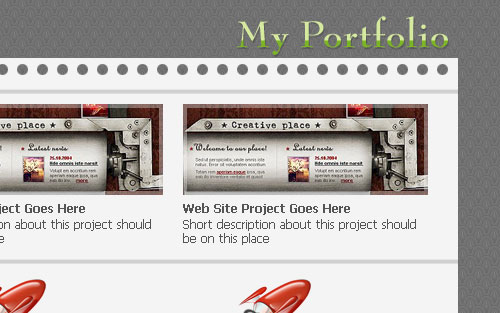
You can see the result on the picture below:
And the last one th9ng that we need to add is contact text on the bottom of website.
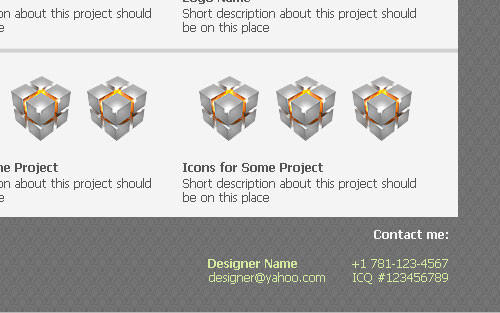
I used Tahoma font again and selected text colors as #f4f4f4 and #d5ea9f. Ok, we are dome with creating website for our portfolio. Hope you have the same good result as me!

