
Hey, I prepared for you one interesting glamorous stylized professional photo effect. This tutorial can be useful both for professionals and for beginners.
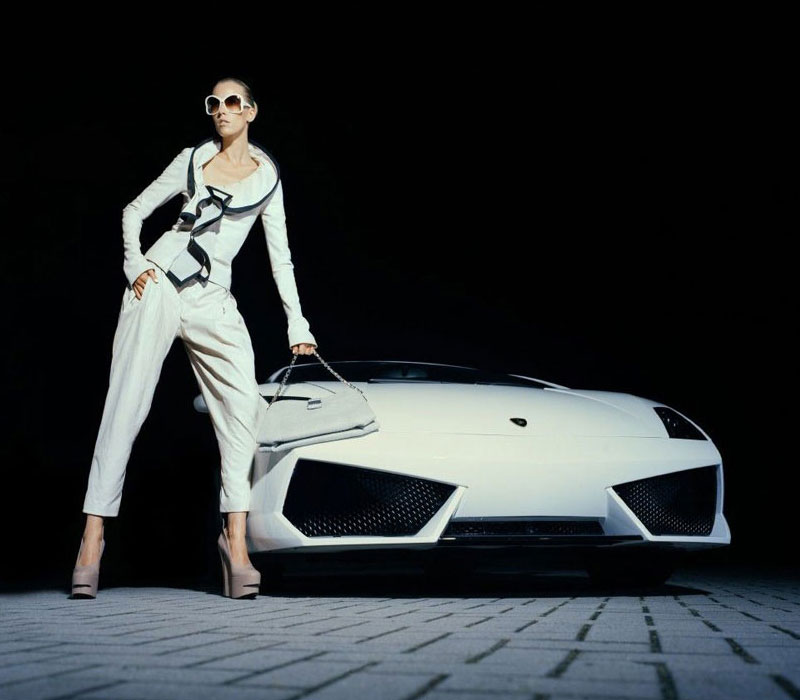
Ok, to begin it you should find some appropriate picture to work with. You can search some pictures on the Google Images or also can use mine. Open up the picture in Photoshop.

Start with sharpening. How to make this? It is very simple. Press Ctrl+J to duplicate the layer and apply Filter > Other > High Pass with next parameters:

Change layer mode to Overlay and you will get the next result:

Now I would bring some decorative elements to the background. After that we will continue stylizing the picture. Now, select the Brush Tool and download these brushes to make white print on the new layer. Use the white color for all the prints in future for this tutorial.

After that create another one layer and create one more print. Then use Ctrl+T to rotate it as you can see on the picture below.

Add more print in the same way.

Merge all layers with prints in one and use the Smudge Tool (Brush: 10 px, Mode: Normal, Strength: 80%) to make a few strokes as on my picture below.

Then select the Eraser Tool and hard round brush to clear foreground area from the prints. You should leave in only on background.

After that move to the next step. Create a new layer, then select the Polygonal Lasso Tool to create selected area as you can see on my screenshot below and fill it with white to transparent gradient on the new layer.

Remove selection with Ctrl+D and apply Filter > Blur > Motion Blur with similar settings to these:

The result should be next:

Then add a few more lines doing the same things as before. Don’t forget to create a new layer for each line.

Ok, now merge all the lines in one layer, then select the Eraser Tool and a soft round brush to make some clear work with lines.

Then I would like to add a little bit more glowing elements. For this effect get out the Elliptical Marquee Tool to make round selection and fill it with white color.

Remove selection with Ctrl+D and apply Filter > Blur > Radian Blur with following parameters:

Looks nice, isn’t it?

Add more glowing spheres more in the same way.

And the last one thing that we need to do is to colorful the canvas. For this effect create a new layer, then select the Gradient Tool with one of standard Photoshop gradients to fill all canvas area.

After that mess with the layer mode & opacity/fill. I tried Overlay with opacity of 40%.

Ok, we are done on this step. This glamorous effect really looks so interesting and professionally as for me!
