In today’s Photoshop tutorial, you will learn how to create a watercolor text effect using smart objects.
Final Image
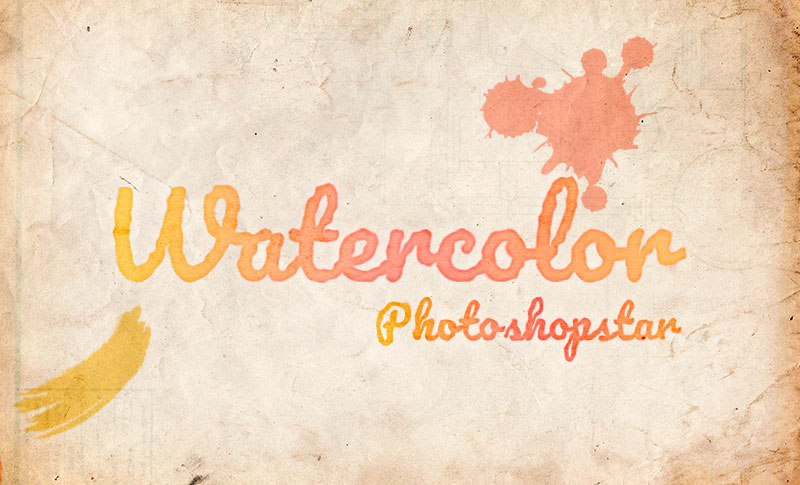
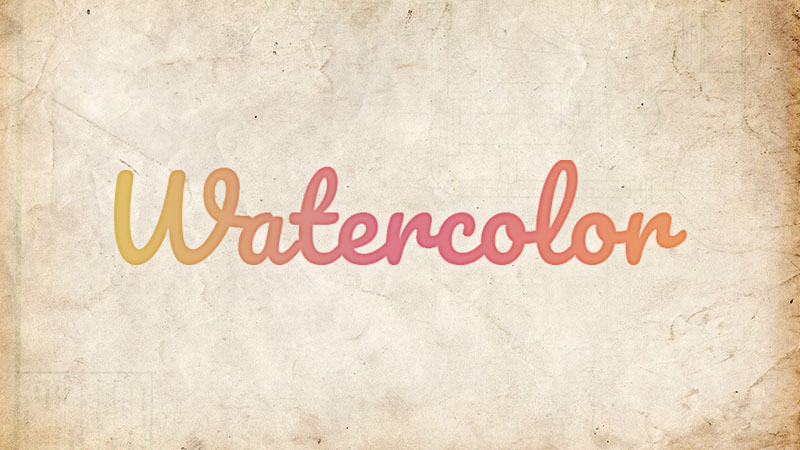
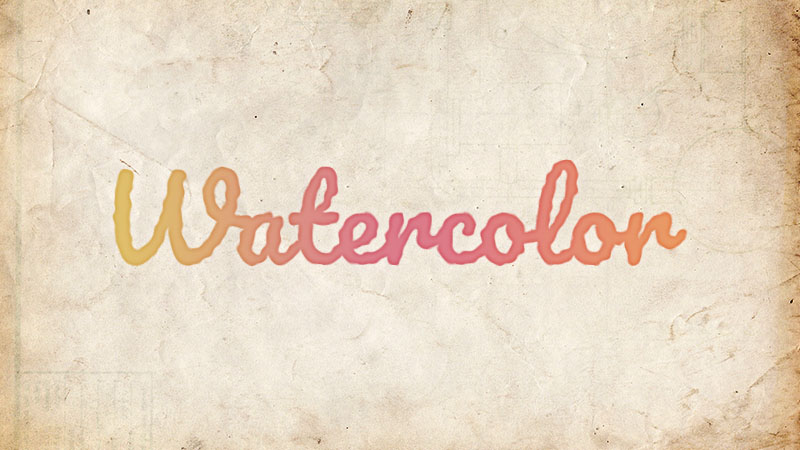
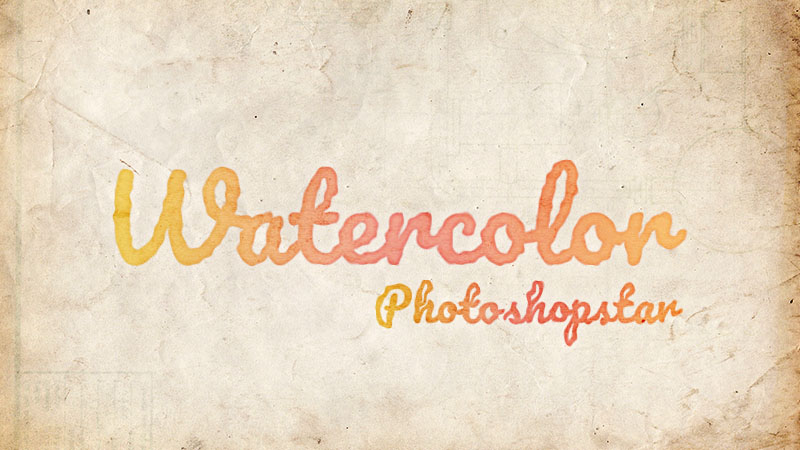
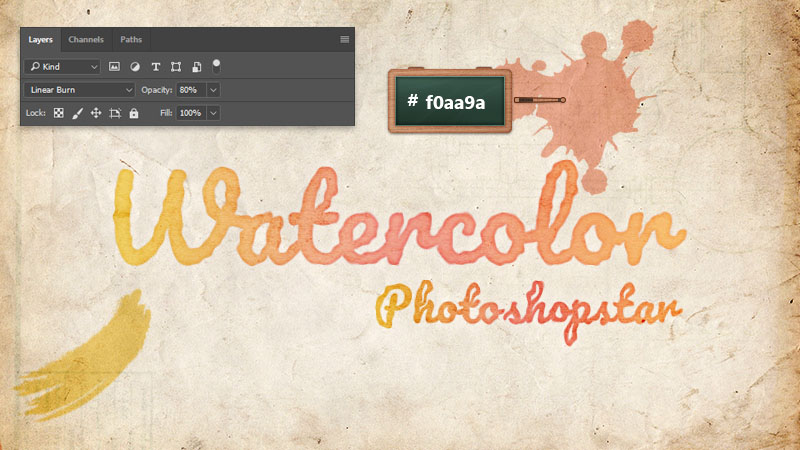
As always, this is the final image that we’ll be creating:
Tutorial Details
- Program: Adobe Photoshop CC
- Estimated Completion Time: 15 minutes
- Difficulty: Beginner – Intermediate
Resources
Step 1
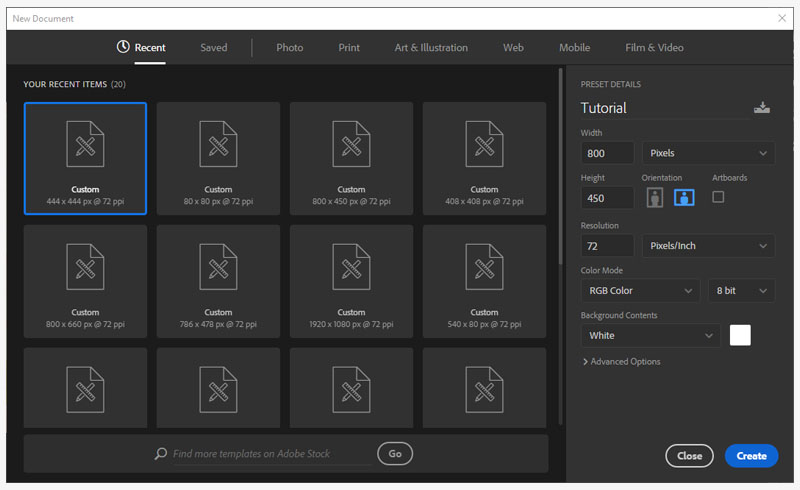
Create a 800 x 450px document, set the resolution to 72 and the color mode to RGB Color 8 bit.
Step 2
Add Texture 1 texture image in your PSD document and rotate it horizontaly.
Hit Control + A keyboard shortcut to select all the canvas, move to the Layers panel and then click on the Add layer mask button.

Step 3
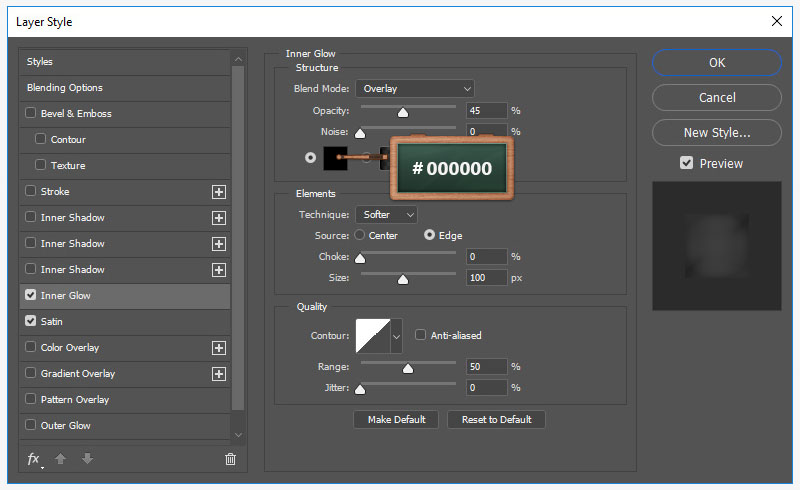
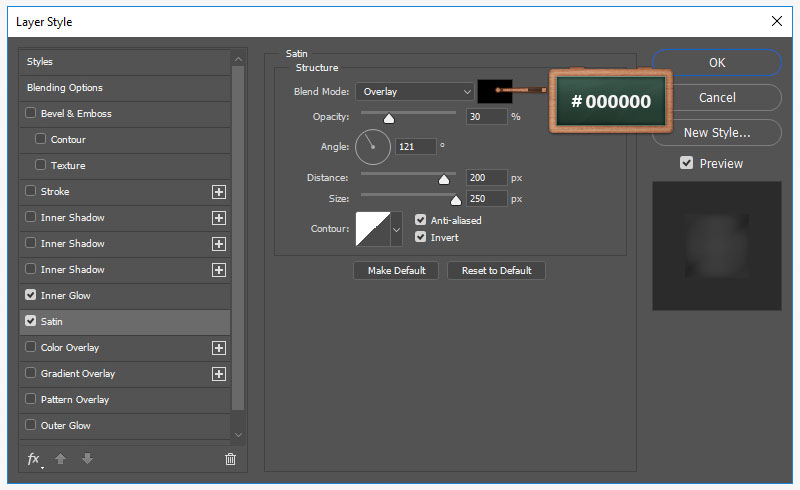
Open the Layer Style window for your image and enter the settings mentioned below.

Step 4
Pick the Horizontal Type Tool and use the Pacifico Font.
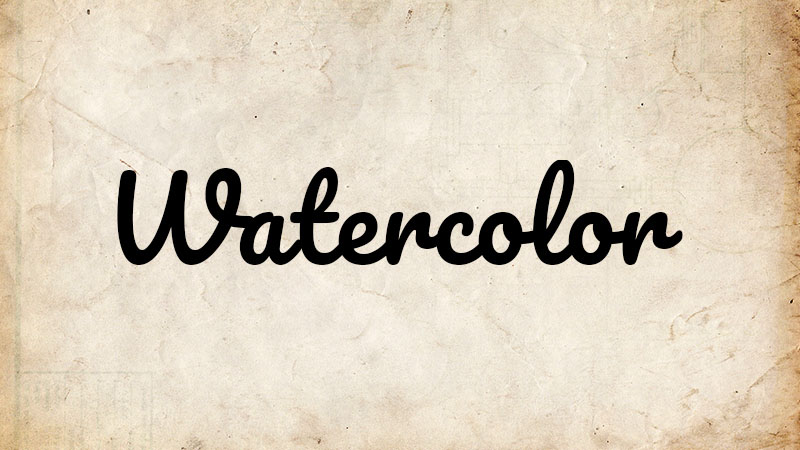
Move to your canvas, add the Watercolor text with the size 112px and the color #000000.
Once you’re done, move to the layers panel, right click on the text and then go to Convert to Smart Object.
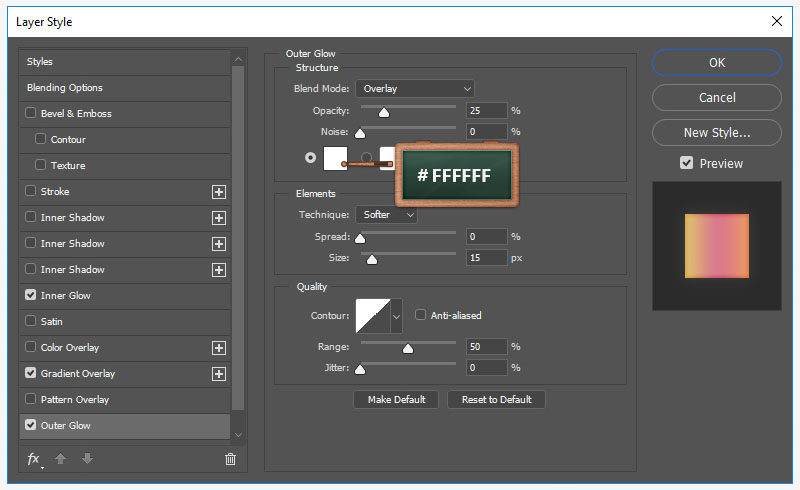
Step 5
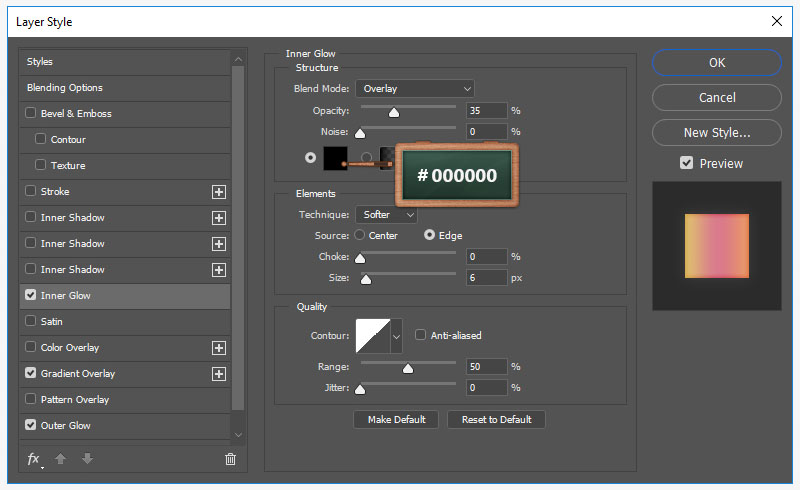
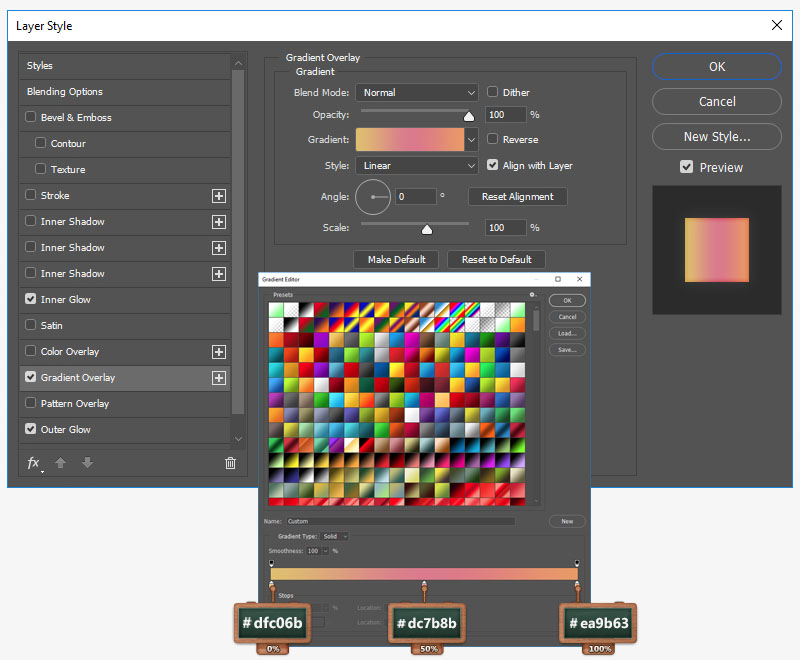
Open the Layer Style window for your smart object and enter the settings mentioned below.
Step 6
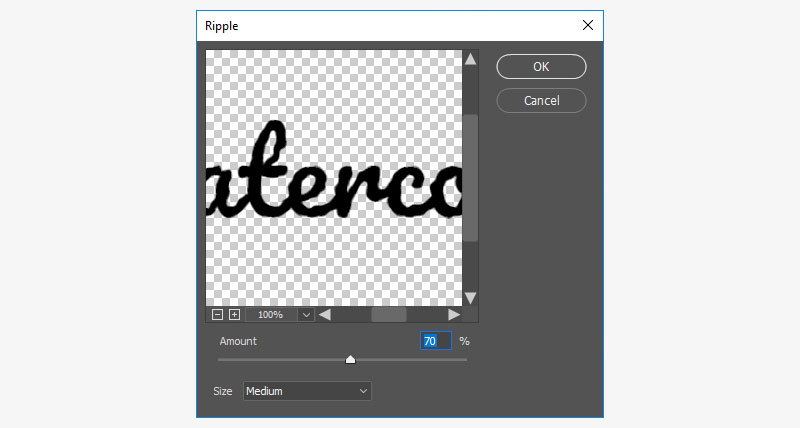
Make sure that your smart object is still selected and then go to Filter > Distort > Ripple.
Set the amount to 70%, size to Medium and then hit OK.
Step 7
Since this text effect is a smart object , you can easly change the text.
Open the smart object, change the text and then save and return to your main document.

Step 8
Focus in the Layers panel, select the smart object, right click on it and go to New Smart Object via Copy.
Hit Control + T, hold the Shift button and then resize it into a smaller smart object.
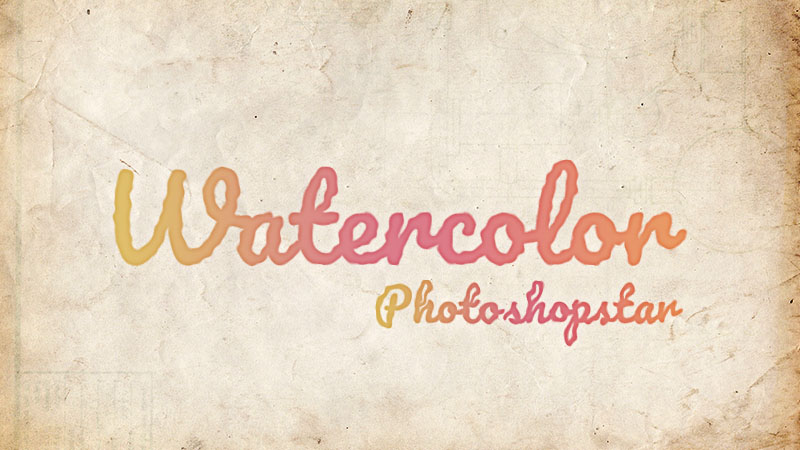
Open this smart object, change the text to Photoshopstar save and return to your main document.
Step 9
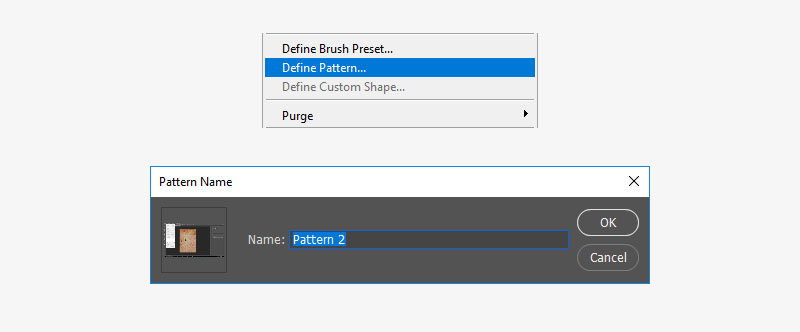
Now we add an extra texture over the text. Open Texture 2 image texture in a new document.
Go to Edit > Define Pattern, set the name and hit OK.
Step 10
Return to your main document,select the smart object that stands for the Watercolor text and duplicate it using the Control + J keyboard shortcut.
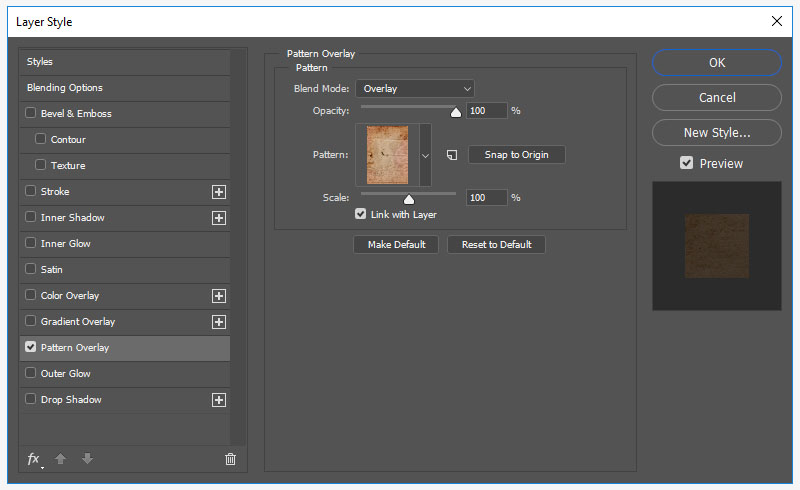
Open the Layer Style window for this fresh copy and enter the settings mentioned below.
Now simply repeat this step for the Photoshopstar text.
Step 11
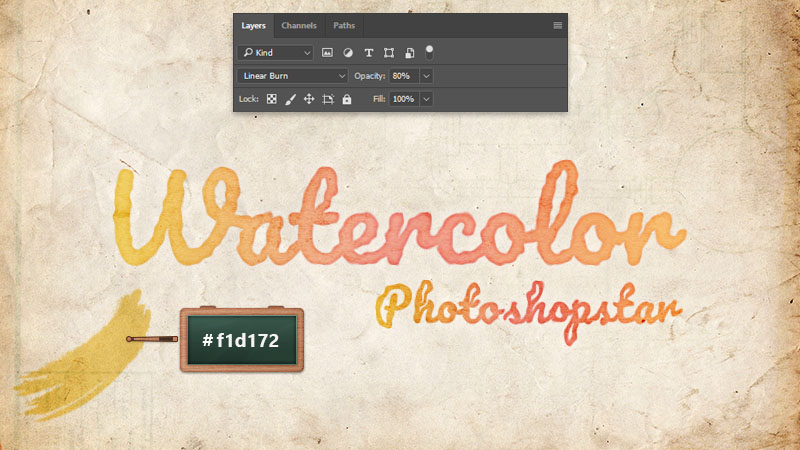
Open brush set and then use the “Sample brush 9” and “Sample brush 11” to decorate your text effect.
Move to the Layers panel and then click on the Create a new layer button. Change the Blend Mode to Linear Burn and lower the Opacity to 80% for this new layer.
Now simply change the foreground to #f0aa9a or #f1d172 and add some brushes as you can see below.
And We’re Done!