In this Photoshop tutorial, I’ll show you how to create a fantasy gate using a variety of photo manipulation techniques.
You’ll learn how to combine several stock images to create a fantasy scene, how to change the color, paint the light effect and more.
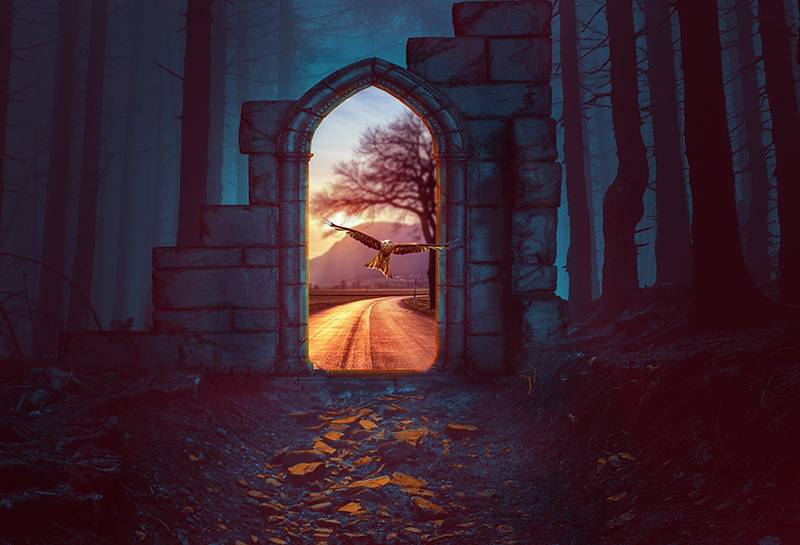
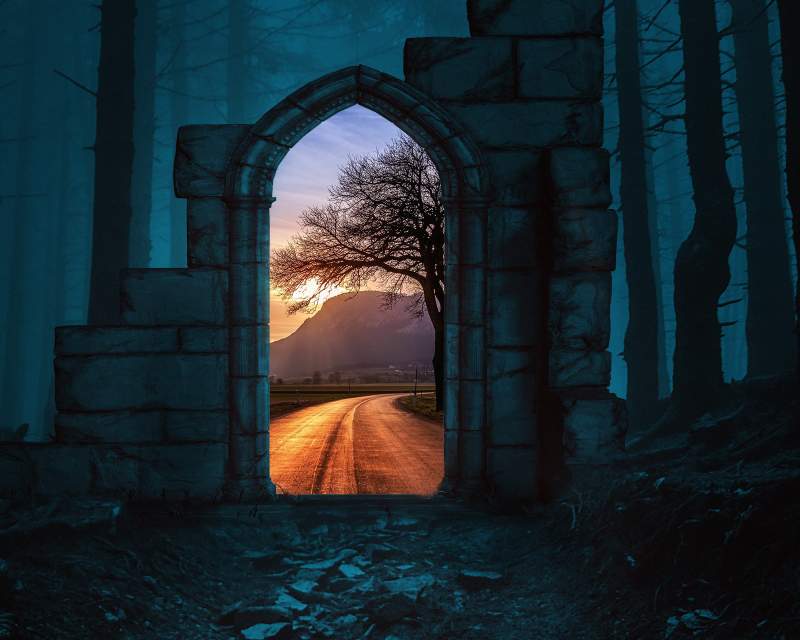
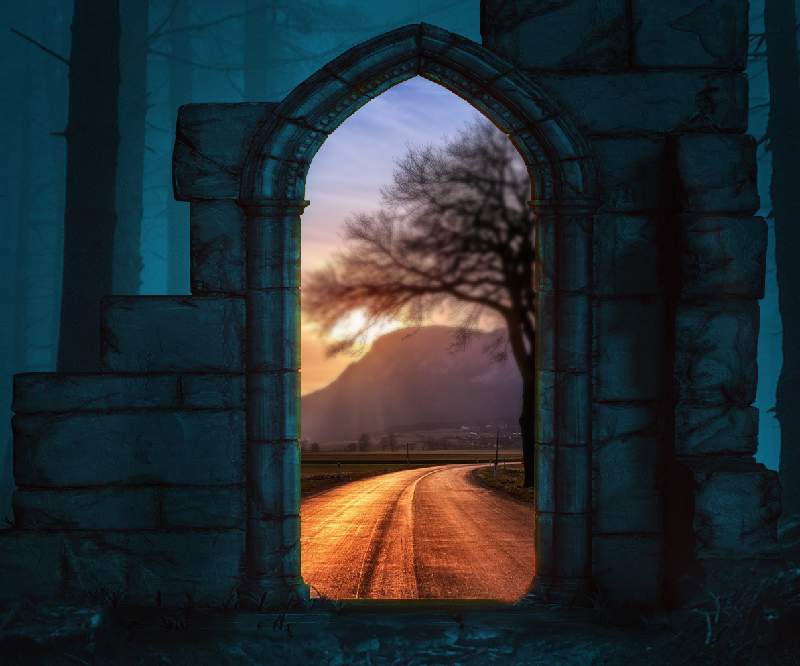
Final Image
Tutorial Details
- Program : Photoshop CS3+
- Estimated Completion Time: 60 minutes
- Difficulty : Intermediate
Resources
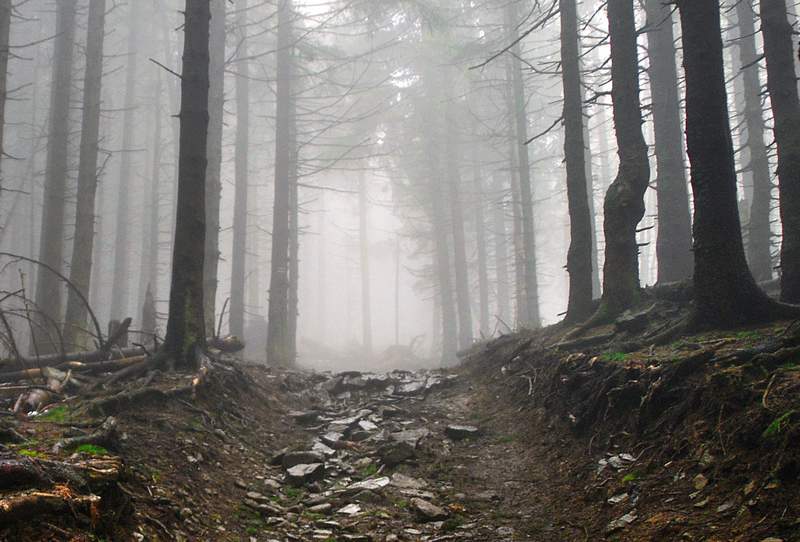
Step 1
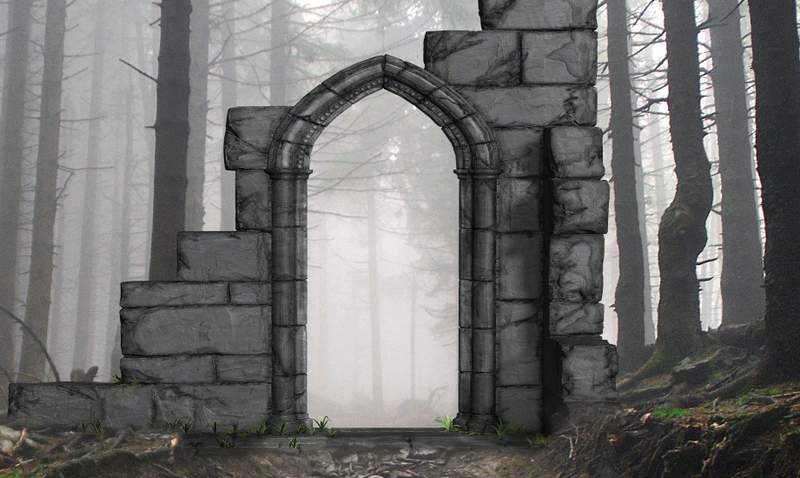
Create a new 2200×1500 px and fill with white. Open the forest image and drag this image into the white canvas using the Move Tool (V).
Step 2
Open the gate image. As it has a transparent background, so simply use the Move Tool to drag it onto the forest background and place it in the middle section.
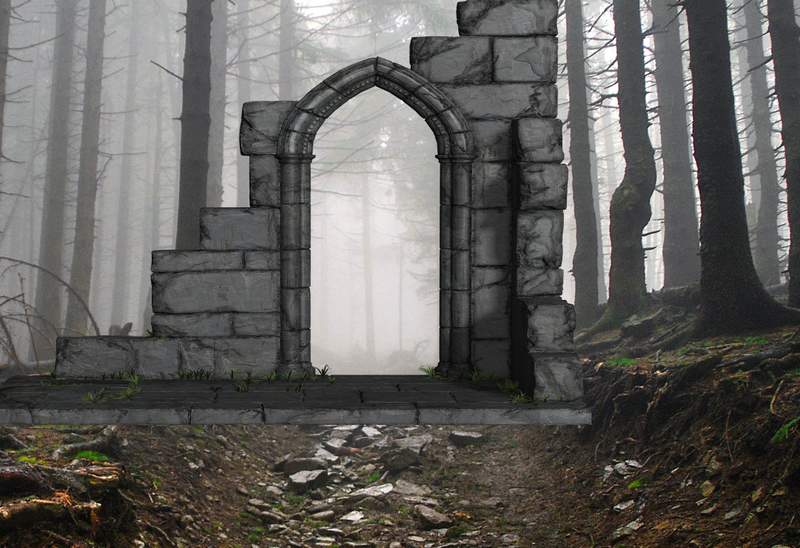
Step 3
Click the second icon at the bottom of the Layers panel to add a mask to this layer. Use a soft black brush to erase the bottom of the gate and blend it with the ground.
Step 4
Create a new layer (set as Clipping Mask ), change the mode to Overlay 100% and fill with 50% gray.
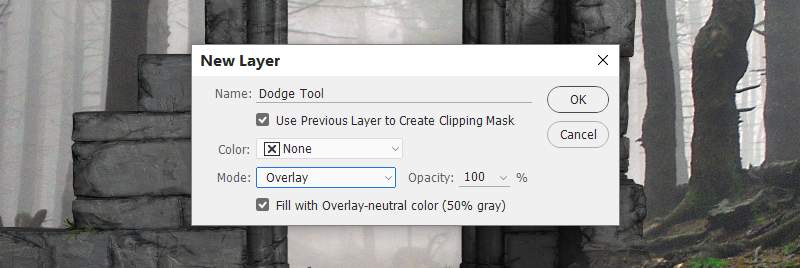
Activate the Dodge Tool (O) with Midtones Range, Exposure about 20-30% to brighten some details around the gate contour and bottom. You can see how I did it with Normal mode and the result with Overlay mode.

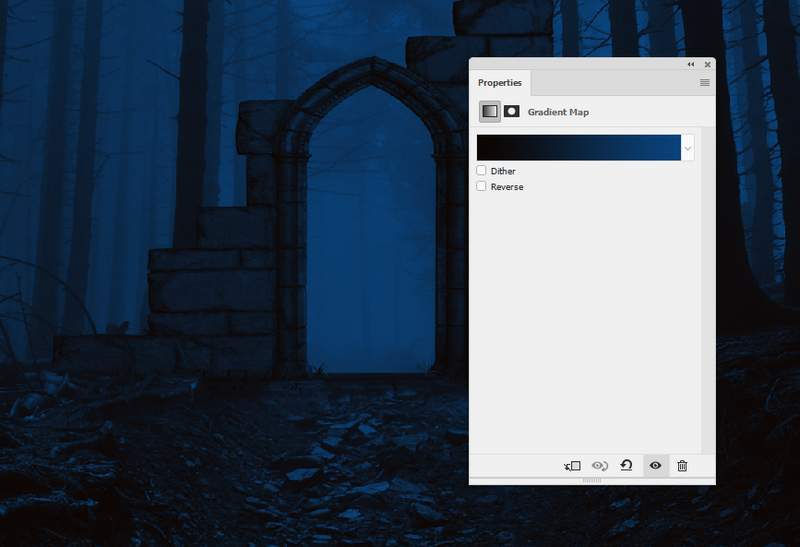
Step 5
Go to Layer > New Adjustment Layer > Gradient Map and pick the colors #0d0501 and #0a437b .
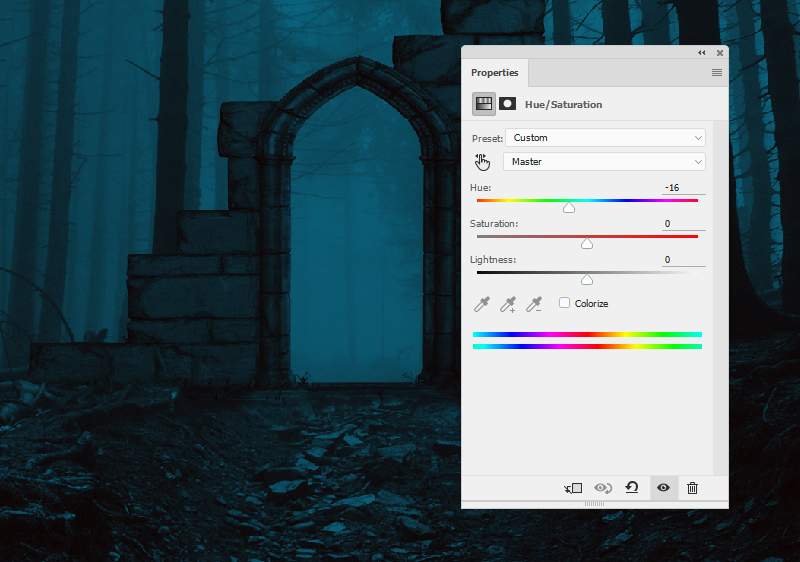
Step 6
Make a Hue/Saturation adjustment layer to change the whole scene to a dark cyan.
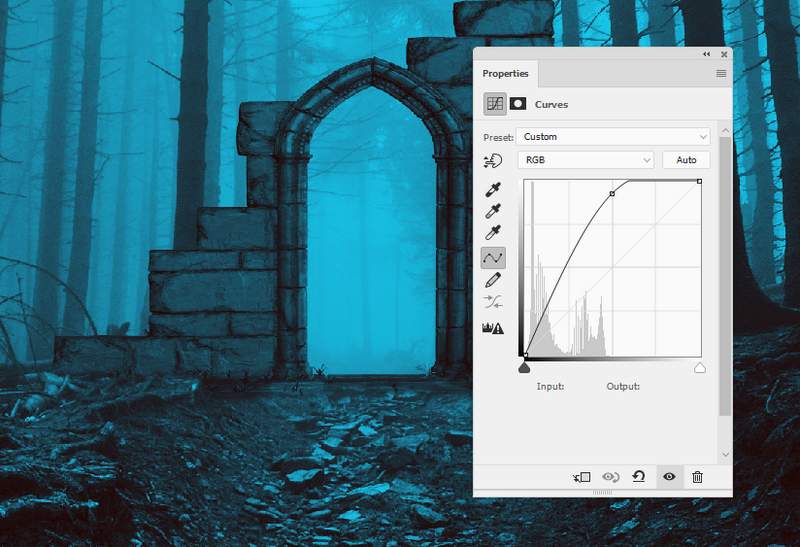
Step 7
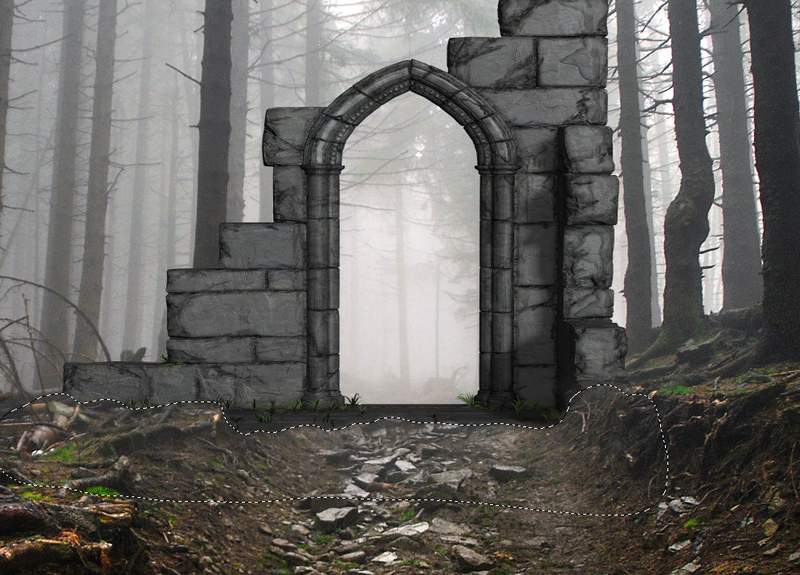
Add a Curves adjustment layer to brighten the whole scene. On the layer mask, use a soft black brush to erase the part inside the gate and the ground.
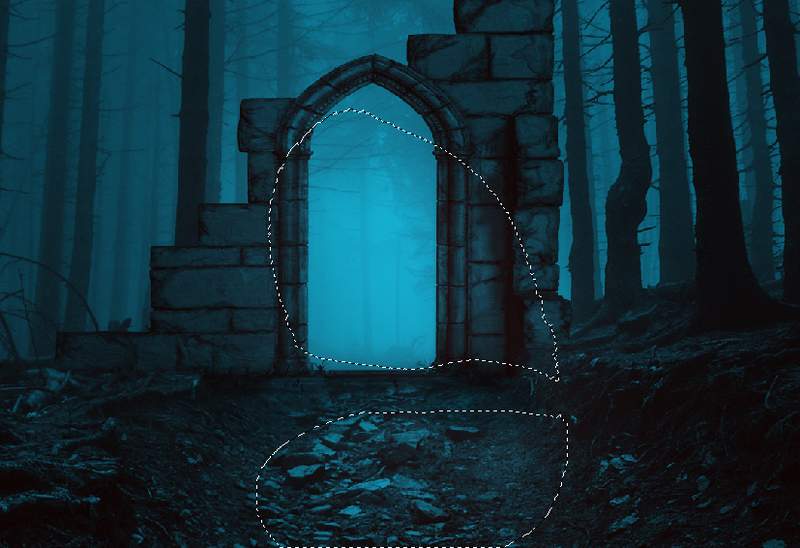
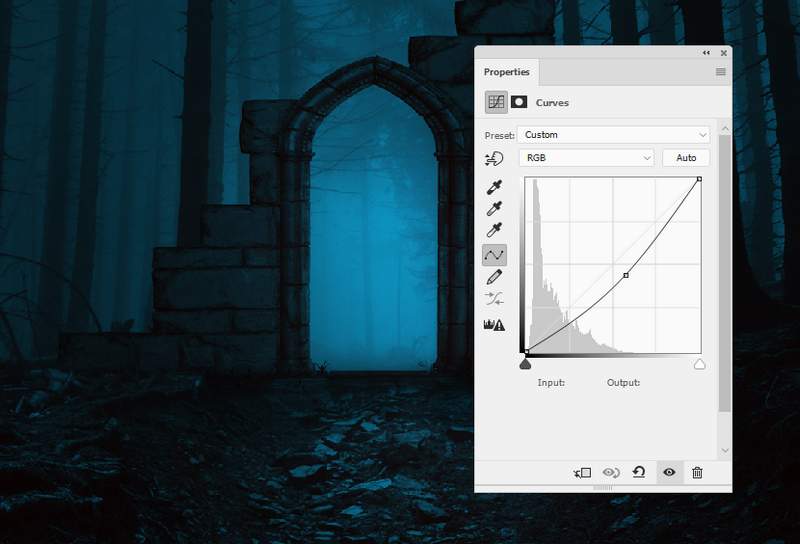
Step 8
Use another Curves adjustment layer to darken the edges of the forest. Paint on the middle so it won’t be or less be affected by this adjustment layer.
Step 9
Drag the road image into the main canvas and use the Free Transform Tool (Ctrl+T) to scale it down to fit the size of the gate. Convert this layer to a Smart Object .
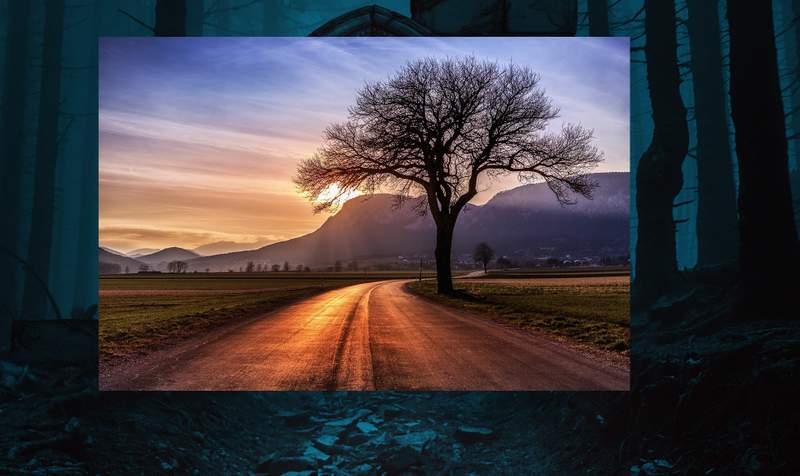
Add a mask to this layer and use a hard black brush to erase the parts outside the space between the gate.
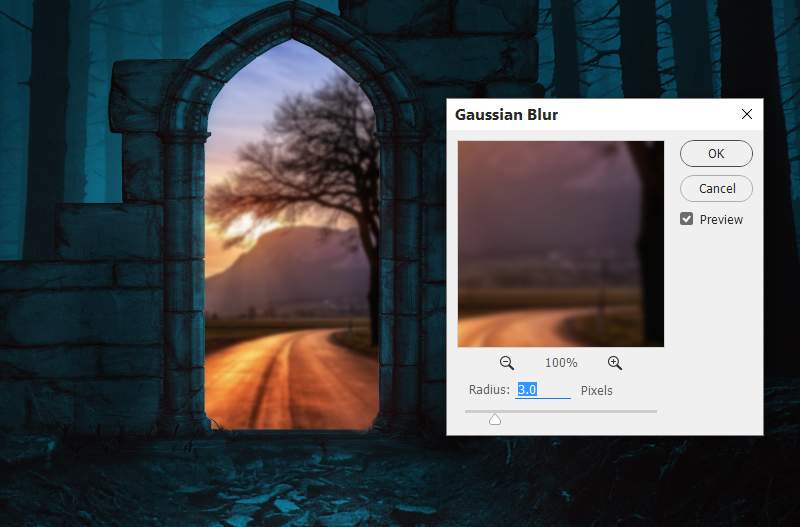
Step 10
Go to Filter > Blur > Gaussian Blur and change the radius to 3 px. On the filter mask, use a soft black brush to erase the foreground of the road, leave the blur effect visible on the background only.
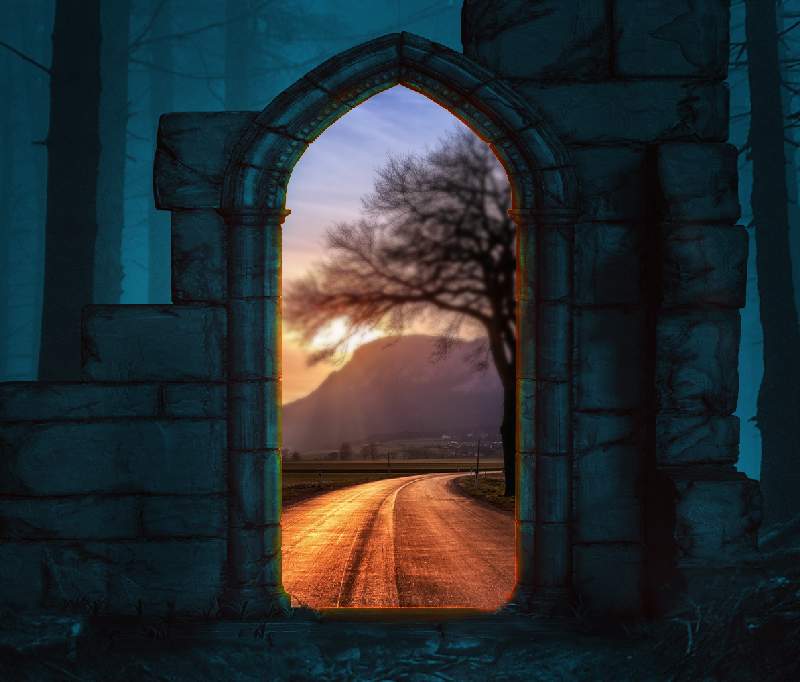
Step 11
To make a light reflection from the road on the gate, create a new layer on top of the layers and use a soft brush with the color #f78c36 to paint around the contour inside the gate. Change this layer mode to Overlay 100% .
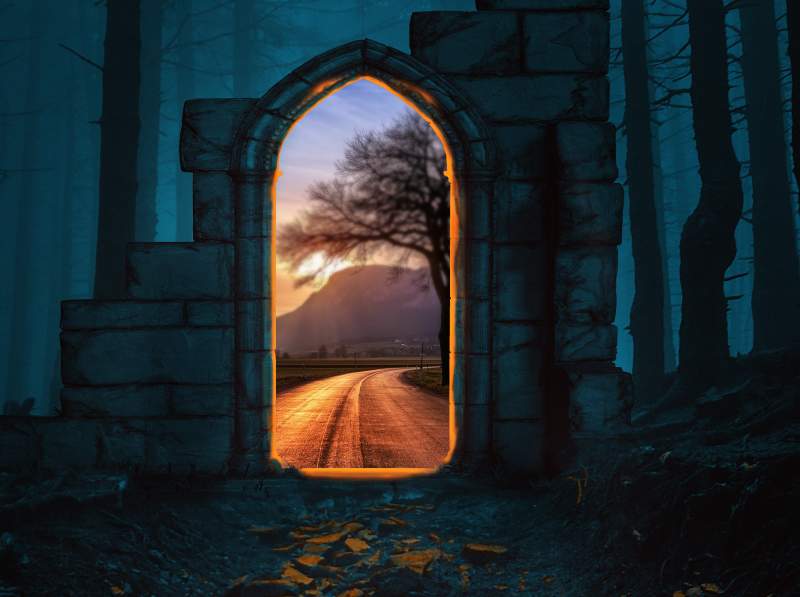
Step 12
Duplicate this layer to make the light effect stronger.
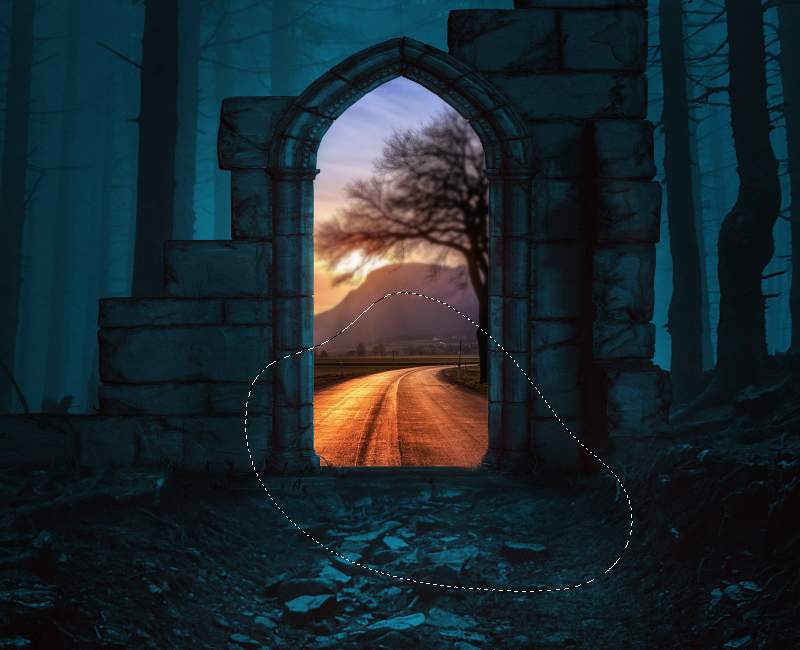
Step 13
Make a new layer and change the mode to Color 100% . Use the same brush to paint gold light effect on the surface of the small rocks on the forest ground.

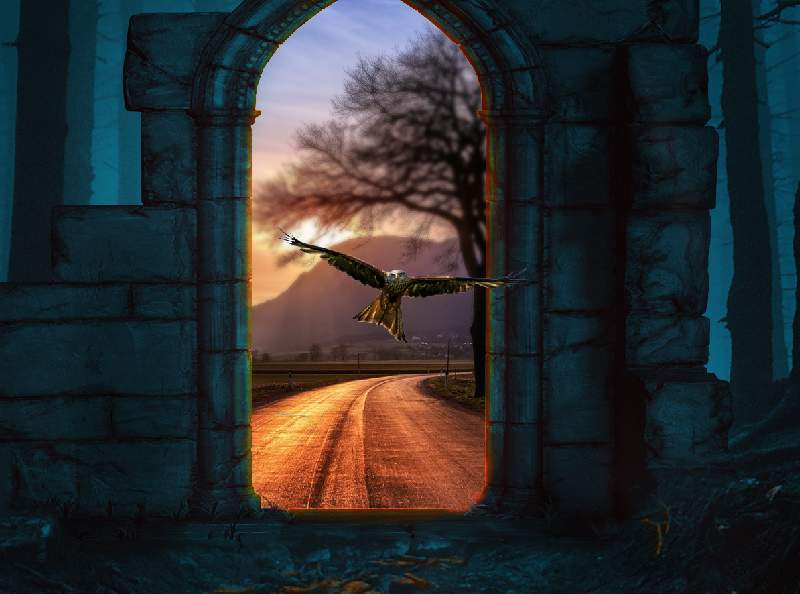
Step 14
Cut out the bird and add him to the middle of the gate.
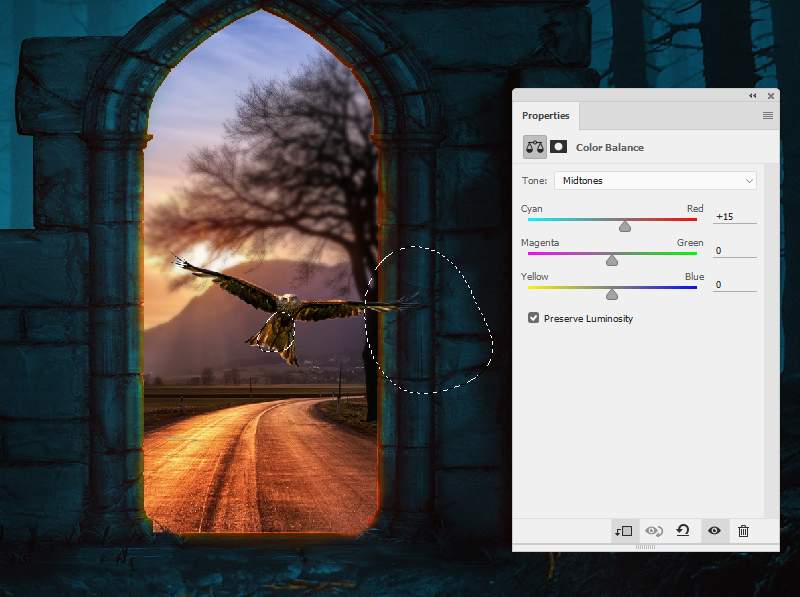
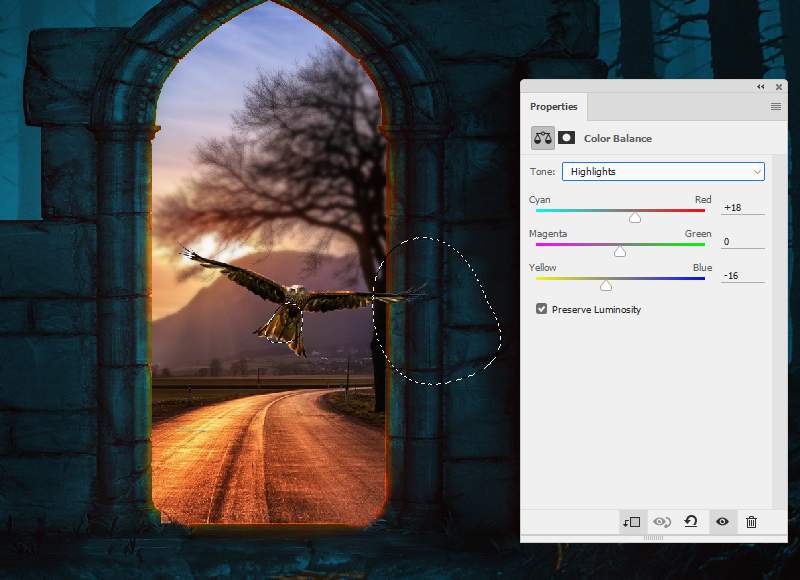
Step 15
Create a Color Balance adjustment layer and alter the Midtones and Highlights settings. On the layer mask, use a soft black brush to erase the middle of the bird’s tail and the wing’s part on the gate.
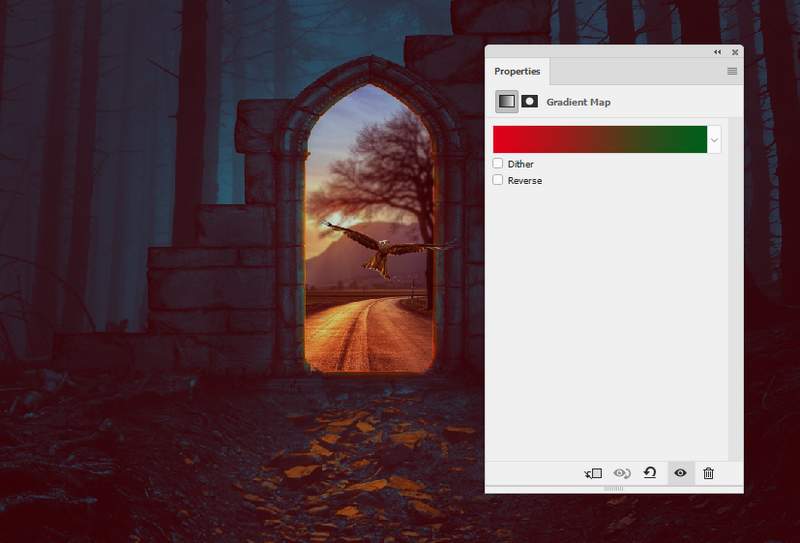
Step 16
Create a Gradient Map adjustment layer on top of the layers and pick the colors #e10019 and #00601b . Lower the opacity of this layer to 20% . On the layer mask, use a soft black with the opacity about 10-15% to reduce the dark red on some details around the middle section.

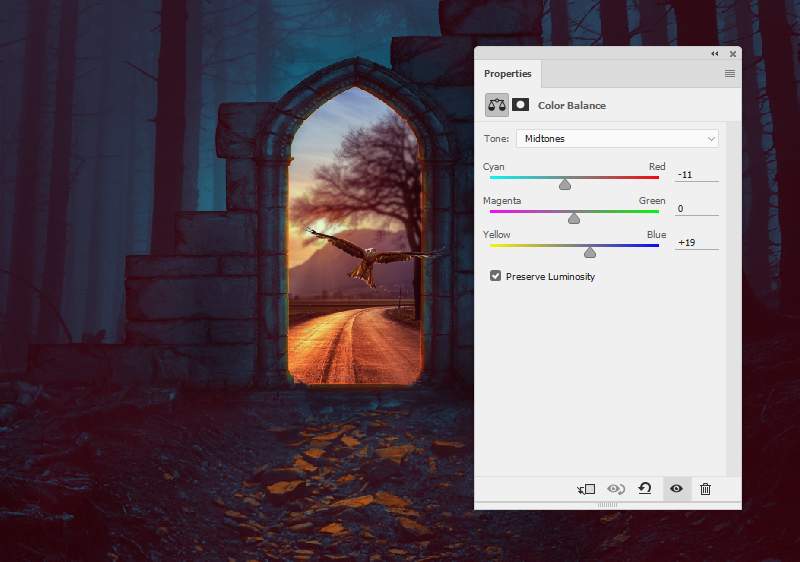
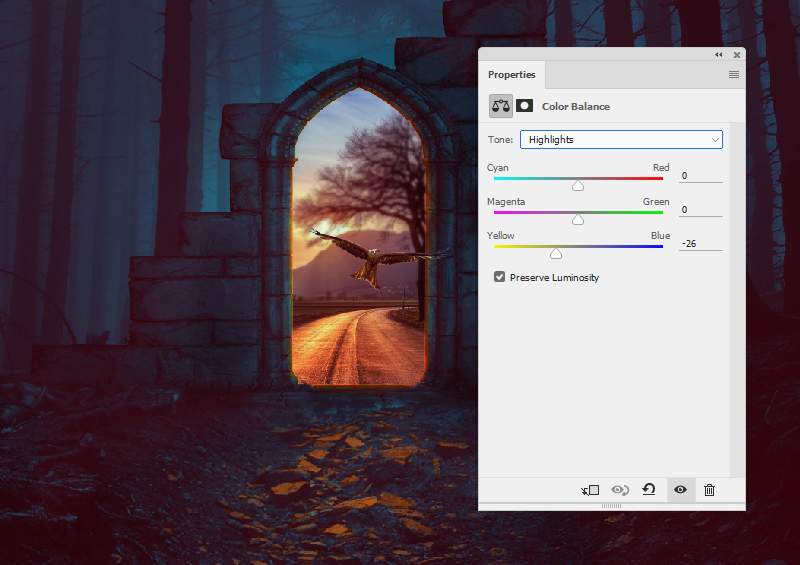
Step 17
Add a Color Balance adjustment layer and change the Midtones and Highlights values.
Step 18
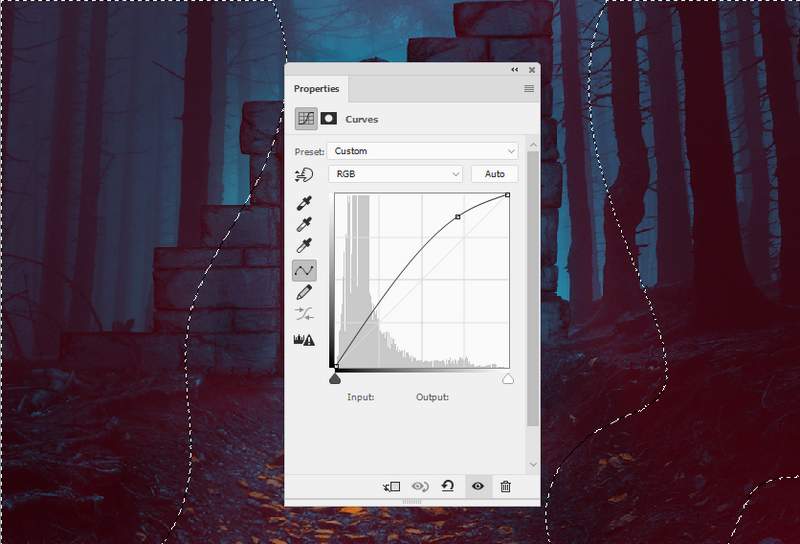
Use a Curves adjustment layer to bring more light to the middle of the whole scene. Paint on the both sides so it won’t be affected by this adjustment layer.
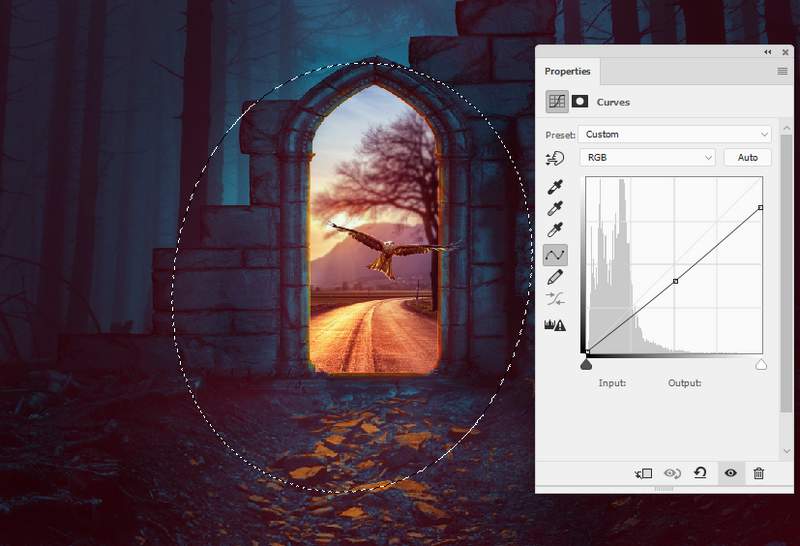
Step 19
Make another Curves adjustment layer to darken the edges a bit. Paint on the middle to keep its brightness.
And We’re Done!
I hope that you enjoyed this tutorial.
