In this Photoshop tutorial we will create some vertical panels that will blend nicely with an existing photo.
Final Image
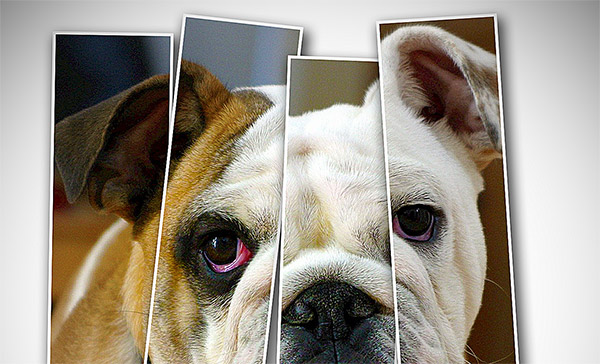
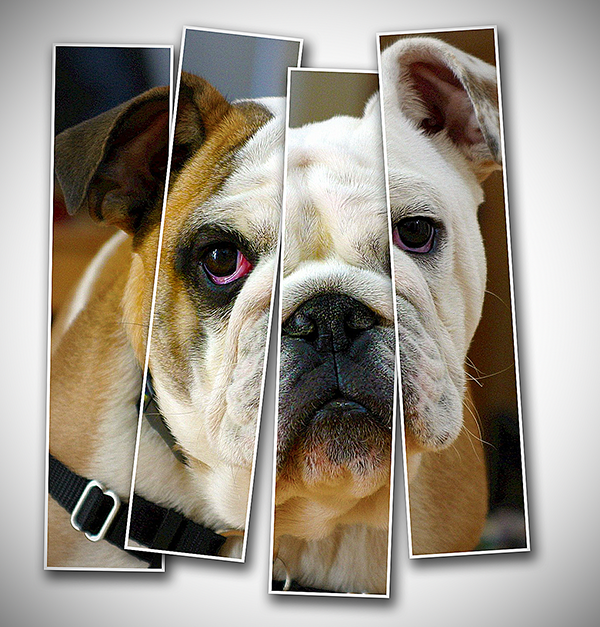
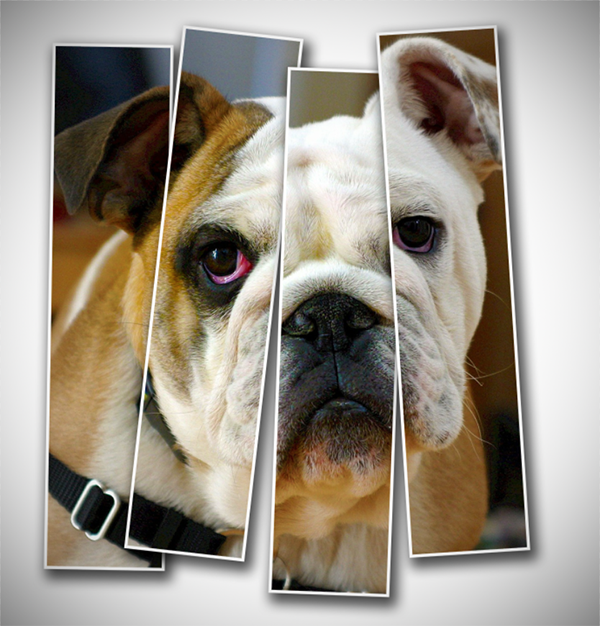
As always, this is the final image that we’ll be creating:
Tutorial Details
- Program: Adobe Photoshop CS3
- Estimated Completion Time: 40 minutes
- Difficulty: Beginner-Intermediate
Resources
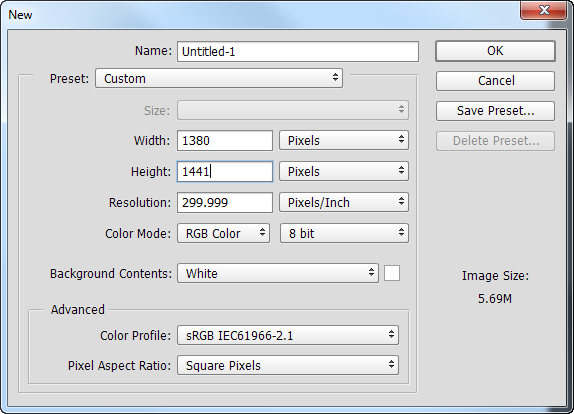
Step 1
Create a new document 1380×1441 pixels (Ctrl + N) and fill it with white (Shift +F5). This will be our background. We could’ve used a more complex background (like wood texture or a gradient) but for the sake of simplicity I thought it would be best to keep it nice and simple.
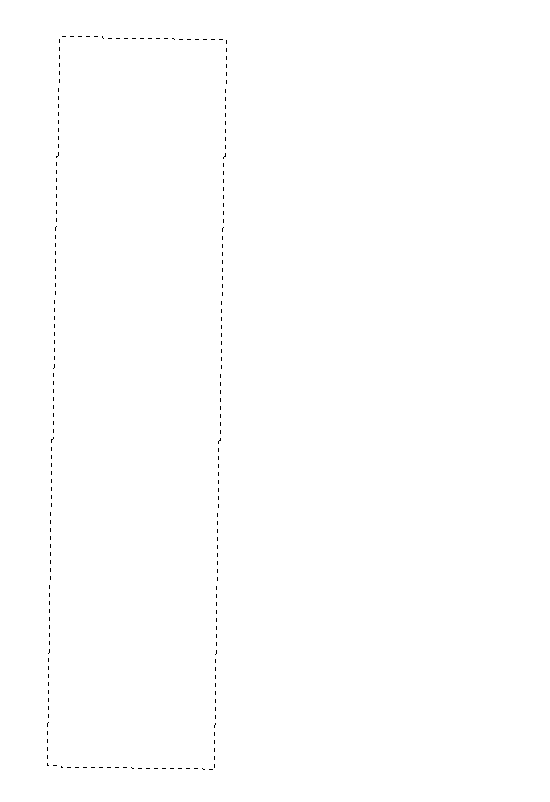
Step 2
Select the Rectangular Marquee Tool (M) and create a rectangle as shown below. Create a new layer by pressing Ctrl + Shift +Alt +N and fill it with white or black by pressing Ctrl + Backspace. Press Ctrl + D to deselect. Use the Free Transform tool (Ctrl +T) to rotate this rectangle slightly.
Step 3
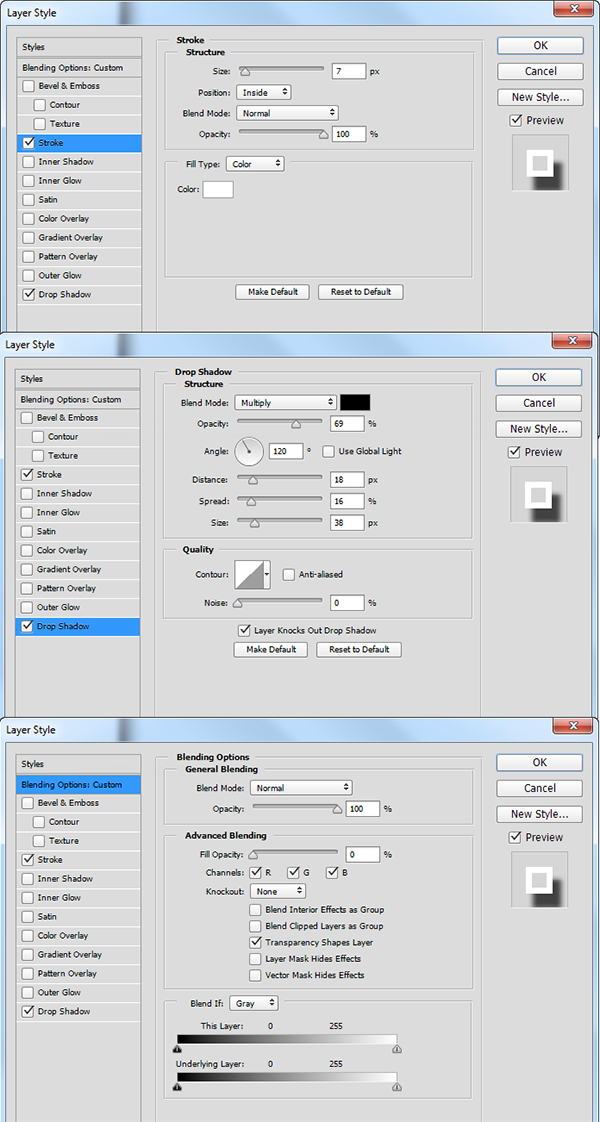
Double click the rectangle layer to open the Advanced blending window and add a Stroke and a Drop Shadow effect. This is our first panel (we will multiply it later) and we have added shadow and a stroke to make look more realistic. Lower the Fill Opacity to 0 to hide the layer pixels and show just the special effects.
Step 4
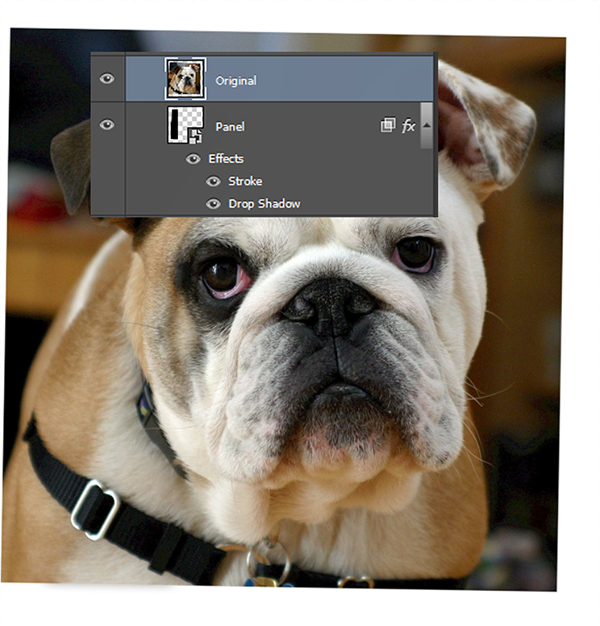
Open the “Dog” image in Photoshop. Press Ctrl + A to select everything and Ctrl + C to copy. Go back to our scene and press Ctrl + V to paste. Use the Free Transform tool (Ctrl + T) to slightly rotate this photo as shown below. We do this because we do want to have our panels look slightly scattered and not ordered in a precise manner.
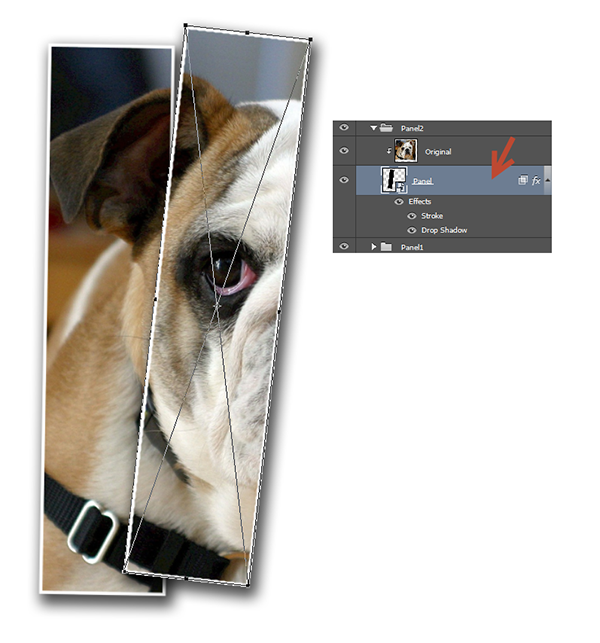
Step 5
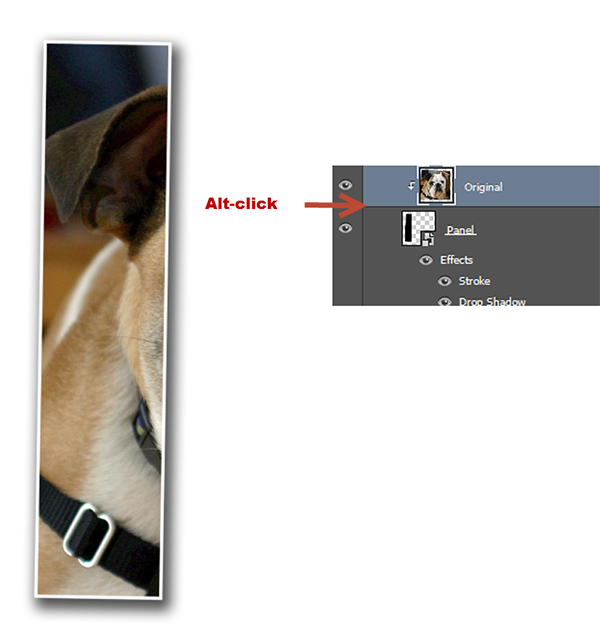
Now let’s create our first actual panel. In order to do that we have to show the dog photo through the panel we created in steps 2-3. In order to do that alt-click between the two layers in the layer palette. This will clip the upper layer to the lower layer (basically it will show the upper layer only through the visible pixels of the lower layer).
Step 6
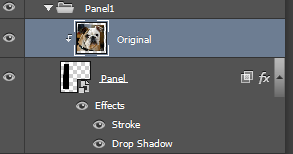
Group the two clipped layers together (hold ctrl while clicking on each of them) and press Ctrl + G. Name this group “Panel1”. This doesn’t have any effect on the overall scene but it help us keep things organized in the layers palette. You will notice as you work with complex Photoshop files that the layers palette becomes quickly crowded so it is important to keep some order.
Step 7
Duplicate the group “Panel1” by pressing Ctrl + J. Click on the “Panel” layer inside the “Panel2” group and press Ctrl + T to open the Free Transform Tool. Move this panel to the right of the first layer and rotate it a bit as shown below. Hint: you can rotate a layer with the Free Transform Tool by moving your mouse near the corners until a double curved arrow appears – after that you simply click the left mouse button and drag.
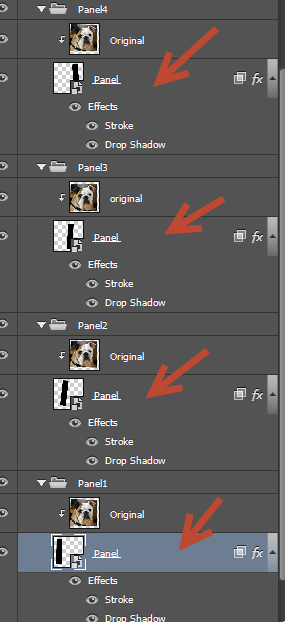
Step 8
Duplicate the Panel2 group two more times (Ctrl + J). For each new group move the panel layer inside to the left and rotate it slightly by using Free Transform (Ctrl + T). You can see in the image below how my layer palette looks.
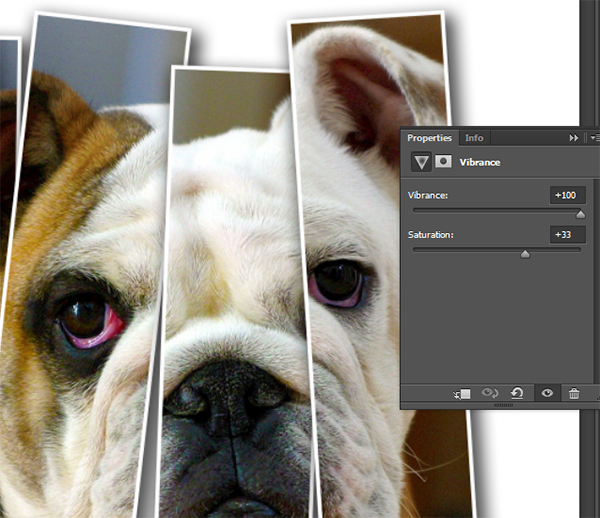
Step 9
This is how you add vertical panels to a photo. Now let’s improve the overall look of our image. Create a Vibrance Adjustment Layer (Layer > New Adjustment Layer > Vibrance).Increase the Vibrance slider to +100 and the Saturation Slider to +33 in order to boost the overall color intensity.
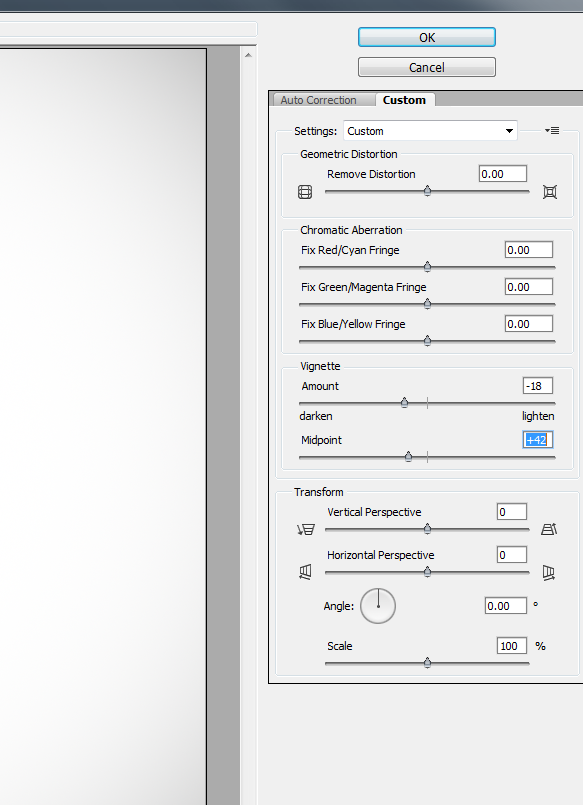
Step 10
Let’s add a vignette to our scene. Create a new layer (Ctrl + Shift + Alt + N) and fill it with white by pressing D and Ctrl + Backspace. Go to Filter > Lens Correction and click on the Custom tab. Use the settings shown below to create a vignette.
Step 11
Change the blending mode of the vignette layer to Multiply. This action will simply hide the white color and only show the nice black frame around our scene. A vignette greatly increases focus of a scene by allowing the eye to focus on the luminosity in the center and neglect the margins of the photo.
Step 12
Create a new layer from all the visible layers by pressing Ctrl + Shift + Alt +E. Add a Sharpen effect by going to Sharpen > Unsharp Mask and using the settings shown below. And we’re done!

And We’re Done!