In this tutorial you will learn how to create text on fire, also I will explain all the techniques how to transform the text in right format.
First of all you’ll have to start by finding some appropriate picture. I prefer to use this one which you can see below:
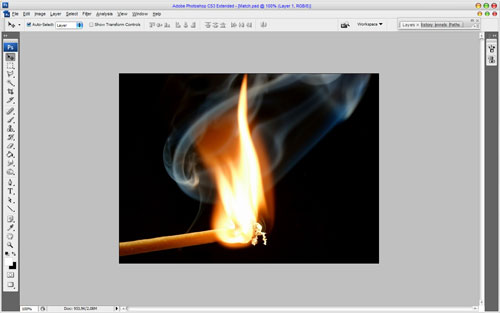
Ok, now we need to add the text to the canvas to work with. Get out the Horizontal Type Tool and write out something like ‘Fire’ with any color you want.
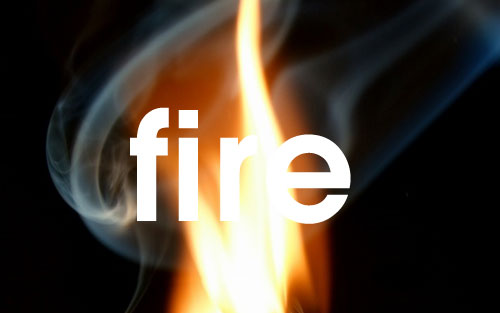
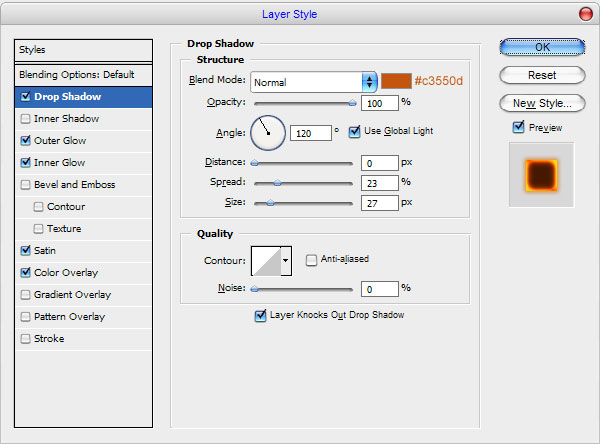
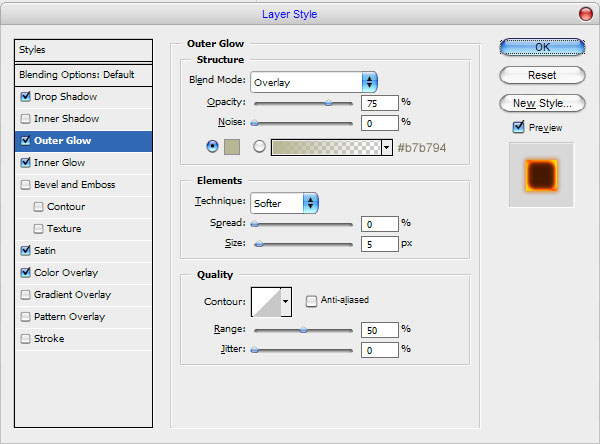
In the above image I’ve used AvantGarde as my font of choice. Actually, it is commercial, but if you don’t have it, you can easily find a good alternative. After that I would like to add some layer styles such as Drop Shadow, Outer Glow, Inner Glow, Satin and Color Overlay for this text layer.
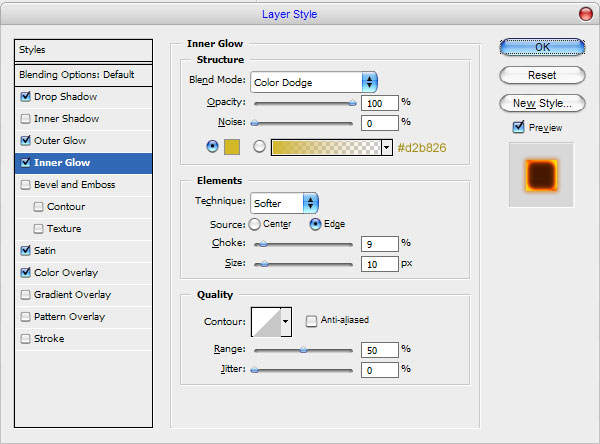
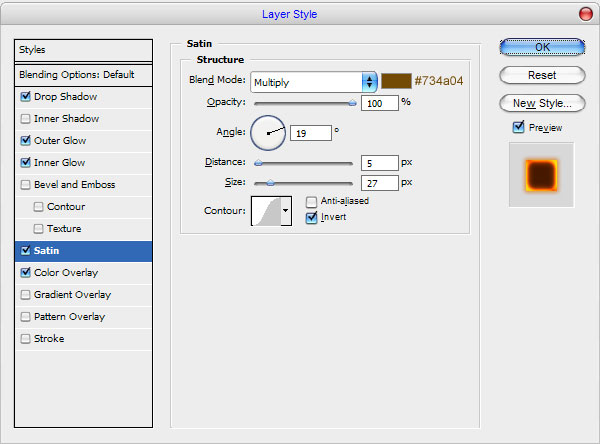
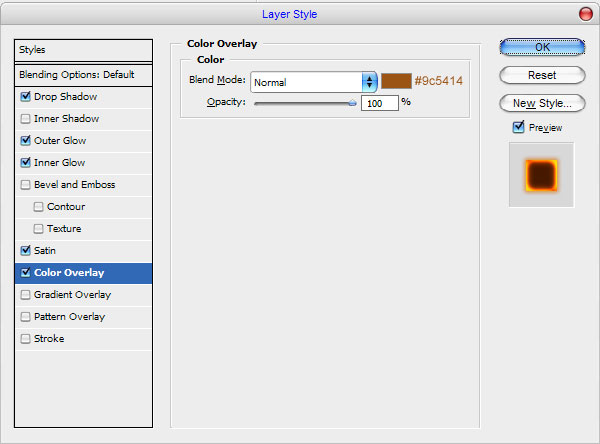
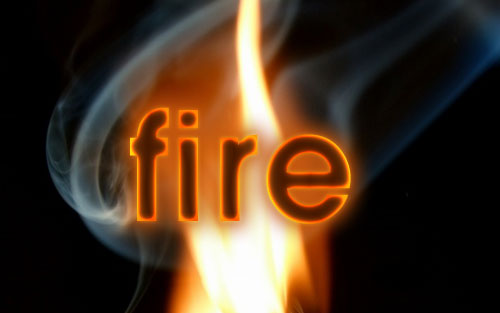
Ok, move to the next step. After that create a new layer above and merge it with text layers to get all the effects in one layer. Then select the Smudge Tool (Brush: 10 px, Mode: Normal, Strength: 79%) and try to make some strokes as on my picture you can see below.

Then apply Filter > Liquify and play a little with different tools to get the result maximum similar to mine:
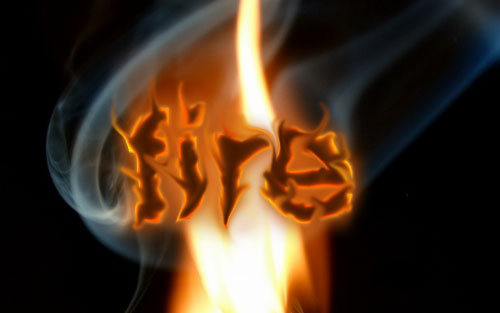
And the last one thing that we need to do is to put the word into the fire. For this effect select the Eraser Tool and a soft round brush about 20 pixels (Opacity: 40%) and make some clear work to finish off the tutorial.
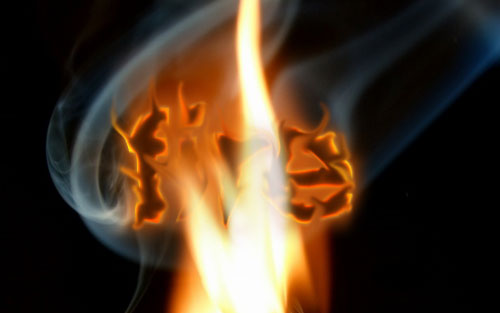
Looks cool! Thanks for reading everyone! Hope it was really very interesting for you!

