This two part tutorial will show you how you can make the ice wall background from Lich King computer game. In this Part 2 (of two) you will create ice text effect.
Final Image

Step 1
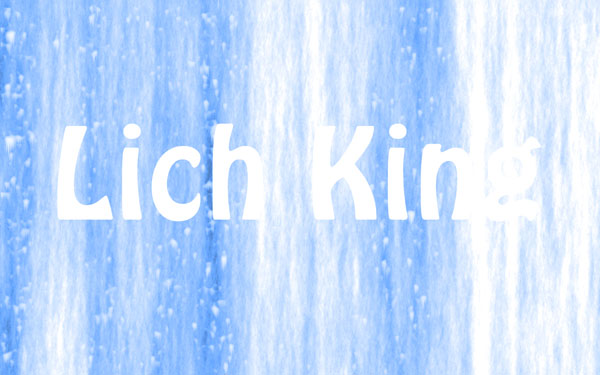
Open PSD file that was created on Part 1 of this tutorial and create a new Layer. On new Layer, select the Horizontal Type Tool (T) and write “Lich King” with white color in the middle of canvas. For this text line I have selected Hobo Std font (240 pt., Crisp) as my font choice.
Step 2
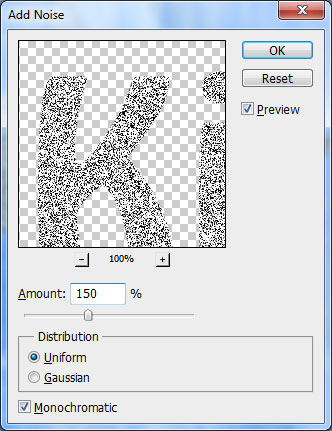
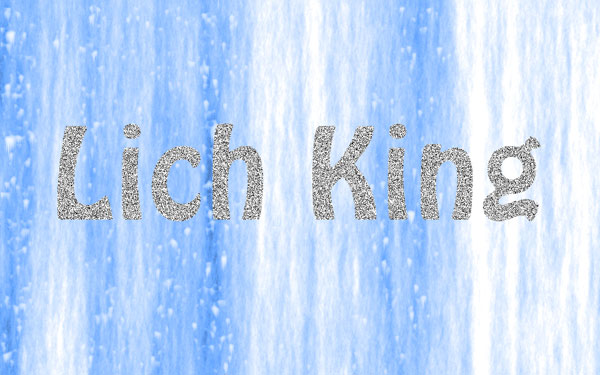
Now rasterize this layer (Layer > Rasterize > Type) and apply Filter > Noise > Add Noise with the same presets used on part 1 of this tutorial:
Step 3
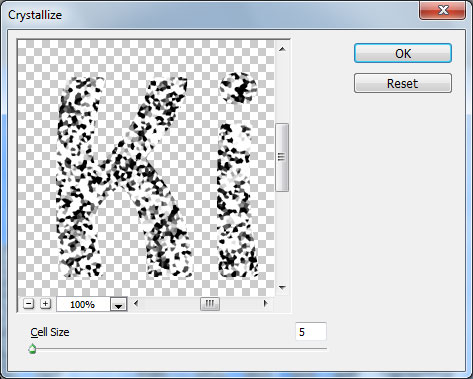
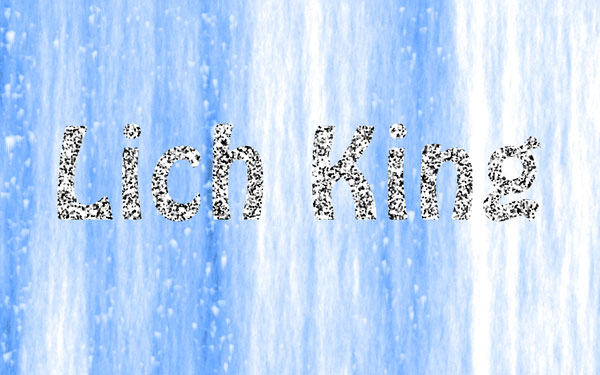
Apply Filter > Pixelate > Crystallize:
Step 4
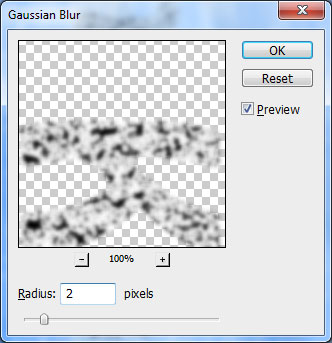
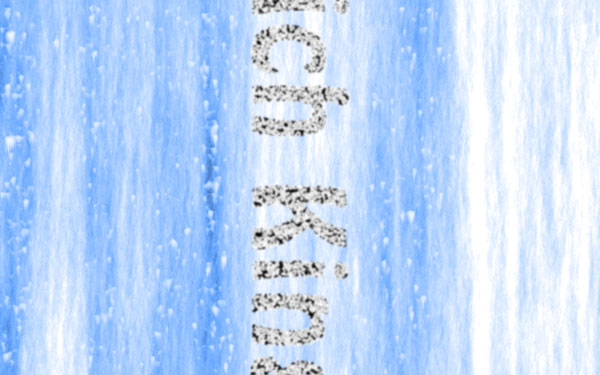
Then do the same actions as you did for background layer (apply Filter > Stylize > Find Edges, then invert color (Ctrl+I) and Edit > Transform > Rotate 90 CW). After finishing all these actions apply Filter > Blur > Gaussian Blur:
Step 5
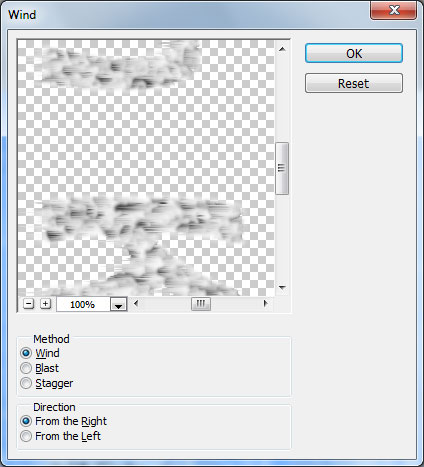
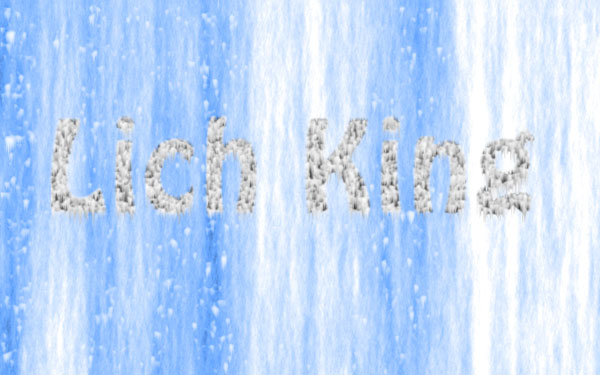
After that apply Filter > Stylize > Wind as before and rotate image 90 CCW (Edit > Transform > Rotate 90 CCW).
Step 6
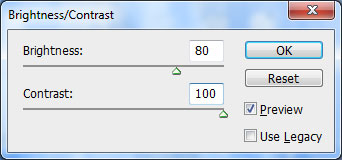
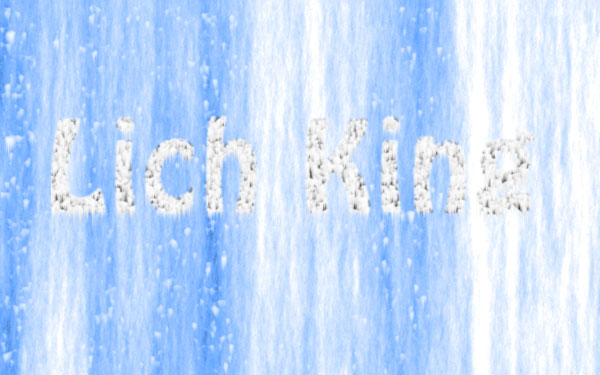
Apply Image > Adjustments > Brightness/Contrast with next presets:
Step 7
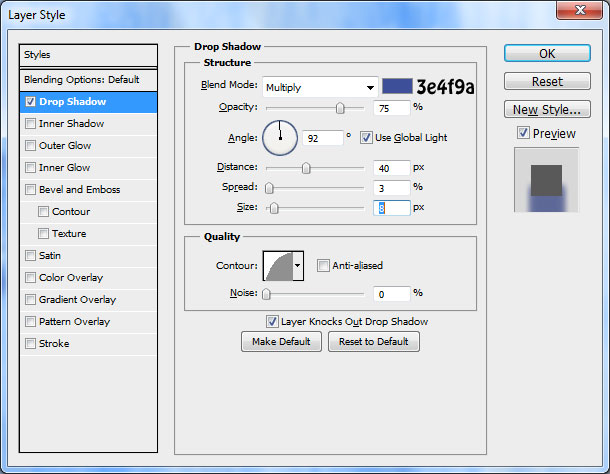
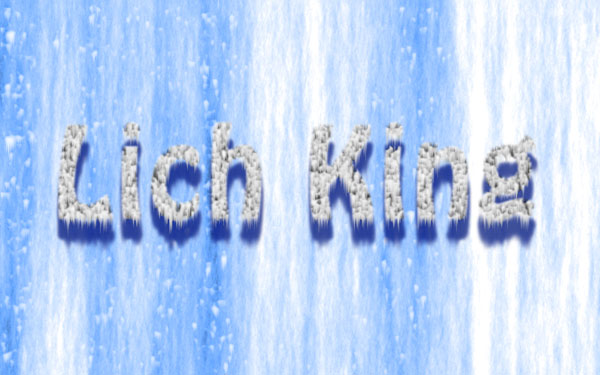
Right-click the layer and go into the Blending Options and apply Drop Shadow layer style to this layer:
Step 8
Load text selection by using Select > Load Selection, create new layer and fill this selected area with black color on the new layer.

Step 9
Deselect chosen area with Ctrl+D. Now we need to create a mixed texture, so it will look more natural ice. Use the Eraser Tool (Opacity: 33%) and a soft round brush about 40px and remove black color on the bottom. Then make small clean work at other parts.

Step 10
Load text selection again, create new layer above and fill selection with color of #789ddc.

Step 11
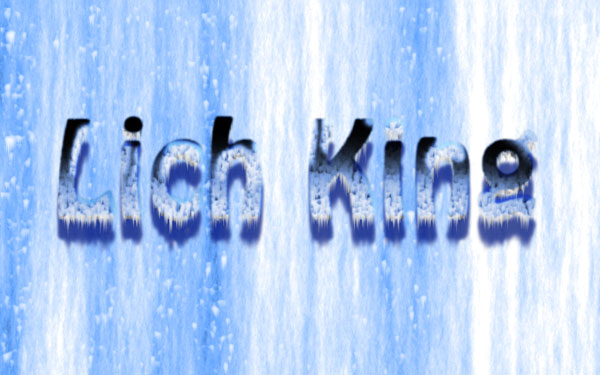
Press Ctrl+J to copy the layer created and hide the copy (click on the eye, which indicates layer visibility). Then change Blend mode to Overlay for visible layer.
Step 12
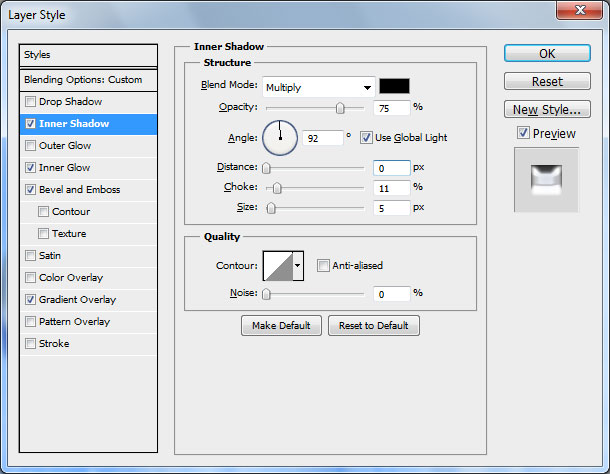
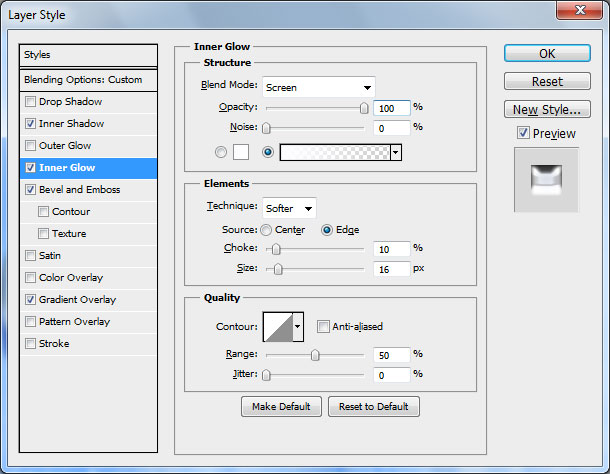
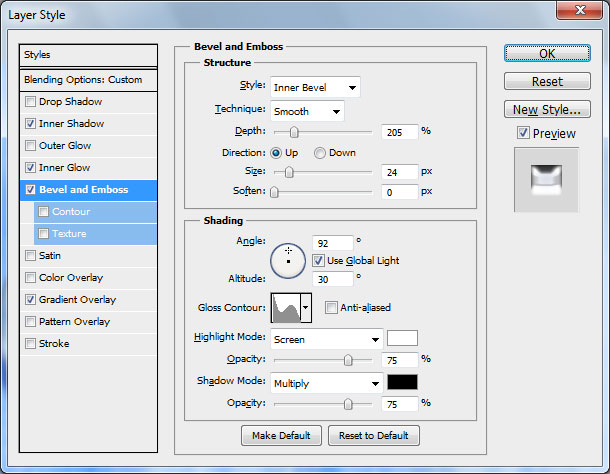
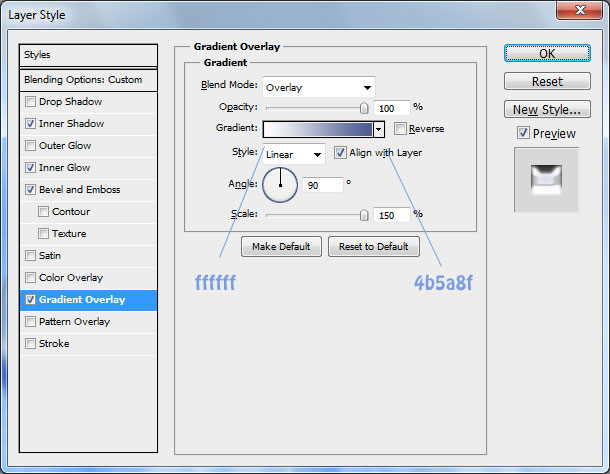
Go to Layer > Layer Style and apply Inner Shadow, Inner Glow, Bevel and Emboss and Gradient Overlay layer styles:
Step 13
Then go back to the hidden copy of layer and make it visible again. Change blending mode to Overlay for this layer.
Final Image
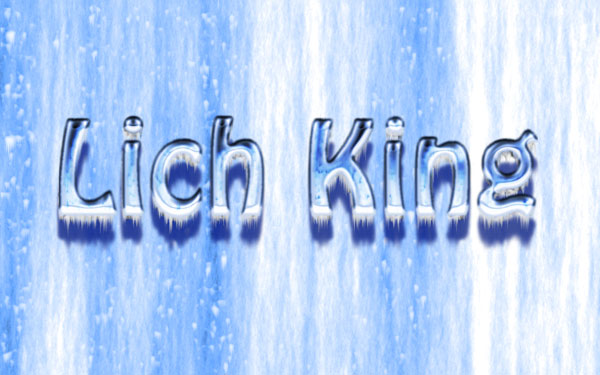
Duplicate this layer with Ctrl+J one more time and change layer mode to Pin Light for this layer and you have completed this tutorial.

We got cool ice effect from Lich King computer game. Hope you got the same good results, if not keep on training and you will get the best results!
You can still add some glare by using the Brush Tool and a soft round brush with white color. That is it for now.
Part 1
Part 1 of this tutorial has been published.
