In today’s Photoshop tutorial, you will learn how to create a devilish 3D Text Effect.
Final Image
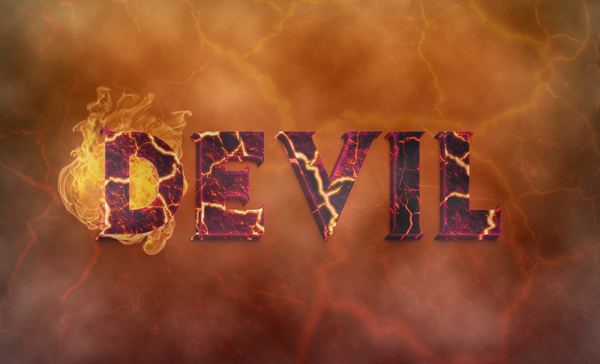
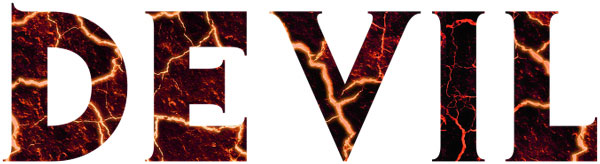
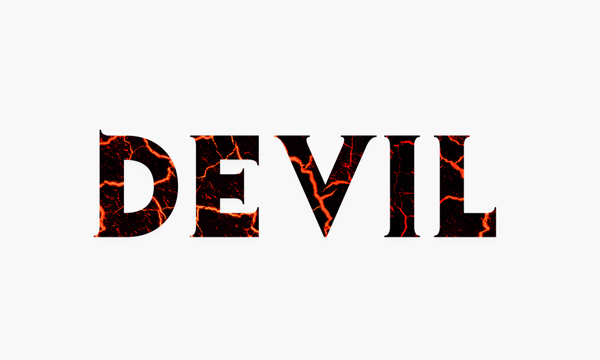
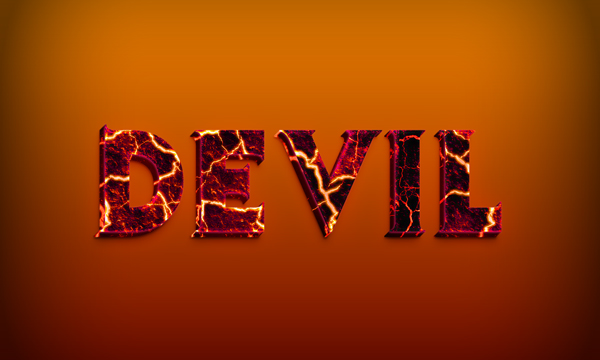
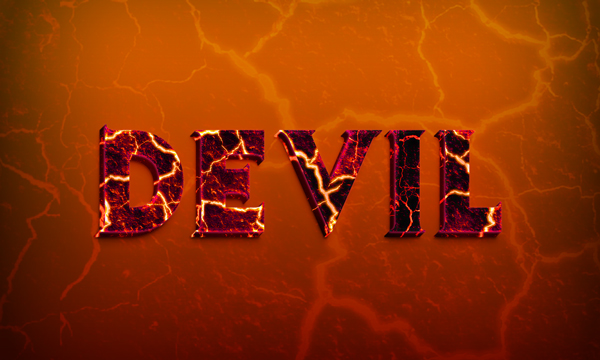
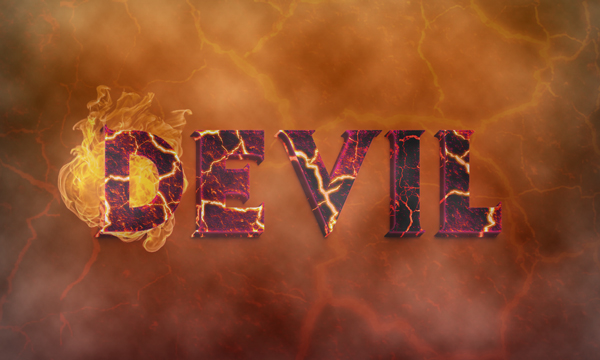
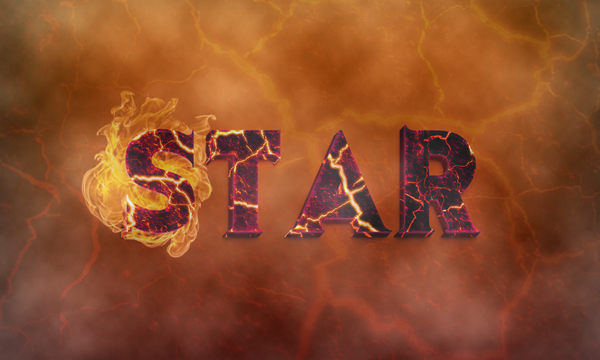
As always, this is the final image that we’ll be creating:
Tutorial Details
- Program: Adobe Photoshop CC
- Estimated Completion Time: 35 minutes
- Difficulty: Beginner – Intermediate
Resources
Step 1
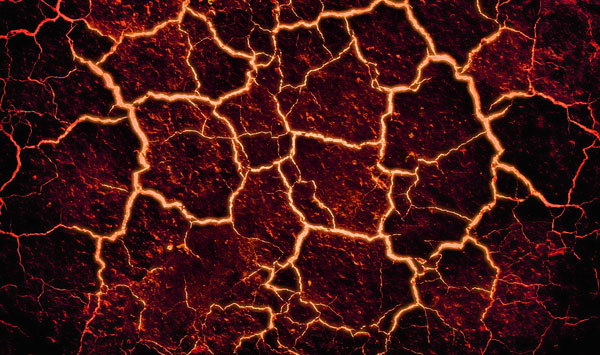
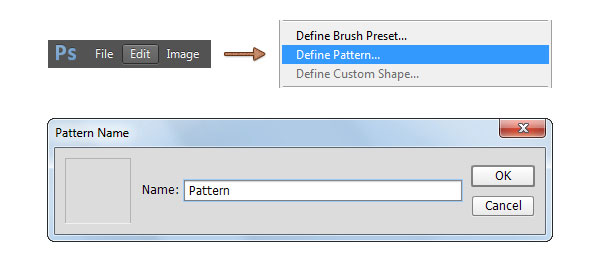
First, we create the lava pattern for your text. Open Lava image with Photoshop, go to Edit > Define Pattern, pick a name for your pattern and then click OK.
Step 2
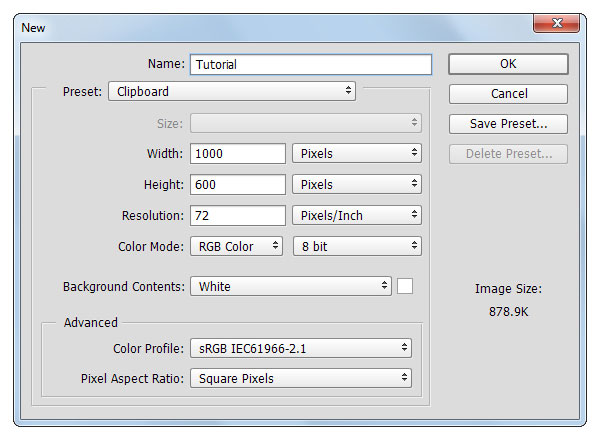
Create a new document and set the width to 1000 px and the hight to 600 px.
Step 3
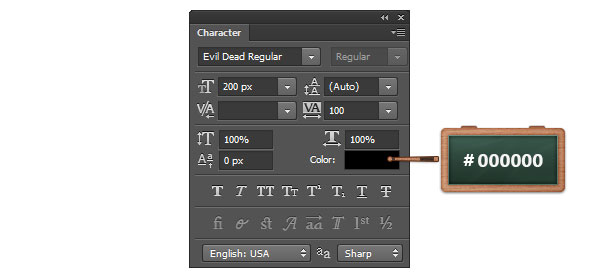
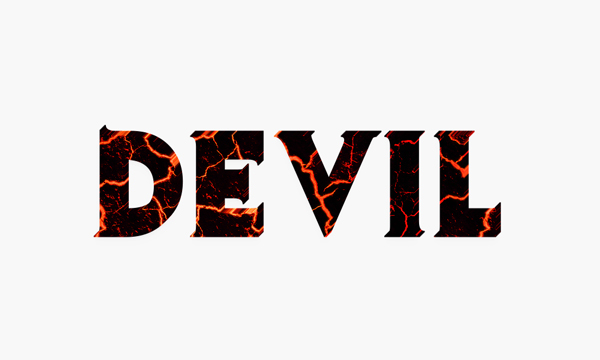
Pick the Horizontal Type Tool and use the Evil Dead Regular font.
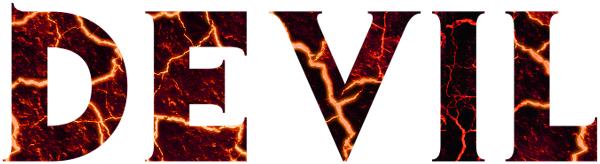
Move to your canvas and add the “DEVIL” text with the following settings.

Step 4
Focus on the Layers panel, make sure that your text is selected, right click on it and go to Convert to Smart Object.
Rename this smart object to “Main” and then double click on its thumbnail to open the smart object.
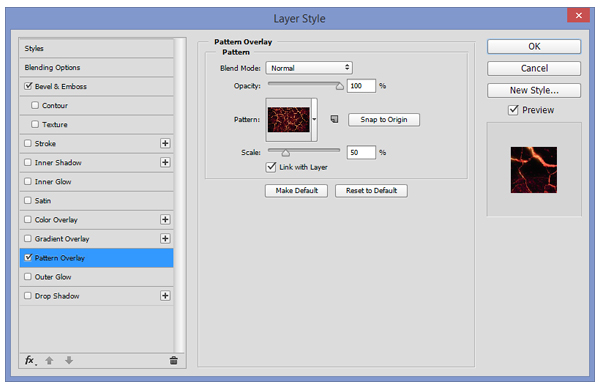
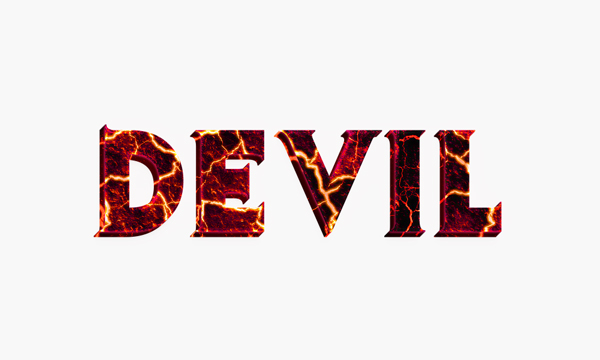
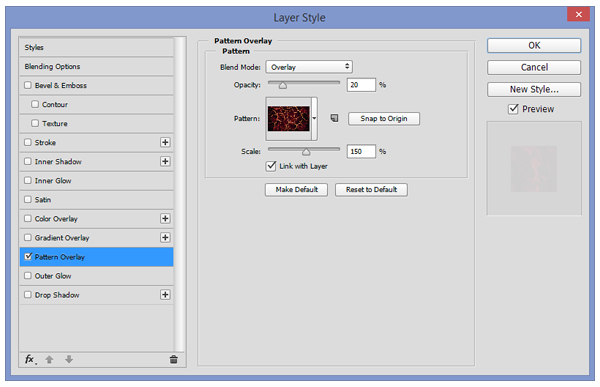
Now open the Layer Style window for the existing text and enter the settings shown below. (For the Pattern Overlay section use the pattern made in the previous steps.)
Step 5
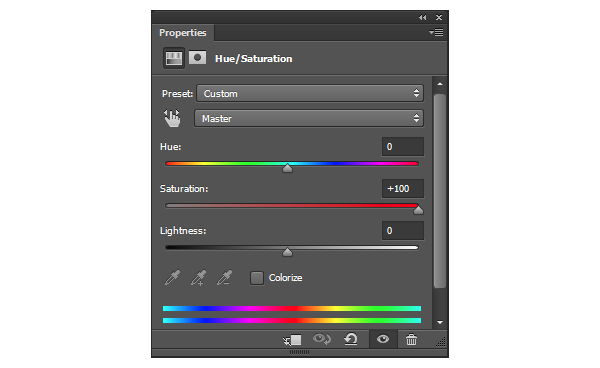
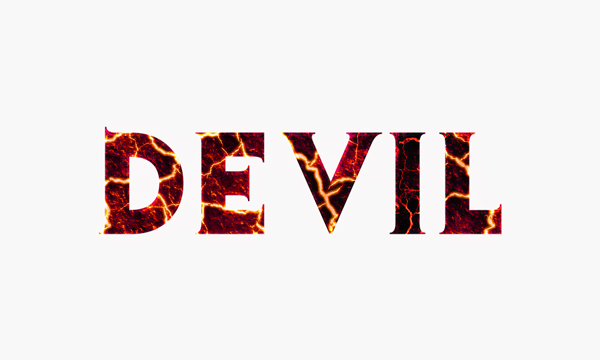
Make sure that your are still in the smart object, hit Control + G to group your text and then apply the following Hue Saturation to your group.
Step 6
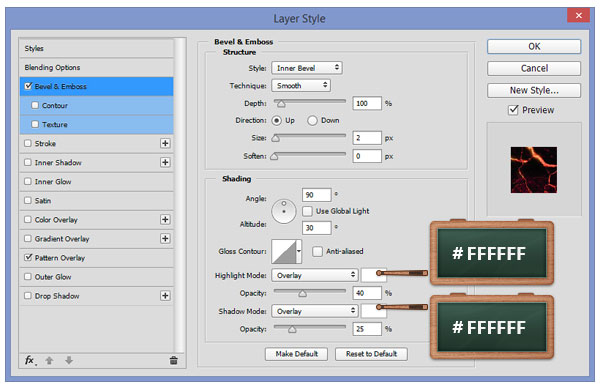
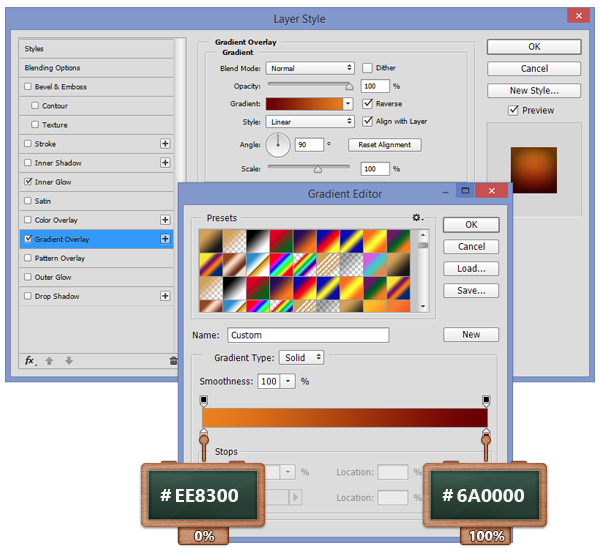
Return to your main Photoshop document by selecting File>Save, and apply the following Layer Style to your “Main” smart object.
Step 7
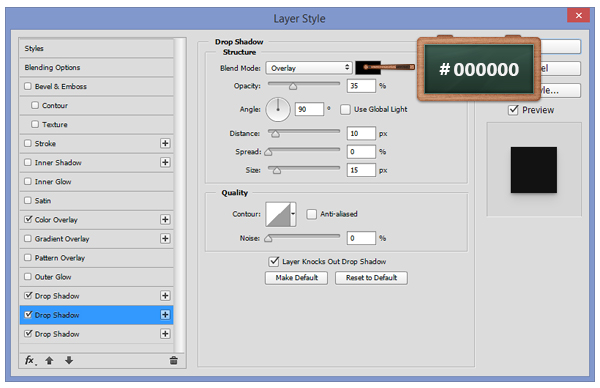
Duplicate the “Main” smart object, make sure that the fresh copy is selected, right click on it and then go to Clear Layer Style.
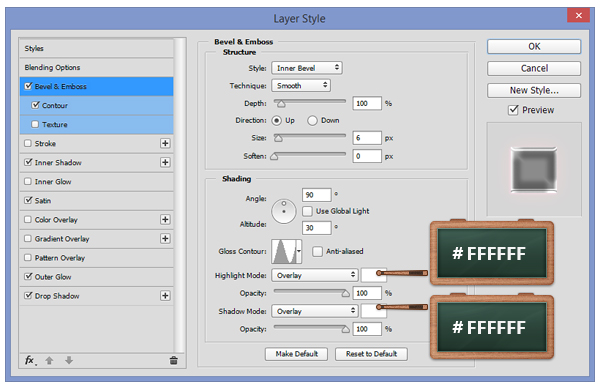
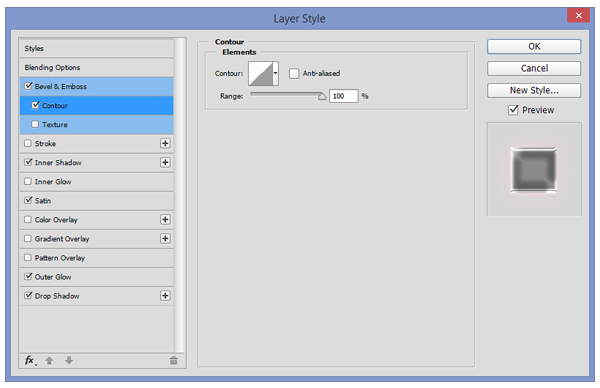
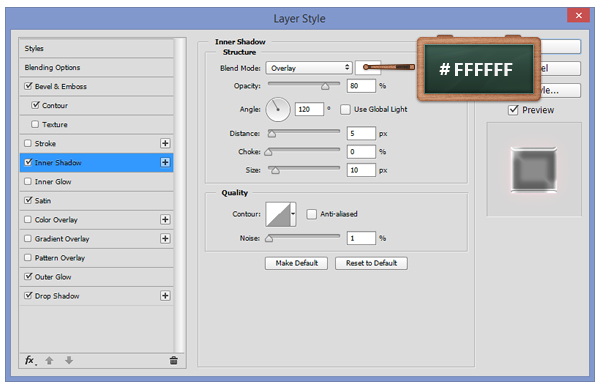
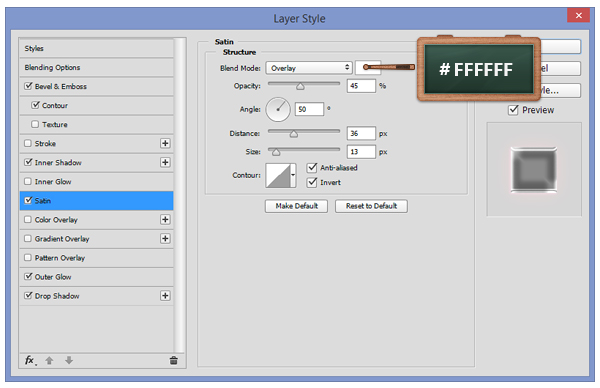
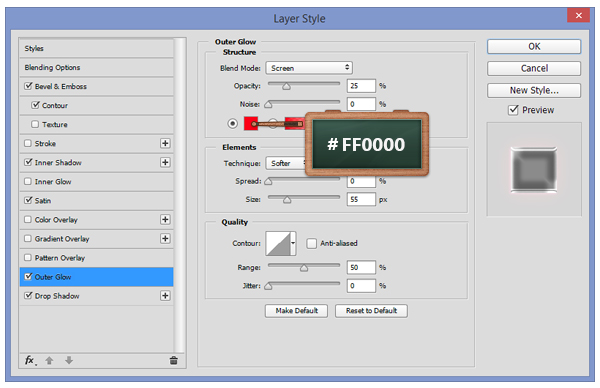
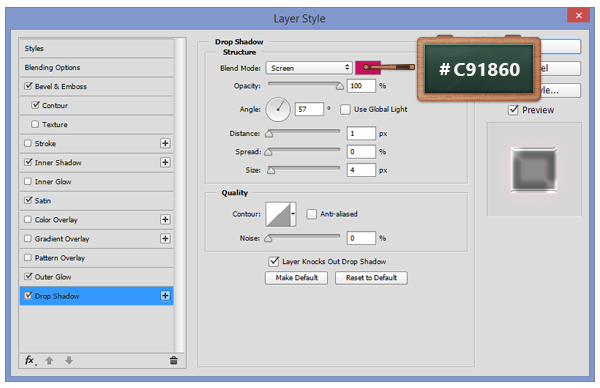
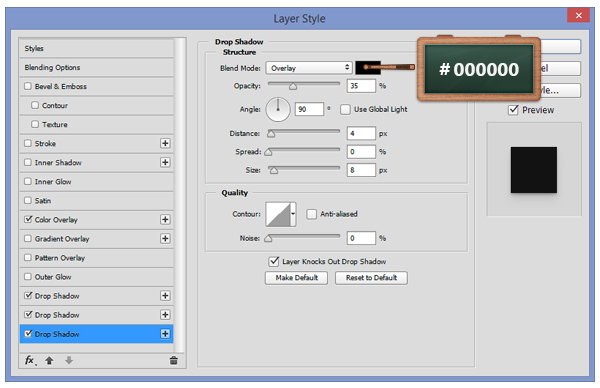
Open the Layer Style window for this copy and enter the settings mentioned in the next images.

Step 8
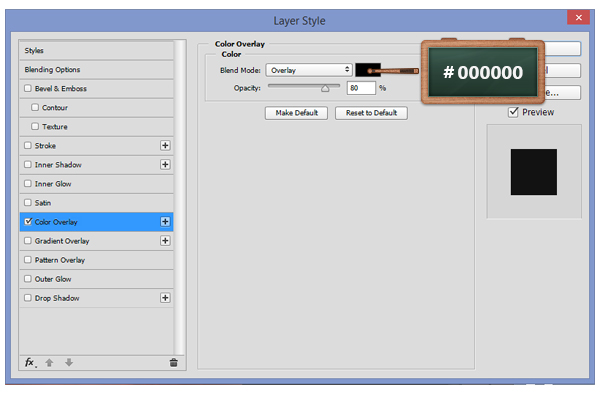
Make sure that your copy is selected and duplicate it. Select the fresh copy and then go to Clear Layer Style.
Open the Layer Style window for this fresh copy, go to Color Overlay and enter the settings shown below.
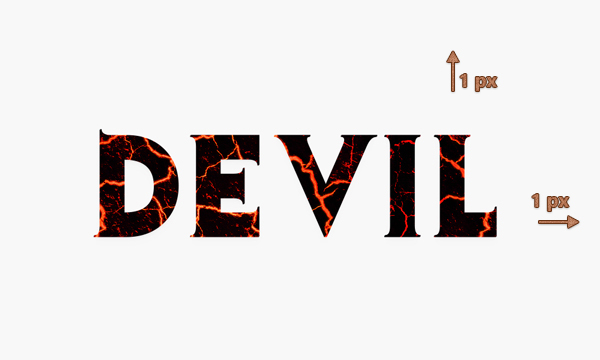
Now hit the up and right arrow buttons from your keyboard once to move 1px to up and right.
Step 9
Select your fresh copy, duplicate it and make sure that your new copy is selected. And then hit again the up and right arrow buttons to move your copy 1px to up and right.
Now, repeat this step 7 times to create the “3D” effect.
Step 10
Focus on the Layers panel and select the “Main” smart object. Hit Control + Shift + ] to move it right on the top of your Layers panel.
Return to your canvas and place the “Main” smart object right over your last copy.
The result should be as you can see in the next image.
Step 11
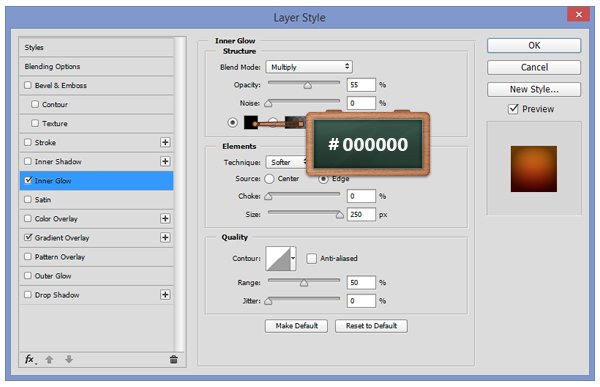
Open the Layer Style window for your background and enter the settings mentioned below.
Step 12
Duplicate your background layer, select the copy and then go to Clear Layer Style.
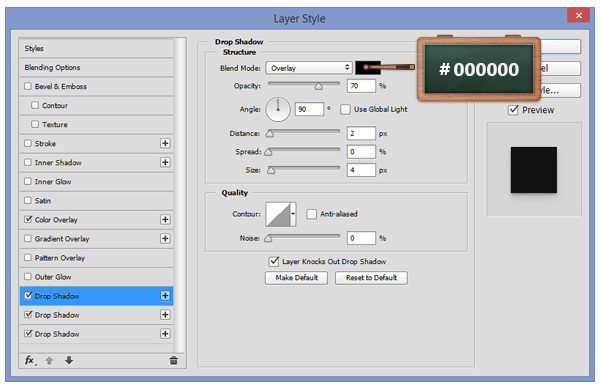
Now simply set the Fill to 0% and then open the Layer Style window for this copy and enter the settings shown below.
Step 13
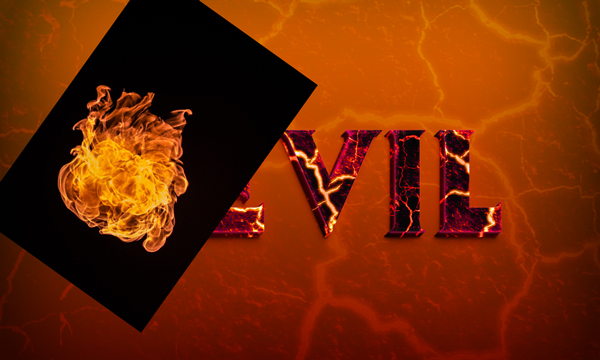
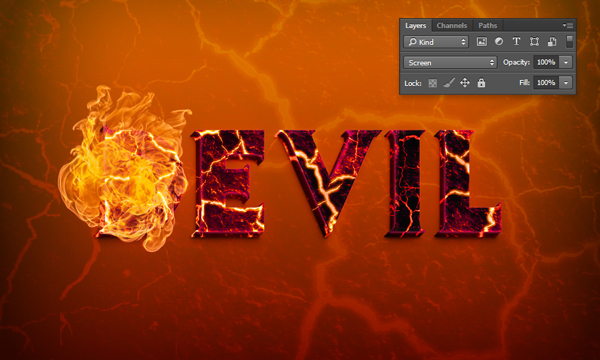
As a final touch for this text effect, you need to use the fire image and place it over the text.
Go to your Layers panel, select the image and then change the Blend Mode to Screen.
Step 14
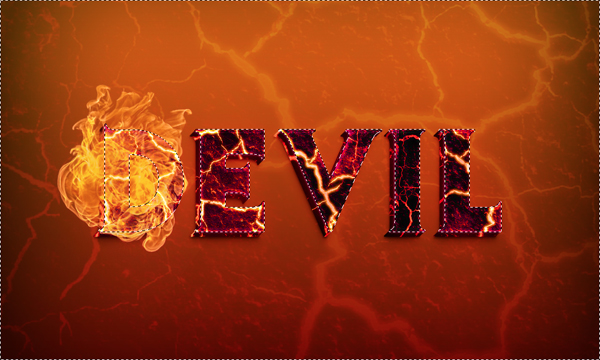
Focus on your Layers panel, hold the Control button from your keyboard and then click on the thumbnail icon for your “Main” smart object to load a simple selection around it.
Make sure that your fire image is selected hit Control + Shift + I to invert the selection and then click on the Add Layer Mask button. Once you are done, hit Control + D to get rid of that selection.
Step 15
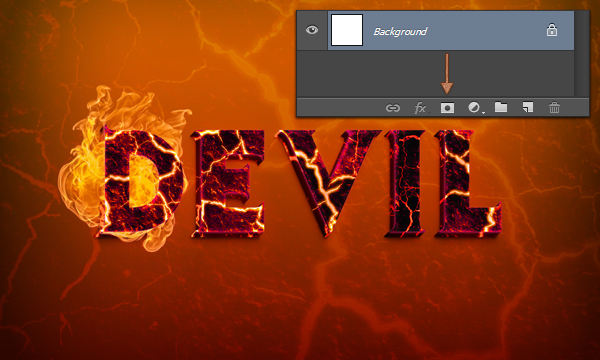
Create a new layer and place it in the top of your Layers panel. Set the foreground color to #FFFFFF and the background color to #000000 and then go to Filter -> Render -> Clouds. Now simply set the Opacity to 30%.
Duplicate the layer made in this step and change the Blend Mode to Overlay and the Opacity to 15%.
Step 16
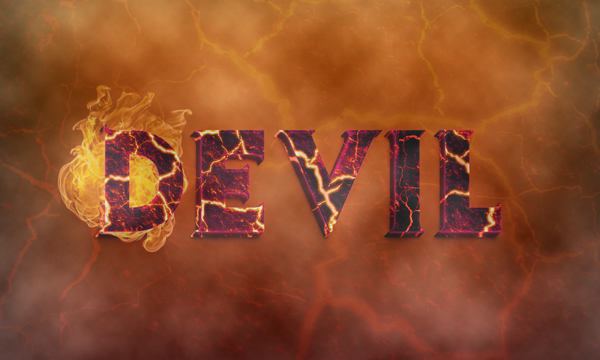
Because we worked with smart objects we can change the text very easily.
Simply open the “Main” smart object, change the text, save and then return to your main Photoshop document.
Now, delete the fire image mask and create a new one for your new text (check step 14 if you forgot).
And We’re Done!
Here is how your final result should look.