In this Photoshop tutorial we will create a cool infrared effect using simple Adjustment Layers, blending modes and a cool Matrix like texture.
Final Image
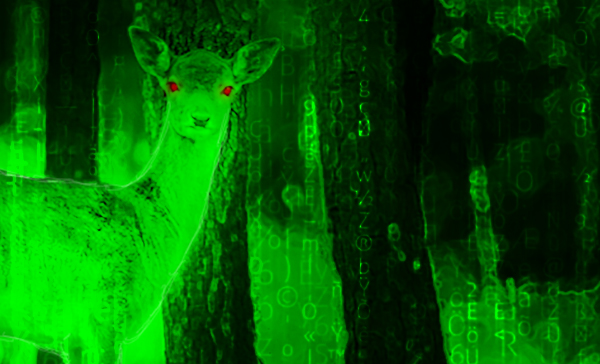
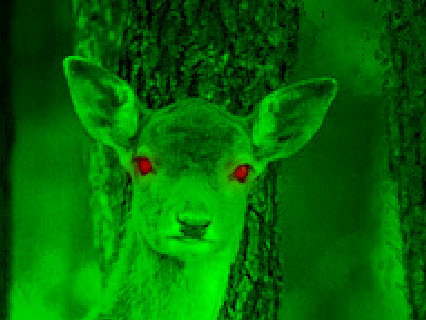
As always, this is the final image that we’ll be creating:

Tutorial Details
- Program: Adobe Photoshop CS3
- Estimated Completion Time: 30 minutes
- Difficulty: Beginner-Intermediate
Resources
Step 1
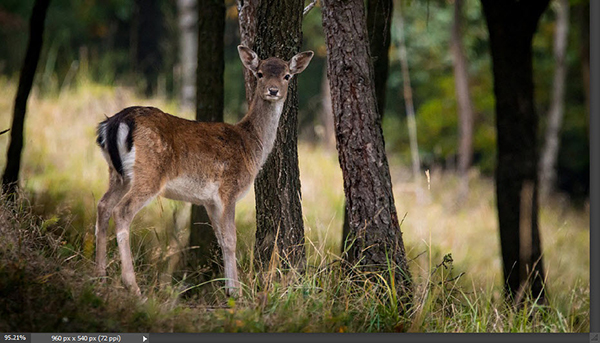
Open the file “Deer”.
Step 2
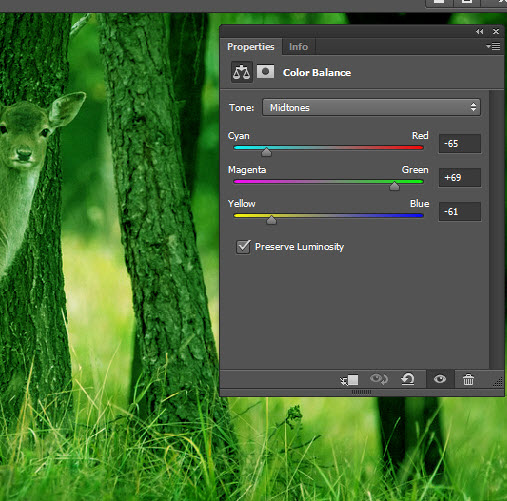
Now let’s change the overall color atmosphere to green. Create a new Color Balance Adjustment Layer (Layer > New Adjustment Layer > Color Balance) and use the settings shown below to really bring up the green in this image.
Step 3
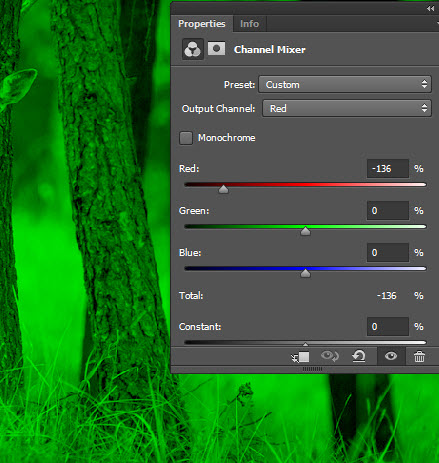
As you can see there are some areas where the color is not completely green. Let’s correct this with the help of a Channel Mixer Adjustment Layer. (Layer > New Adjustment Layer > Channel Mixer) and use the settings shown below to boost and overflow the image with green.
Step 4
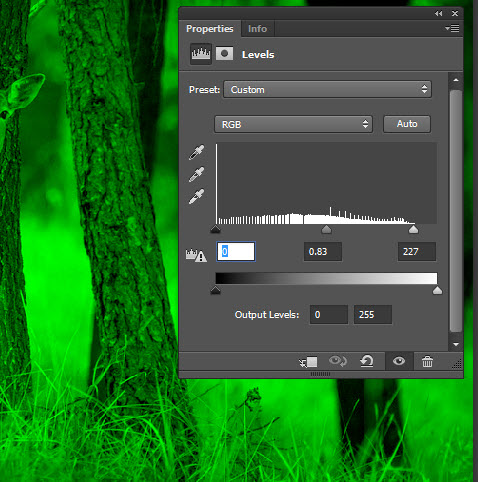
The contrast is a bit weak. Create a new Levels Adjustment Layer (Layer > New Adjustment Layer > Levels ) and boost the contrast by dragging the rightmost upper slider to the left as shown below.
Step 5
Let’s put the deer in focus. The simplest way to do this is with the help of the Overlay blending mode.
Create a new layer (Ctrl + Shift + Alt + N) and set the blending mode to Overlay.
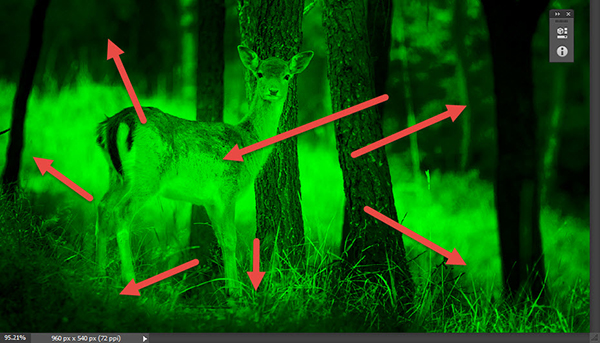
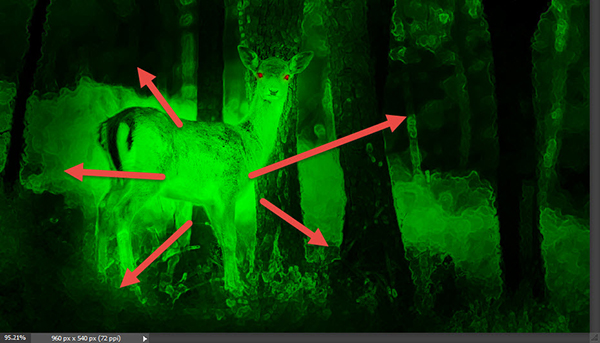
Select the Brush Tool (B) and select the standard round soft brush. Lower the brush opacity to 30% and paint with black on the edges of the image to darken it. Do it in multiple strokes with the brush size at 200-300px.
Once you’re done darkening the image change the foreground color to white and lower the opacity to 20%. Paint with white over the deer to lighten it.
Step 6
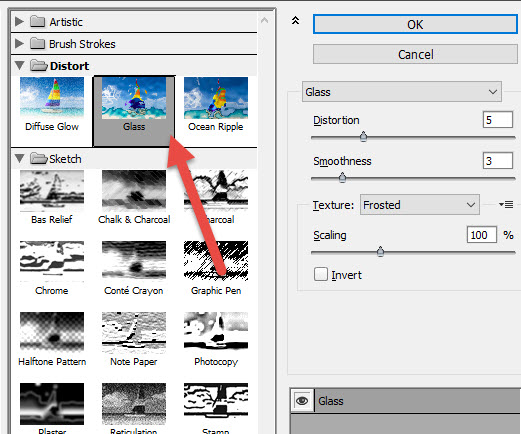
Let’s add some interesting texture to our scene. Create a new layer from all the visible layers (Ctrl + Shift + Alt + E) and open the Filter Gallery by going to Filter > Filter Gallery. Choose the Glass Effect (found in the Distort folder) and use the settings shown below.
Step 7
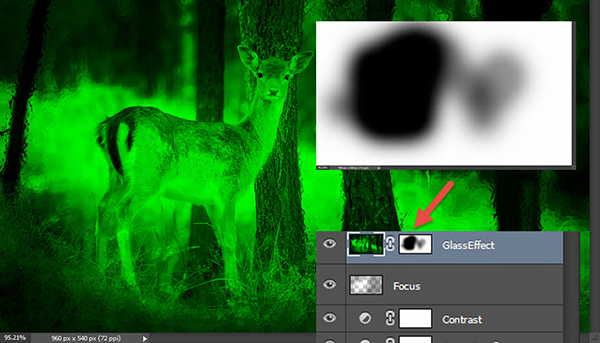
So now we want this ripple effect to be visible only around the deer and not on it. The easiest way to hide an area of a layer is with a layer mask. In a layer mask black conceals and white reveals.
Add a layer mask to the Glass Effect layer we created in the previous step by going to Layer > Layer Mask > Reveal All. Select the Brush Tool (B) and choose the standard round soft brush. Increase the size to 150px and set the opacity to 100%.
Click on the white layer mask thumbnail (next to the layer thumbnail in the layer palette – F7) to make it active and paint with black over the deer to hide the glass effect in that area. Your scene should look something like the image below.
Step 8
To make the scene more interesting let’s add some red eyes to our deer.
Create a new layer (Ctrl + Shift + Alt + N) and with the round soft brush tool at 5px size paint with red over eyes to create an effect as shown below.
Step 9
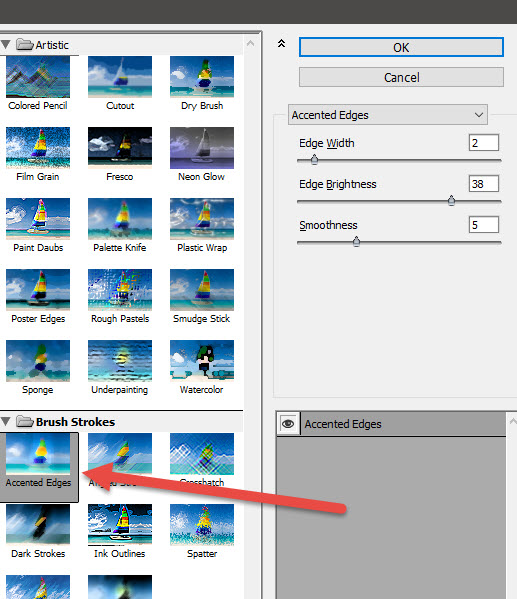
Let’s add some more interesting night texture to our image. Create a new layer from all the visible layers (Ctrl + Shift + Alt + E) and apply an Accented Edges effect by going to Filter > Filter Gallery and choosing Accented Edges effect with the settings shown below.
Step 10
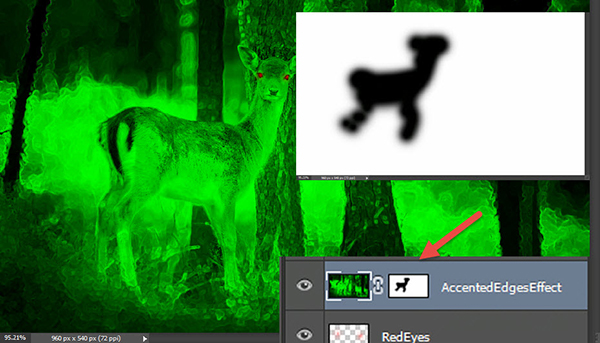
Add a layer mask to the Accented Edges layer we created in the previous step by going to Layer > New Layer Mask > Reveal All. Select the round soft brush tool and set the opacity to 100%. Click on the layer mask thumbnail to make it active and paint over the deer to hide the Accented Edges effect in that area.
We do this because we want the background to be interesting with all these special effects but the deer should be clearly visible and as little distorted as possible.
Step 11
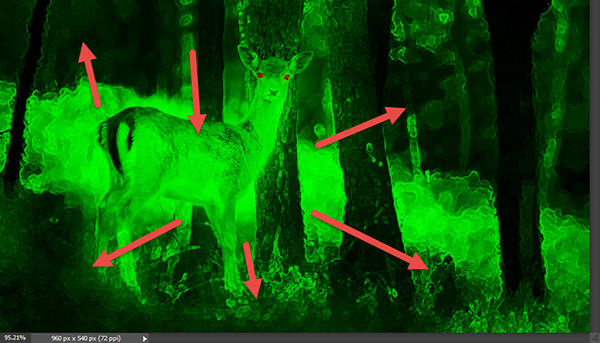
Let’s add some more focus to our image.
Create a new layer (Ctrl + Shift + Alt + N) and set the blending mode to Overlay. With the round soft brush paint with 30% black around the edges and with 20% white on the deer.
Repeat the black and white brush strokes (black on edges, white on deer) until the image gets a proper focus but beware of very intense black or white effects – we want this image focusing to be fairly subtle.
Step 12
As you can see in this tutorial Focus is the key word – we’ll need even more of it.
Create a new layer (Ctrl + Shift + Alt + N) and set the blending mode to Multiply. With a round soft brush at 15% Opacity paint over the edges of the image.
This will create a subtle vignette effect.
Step 13
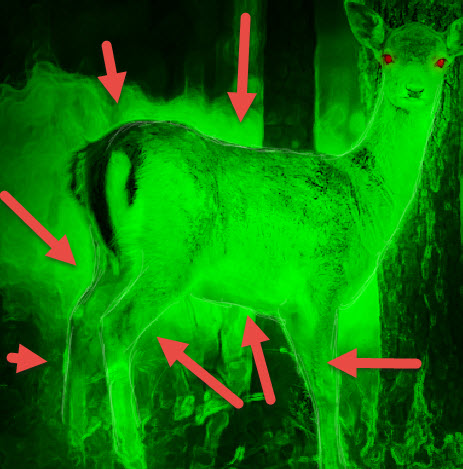
Let’s add some highlights to our deer to make it pop from the scene.
Create a new layer (Ctrl + Shift + Alt + N) and select the round soft brush tool. Set the opacity to 50% and the size to 2px. Now create some hard highlights on the back of the deer and on the legs.
Step 14
As a final touch let’s add a bit of a matrix effect.
Open the file “Matrix Texture” and select all by pressing Ctrl + A. Copy with Ctrl + C and go back to our image.
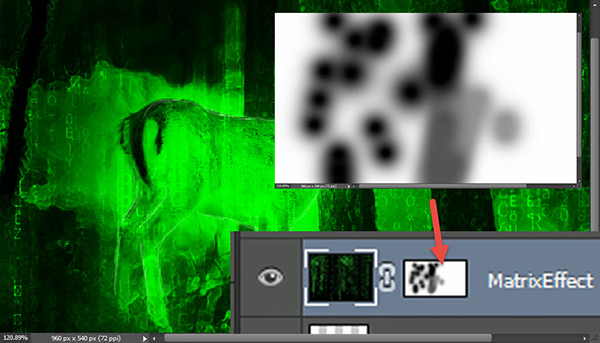
Paste with Ctrl + V and set the blending mode to Color Dodge.
You can see that the effect is way too strong in the deer region. Add a layer mask (Layer > Layer Mask > Reveal All) and paint with a round soft brush with black over the areas where the effect is too strong.
And We’re Done!