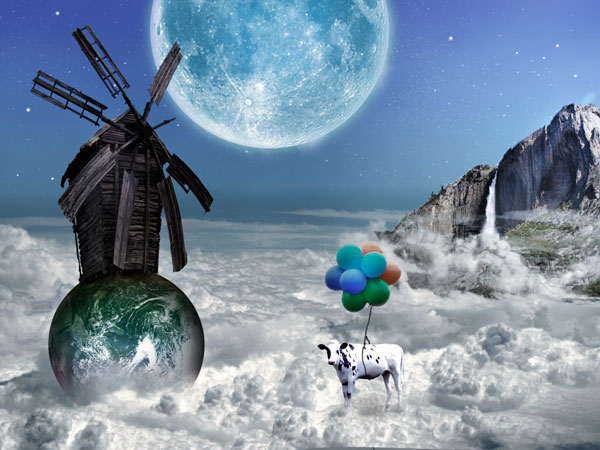
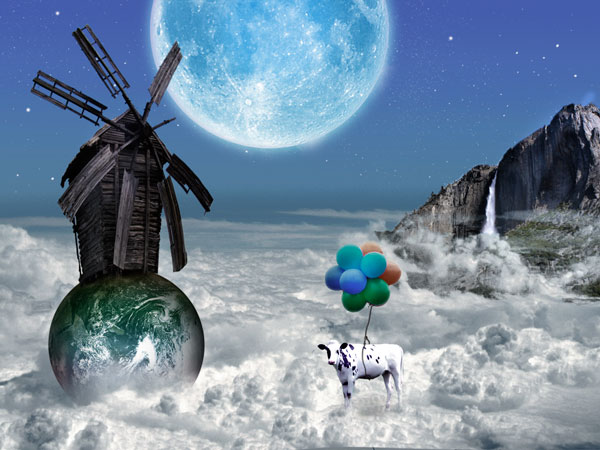
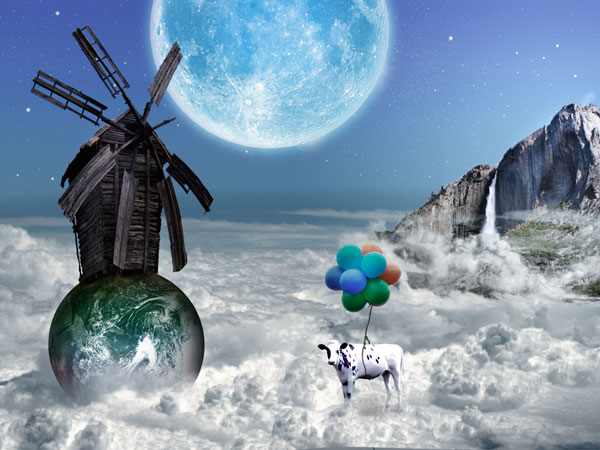
In this Photoshop tutorial we will create a space fantasy composition using some basic techniques.
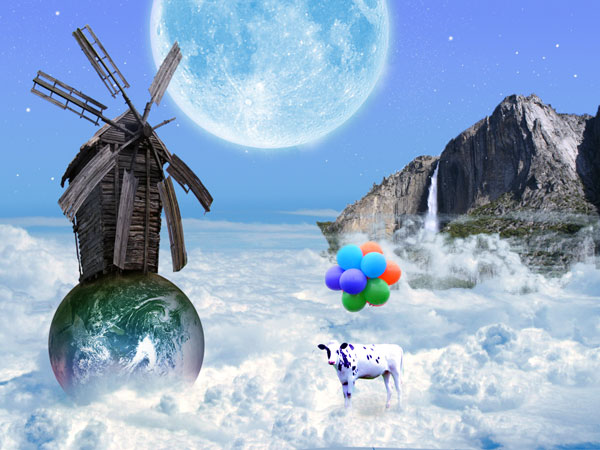
Final Image Preview

Resources
- Balloons
- Cows 1
- Yellow Air Balloon
- Full Moon
- sky so blue 2
- Stars and Bubbles Brushes
- The Earth seen from Apollo
- Old Windmill 3
- Yosemite Park
Step 1
Create a new document with 1024 px height and 786 px width. Update foreground color to #0374b8 and background color to #90c3ea and select Gradient Tool. Select preset “Foreground to Background” and fill canvas with a linear gradient.

Step 2
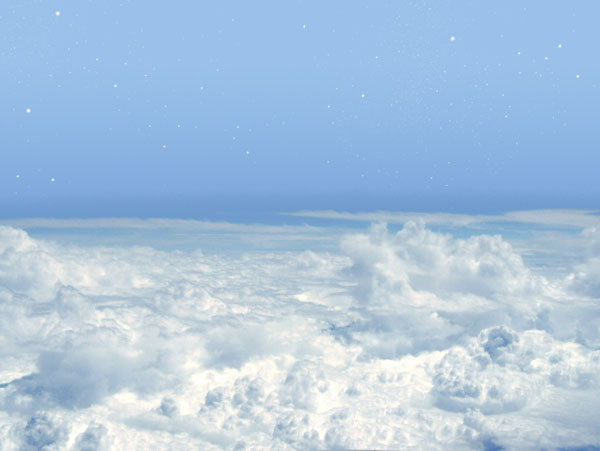
Open file “Sky so blue”, copy all and paste it into our document. Make sure layer is on top of all other layers. Double-click layer thumbnail to enter advanced blending mode. Drag the upper sliders to the left until the dark blues disappear.
Step 3
Create new layer (Shift+Ctrl+N). Make sure layer is on top of all other layers. Select Brush Tool. Load Stars and Bubbles Brushes by going to Load Brushes inside Brush Type Selection. Paint with stars brush some stars with different sizes.

Step 4
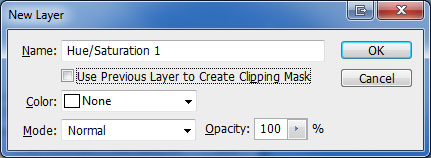
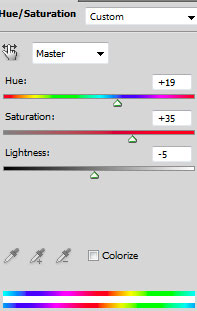
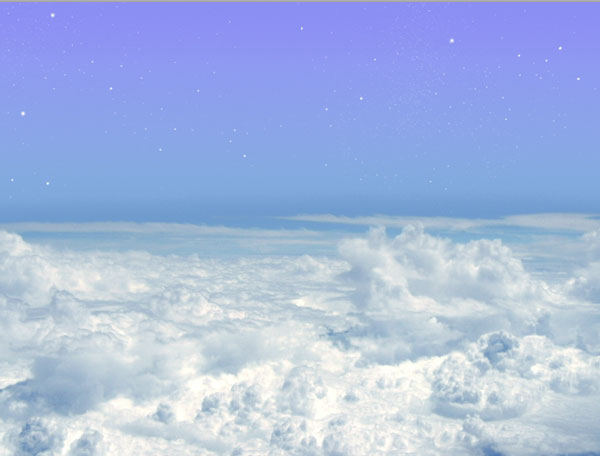
Add a Hue/Adjustment layer (Layer > New Adjustment Layer > Hue/Adjustment) and use the settings below. Select Gradient Tool, black as foreground color and white as background color and apply on layer mask to make sure only the upper part is visible.



Step 5
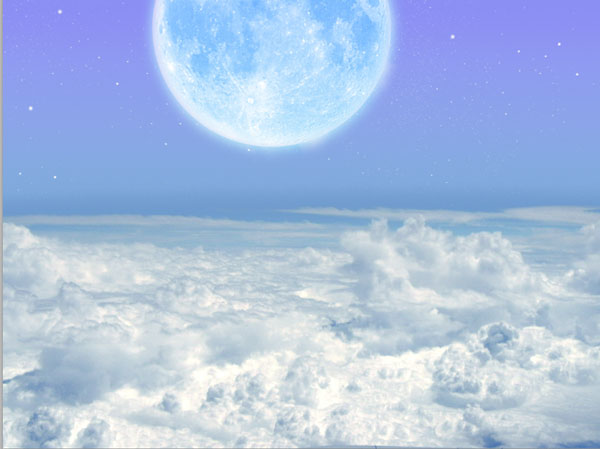
Open file “Full Moon”. Select Moon with Elliptical Marquee Tool or other selection Tool. Go to Select > Modify > Feather and place 20px. Copy selection and paste it on our document. Make sure layer is on top of all other layers. Update layer mode to Hard Light.

Step 6
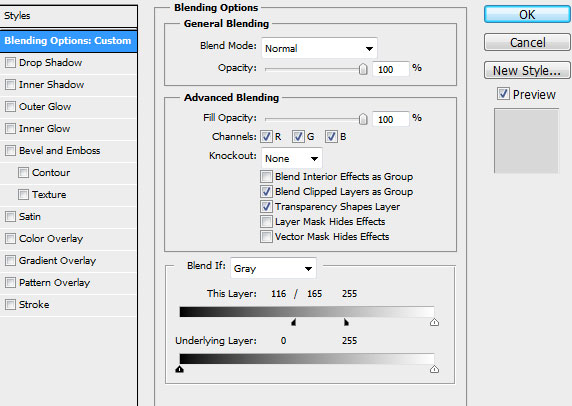
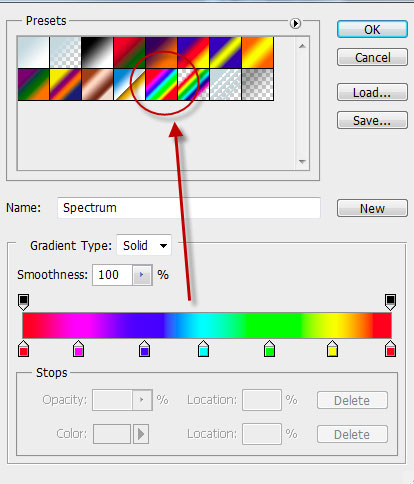
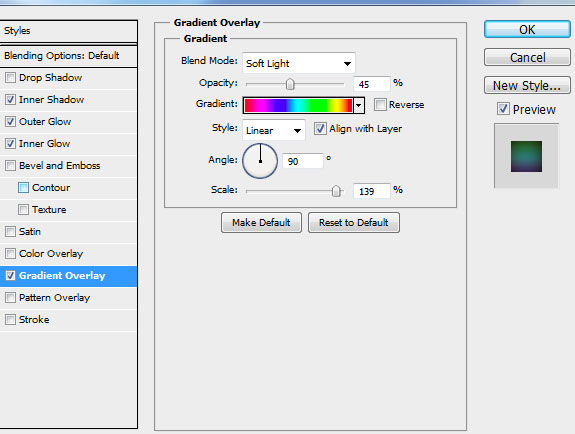
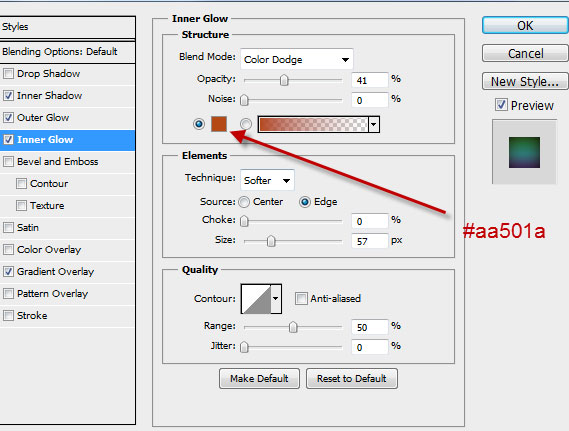
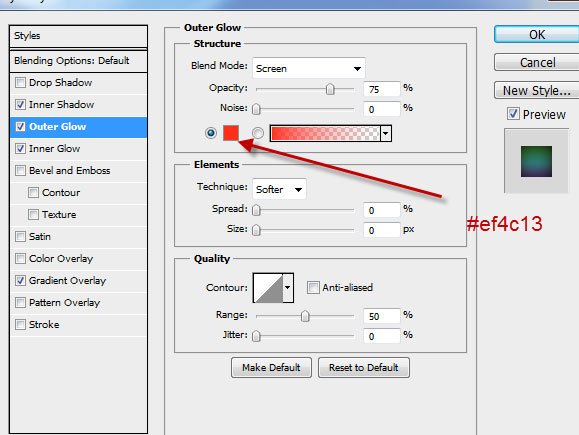
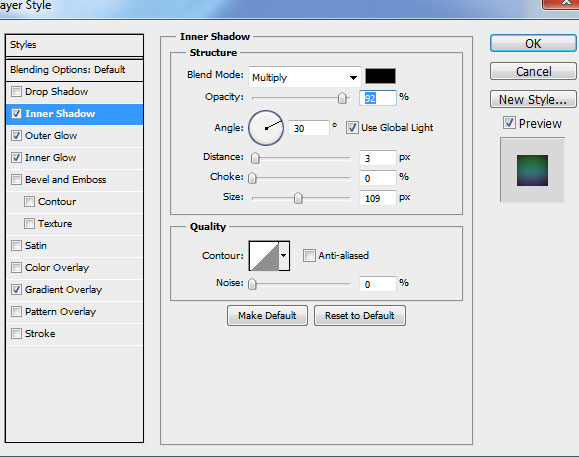
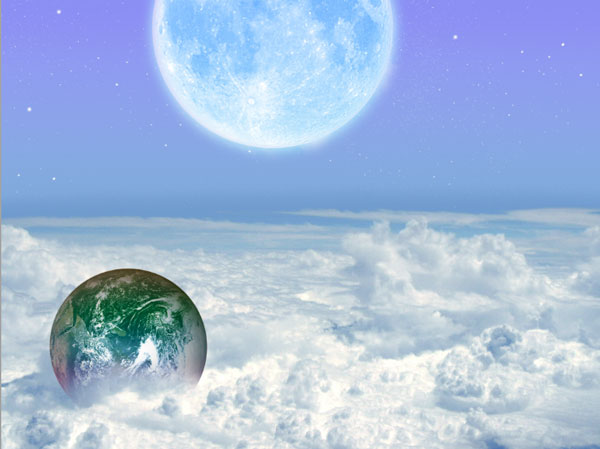
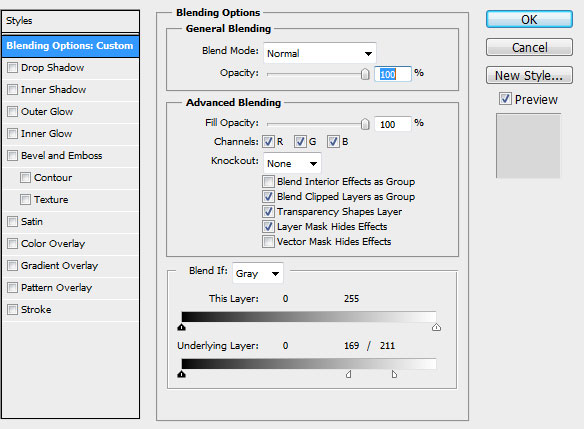
Open file “The Earth seen from Apollo”. Select Earth. Copy and paste it into our document. Make sure layer is on top of all other layers. Apply following effects by going to Layer > Layer Style > Blending Options:






Step 7
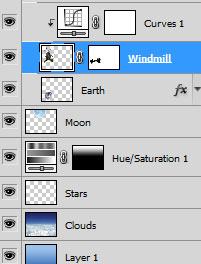
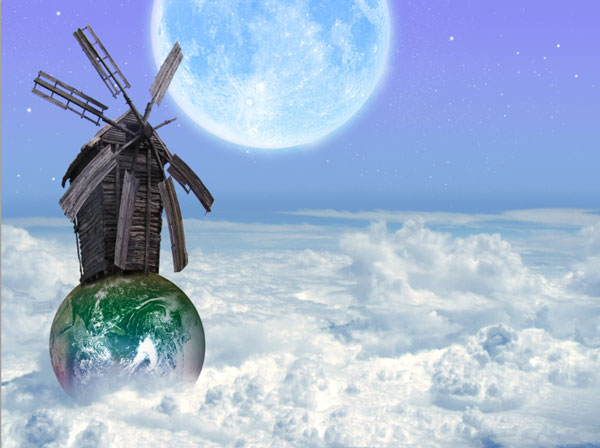
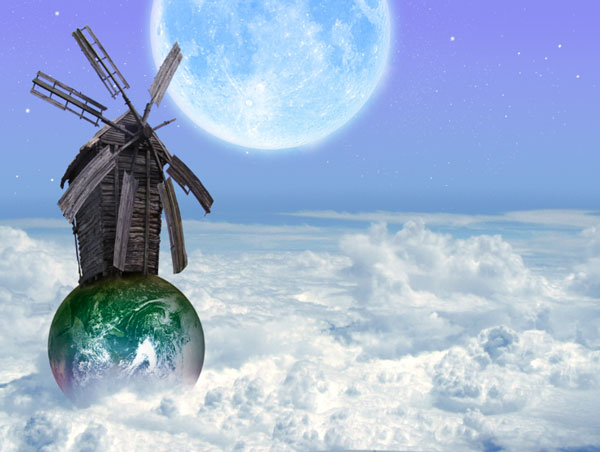
Open file “Old Windmill” and make a selection of the Windmill. Copy and paste it into our document. Make sure layer is on top of all other layers. Apply Edit > Free Transform and Edit > Transform > Warp to make Windmill fit the Earth. Add a layer mask (Layer > Layer Mask > Reveal All) and with Polygonal Lasso Tool mask away the unwanted parts.
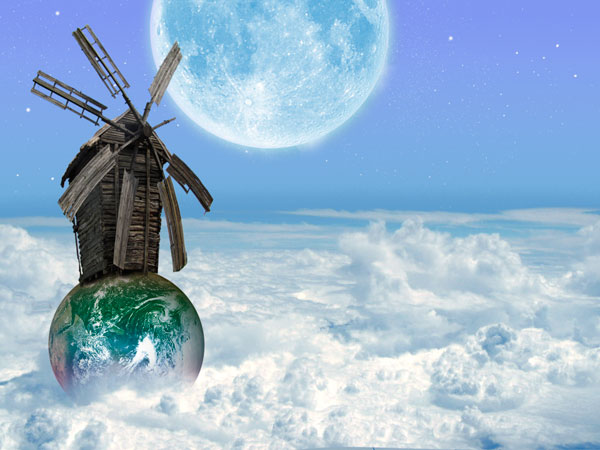

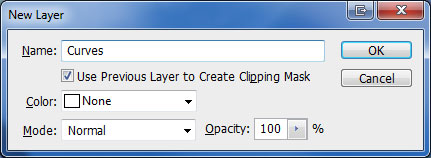
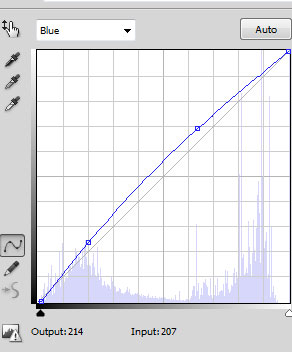
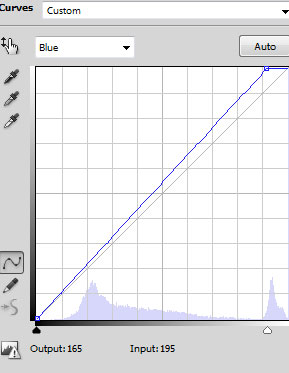
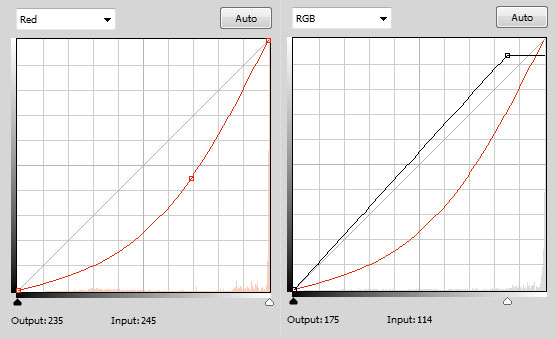
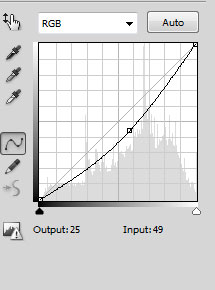
Finally add a clipped Curves adjustment layer (Layer > New Adjustment Layer > Curves) with the settings below to color correct the Windmill.




Step 8
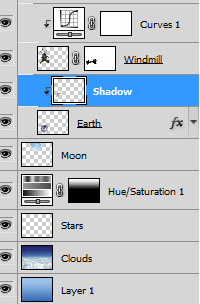
Create a new layer on top. Select Brush Tool and with a black soft brush at 50% opacity paint the Windmill’s shadow. Move this layer below the Windmill layer and clipp it on Earth layer (Layer > Create Clipping Mask). Update layer blending mode to Multiply.


xxxxxxxxxxxxxxx
Step 9
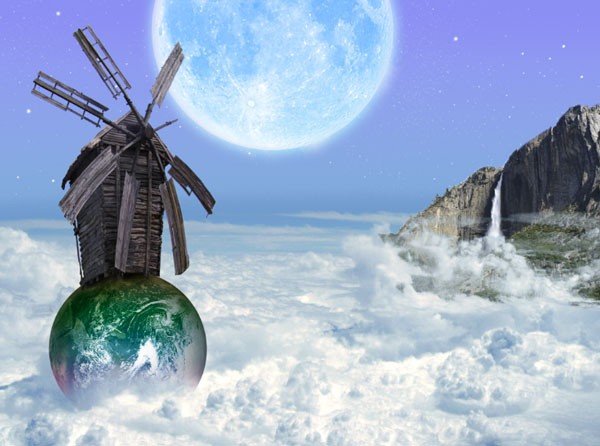
Open file “Yosemite Park” and make a selection of right mountain side. Copy and paste it to our document. Add a layer mask (Layer > Layer Mask > Reveal All). Now you will see the real power behind the blend if sliders. Go to Layer > Layer Style > Blending Options. We want to make the clouds partially cover the mountain so we will drag the lower sliders to the left (Hold “Alt” or “Option” keys to drag the two halves of the slider). This way the white colors from the layers below will “force” themselves through. Finally add a clipped Curves adjustment layer (Layer > New Adjustment Layer > Curves) to color correct the mountain.



Step 10
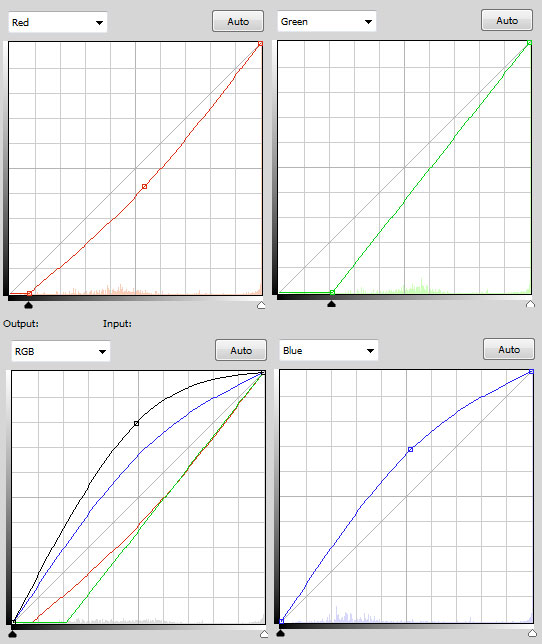
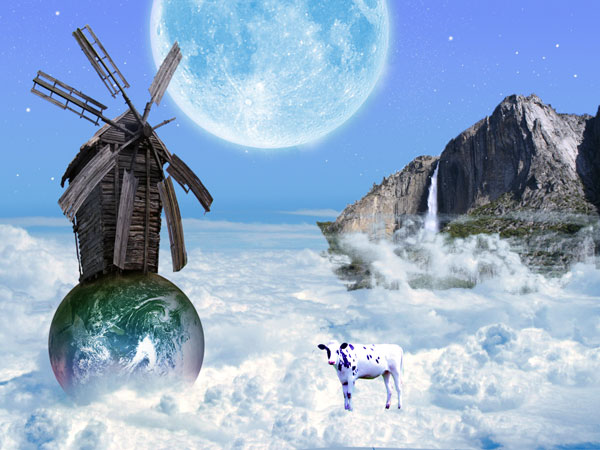
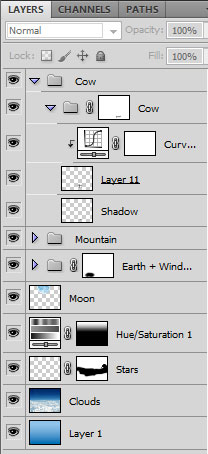
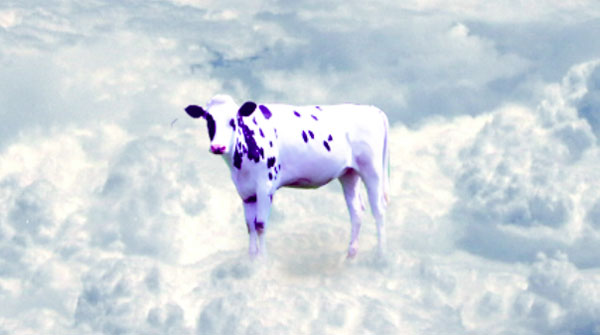
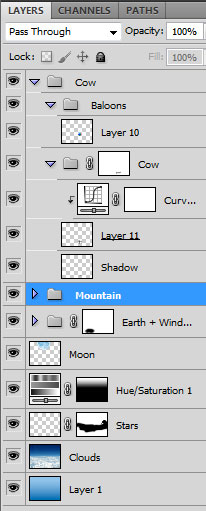
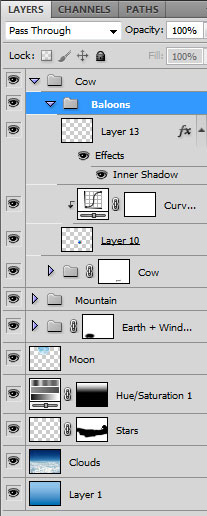
Create a layer group by going to Layer > New > Group. Create a new layer group inside this one were we will place all cow related layers. Open file “Cows 1” and make a selection of the cow. Copy and paste it to our document and inside our newly created group. Add a clipped Curves adjustment layer (Layer > New Adjustment Layer > Curves) to color correct the cow.


Step 11
Create a new layer under cow layer (inside layer group). Select Brush Tool and with a soft brush paint some shadow beneath the cow’s feet. Change the layer mode to Multiply and lower the layer opacity if needed. Add a layer mask to the group (Layer > Layer Mask > Reveal All). Paint with a black soft brush at 50% opacity to reveal some clouds.


Step 12
Create a layer group inside first group by going to Layer > New > Group. Open file “Yellow air balloon” and make a selection of the baloons. Copy and paste it to our document and inside our newly created group. Add a clipped Curves adjustment layer (Layer > New Adjustment Layer > Curves) to color correct them.



Step 13
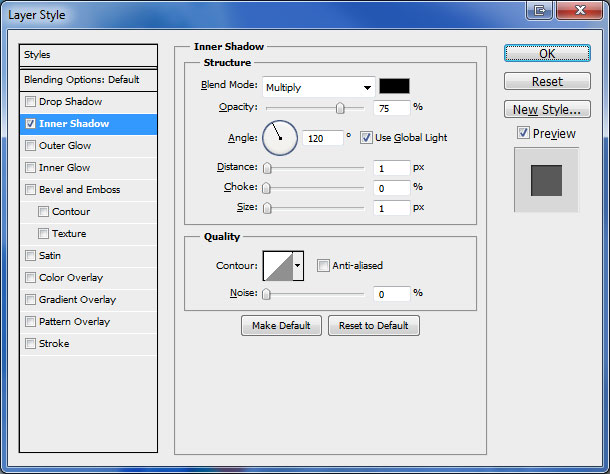
Create a new layer above baloons layer (inside layer group). With Pen Tool and a brown color paint the rope that ties the cow to the baloons. Finally apply Layer > Layer Style > Inner Shadow to layer.z



Step 14
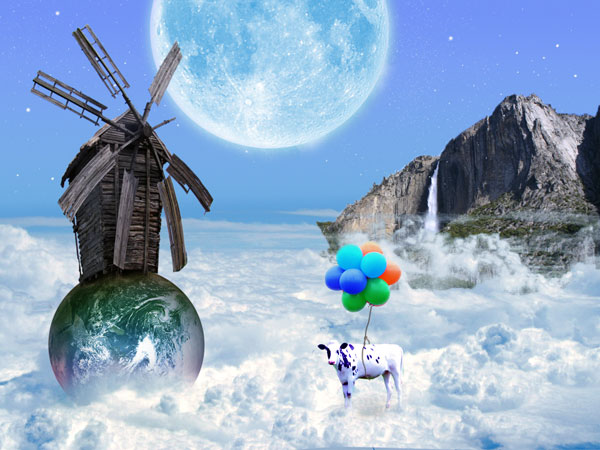
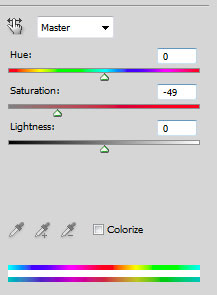
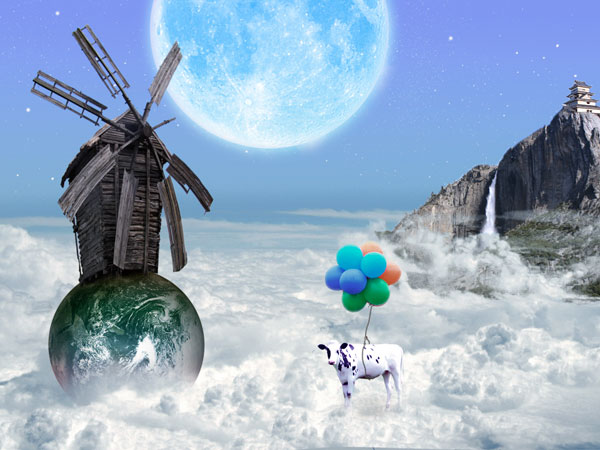
Time for last tweaks. Add a Hue/Saturation layer (Layer > New Adjustment Layer > Hue/Saturation) and use settings below. Use Gradient Tool in the layer mask to protect the upper part.


Step 15
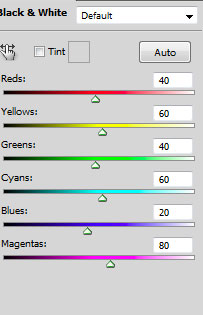
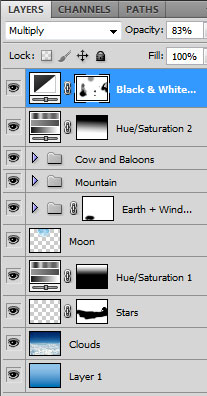
Let’s darken the image and increase contrast a little. We can do these both things by adding a Black and White adjustment layer (Layer > New Adjustment Layer > Black and White) and use settings below. Change blend mode to Multiply and lower opacity to 83%. Select Brush Tool and with a soft brush mask away the dark areas.



Step 16
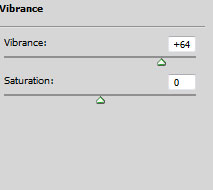
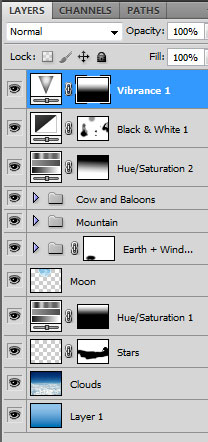
Add a Vibrance adjustment layer (Layer > New Adjustment Layer > Vibrance) and use settings below. Use Gradient Tool in the layer mask to protect the lower part.



Step 17
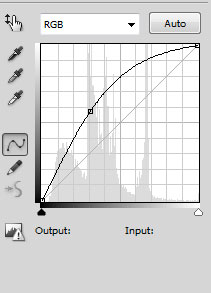
Add a Curves adjustment layer (Layer > New Adjustment Layer > Curves) and drag the curve upwards to lighten the image. Fill the layer mask with black color and use Gradient Tool (Radial) to reveal the top right area.



Step 18
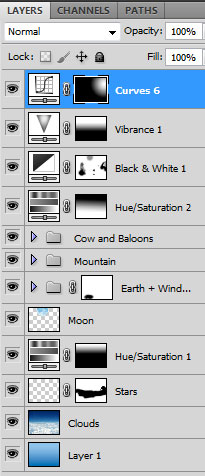
Add another Curves adjustment layer (Layer > New Adjustment Layer > Curves) and use the settings below. Select layer mask and apply Filter > Render > Clouds. Lower layer opacity to 50%.


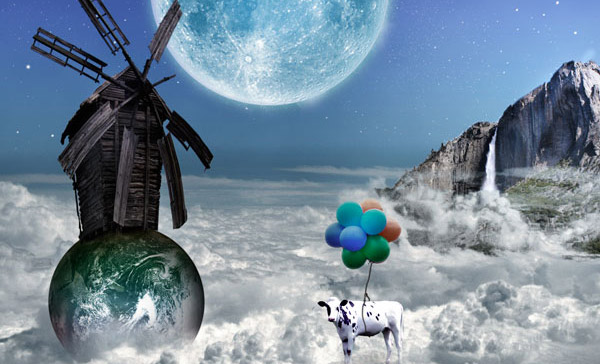
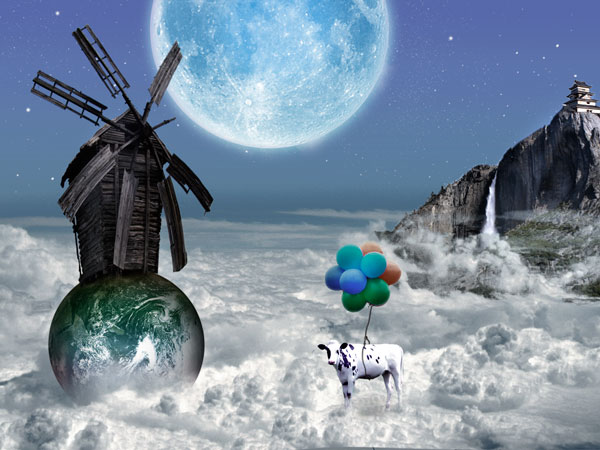
Final Image
