In this short and simple tutorial I’m going to teach you how to make a very stylish, sleek text effect, like the example I’ve shown in the below image.

1. Background
Let’s start by creating a new document in Photoshop. After creating a new document around 500 x 500 pixels in size, add in a nice radial gradient background. Colors I used for my gradient background were: #717577 and #191918.

Now, you can either continue on and make your text, or you can finish off the background by adding in another effect. I added another interesting effect to the background by adding a texture to the background, then applying Filter > Pixelate > Mosaic to the texture.

After applying Mosaic to the texture, change the layer mode to Overlay and lower the opacity to around 10-25%. You should be left with something like this:

Moving on to the adding text part!
2. Adding Text
Now it’s time to add some text to your canvas. First, find and get out the Horizontal Type Tool, then drag a selection inside of your canvas. Connect the two sides of your text selection to the sides of your canvas, so the text can be perfectly centered. Write out your text.

In the above image, I’ve used a font called News Gothic Std, which sadly is not a free font. Feel free to try different fonts though, a good alternative is Arial, which comes with Windows.
For all of my other font/text settings, see the below screenshot:

Got that down? Excellent!
Next we’ll add some effects/styles to the text to make it look more interested.
3. Add Layer Styles / Effects
Right-click your text layer in the layer’s palette and go into the Blending Options, here we can add some interesting effects to your text. Start by ticking Drop Shadow, Bevel and Emboss, and Gradient Overlay. How’s it look now? Not so brilliant I bet. Well, go into the below links to see what settings you have to change:
And now your text should look like this:

Not too bad, huh? 😀 At this stage we’re pretty much finished, but I took it a tiny bit further and added a few extra things.
4. Add Gloss & Finishing Touches
Let’s finish up. Start by duplicating your text layer (right-click in layer’s palette, click Duplicate Layer…), and after duplicating rotate it slightly in Transform Mode. (CTRL+T)
After rotating and resizing your duplicate text slightly, create a new layer and merge the two together (duplicate layer and blank layer), after doing this, apply a slight Gaussian Blur filter (1.5).
You should have something like this:

After doing all of this, change the layer mode for your blurred text layer to Overlay and lower the opacity level to around 10-30%.

It may look a little lame, but meh. It’s just a random effect!
Lastly, I added a kind of glossy-shine to the text layer. You can do this by first selecting the text’s pixels (hold CTRL and click the layer’s thumbnail in the layer’s palette) then on a new layer dragging a white to black radial gradient, like the one shown below:

If you haven’t already, de-select your text pixels (CTRL+D) then find and get out the Pen Tool. Using the Pen Tool, create a curved path along your gradient, like how I’ve done in the below screenshot:
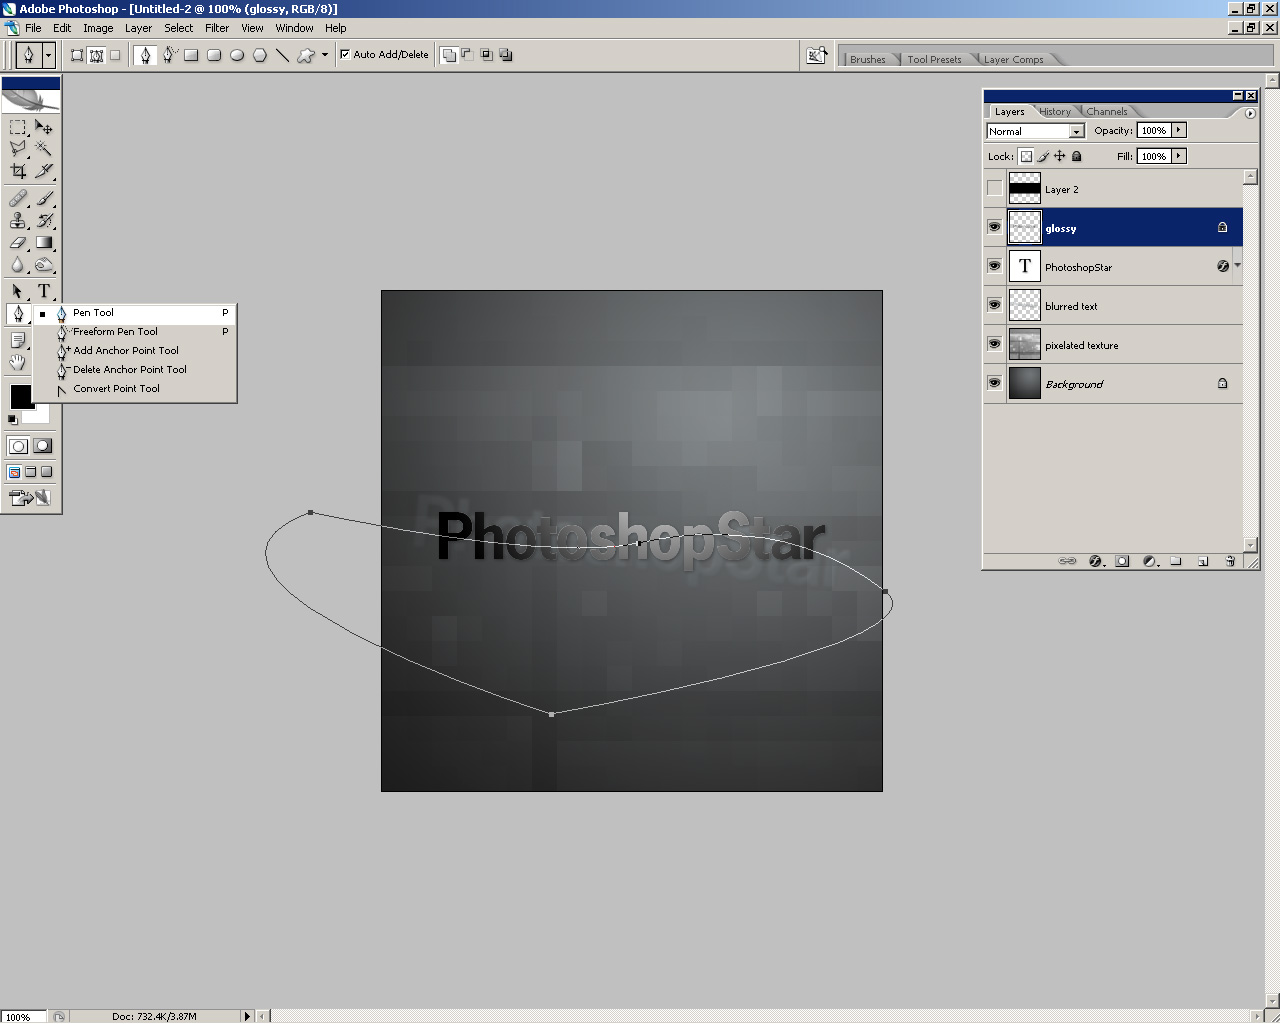
I hope I’ve been explaining this sufficiently so far! After making your path using the Pen Tool, turn the path into a selection by right-clicking the path and then clicking Make Selection, now press your delete key to remove the selected part of the gradient layer.

Hey, that just looks plain weird, doesn’t it? 😀 Change the layer mode for this gradient layer to Screen, and whammo, we’re done! How easy was that?

Much better. Well, it looks like we’re done for this tutorial. Are you happy with the result? If not, then keep experimenting with different things!