In this tutorial we will transform a regular photo into a pencil drawing (or sketch if you want).
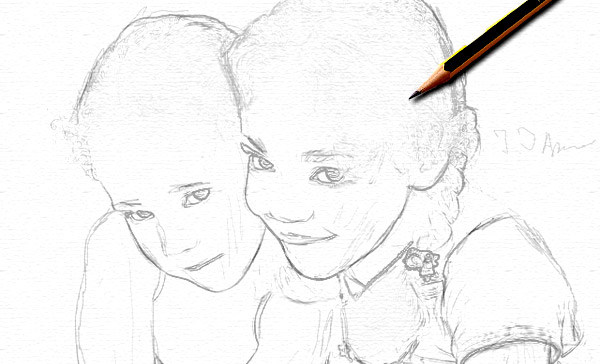
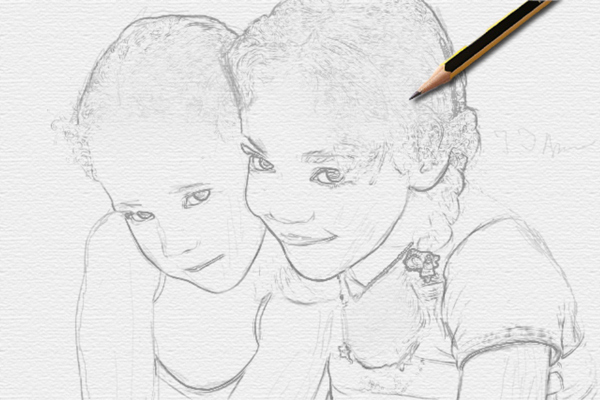
Final Image
Tutorial Details
- Program: Photoshop CC, Photoshop CS6, Photoshop CS5
- Estimated Completion Time: 30 minutes
- Difficulty: Beginner
Resources
Step 1
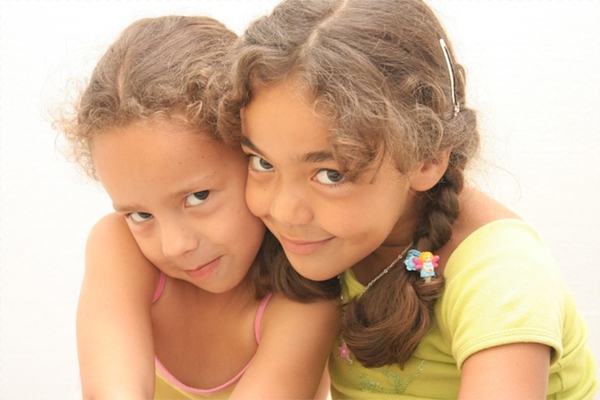
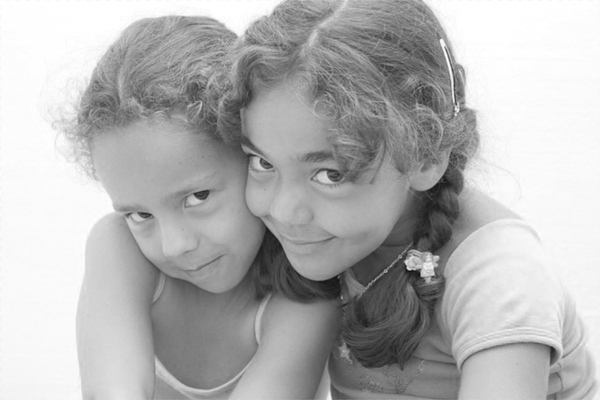
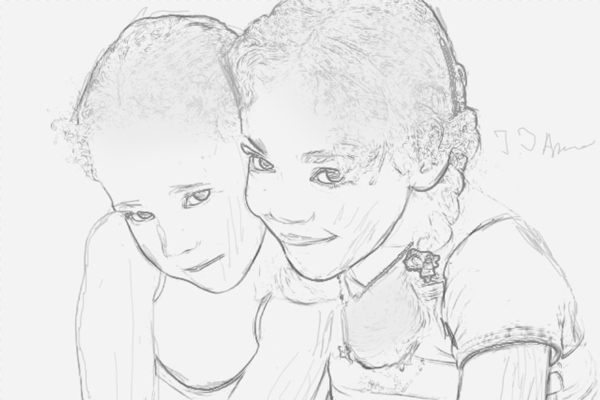
Open image “Girls”.
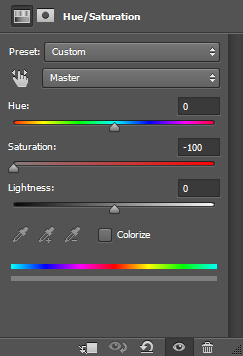
Desaturate the image by adding a Hue/Saturation adjustment layer (Layer > New Adjustment Layer > Hue/Saturation). Drag the slider all the way to the left.
Step 2
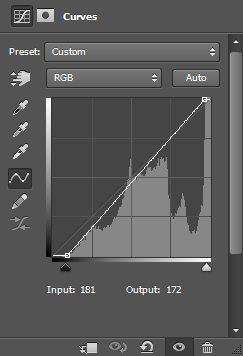
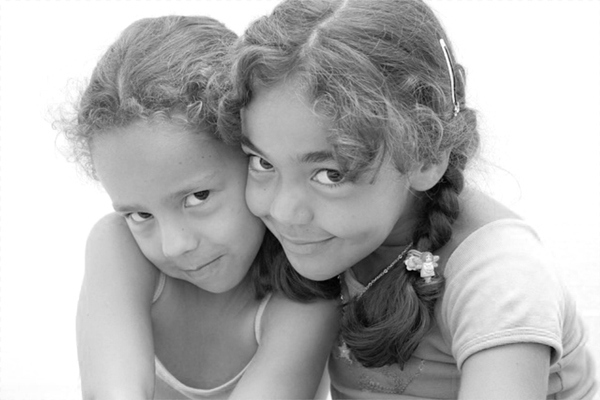
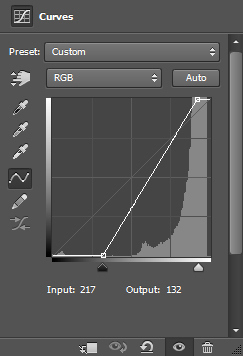
Now add a Curves Adjustment layer by going to (Layer > New Adjustment Layer > Curves) and drag the slider a little to the right in order to increase the contrast a little.
Step 3
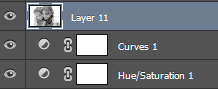
Create a new layer from all the visible layers by pressing Ctrl + Shift + Alt + E.
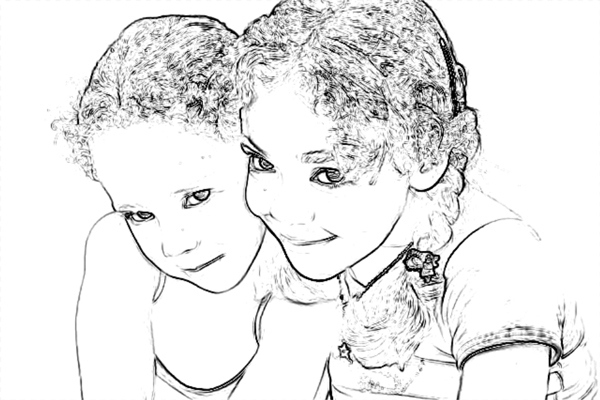
Now apply a Find Edges filter to this layer by going to Filter > Stylize > Find Edges.

Step 4
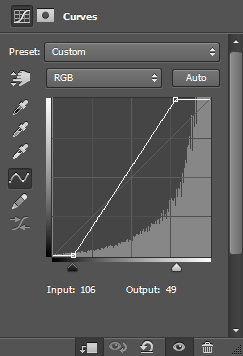
Add a Curves adjustment layer to the layer we applied Find Edges and drag both the left and the right slider towards the center. This will make most of the ugly grays disappear and will increase the contrast.
Step 5
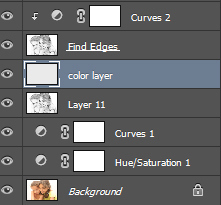
Create a new layer (Ctrl + Shift + Alt + N) and fill it with #eaeaea . Move this layer below the Find Edges layer. You’ll see in the next step why.
Step 6
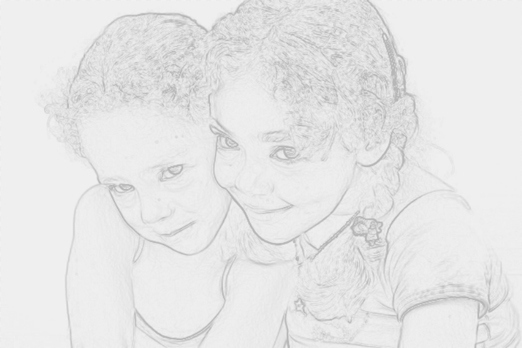
Now lower the opacity of the Find Edges layer. 22% works for me, but you can play with the slider and see what works best for you. We can see now the use of the colored layer we created in step 5.
Step 7
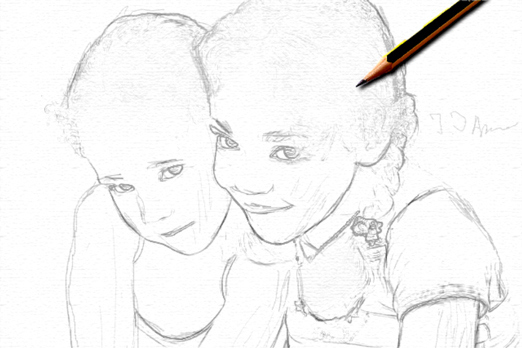
Now comes the hardest part. Create a new layer. Now with a round soft brush pick a color from the background by Alt-clicking and start filling in the areas that are way to stylized (like the hair). After you’re done use a black color and scribble along the edges, maybe add some lines of your own. The idea here is to hide the fact that this was computer generated. I also added a signature for extra effect.
Step 8
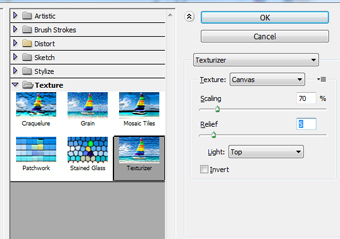
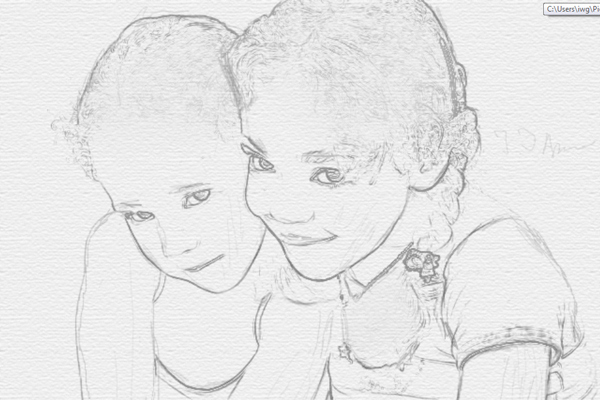
Since this is supposedly paper let’s add a paper texture to it. Create a new layer from all the layers by pressing Ctrl + Shift + Alt + E. Choose Filter > Filter Gallery. From the list on the left choose Texturizer and tweak the settings to your liking. The effect is too strong so lower the Opacity to 30-40%.
Step 9
It is looking good already but let’s add another little bit for more realism. Open the image “Pencil”. Use your favourite selection tool to select the pencil. Copy the selection (Ctrl + C) and paste it into our image (Ctrl + V).
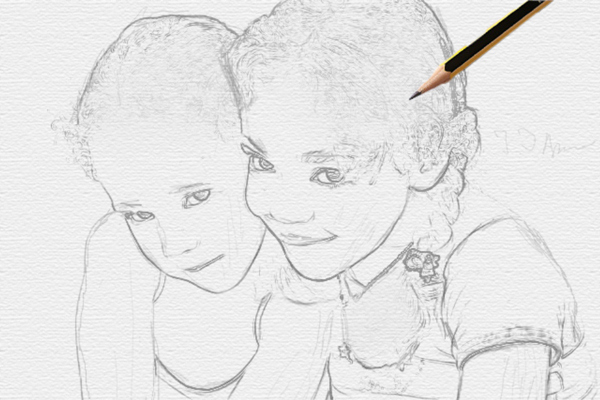
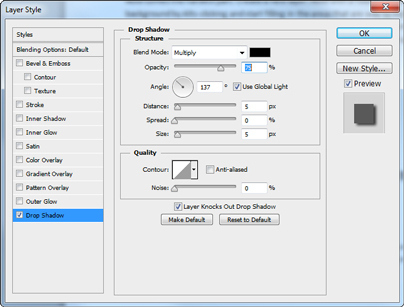
Let’s add a shadow to this pencil. Double click the layer to enter Advanced Blending mode and use the settings shown below.
Step 10
We’re almost done. Add a Curves Adjustment layer and tweak the sliders as shown below in order to boost the contrast.
And We’re Done!
That’s how you quickly turn a regular photo into a black and white pencil sketch.