In this tutorial we will create a realistic rainbow and add it to our photo. This is an easy Photoshop tutorial, aimed at beginners with detailed explanations at each step.
Final Image
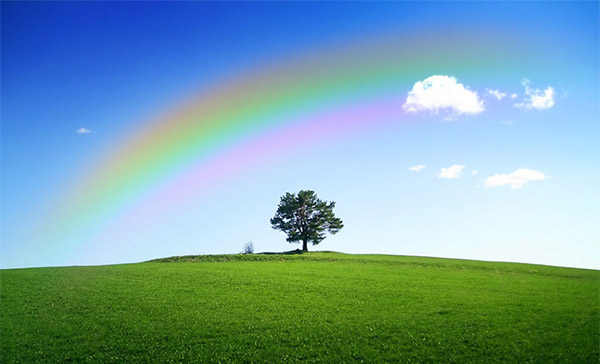
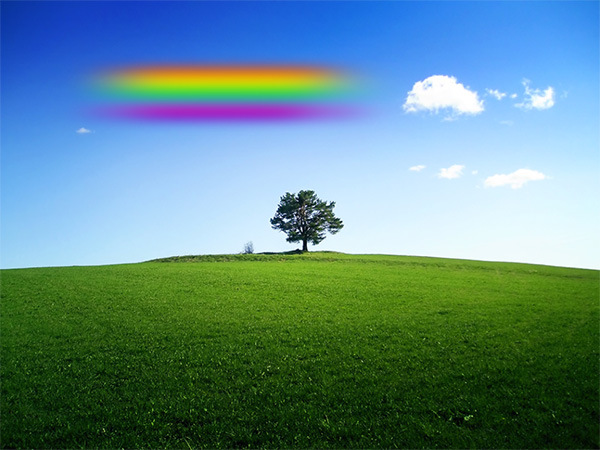
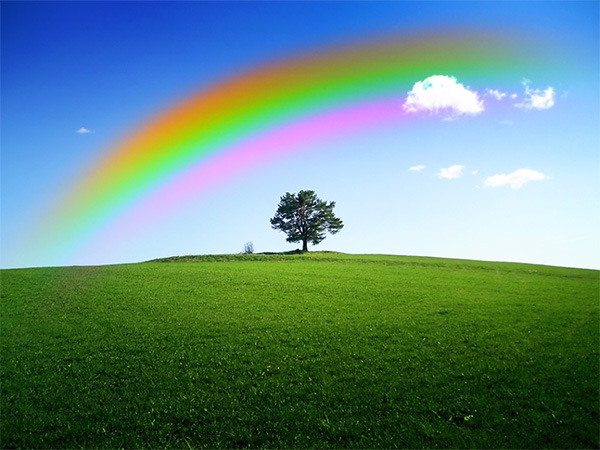
As always, this is the final image that we’ll be creating:
Resources
Step 1
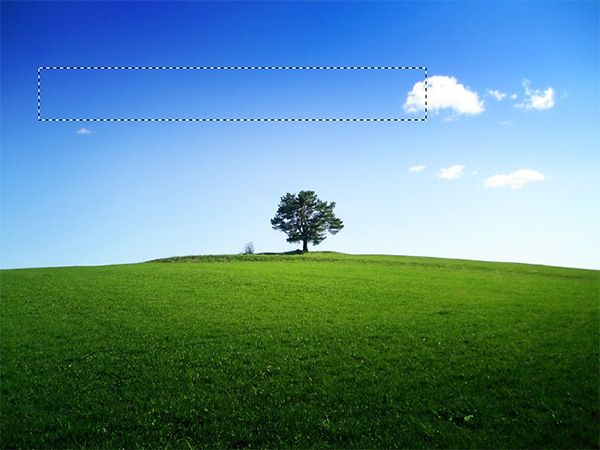
Open file “Sky”. This will be our base image on top of which we will create a realistic rainbow. First let’s create a new layer by pressing Ctrl + Shift + Alt + N. Now select the Rectangular Marquee Tool and create a selection as shown in the image below.
Step 2
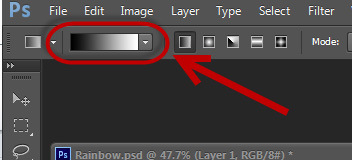
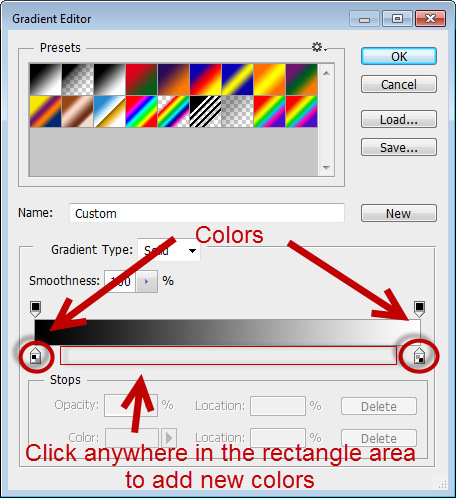
Select the Gradient Tool (G) and click on the icon shown below to edit the gradient.
The following window (called the Gradient Editor) will appear. The little arrowhead icons underneath are the colors that form the gradient. Click just below the gradient representation to add new colors. You can also click on the colors and move them around after you have created them. Double click the arrowhead icons to change the color.
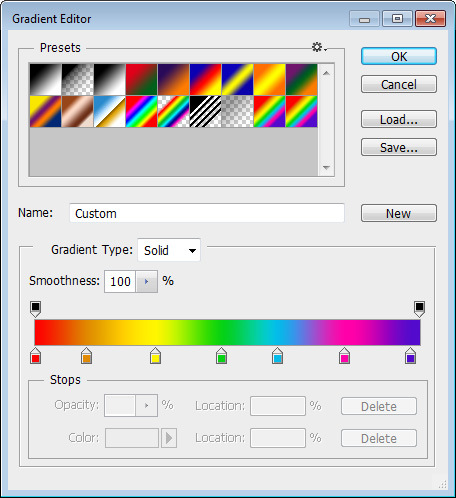
Add the colors shown below to your Gradient Editor window and click OK. They are in order: red, orange, yellow, green, blue, magenta, cyan.
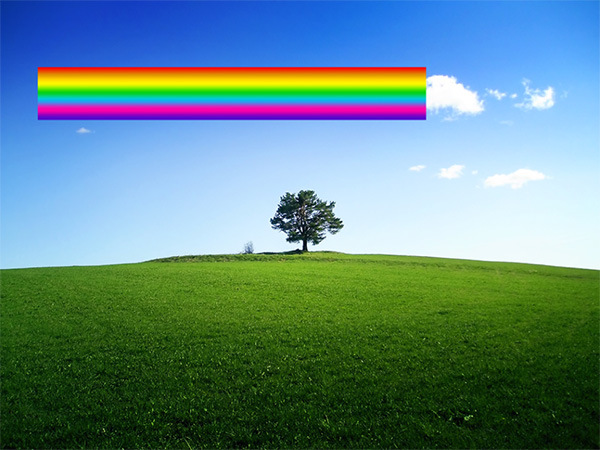
Make sure you still have the Gradient Tool selected. Click and drag in the selection while holding shift to create a gradient with the colors you chose previously. Press Ctrl + D to deselect the layer.

Step 3
Make a duplicate layer (Ctrl + J) of the gradient layer just to have a backup in case something goes wrong. Turn off the visibility of the original gradient layer by clicking on the eye icon at the left of the layer in the layers palette.
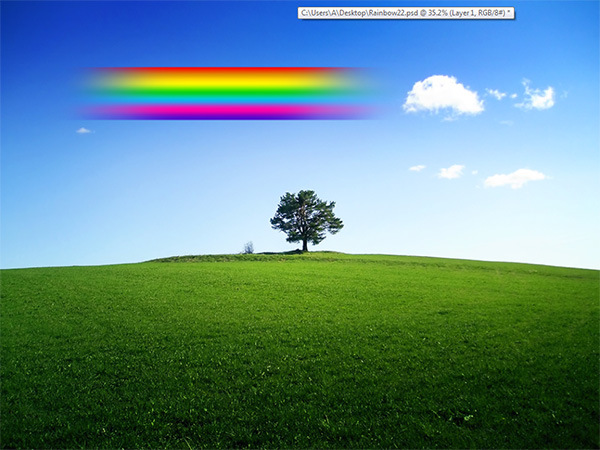
Select the Eraser Tool (E), select a soft round brush and erase the left and right edges of the gradient as shown in the image below.
You could also use a Layer Mask to hide the unwanted parts of the gradient, but the Eraser Tool is simpler to use.
Step 4
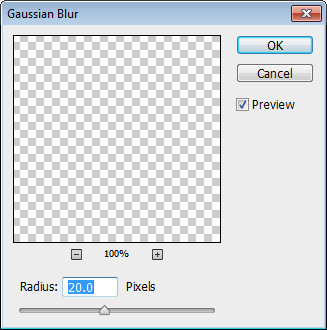
Now let’s add some blur in order to disperse the colors. Choose Blur > Gaussian Blur and enter a value of 20px. Make sure the layer is deselected (press Ctrl + D just to be sure) otherwise you’ll get unwanted effects.
Step 5
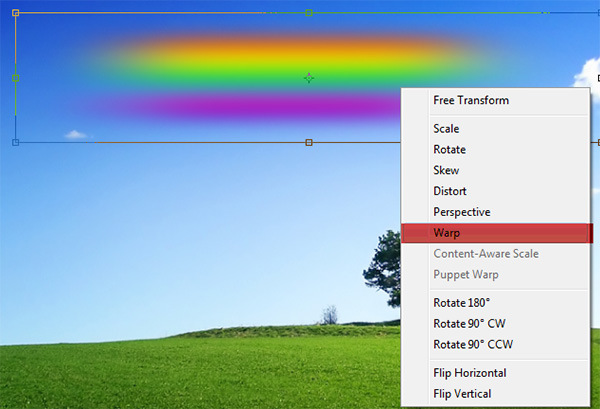
We are almost ready with our rainbow. Let’s add some curvature to our rainbow. While on the gradient layer press Ctrl + T to enter Free Transform. Right click on the gradient and from the drop down menu choose Warp.
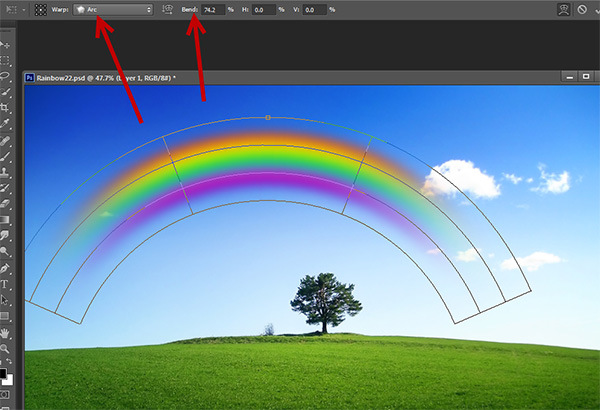
In order to bend it in a nice fashion choose from warp options (in the upper Options Bar) Arc and play a little with the Bend value until you obtain a nice curved rainbow. Press Enter after you’re done.
Step 6
Let’s increase the size of our rainbow and position it a bit better. Press Ctrl + T to enter Free Transform and modify the size and position to make it look like mine in the image below. To symmetrically resize hold the Shift key while dragging on the corners.
Step 7
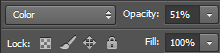
It looks very nice now but the effect is still a bit strong. Change the blending mode to Color and lower the Opacity of our rainbow layer to 51% for a softer effect.
Step 8
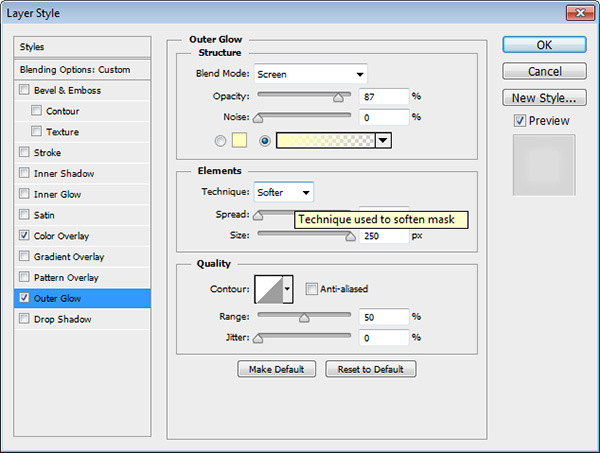
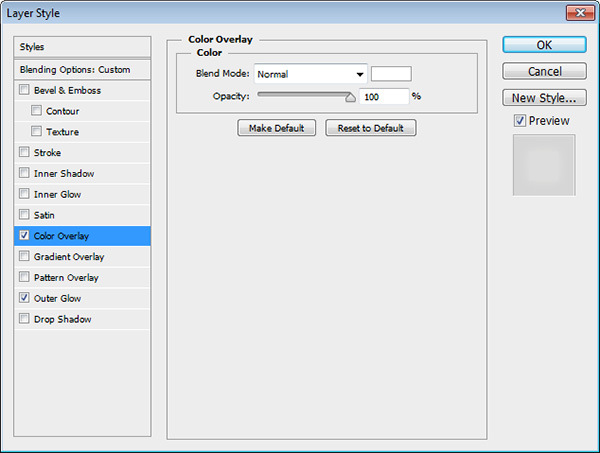
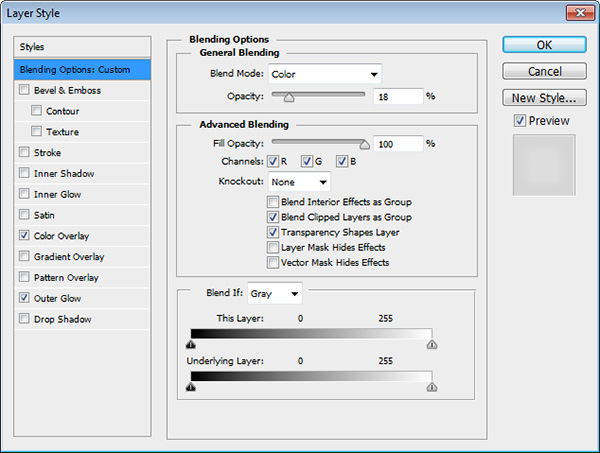
It looks nice enough as it is but I think that a bit of glow will make it look better. Duplicate the rainbow layer by pressing Ctrl + J. Double-click the layer to enter Advanced Blending options. Use the following settings:
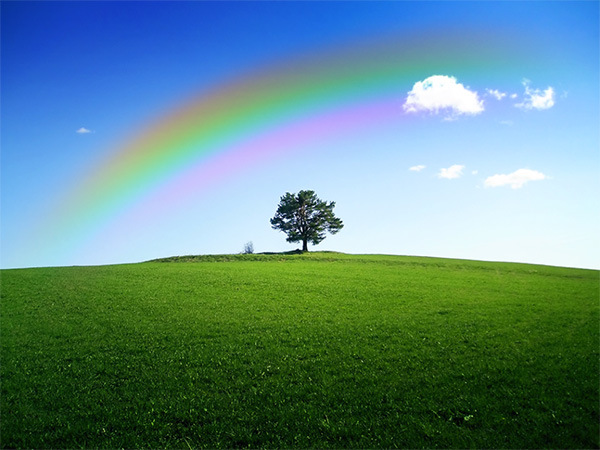
And We’re Done!
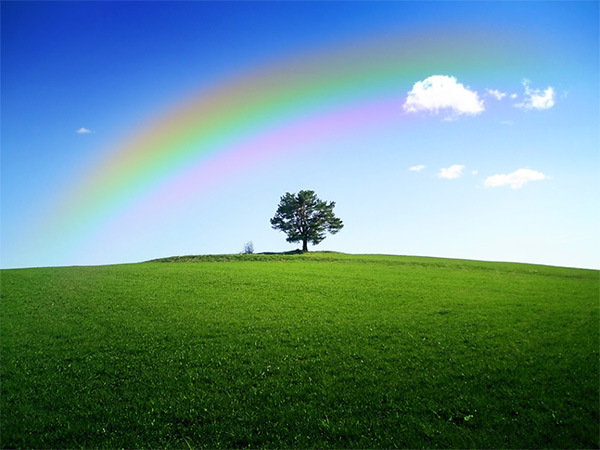
Here’s how the final image should look. If you want a more artistic effect and not a realistic one then consider increasing the opacity of the rainbow layer and/or give the rainbow a bigger arc effect (Step 5).