In this Photoshop tutorial you will learn how to add a rain effect to a photo.
We’ll use blending modes and a couple of native Photoshop filters.
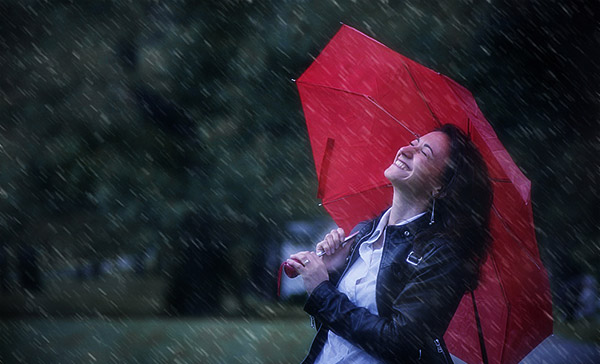
Final Image
As always, this is the final image that we’ll be creating:
Tutorial Details
- Program: Adobe Photoshop CS3
- Estimated Completion Time: 40 minutes
- Difficulty: Beginner-Intermediate
Resources
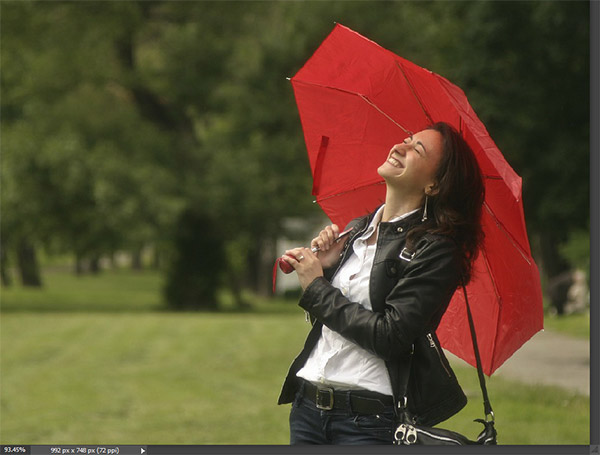
Step 1
Open the file “Girl”. We’re going to be adding rain to this photo but first we’ll make some color adjustments and add some focus.
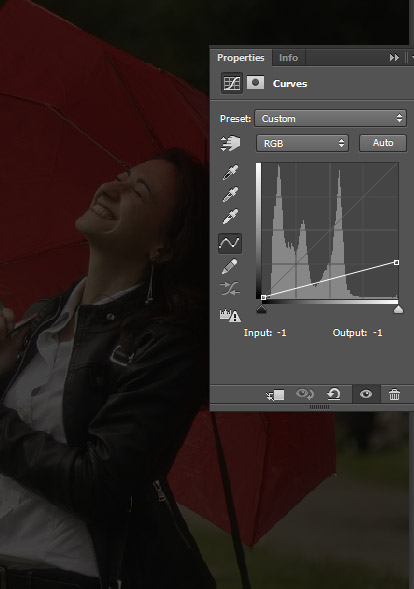
Step 2
Let’s bring back the bright tones in this photo. Create a Curves Adjustment Layer (Layer >New Adjustment Layer > Curves) and drag the curve down as shown below. You’ll notice a strong darkening effect.
Step 3
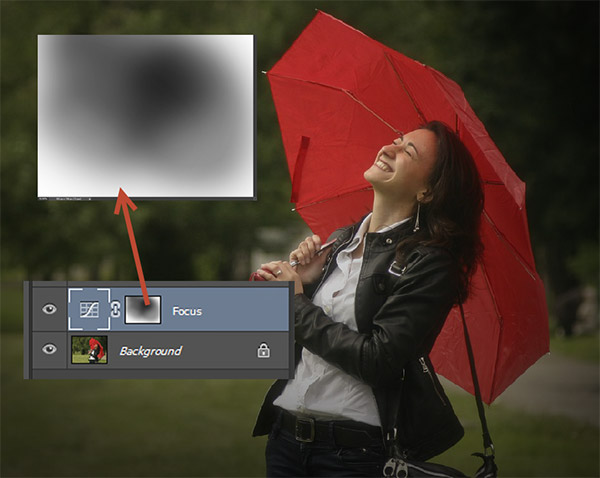
Now let’s hide this darkening effect in the middle of the photo. In order to do that we’ll have to use a layer mask.
In a layer mask dark conceals and white reveals. So if we add a layer mask to our curves adjustment layer and fill it with black the effects of the curves layer will be completely hidden. If we fill with white the effects will be fully shown. But if we paint with a 50% gray brush over some areas the curves darkening effect will be only partially hidden in those areas.
Luckily for us the Curves Adjustment Layer already comes with a layer mask (the white thumbnail next to the layer thumbnail in the layers palette).
Now choose the standard round soft brush and paint with 50% opacity over the middle of the photo to partially hide the darkening effect there.
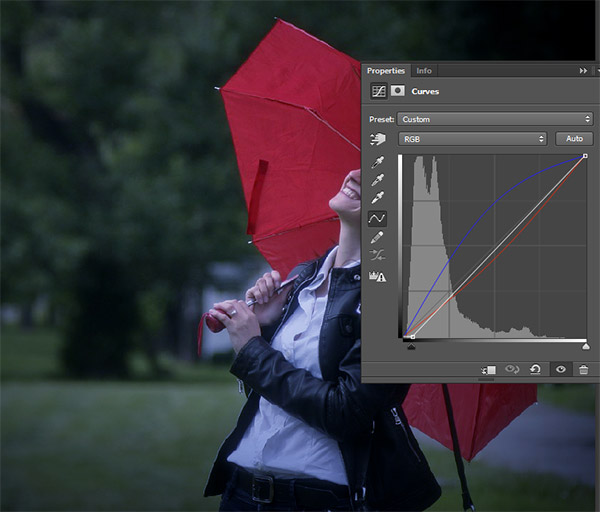
Step 4
We tend to associate rainy or cold days with cold tones – however our photo has warm tones. Let’s adjust this by creating a Curves Adjustment Layer. Drag the blue curve up to boost the blues and drag the red curve down just a little bit to get rid of some of those reds. You should have something like the results below:
Step 5
Let’s create the rain drops.
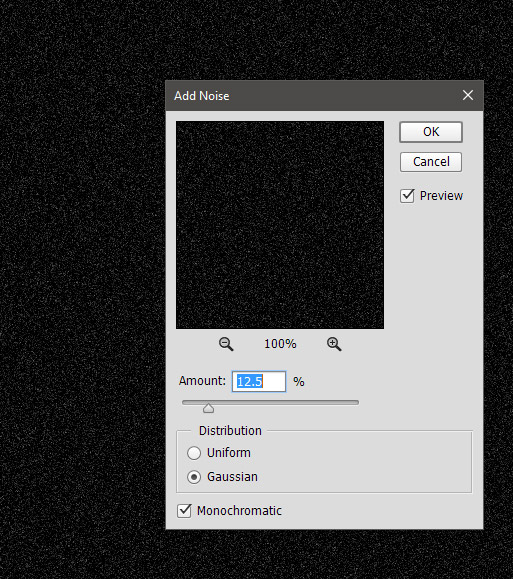
Create a new layer (Ctrl + Shift + Alt +N) and fill it with black (press D then press Alt + Backspace).
Now apply some noise by going to Filter > Noise > Add Noise. From the options choose Gaussian and Monochromatic.
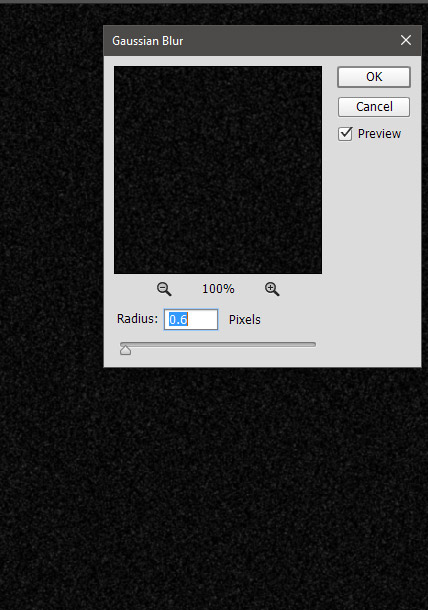
Step 6
The noise is way too detailed and pixelated for our purpose of creating rain drops. Let’s soften it up a bit by applying some Gaussian Blur.
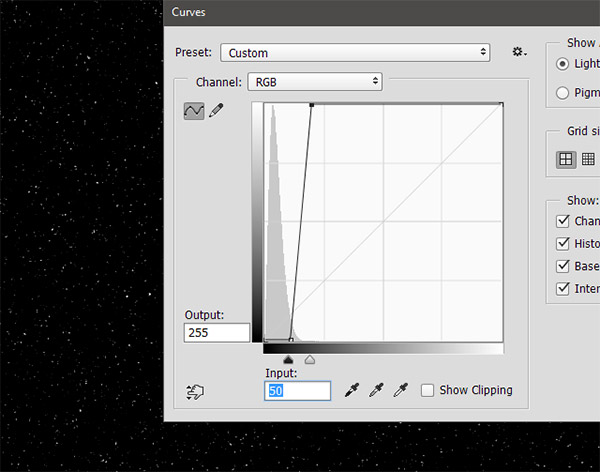
Step 7
Our potential rain drops are just too many and their contrast compared to the background is too low. Let’s fix this by applying a curves adjustment to the noise layer (Image > Adjustments > Curves) with the settings shown below. By dragging the arrows towards the middle we will boost the existing white drops and get rid of the small ones.
Step 8
And now let’s create the actual falling rain drops. In order to do that let’s apply a Motion Blur to our noise layer by going to Filter > Blur > Motion Blur. Use the settings shown below and make sure to choose an oblique angle – rain drops don’t just drop vertically from the sky, they come at a certain angle depending on the wind.

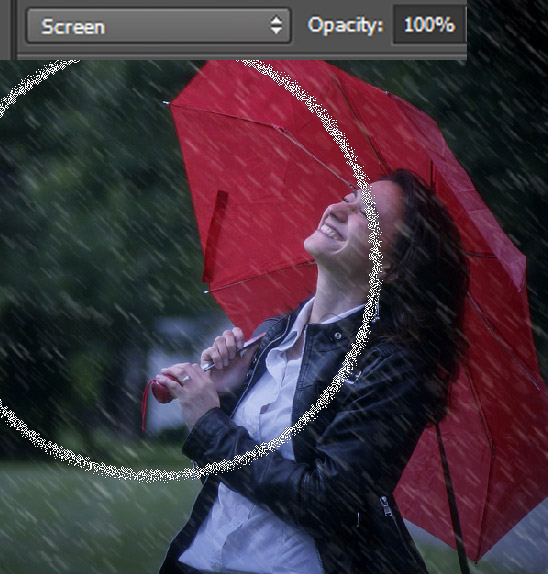
Step 9
Well, we have our rain but as far as we can see there are just white rain drops on a black background with no trace of our previous scene. How shall we correct that? With the help of the blending mode, of course. Simply change the blending mode of the rain drops layer from Normal To Screen and you’ll see that the black background simply disappears leaving only the rain drops visible.
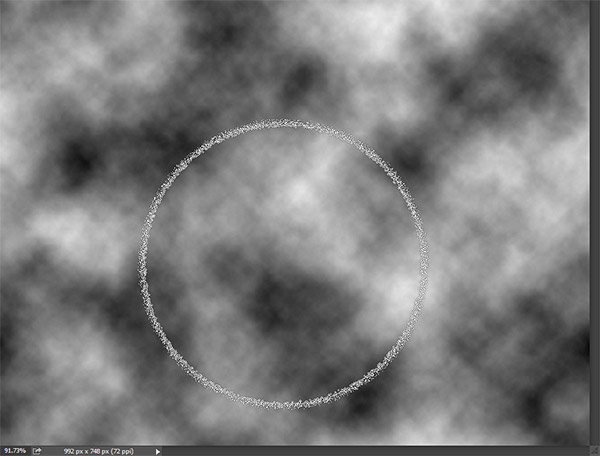
Step 10
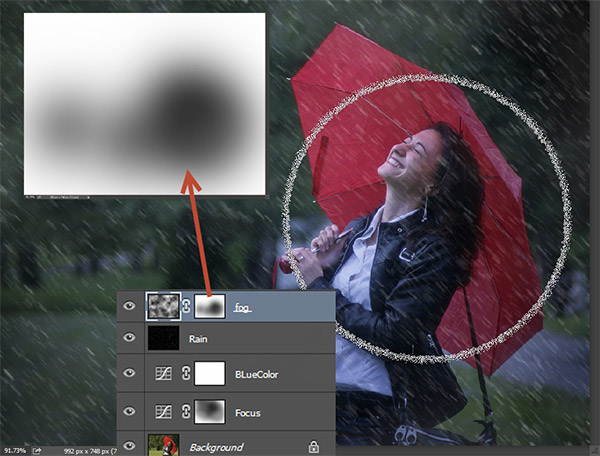
We have added rain drops but the atmosphere looks way too clear for a rainy day. Let’s add a bit of fog. Create a new layer (Ctrl + Shift + Alt + N) and create some clouds by going to Filter > Render > Clouds.
Step 11
We do have both black clouds and white clouds but we don’t need the black ones. How are we going to hide them, huh? Well, if you remember in Step 9 we used the Screen blending mode to hide the black background from the rain drops layer. Will it work for the clouds too?
Try it for yourself. Change the blending mode of the clouds layer to Screen and watch the black clouds vanishing.
Because the cloud effect is too strong lower the opacity of the layer to 19%.
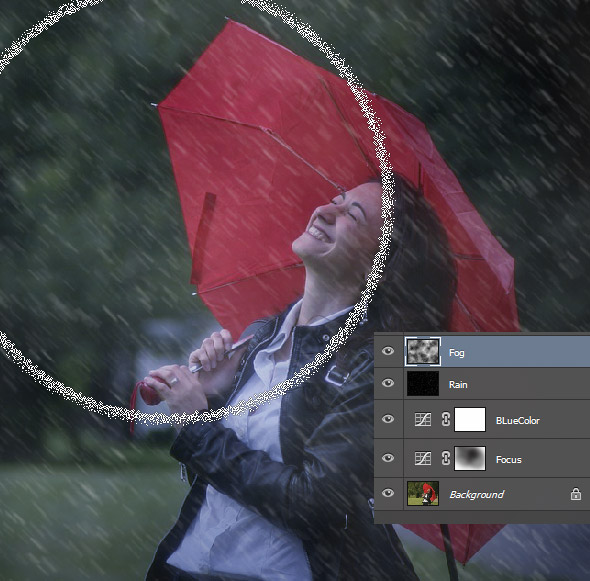
Step 12
The clouds are looking good but let’s prevent them from covering our main character – the girl with the umbrella.
Add a layer mask to the clouds layer by going to Layer > New Layer Mask > Reveal All. You will see a white thumbnail appearing next to the preview thumbnail in the layer palette. Click on it to make it active and paint with the standard soft brush with black over the center of the image.
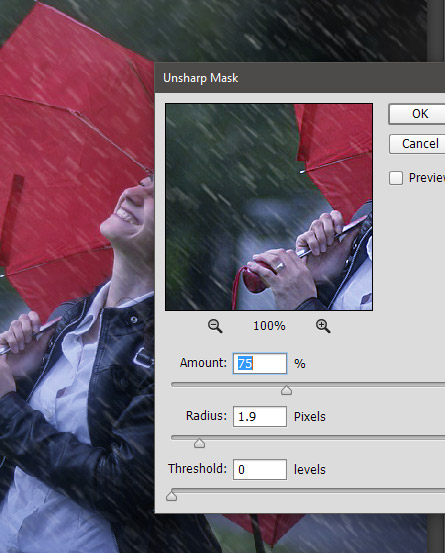
Step 13
We’re almost there. Let’s sharpen our image a bit. Create a new layer from all the visible layers by pressing Ctrl + Shift + Alt + E. Add a sharpen effect by going to Filter > Sharpen > Unsharp Mask and using the settings shown below to slightly sharpen our scene.
Step 14
Let’s add some contrast and rich tones to our scene. Create a new layer from all the visible layers again by pressing Ctrl + Shift + Alt + E and change the blending mode to Soft Light.
Apply a 20px Gaussian Blur (Filter > Blur > Gaussian Blur) and press Ok.
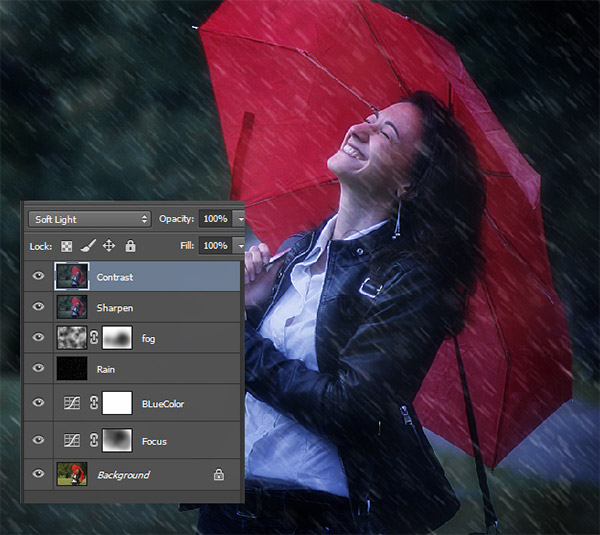
And We’re Done!