In this tutorial we will learn how to use the power of Photoshop blending modes to achieve an intense effect.
Final Image
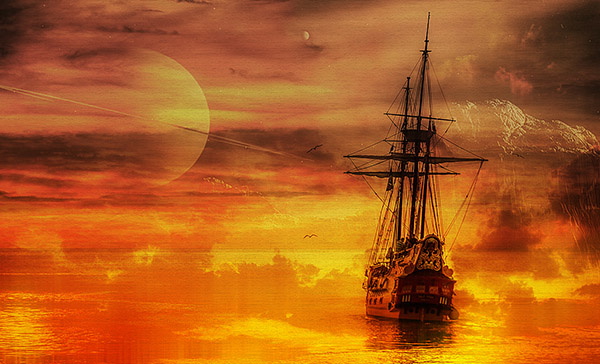
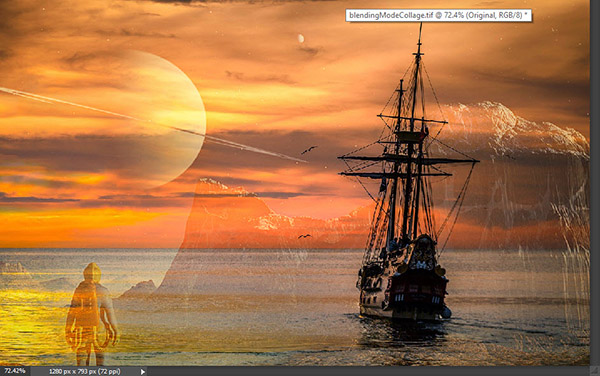
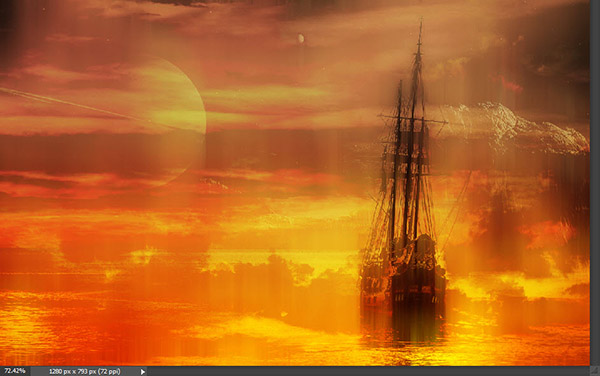
As always, this is the final image that we’ll be creating:
Tutorial Details
- Program: Adobe Photoshop CS3
- Estimated Completion Time: 30 minutes
- Difficulty: Beginner-Intermediate
Resources
Step 1
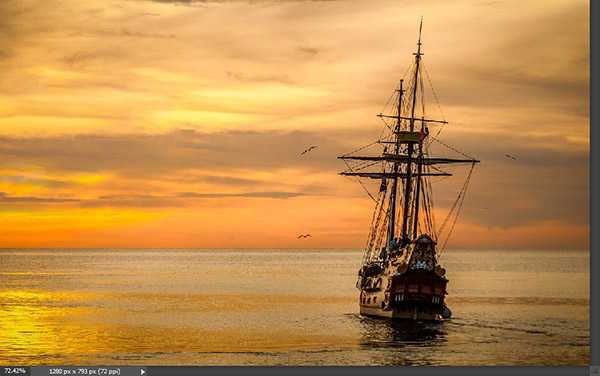
Open the file “Ship”. This will be our base image on top of which we will construct our scene with the help of blending modes.
A quick word on the available blending modes in Photoshop – although there are 25 blending modes we are going to use only a select number of 4 or 5. This is because blending modes are part of a family, with each family having from 3 to 5 members. Let’s take the Multiply blending mode for example. You’ll notice that it is in a family of 5 blending modes separated by a line from others – Darken, Multiply, Color Burn, Linear Burn, Darker Color. All these blending modes have a similar behavior – they darken the image in some way.
I won’t talk about the math behind it (it basically multiplies various pixel channel values by each other following some sort of algorithm) but you should know that Multiply is the most used blending mode from the darkening family of blending modes because it has a moderate enough effect – other blending modes will take your color values to the extreme.
The same goes for other blending mode families – there’s the lighting blending mode family (Screen, Lighten, Lighter Color, Color Dodge, Linear Dodge), the overlay family (Overlay, Soft Light, Hard Light, Vivid Light, Linear Light, Hard Mix) and so on and so on.
Step 2
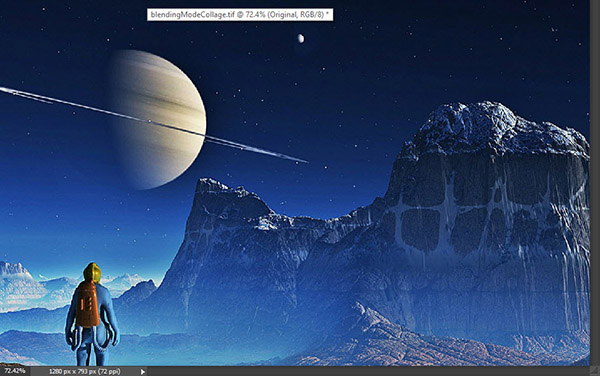
Open the file “Space Scene”. Select all with Ctrl + A and copy with Ctrl + C.
Go back to our document and paste with Ctrl + V. Resize this image with Ctrl + T (and all the future images that we will import in our scene) so that it covers the whole visible area (basically make it just a bit larger than our document).
Step 3
Now change the blending mode of this image to Soft Light and you’ll notice that the two images in our scene blend nicely together. You could also have used Overlay for a stronger effect just so you know but for this particular image Soft Light will be enough.
Step 4
We don’t want the whole space scene image to be visible in our document – we want to hide the bottom section. We could use the Eraser tool but this is not a good way of editing your documents – it will destroy pixel information and we might want to make adjustments later.
The preferred way these days is with a layer mask. A layer mask allows us to partially or completely hide a layer without deleting the actual pixels.
Let’s give it a try. Add a layer mask to the space scene layer by going to Layer > Layer Mask > Reveal All. You’ll see a white thumbnail appear next to the layer thumbnail in the layers palette. In a layer mask white reveals and black conceals and because our layer is completely white nothing is changed in the scene.
![]()
Step 5
Select the gradient tool (G) and set the colors to default (D). Click on the layer mask thumbnail to make it active and drag with the gradient tool from the top section to the bottom section. You’ll see that by doing this we will mask gradually the bottom section of the layer – black conceals, remember?
You can also use the brush tool in the layer mask – by painting with black you will hide the painted regions or by painting with 50% gray for example you will partially hide the painted section.

Step 6
Now that you know the basics of blending modes and layer masks we can proceed faster with our tutorial.
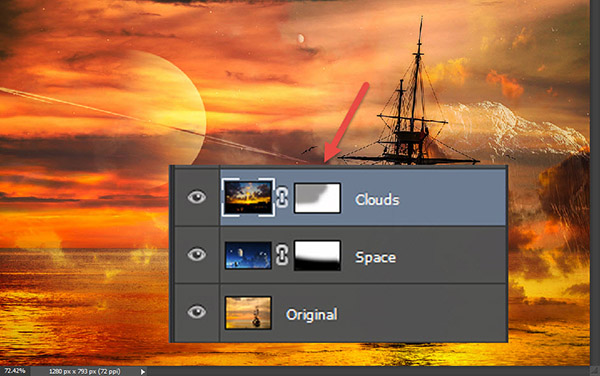
Open the file “Clouds2” and copy/paste it in our scene.
Resize it with Ctrl + T so that it covers all our scene (do this for all the future imported images too).
Change the blending mode to Overlay, add a layer mask and paint in the area shown below with a 50% opacity black brush to partially hide that section (because like I said before the Overlay effect can be a bit strong so we don’t want that in some areas).
Step 7
Open the file “Clouds3” and copy/paste it in our scene. Change the blending mode to Soft Light and lower the opacity to 79%.

Step 8
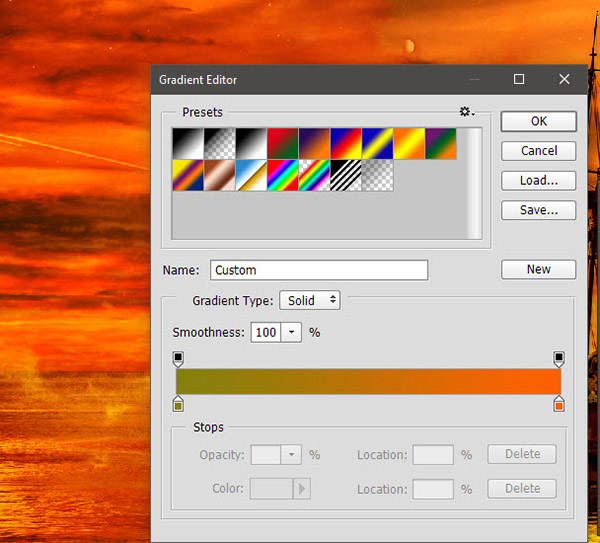
Now let’s spice up our scene a bit. Create a Gradient Map Adjustment Layer (Layer > New Adjustment Layer > Gradient Map) with the settings shown below and change the blending mode to Soft Light.
Step 9
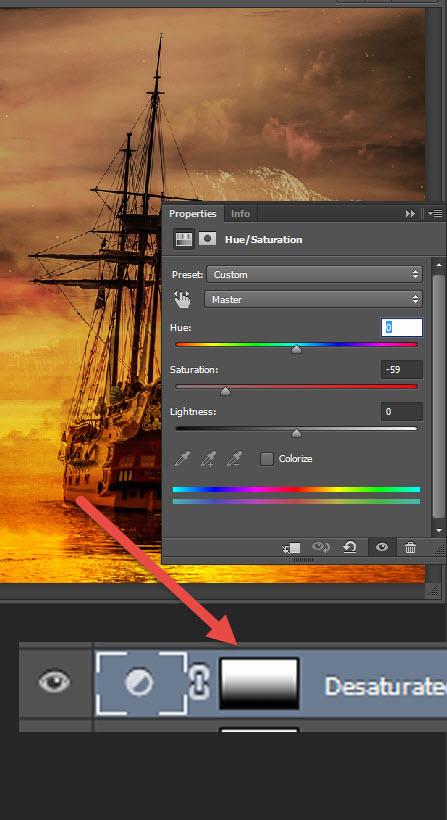
Let’s lower the saturation of the colors selectively. Create a new Hue/Saturation Adjustment Layer (Layer > New Adjustment Layer > Hue/Saturation) with the settings shown below and use the Gradient tool in the layer mask to hide the bottom part of the layer.
Step 10
Create a new layer from all the visible layers by pressing Ctrl + Shift + Alt + E and apply a 100px Gaussian Blur (Filter > Blur > Gaussian Blur).
Change the blending mode to Overlay and lower the opacity to 45% – you’ll see that the colors will soften and the contrast will increase.

Step 11
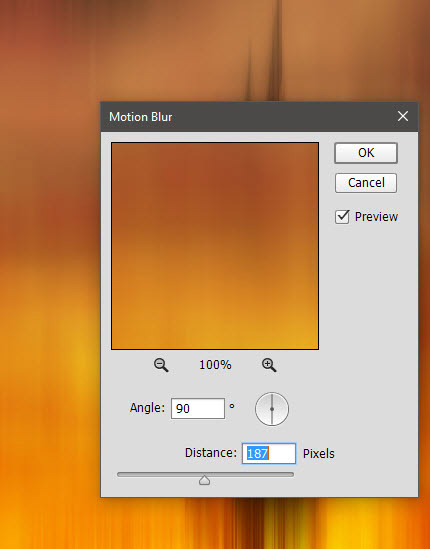
Create again a new layer from all the visible layers (Ctrl + Shift + Alt + E) and apply a Motion Blur effect (Filter > Blur > Motion Blur) with the settings shown below.
Step 12
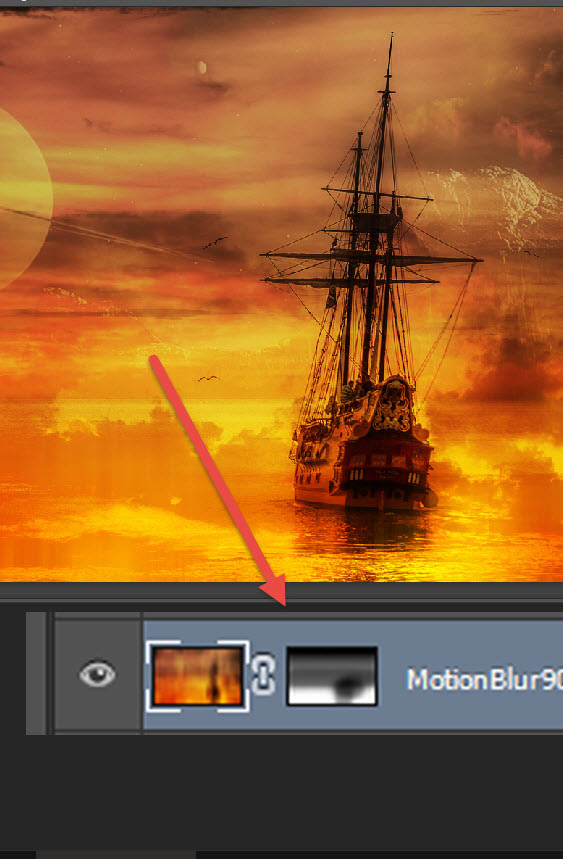
Change the blending mode of the motion blur layer to Lighten. You’ll see that the image will now have some interesting vertical lines effect going on.
Step 13
Add a layer mask to the Motion Blur layer and hide the indicated areas with a round black soft brush (in the layer mask).
Step 14
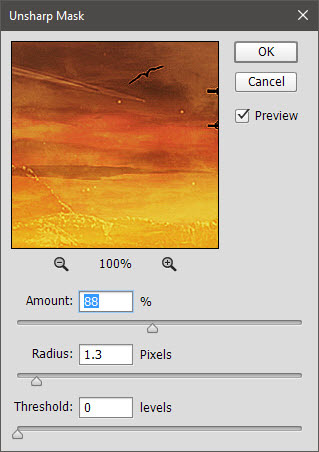
Create a new layer from all the visible layers and this time apply a sharpen effect by going to Filter > Sharpen > Unsharp Mask with the settings shown below.
Step 15
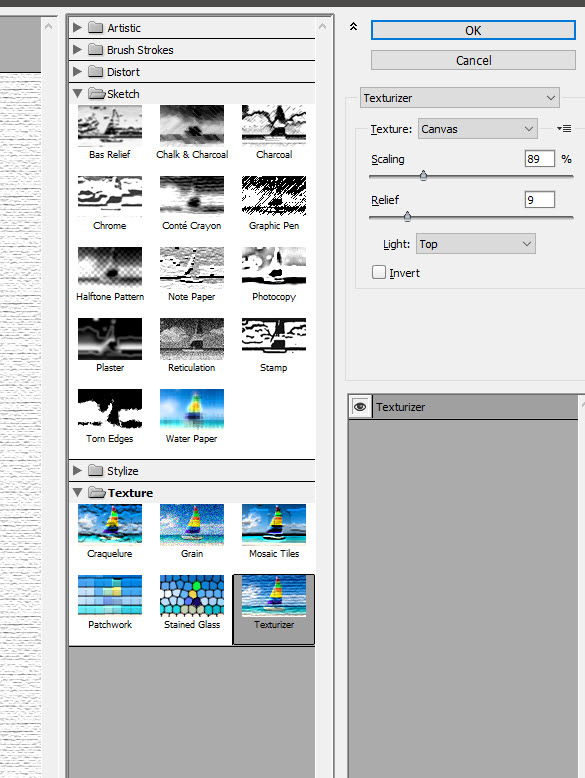
Now let’s add some canvas texture. Create a new layer (Ctrl + Shift + Alt + N) and fill it with white (Shift + F5). Go to the Filter Gallery (Filter > Filter Gallery) and use the settings shown below to add a nice canvas texture to our white layer.
Step 16
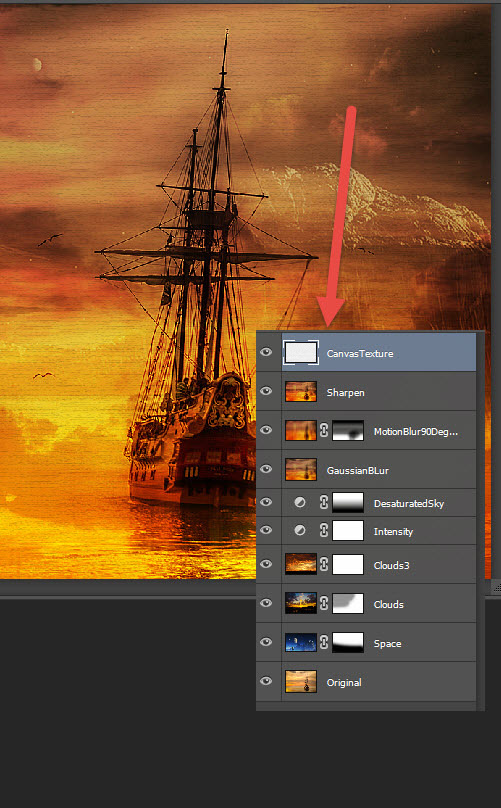
Now change the blending mode of the canvas layer to Multiply and lower the opacity to 43%. Multiply will get rid of most of the white colors and blend our texture with the overall scene nicely.
And We’re Done!