We will use a Lens Blur filter in this Photoshop tutorial to create a tilt shift effect which in turn will make our photos look like miniatures.
Final Image
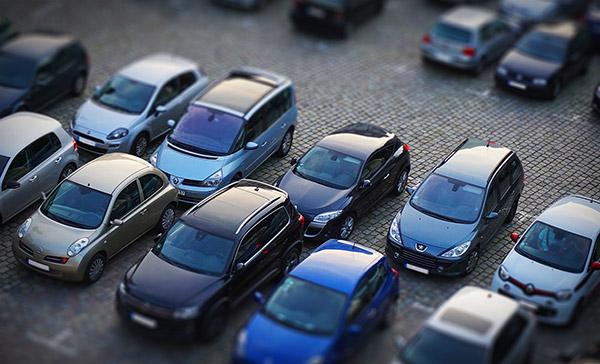
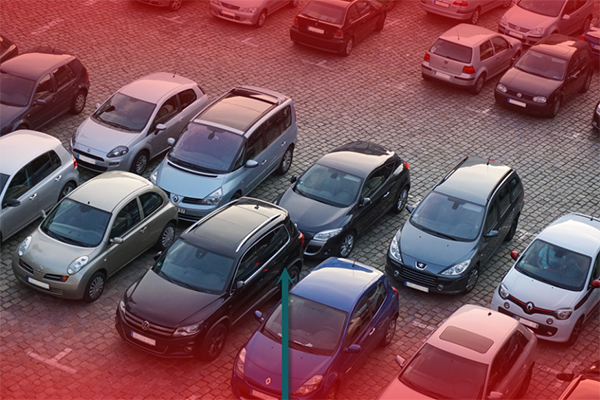
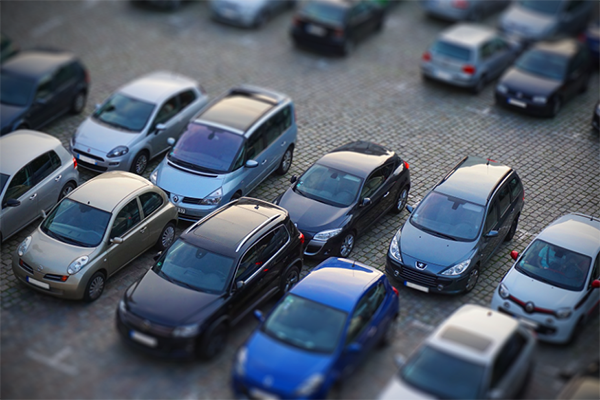
As always, this is the final image that we’ll be creating:
Tutorial Details
- Program: Adobe Photoshop CS3
- Estimated Completion Time: 40 minutes
- Difficulty: Beginner-Intermediate
Resources
Step 1
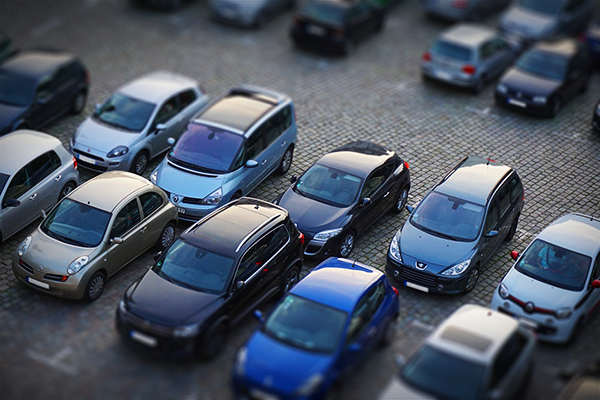
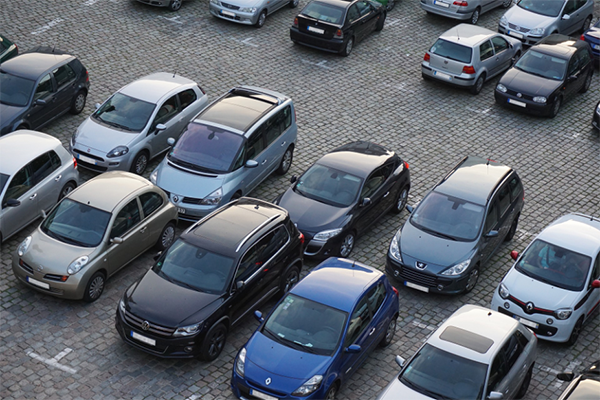
Before starting to create our tilt shift effect open the photo “Cars” or open your own photo. This effect works best with pictures that are shot from a high angle, like the photo shown below.
Step 2
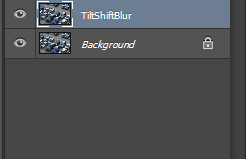
Let’s start by making a duplicate of our original photo. Click on the background layer in the layer palette and press Ctrl + J. Name the new duplicated layer TiltShiftBlur.
Step 3
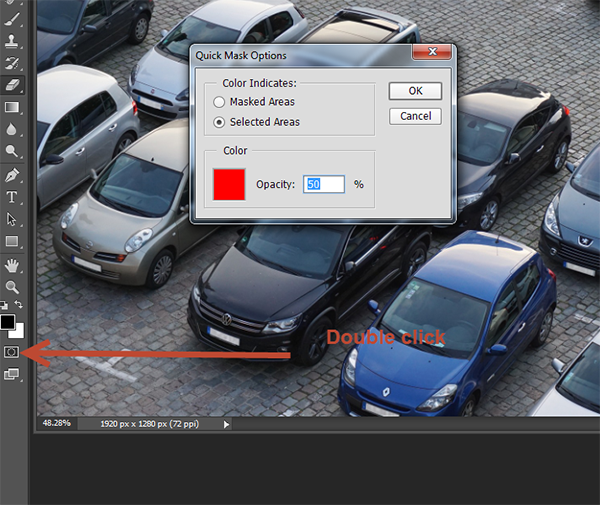
We will use the Quick Mask for our next step but first we must change some essential settings. Double click on the Quick Mask icon (placed just below the foreground/background change color icon). A window name “Quick Mask Options” will appear. Choose “Selected Areas” from the Color Indicates radio buttons and click ok.
Step 4
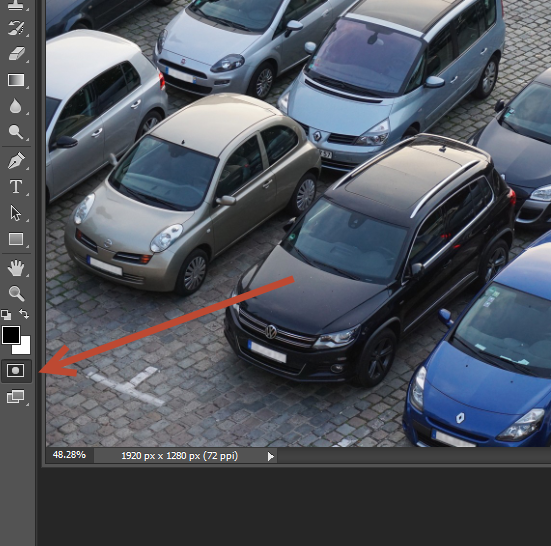
Now click Q to enter the Quick Mask mode or click on the Quick Mask button (shown in the image above). You will notice that nothing will change apart from the Quick Mask button being shown as clicked.
Step 5
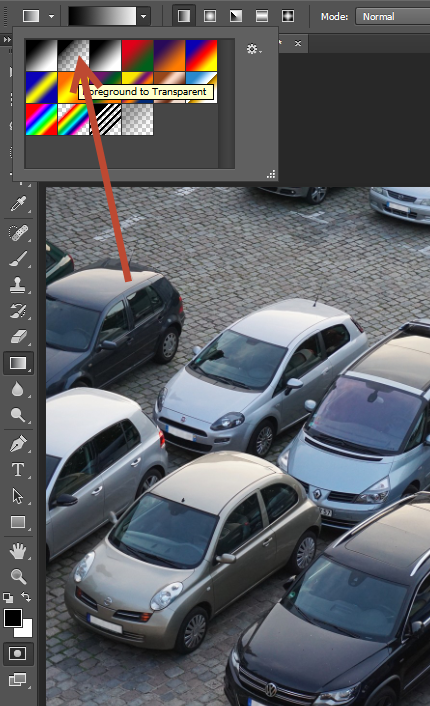
Now select the Gradient Tool from the toolbar on the left. Once you’ve done that click on the drop down arrow (in the tool’s option toolbar, just below the menu items) and select foreground to transparent. Now our gradient tool will make our gradients fade to transparency.
Step 6
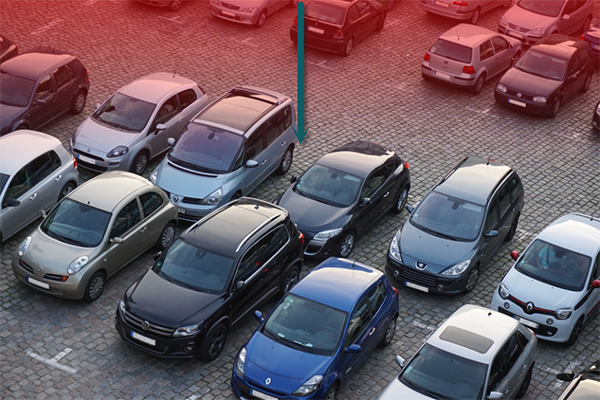
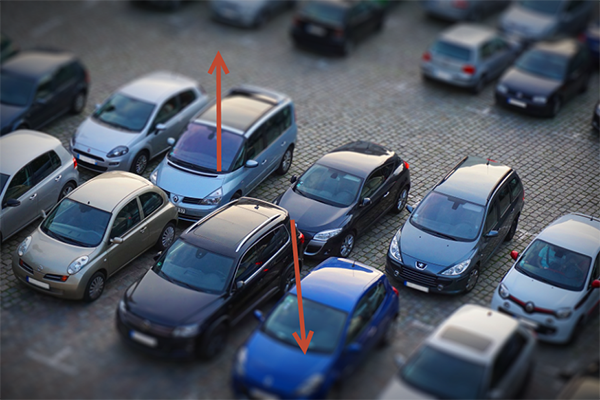
With the gradient tool selected and the quick mask activate hold the shift key and drag the gradient tool from the upper part of the image to approximately one fourth below. You will notice that no matter what color we have selected as a background we have created a red gradient.
Because we are in the quick mask mode every opaque pixel represents a selection and it is displayed as a bright red color. Semi-transparent pixels are represented as slightly red pixels. So if you look at our image you will see that the image is fully selected at the top and slightly gets more and more transparent as it goes below.
Step 7
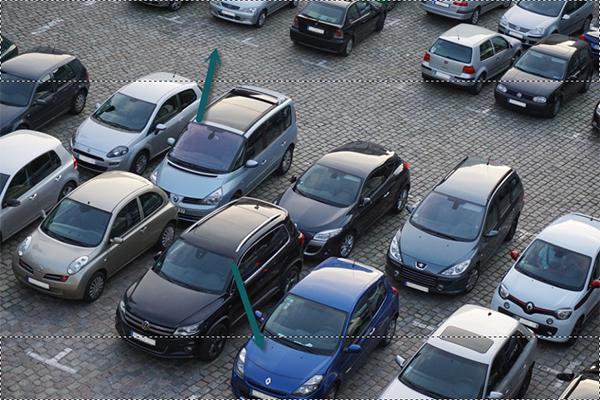
Now let’s create the same selection in the bottom part of the image. With the gradient tool selected hold the Shift key again and drag from the lower part of the image to the upper part (up to a fourth of the image height). Your image should look as the photo shown below.
Step 8
And now let’s make some magic happen. Press Q to toggle Quick Mask Mode.
You will notice that a selection has appeared where our red color was created by the gradient tool. This means that we have a nice gradient selection of both the upper and the lower portions of the image. You can toggle the Quick image mode by pressing Q for any image and if you have something selected you will see the selection as a bright red color.
One nice use for the quick mask is that you can paint your selection the same way you paint your photos and you can also apply filters, blur, Free Transform etc.
Step 9
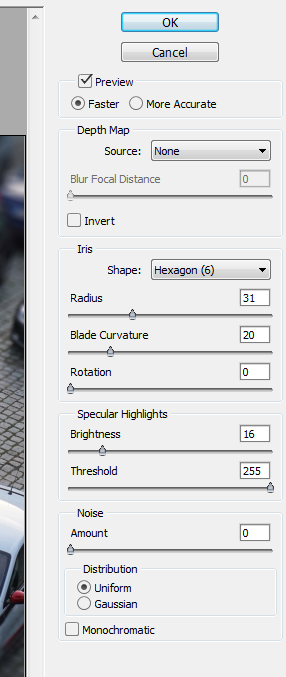
Now that we have the selection let’s apply some blur to it. Go to Filter > Blur > Lens Blur and use the settings shown below. Press Ok and you should be able to see or base Tilt Shift effect applied.
Step 10
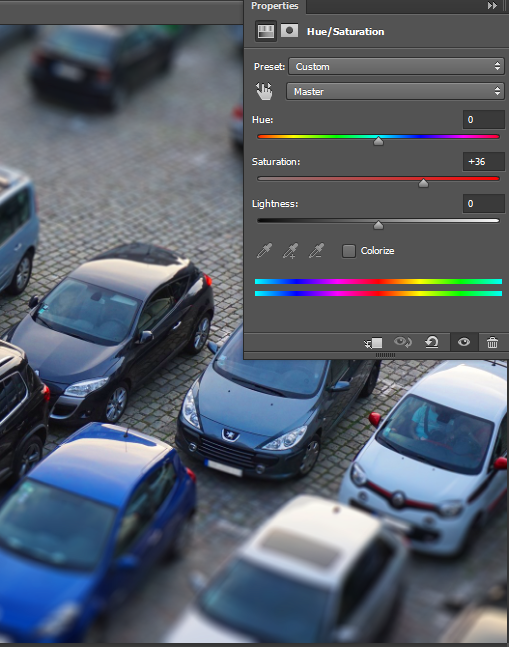
The tilt shift effect gives our photos the look of miniature models and in real life it is achieved with some special lenses. Let’s improve the effect by increasing the saturation of our photo ( we assume that the objects in the photo are miniatures and probably have intense colors). Create a Hue/Saturation Adjustment Layer and increase the Saturation slider to +36. This step will increase the saturation of our photo and create some nice rich blue colors overall.
Step 11
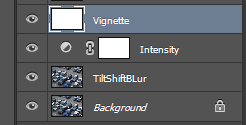
We are almost done with our effect but there are some more improvements we could apply to our photo. Let’s add a nice vignette effect (a soft black border around a photo that focuses the eye to the middle of the picture). Create a new layer by pressing Ctrl + Shift + Alt + N and fill it white (Shift + F5). Name this new layer “Vignette”.
Step 12
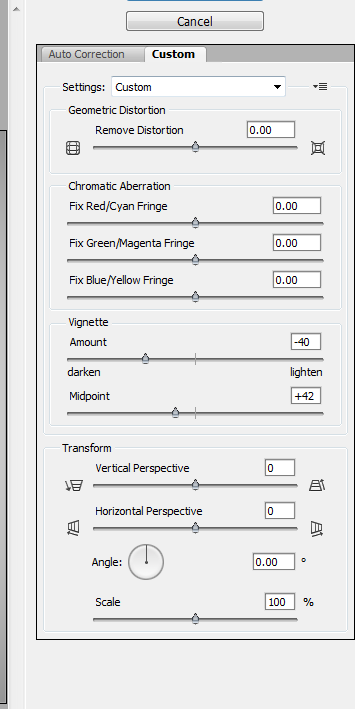
We could create this vignette by hand by simply painting with a soft brush but luckily there’s an easier way to do it with Photoshop. Go to Filter > Lens Correction and click on the Custom Tab. Change the Vignette Amount to -40 and the Vignette Midpoint to +42. Once you’re done doing these steps press Ok.
Step 13
Now we have a vignette but we also have white color. What can we do to get rid of the white color and keep only the black? You guessed it! Blending modes to the rescue. Simply change the blending mode of the vignette layer from Normal to Multiply and voila, the white colors disappear completely leaving us with a nice black border around the photo that helps with focus.
Step 14
Normally thaw would be all the vignette I’ll be using but because this is a tilt shift effect I think that a bit more vignette is needed, especially on the blurred top and bottom areas. Let’s do that by creating a new layer (Ctrl + Shift + Alt +N) and selecting the round soft brush. Change the blending mode of this layer to Multiply and change the brush opacity to 20%. Now simply paint gently on the top and bottom blurred areas to make them a bit darker.
Step 15
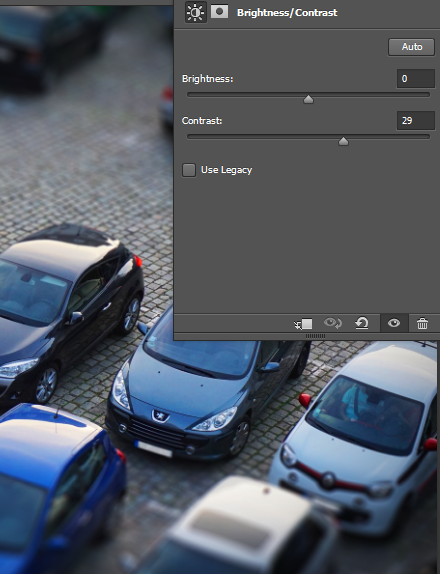
Our final result looks good enough but I feel there one more step we can take to make it look even better. We’ll do that by increasing the contrast. We can increase the contrast in a variety of ways but let’s make it simple – create a Brightness/Contrast Adjustment Layer and increase the Contrast slider to 29. You will see a noticeable increase in contrast. And this was it – that’s how you achieve a tilt-shift effect with a picture.
And We’re Done!