
Would you like to make creative photo manipulation? If yes, then this tutorial special for you!
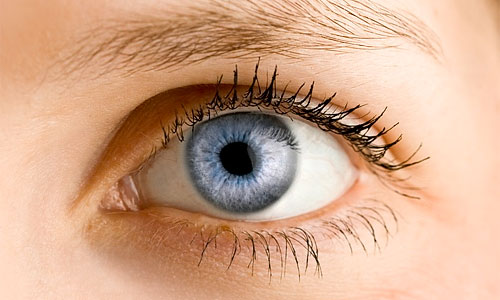
Ok, to begin you need to find a few photos to make composition by using it. First of all find the photo of the eye. Use Google Images or different stock photo resources. Also you can use my photo. Open this file and duplicate the layer with Ctrl+J, then desaturate upper layer with Image > Adjustments > Desaturate (or use Ctrl+Shift+U):

Ok, go on. Get the Polygonal Lasso Tool to select eyeball area as on my picture:

Press Delete to clear selected area and remove selection with Ctrl+D. Eyeball area becomes color again.

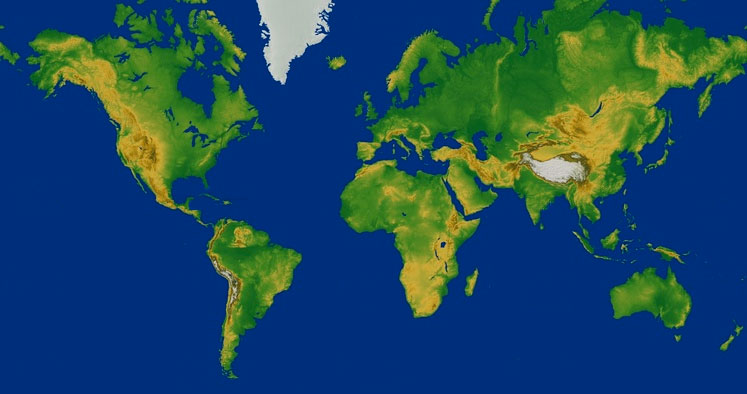
Time to add the texture to the skin. Now, find another one picture of the Earth map or use mine. Open this picture and copy it to our main canvas and reduce it a little bit. Change layer mode for this layer to Soft Light.

Apply Image > Adjustments > Brightness/Contrast with next presets:

Now you should have something like this one below:

After that make contrast correction. Now, using the Dodge Tool with moderate settings (Soft brush: 65 px, Range: Midtones, Exposure: 50%) do a little bit of dodge-work.

Ok, now we need to make clear eyeball area again. Select the previous layer (Ctrl+left click the Layer Thumbnail in the Layers Palette) and press Ctrl+Shift+I to invert the selection, after that press Delete to clear image in selection.

Deselect this fragment with Ctrl+D. Then apply the Sharpen Tool (Mode: Normal, Strength: 50%) and a soft round brush about 500 px to the map layer to make it sharp.

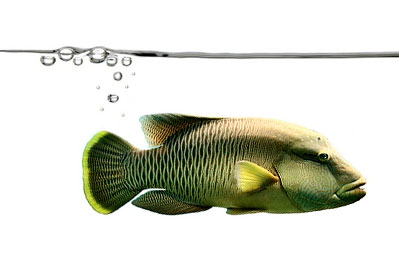
Move to the next step. Find a new one picture of fish in water; also feel free to use mine. Open this picture and copy it onto the main canvas. Then select water bubbles using the Polygonal Lasso Tool and cut this selected fragment to the new layer with Ctrl+Shift+J.

Hide the layer with picture of fish (click on the eye, which indicates layer visibility), we will use it later. Now set the layer mode to Multiply for layer with water bubbles. After that move it to the eye area as on my picture below:

Get the Sharpen Tool and make this layer sharp.

Ok, after that select the Eraser Tool and make clear all outside eyeball area. See the result below:

Go back to the hidden layer with fish and make it visible again. Select the Magic Wand Tool and divide fish from white background.

Then press Delete to clear image in selected area and remove the selection with Ctrl+D. Use Edit > Free Transform (Ctrl+T) to reduce fish as on picture below:

Duplicate this layer two more times and reduce it in the same way.

That’s it for now. You are done! Here is what I got:
Feel free to experiment with various photos and you will get the excellent result!