In this tutorial, you will learn how to whiten teeth in Photoshop.
Final Image
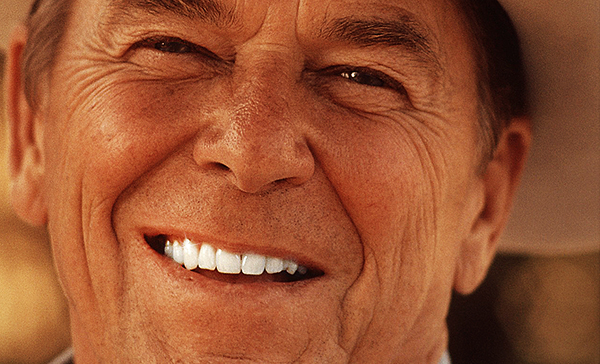
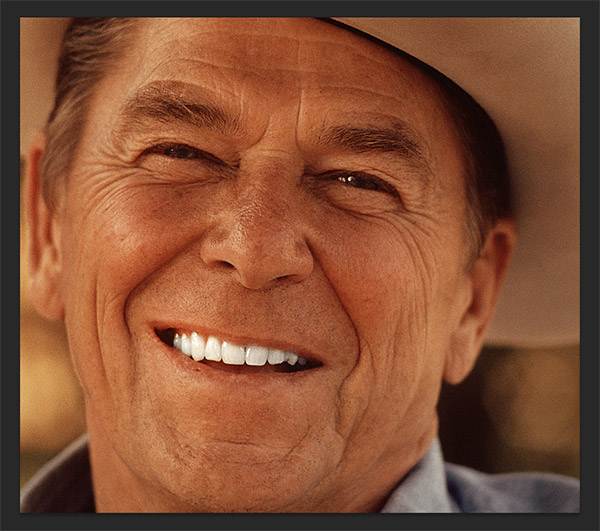
As always, this is the final image that we’ll be creating:
Tutorial Details
- Program: Adobe Photoshop CS3
- Estimated Completion Time: 30 minutes
- Difficulty: Beginner-Intermediate
Resources
Step 1
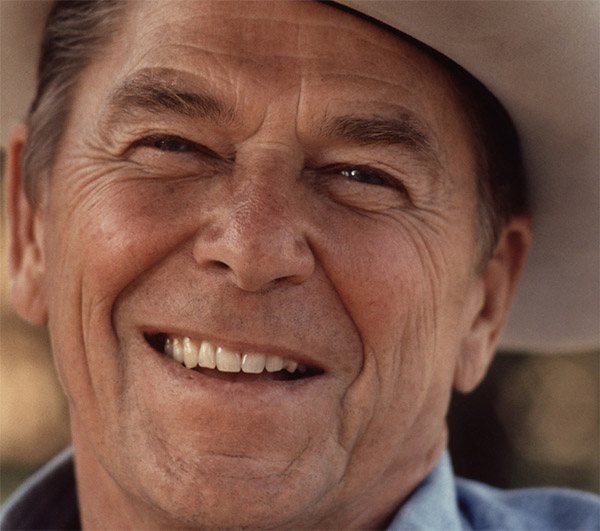
Open the image “Cowboy”. Before applying any effects let’s think a little bit about what we want to correct in this photo. The first thing we want to do is to make the teeth whiter. The image also looks a little bit blurry so we should probably sharpen it a little bit. The colors are somewhat bland so we’ll want to boost them. And I think that’s about it. Let’s begin.
Step 2
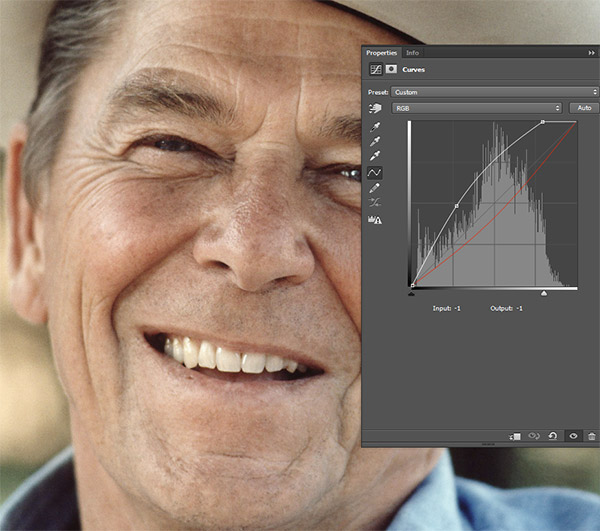
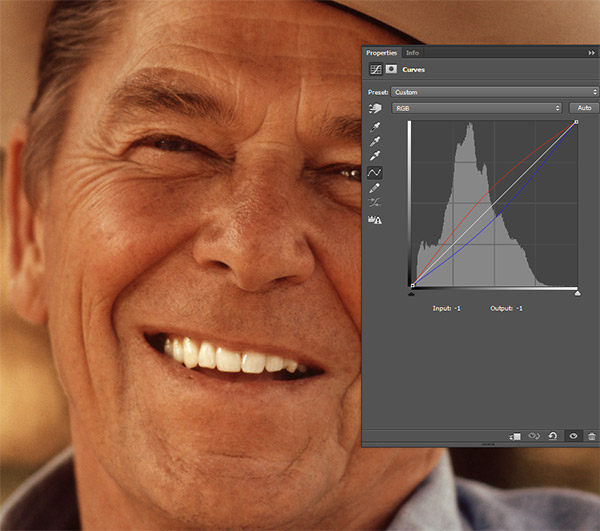
We will use a Curves Adjustment Layer to whiten the teeth. Create a Curves Adjustment Layer (Layer > New Adjustment Layer > Curves). Drag the white curve up to lighten the image and drag the red curve down to reduce the intensity of the red color within the image.
Step 3
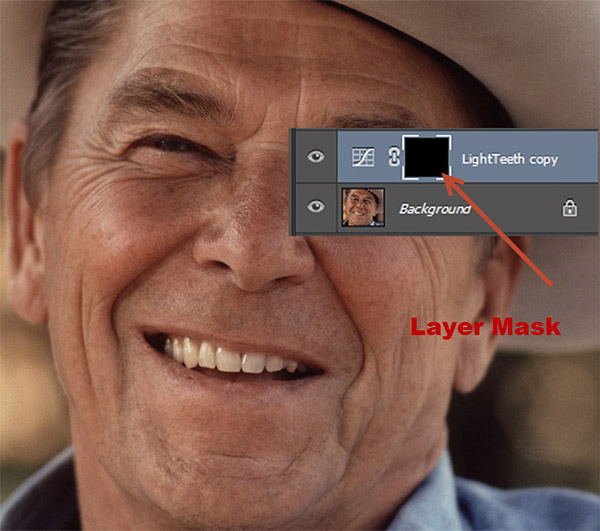
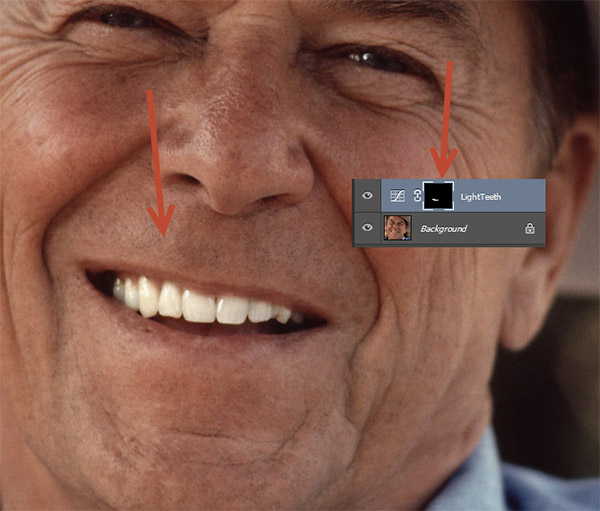
As you can see the Curves Adjustment Layer has a layer mask attached to it (look in the layers palette just to the right of the curves adjustment layer icon – you’ll see a white square and if you hold the mouse enough over it a tooltip will appear saying “layer mask thumbnail”). In a layer mask, black hides and white reveal. Press D to set the colors to default (black and white as foreground and background) and click on the layer mask to select it.
Now press Ctrl + Backspace to fill it with black. You will see that the effect of the Curves Adjustment Layer is not visible anymore because the layer mask is all black and as I told you before black color in a layer mask hides.
Step 4
Now choose the standard round soft brush. Lower the size to 10px and click on the layer mask to make it active. Now paint with white over the teeth (in the layer mask) and you will see that the effect of the curves layer is revealed only over the teeth (because you have painted with white in the layer mask) thus making them much whiter.
Step 5
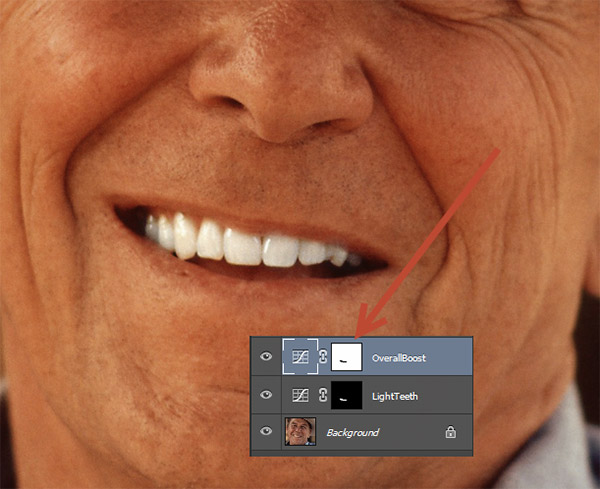
Now let’s make the overall image look better thus making the white teeth stand out even more. First, let’s boost the colors. Create another Curves Adjustment Layer (Layer > New Adjustment Layer > Curves) and drag the red curve up to boost the reds and the blue curve down to boost the yellows. As you can see the skin tones look much, much better now.
Step 6
In the previous step we improved the skin tones but in doing so we also added some unpleasant yellow tones to the teeth. Let’s correct this by using – you guessed right – the layer mask. Click on the layer mask of the Curves Adjustment layer and select the same round soft brush from step 4. This time paint with black in the layer mask of the curves over the teeth to hide the yellow tones.
Step 7
Press Ctrl + Shift + Alt + E to create a new layer from all the visible layers.
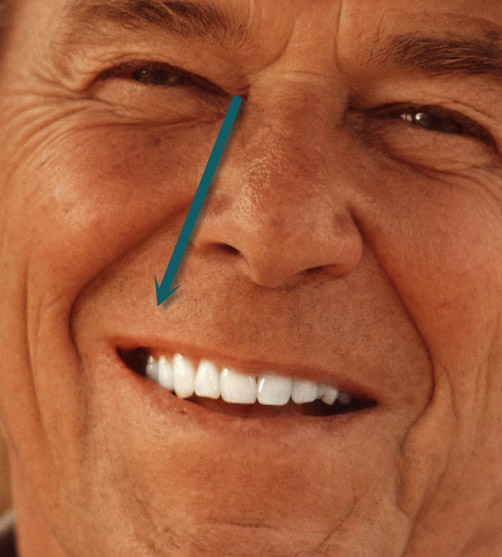
Select the Dodge Tool (O) and increase the overall lightness of the cowboy’s right mouth corner (as seen from his perspective).
Step 8
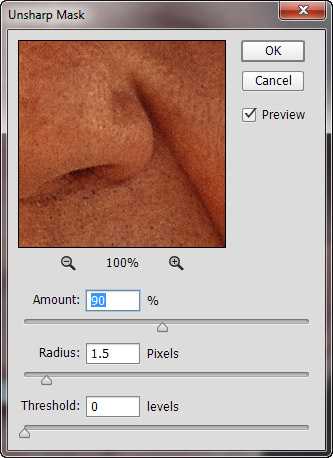
Create another new layer from all the visible layers (Ctrl + Shift + Alt + E). Go to Filter > Sharpen >Unsharp Mask and use the settings shown below to subtly sharpen the image. Don’t overdo this step or you’ll get some ugly artefacts.
Step 9
Create a new empty layer (Ctrl + Shift + Alt + E) and fill it with white (Shift + F5). Now go to Filter > Lens Correction. Go to the Custom Tab and increase the Vignette slider to -29.
Press Ok and change the blending mode of this layer to Multiply. As you can see the multiply blending mode hides all the white colors and keeps only the black ones thus creating a nice symmetric vignette effect.
Step 10
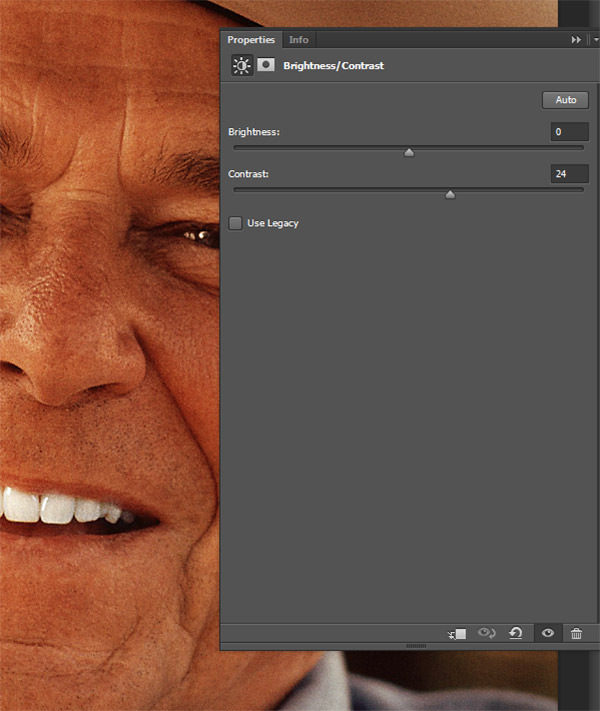
The image looks quite good already but I still think the contrast is a little too low. Let’s correct that. Create a new Brightness/Contrast Adjustment Layer ( Layer > New Adjustment Layer > Brightness/Contrast) and increase the Contrast slider to 24.
Step 11
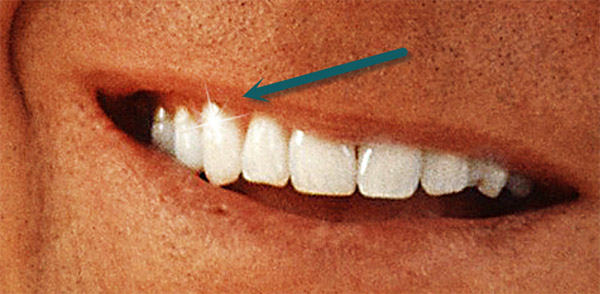
There is one little final detail that will truly complete our work. Import the sparkle brush (double click on the .abr file) and create a new layer. Select a sparkle brush from the brush palette and create a white sparkle in the indicated area. If the sparkle is too obvious you can also lower the opacity. As you can see this truly creates a Hollywood white sparkling smile.
And We’re Done!