In this Photoshop tutorial we will use luminosity masks in order to achieve a strong HDR effect and improve the overall look of our photo.
We will be using some advanced techniques but even if you’re beginner you will reap some benefits by reading this.
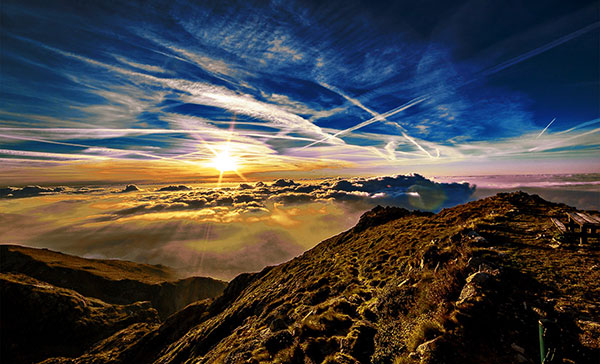
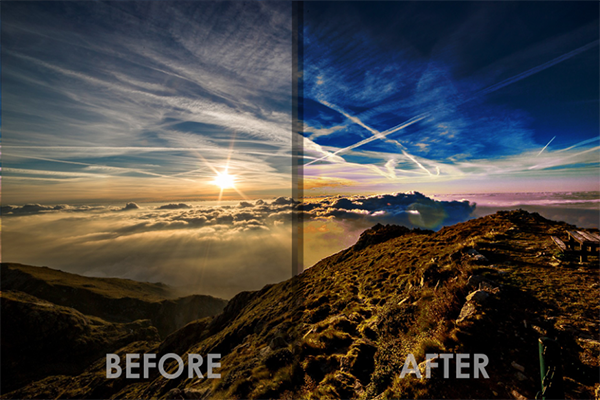
Final Image
As always, this is the final image that we’ll be creating:
Tutorial Details
- Program: Adobe Photoshop CS3
- Estimated Completion Time: 40 minutes
- Difficulty: Advanced
Resources
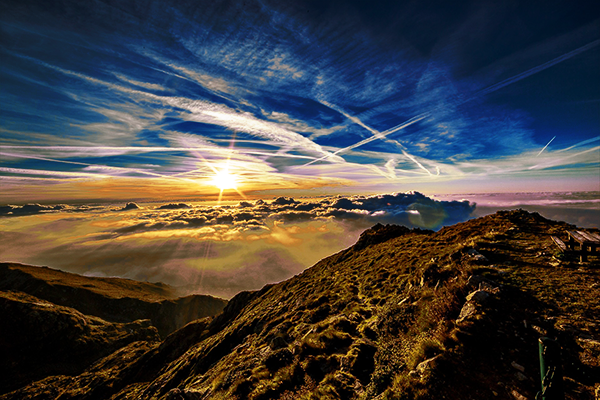
Step 1
Open the file “Landscape”. Before I begin the tutorial let me introduce you to a tool that we are going to be using extensively throughout this tutorial: Color Range.
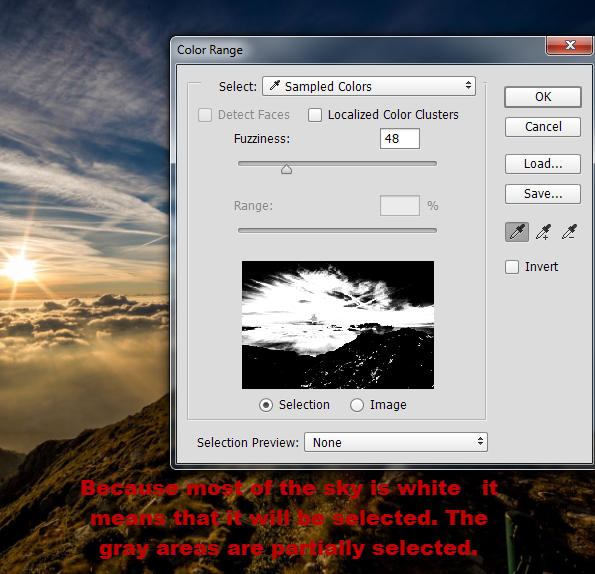
First open the tool to get familiar with it, you can find it by going to Select > Color Range. You will notice that your cursor changes into a color picker – if you click somewhere on your image the black and white representation inside the Color Range window changes – pure white areas are represented by the completely selected areas of your image, black areas are not selected and gray areas are partially selected. If you hold the Shift key and drag on your image you will see the black and white representation get more white – that’s because we are expanding our selected range of colors.
This is not rocket science and you probably will get different selections than me but that’s okay as long as you learn the principles.
Another cool thing that Color Range does is that it automatically fills the layer mask of the currently selected adjustment layer with the selection you created once you press Ok.
Go on and try it. Create a Curves Adjustment Layer and open the Color Range window. Click somewhere on the image and once you press Ok you’ll see that the selection automatically transferred to the layer mask (the thumbnail next to the layer thumbnail in the layer palette).
Step 2
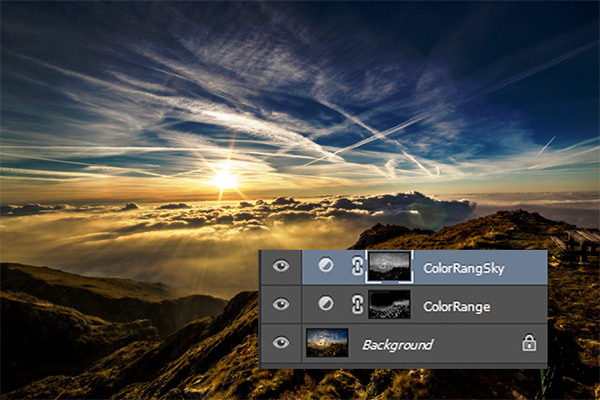
What we will be doing in this and the next steps: applying various adjustment layers and filters with masks obtained from the Color Range tool. Let’s begin by boosting the white color in the hills. Create a Curves Adjustment Layer and drag the curve up to Lighten.
The whole image is lightened because the mask is white (in a layer mask white reveals and black hides). Open the Color Range tool (Select > Color Range) and click somewhere on the hill to select the white areas as shown below. Once you click ok the curves layer mask will be automatically filled with the selection.

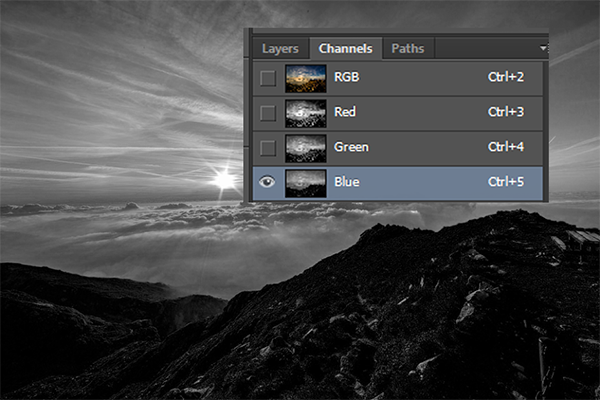
Step 3
Now we will boost the colors in the sky but instead of using the Color Range we will use the blue channel of the image (a black and white representation showing how much blue color is in the image with full white representing fully blue areas and black the complete lack of blue). Open the Channels Palette (Window > Channels) and turn off all the eyeballs next to all channels except blue.
Step 4
Press Ctrl + A to select all and Ctrl + Shift + C to copy merged. Turn the visibility of the other channels back on and go back to the layer palette.
Create a Curves Adjustment layer and use the settings shown below to strongly boost the color and the contrast. As you can see the colors in our image are overblown but don’t worry, we’ll fix this in the next step.

Step 5
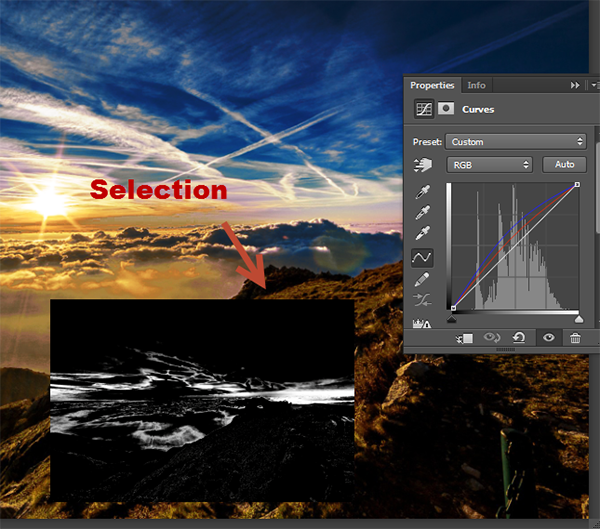
Alt-click on the layer mask of the Curves Adjustment Layer – you should see a white canvas as shown below. This means that we have now selected exclusively the curves layer mask. Notice the grayed out open eyeballs next to our layers.

Step 6
Now for the awesome part – press Ctrl + Shift + V to paste merged and you should have a black and white version of our photo. This may not look like something special but if you Alt-click the layer mask again (or click on any other layer in the layer palette) you will be shown the fully colored version of your photo – with the boost effect applied selectively over the blue areas of the photo.
You can re-use the selection of the blue channel on any other Adjustment layer you create by repeating steps 3 to 6 and obtain truly unique effects.
Step 7
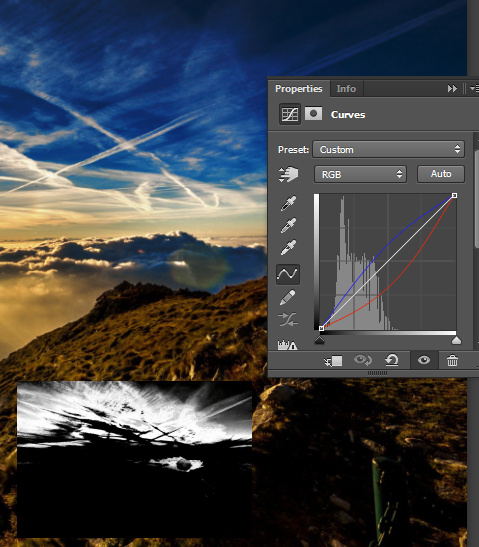
Let’s further boost the color of the sky. Create a new Curves Adjustment layer and use the settings shown below to saturate the blues.
Open the Color Range tool and select most of the sky (hold shift and drag over the sky with the color picker that appears by default when you open the Color Range window). Press Ok and the selection should automatically fill the layer mask thus restricting the blue boosting only to the sky.
Step 8
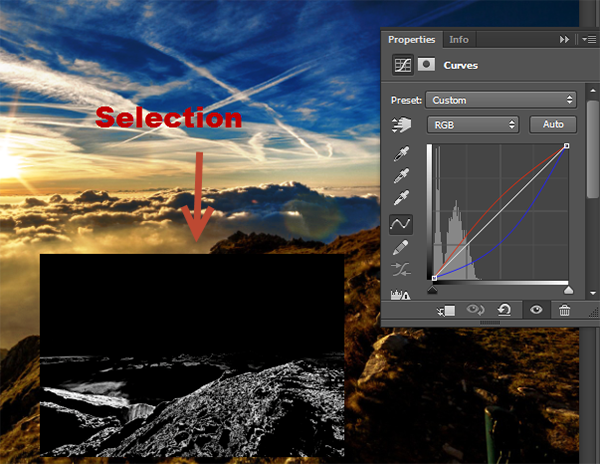
Let’s add some more color boost but this time to the hills in the foreground. Create a Curves Adjustment Layer and use the settings shown below. Open the color range and try to create a selection like the one shown below. Once you click ok the layer mask will be automatically filled with the selection.
Step 9
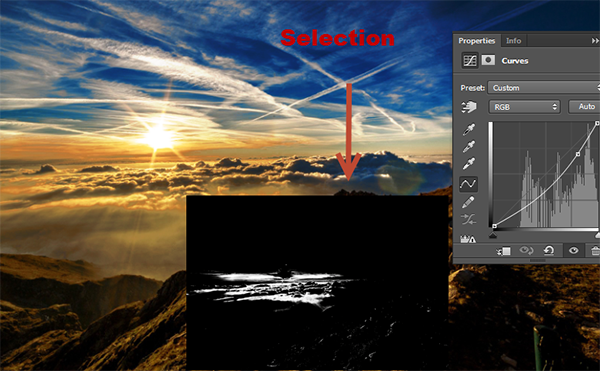
Notice the orange colors on the horizon? Wouldn’t be great if they were more saturated? Let’s do that. Create a Curves Adjustment Layer and use the settings shown below. Open the Color Range tool and create a selection like the one shown below. . Once you click ok the layer mask will be automatically filled with the selection.
Step 10
Let’s now apply a selective sharpening effect only on the brightest areas of the foreground hills. How do we do that? With Color Range of course.
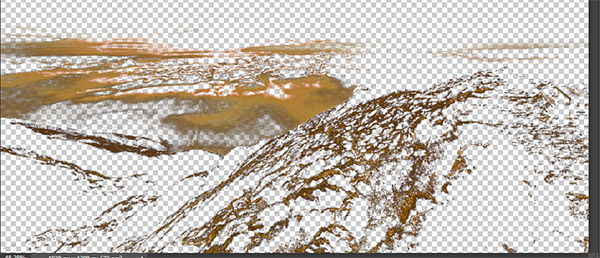
Open the Color Range tool and click somewhere on a bright spot on the hills. Press ok to finalize the selection.
Now press Ctrl + Shift + C to copy merged and Ctrl + Shift+ V to paste merged. Nothing will be changed in our scene because we basically copied a portion of the photo and pasted in the exact same place. But if you Alt-click this layer (by doing this you will turn off all the other layers) you should see something like the results below. Alt-click on the layer again to show the other layers. Name this layer “HillSelectionSharpen”.
Step 11
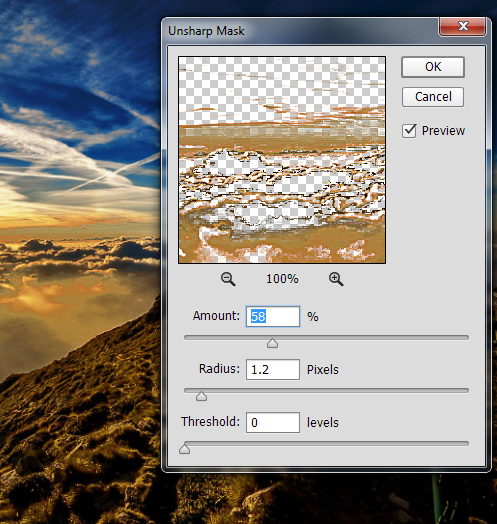
Click on the “HillSelectionSharpen” layer to make it active and apply a sharpen effect by going to Filter > Sharpen > Unsharp Mask. As you will see the sharpening effect will only be visible on the areas of the hill that you selected in the previous step.
Step 12
Let’s add some more color variation to our sky. Create a Curves Adjustment layer and use the settings shown below. Use the Color Range tool to create a selection and press ok to have that selection automatically applied to the curves layer mask.
Step 13
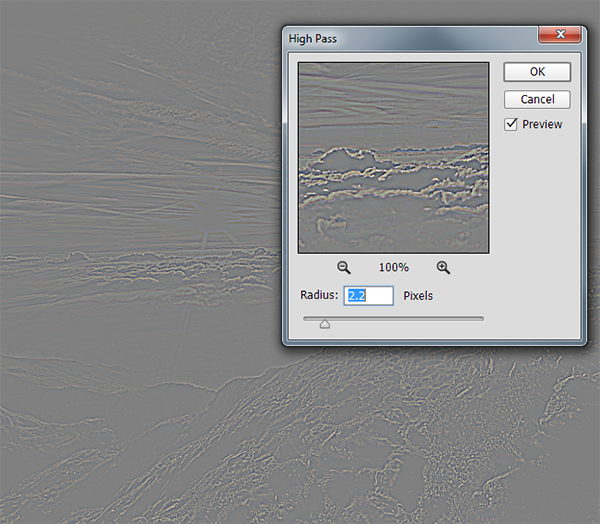
As a final step let’s apply a general sharpen effect. Create a new layer from all the visible layer by pressing Ctrl + Shift + Alt + E. Apply a High Pass effect (Filter > Other > High Pass). The photo looks funny now but you will see some Photoshop magic in the next step.
Step 14
Change the blending mode of the High Pass filter to Soft Light and you should see an overall sharpened effect. If the effect is too string lower the opacity of the layer to 50%. Here’s a before and after view:
And We’re Done!