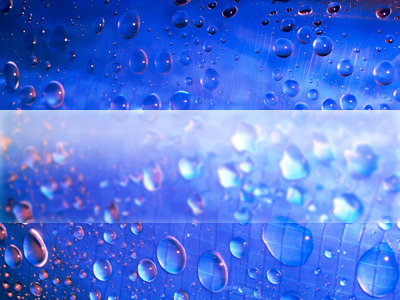
Firstly, you’ll be needing a stock photo. Below I’ve written down some good sources for free stock photos.
After you’ve chosen a nice stock photo, we can move on with this tutorial. You can download the stock photo that I used from here: Water Droplets Stock.
1. Adding Glass Effect
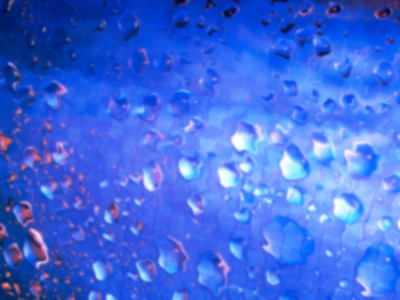
Alright, after you’ve opened up your stock photo, duplicate the Background layer. Now add a water-kind-of effect by applying the Filter Distort > Ripple to the duplicate layer.

Now apply Filter > Blur > Gaussian Blur with a radius of something like 0.5-2.0, it varies, but I used a radius of 1.0.
2. Cutting Glass Out
Now you need to cut out just a part of it. Do this by getting the Rectangular Marquee Tool and making a rectangular selection in the middle of your picture like this:
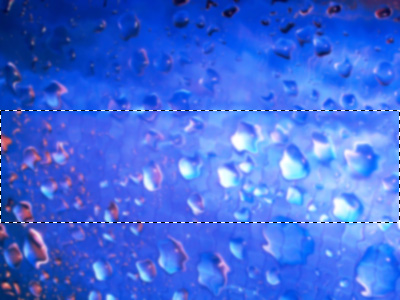
Invert your selection (right-click selection and click Select Inverse) then delete the outside part of your selection.
3. Applying Further Effects
At the moment, the middle part doesn’t stand out very well, so let’s fix that. Start by going into the Blending Options for the glass layer, do this by right-clicking the layer in the layer’s palette and going into the Blending Options. Now, apply the following layer styles/settings:
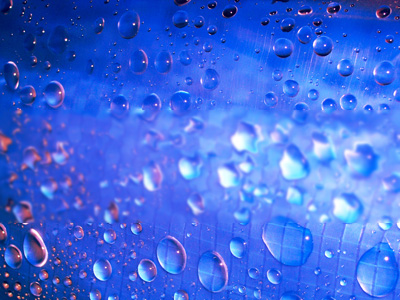
Now, if you used all of the correct settings, you should now have an effect similar to this:

Looks pretty nice to me! You can take this further of course, try different filters, different layer styles, some image adjustments maybe. But that’s all for this small tutorial, sorry 🙂
