In this Photoshop tutorial we will add an intense lens flare effect to an image with Photoshop.
Beginners will find this tutorial very easy to follow but advanced Photoshop users can learn a couple of tricks too.
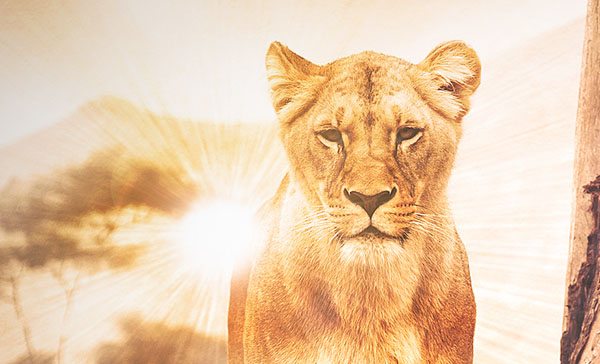
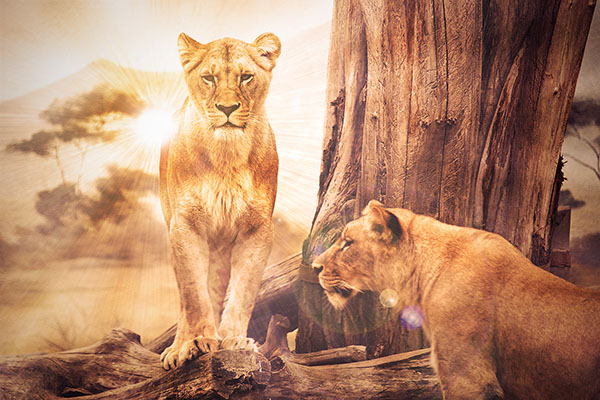
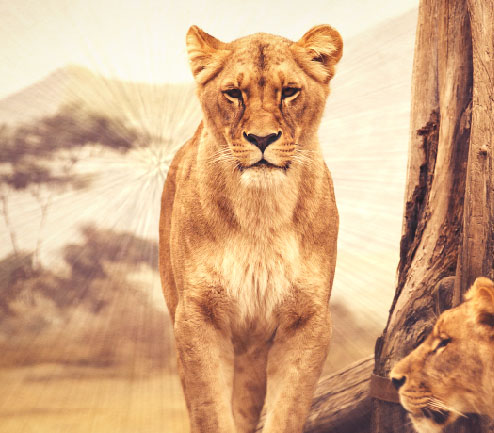
Final Image
As always, this is the final image that we’ll be creating:
Tutorial Details
- Program: Adobe Photoshop CS3
- Estimated Completion Time: 30 minutes
- Difficulty: Beginner-Intermediate
Resources
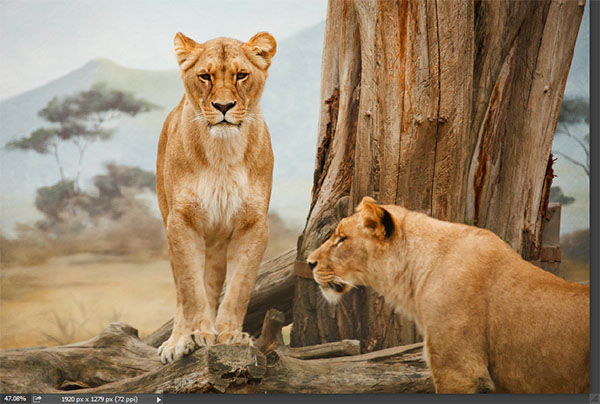
Step 1
Open the image “Lions” and flip it horizontally by going to Image > Image Rotation > Flip Canvas Horizontally.
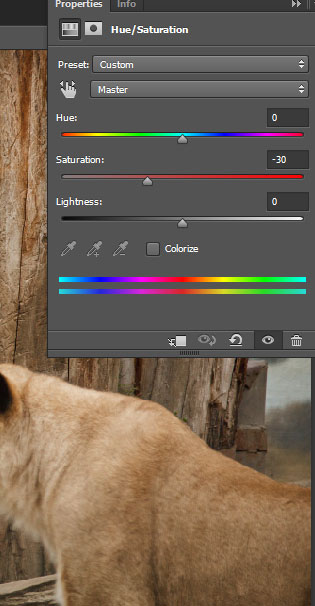
Step 2
Let’s start by desaturating this image. Create a new Hue/Saturation Adjustment Layer (Layer > New Adjustment Layer > Hue/Saturation) and drag the saturation slider to -30.
Step 3
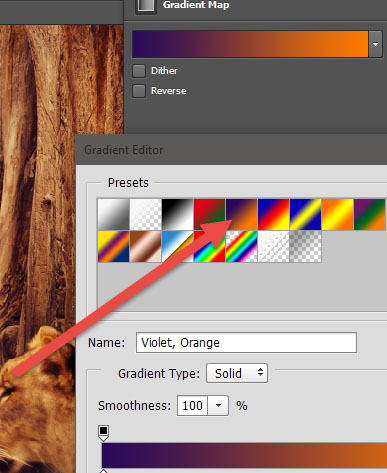
The colors are a bit washed out and uniform. Let’s add some color variety. Create a Gradient Map Adjustment Layer (Layer > New Adjustment Layer > Gradient Map) and use the settings shown below.
Change the blending mode of this layer to Soft Light.
Step 4
Create a new layer (Ctrl + Shift + Alt + N) and fill it with white (Shift + F5).

Step 5
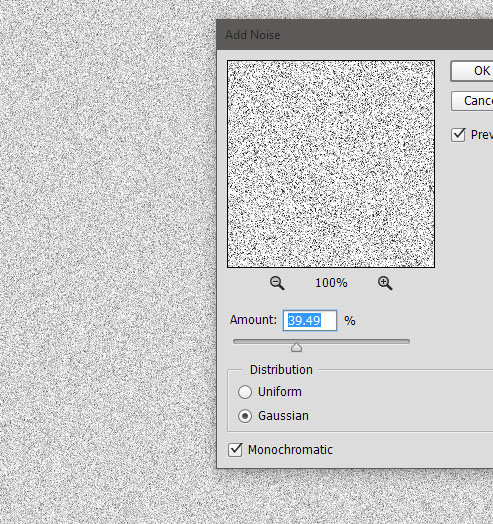
Add some noise to the newly created layer by going to Filter > Noise > Add Noise and using the settings shown below.
Step 6
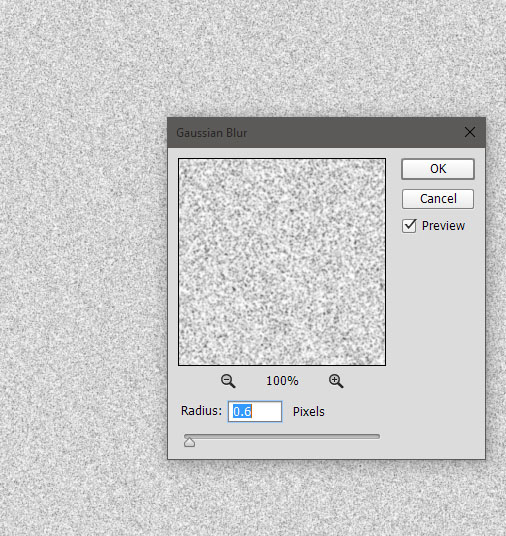
The noise is very small and detailed – we want it a bit coarser. Add some subtle blur to the noise layer by going to Filter > Blur > Gaussian Blur and using the settings shown below.
Step 7
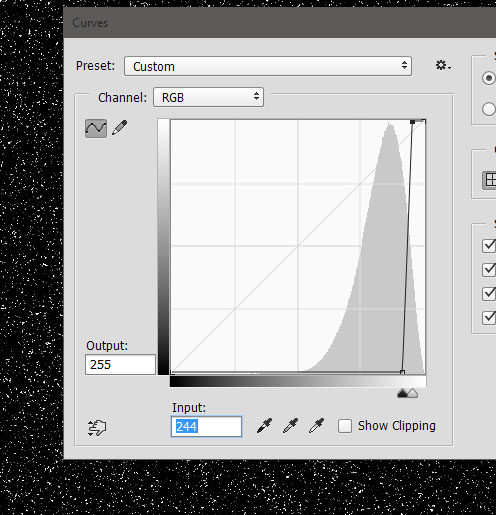
Add a Curves Adjustment to the blurred noise layer by going to Image > Adjustments > Curves and use the settings below. You will notice that we will get rid of the gray colors keeping only very bright spots of white.
Step 8
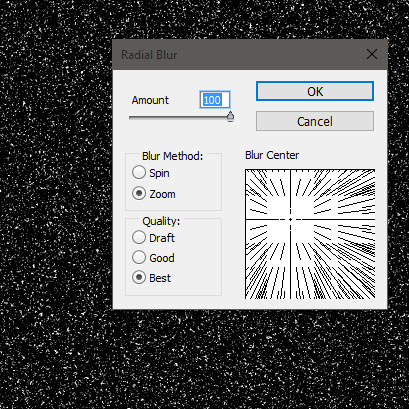
In order to create light rays from this layer, we will apply a Radial Blur to it.
Go to Filter > Blur > Radial Blur and use the settings shown below. Press Ok and change the blending mode to Linear Dodge – you’ll see some nice subtle light rays appearing.
Step 9
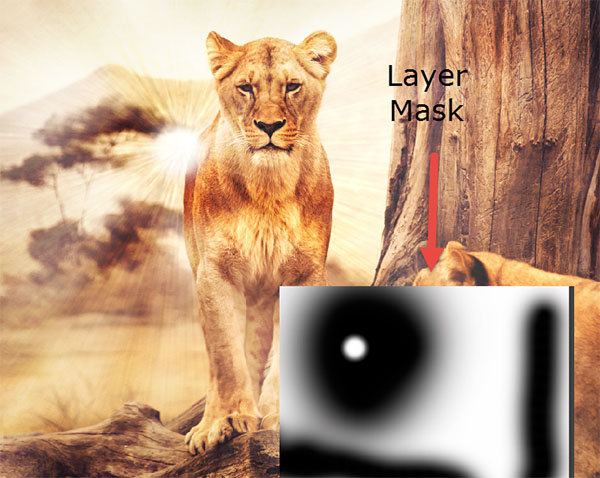
We don’t want the rays being so strong on the edges of our image. Let’s hide them using a layer mask. Add a layer mask to the light rays layer by going to Layer > Layer Mask > Reveal All.
Choose the standard round soft brush and paint with 50% Opacity black in the layer mask at the edges of the image to hide the light rays.
On a layer mask, black conceals and white reveals so by painting with 50% black we will partially hide the light rays.
Step 10
Let’s add another layer of light rays but this time we want them bigger. Create a new layer (Ctrl + Shift + Alt + N) and fill it with white (Shift + F5).
Render some random clouds by going to Filter > Render > Clouds.

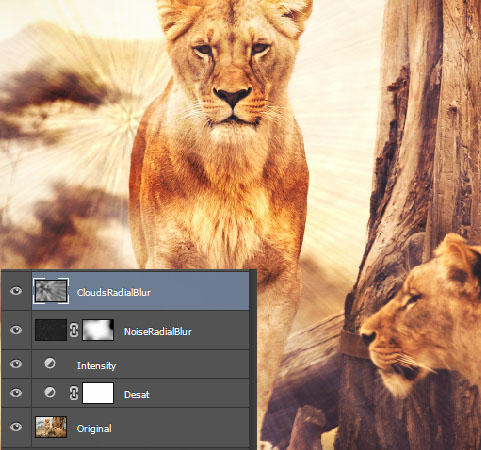
Step 11
Apply the Radial Blur again using the exact same settings as those in step 8 and change the blending mode to Overlay.
You’ll notice that now we have some big fluffy rays of light complementing the previous thin ray lights.
Step 12
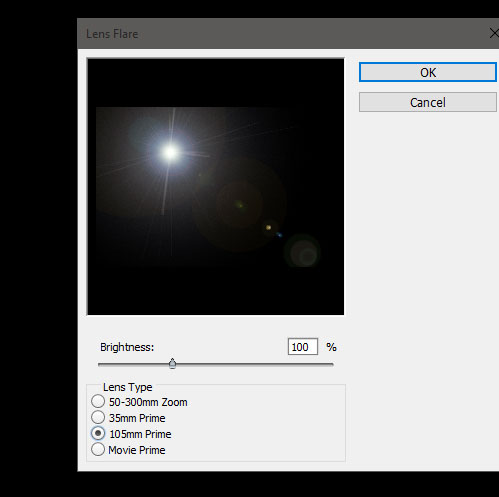
So far we have created light rays but they would look poor without some awesome lens flares.
Create a new layer (Ctrl + Shift + Alt + N) and fill it with black (Shift + F5). Go to Filter > Render > Lens Flare and choose 105mm prime and press OK.
Try to position the flaring sun in the same spot from where the light rays created in previous steps originate.
Step 13
Change the blending mode of the lens flare layer to Screen and now all the black colors disappear leaving us with only the bright ones – the original lens flare.
I find the effect to be too strong for our scene. Add a layer mask to the lens flare layer and with the standard round soft brush at 100% opacity paint with black (on the layer mask) at the edges and around the sun.
Step 14
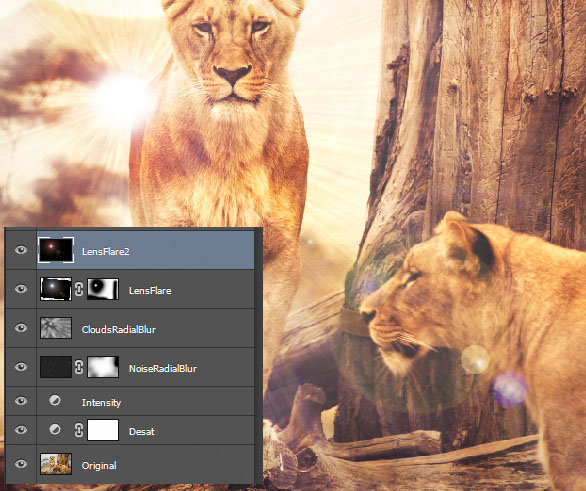
Let’s create another lens flare to boost the existing one. Create a new layer and fill it with black and go to Filter > Render > Lens Flare and choose 50-300mm Zoom.
Change the blending mode to Screen in order to hide the black colors.
Step 15
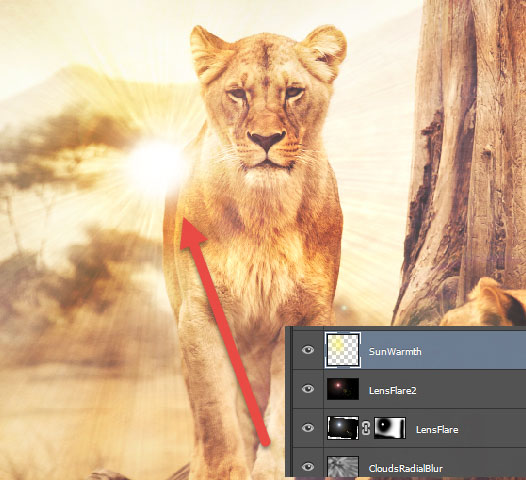
Our sun looks a bit too cold – let’s warm it up. Create a new layer and change the blending mode to Soft Light.
With the standard round soft brush at 50% opacity paint with yellow over the sun.
Step 16
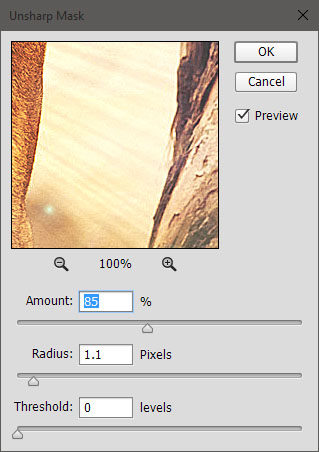
We can improve our image by sharpening it. Create a new layer from all the existing layers (Ctrl + Shift + Alt + E) and apply a sharpen effect by going to Filter > Sharpen > Unsharp Mask.
Use the settings shown below.
Step 17
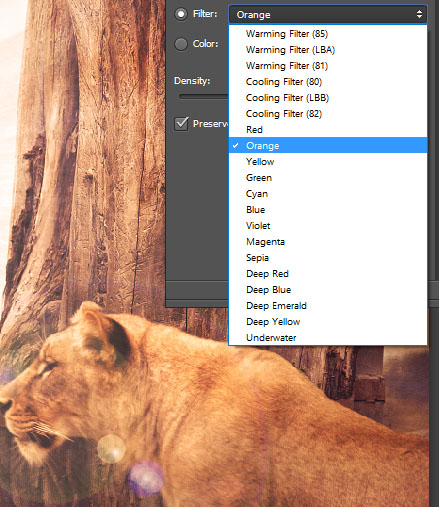
In order to further warm the existing colors create a new Photo Filter Adjustment Layer (Layer > New Adjustment Layer > Photo Filter) and use the settings shown below.
Step 18
Finally let’s add a subtle vignette to our scene. Create a new layer and fill it with white(Shift + F5). Change the blending mode to Multiply and with the standard round soft brush at 50% Opacity paint with black on the edges of the image. If the effect is too strong you can lower the opacity (I lowered it to 60%).
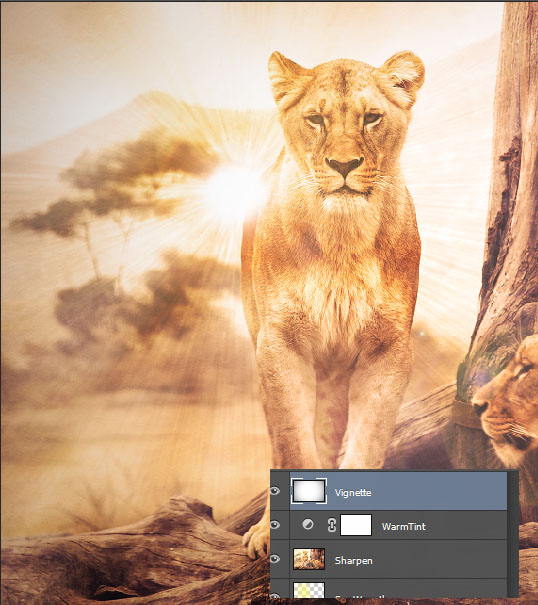
And We’re Done!