
Are you Transformers fan? You like the transformers movie? You want to create your own exclusive wallpaper to enjoy it every day on your desktop? Ok, then this Photoshop tutorial will be useful for you.
First of all, create a new document sized 1900×1200 pixels, then set up foreground and background color as #000000 and #46577c and apply Filter > Render > Clouds:

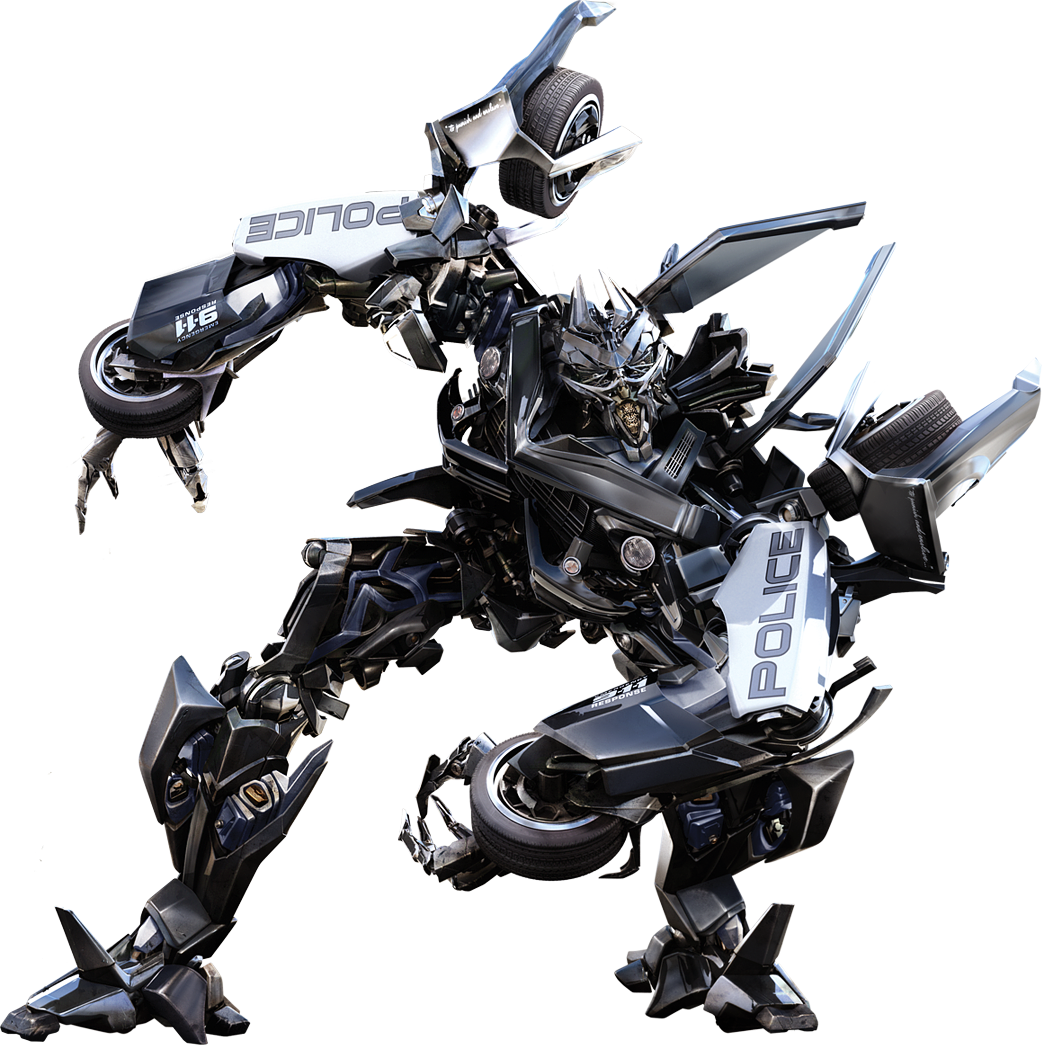
After that start with creating a composition and after that we will go back to background to finish it off. So, I would like to bring picture of transformer to our wallpaper. Actually you can use different pictures heroes of this movie, but I prefer to use the picture of Barricade. Open up the picture and copy the image to the left lower corner of the wallpaper. Don’t forget to reduce it.

After that select the Brush Tool and a soft round brush (Size: 500px) and paint left side of transformer with black color to create an impression coming out of the darkness.

Duplicate this layer with Ctrl+J, go back to upper original layer and enlarge it a little bit more. Then apply Filter > Blur > Motion Blur with following presets:

Your effect should look as mine:

Then apply another one Filter > Blur > Gaussian Blur:

And set opacity up to 55%.

Ok, now continue background stylizing. Go to background layer and paint background partially with black color using the Brush Tool with soft round brush about 300 pixels. You should have the picture like mine:

Now let’s add some text. Get out the Horizontal Type Tool (just the regular one) and write out something like ‘Transformers’ with any color. Use such font settings like on picture below:


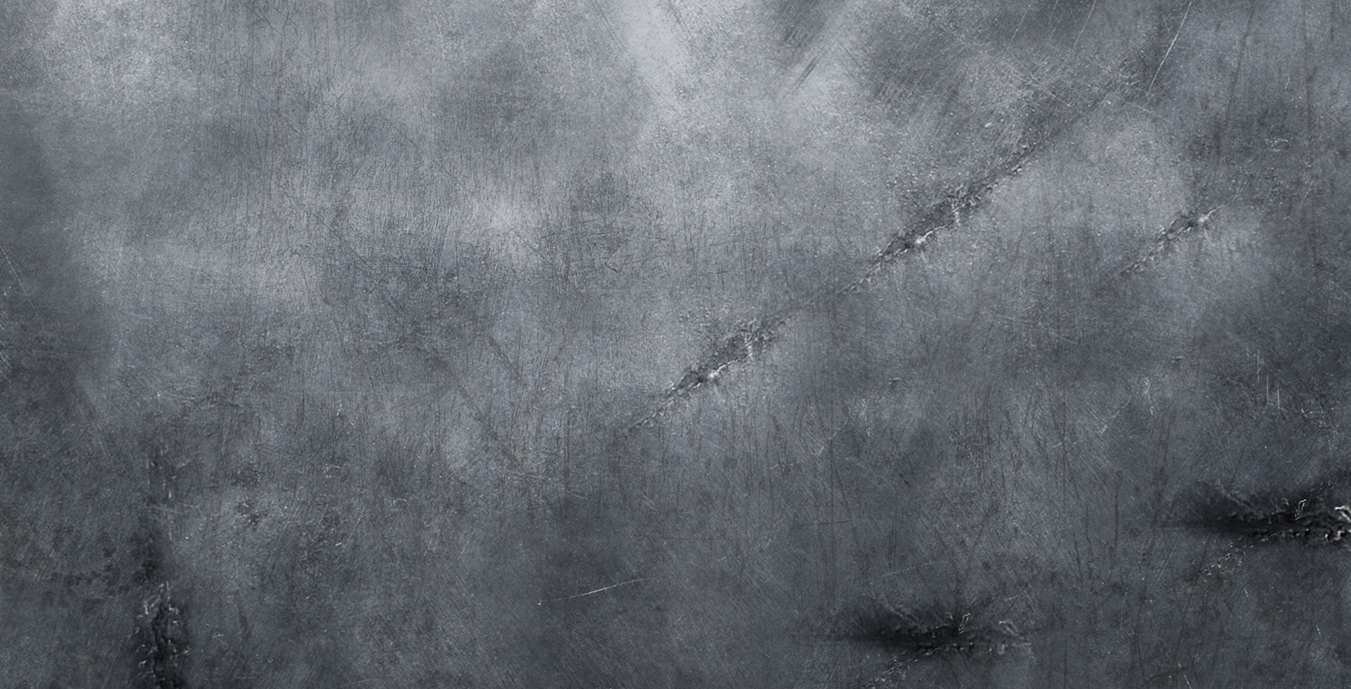
In the above image I’ve used a font called SF TransRobotics, which you can download here. Let’s move to the next step. I think, it will be a good idea to stylize the title. Check out the texture resources and find some nice metal texture or feel free to use mine. Copy texture to the canvas, resize it then crop it to the words logo pixels (go to the text layer and load the text selection with Select > Load Selection, after that invert selection with Ctrl+Shift+I and then go back to the texture layer and press Delete to clear selected area).

Remove the selection with Ctrl+D, after that get out the Sharpen Tool (Brush: 150 px, Mode: Normal, Strength: 30%) and make this layer sharpen.

Ok, now apply following layer styles for this layer:
• Inner Glow
• Bevel and Emboss
• Color Overlay


See the result on the picture below:

Add the second text line in the same way.

Ok, time to add the last one object – the Deceptions’ logo. You can find black and white logo thru the Google Images or use mine and bring it to our canvas like on my picture below:

Use the Polygonal Lasso Tool to separate logo from the background, then press Ctrl+I to invert the selection and press Delete to clear selected area. After that stylize it like the text lines.

We are almost done with wallpapers! Now, select the Dodge Tool (Brush: 80 px, Range: Highlights, Exposure: 20% ) to do a little bit of dodge-work on the logo.

And the last thing that we need to do! To make our metallic effect more realistic we can add some glares to our logo. Now select the Elliptical Marquee Tool and make round selection. Then get out the Gradient Tool, make black and white your foreground and background colors, and set the gradient similar to these:

Deselect object with Ctrl+D and transform it by using Edit > Free Transform like on picture below:

Change layer mode to Color Dodge and rotate like on my picture.

Then bring more glares to picture like mine:

Our logo is done. Looking great! Actually, to bring our logotype more brightness apply Ellipse Tool to make a sphere and fill it with a black color as on picture below:

Ok, press Ctrl+D and apply Filter > Blur > Gaussian Blur with 100 pixels of radius.

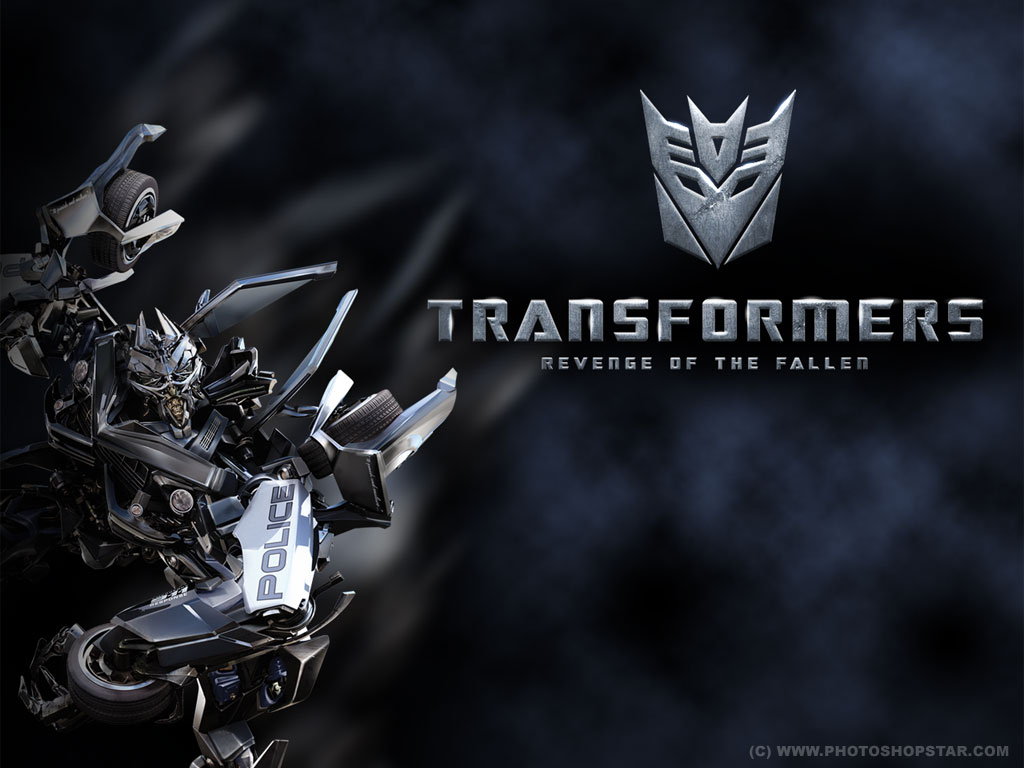
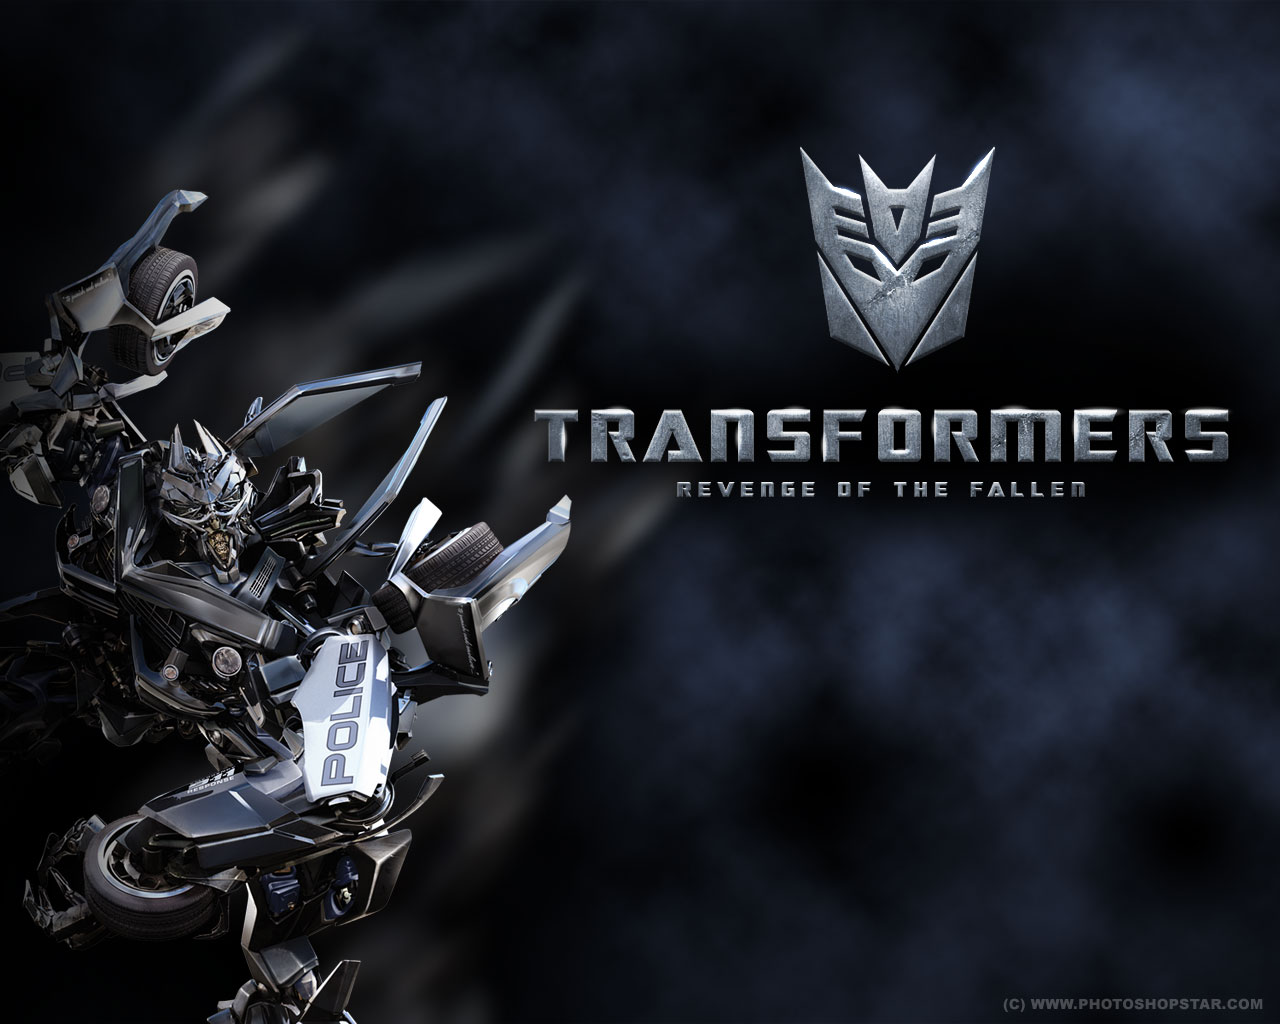
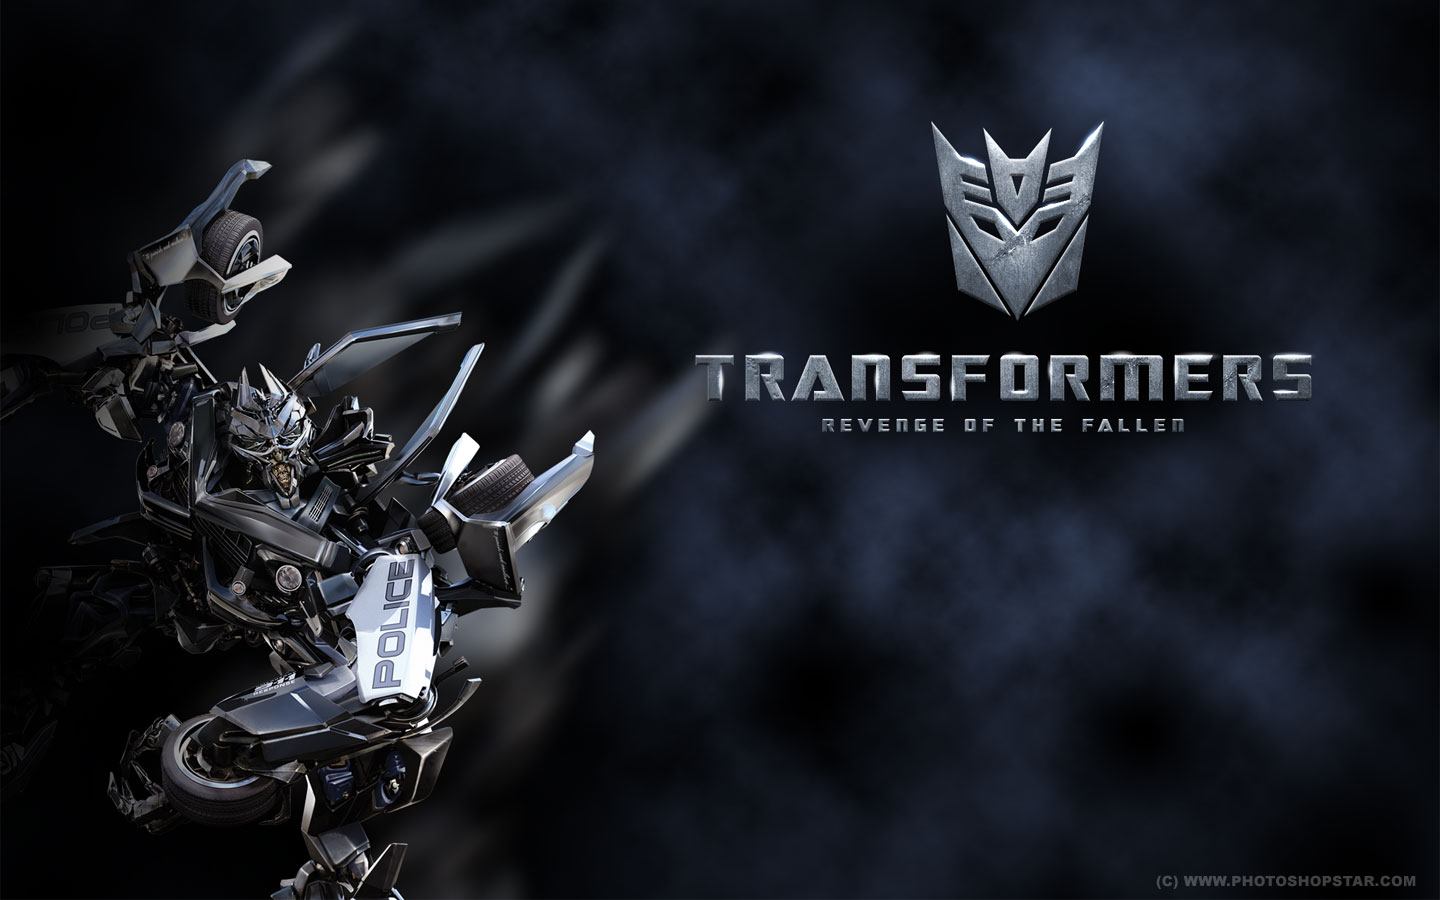
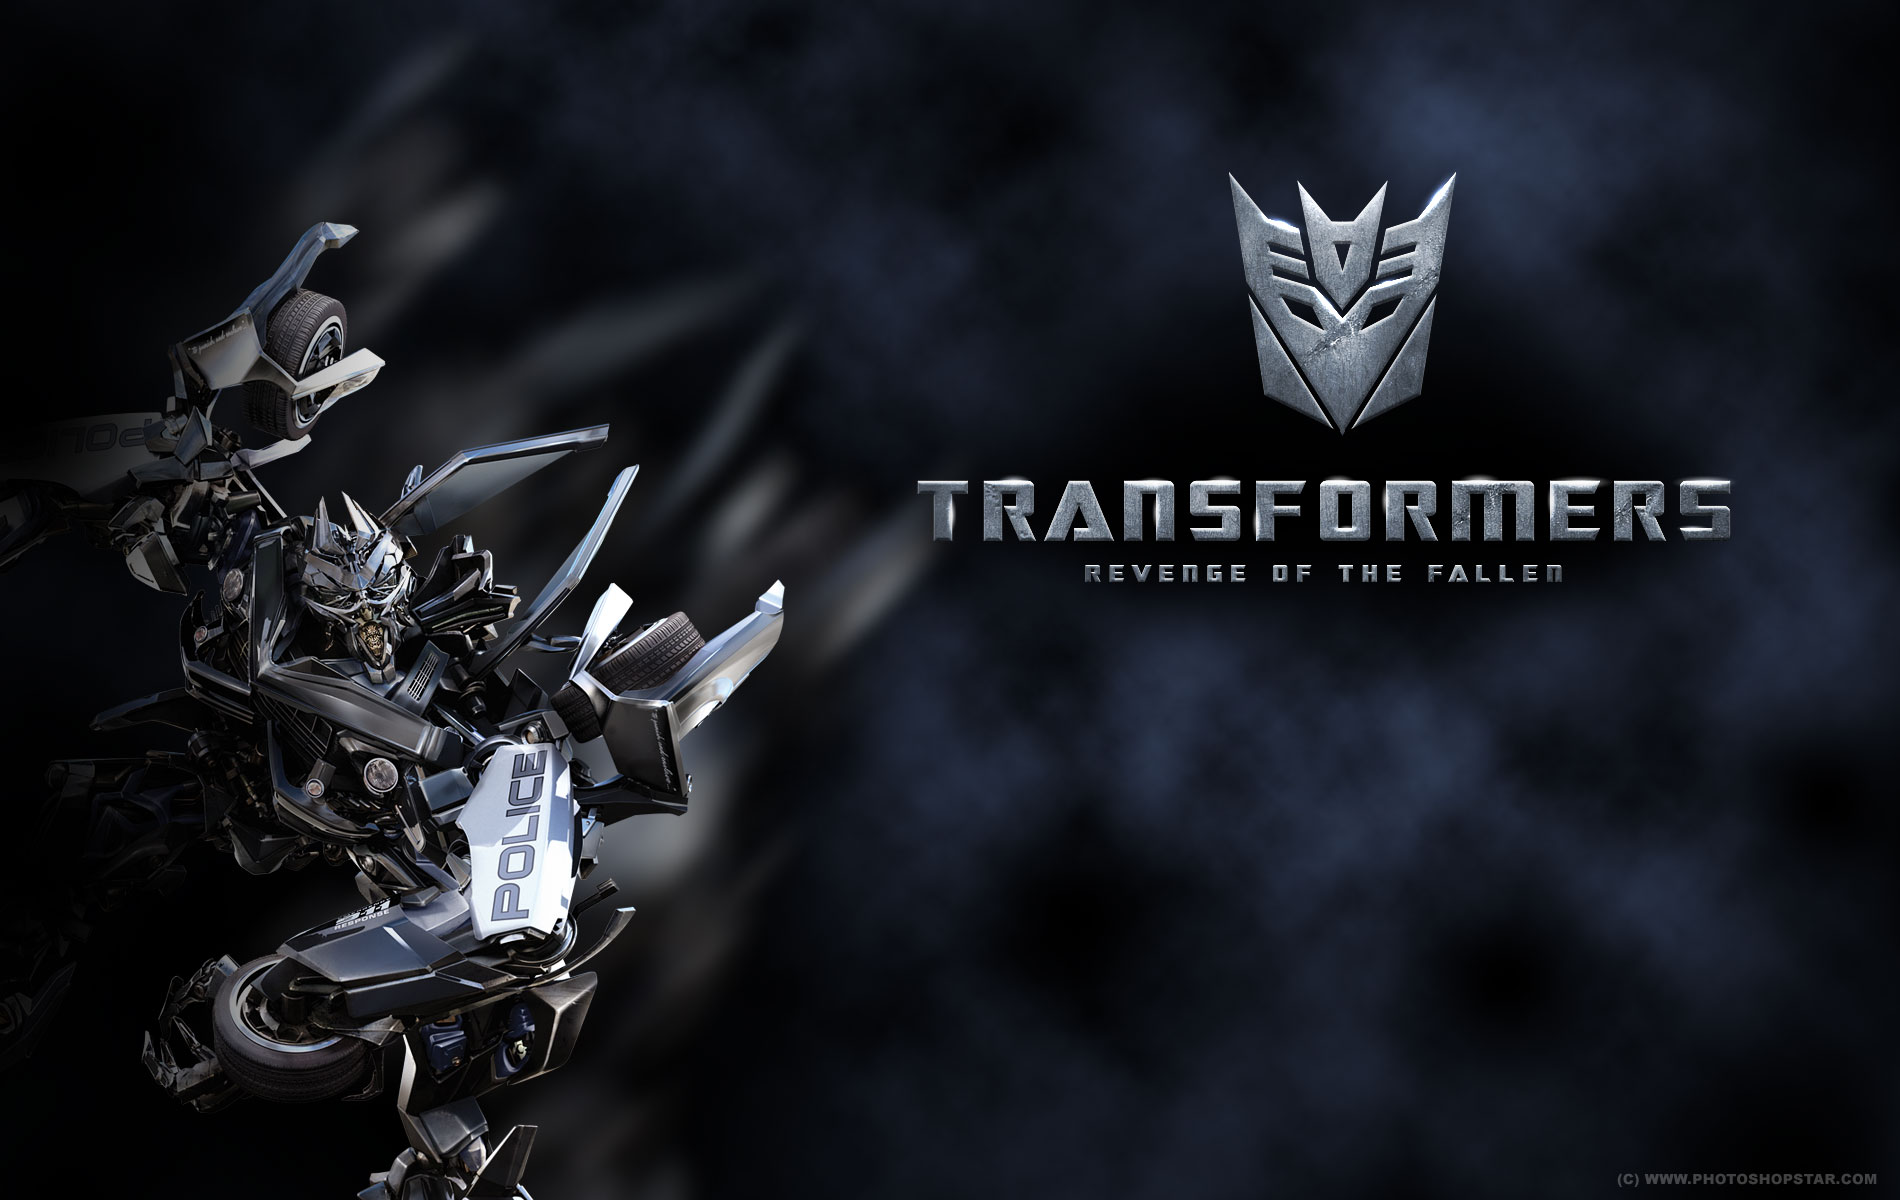
Well, we’re done with the wallpapers! I hope it was sufficient. Don’t be afraid to experiment!
1024×768 | 1280×800 | 1280×1024 | 1440×900 | 1680×1050 | 1900×1200