
In this quick Photoshop tutorial we’ll be designing our own realistic view wooden applique. This is a basic tutorial, however I won’t exactly be detailing all the tools, etc. in-depth so much, so this might be suitable for new Photoshop users.
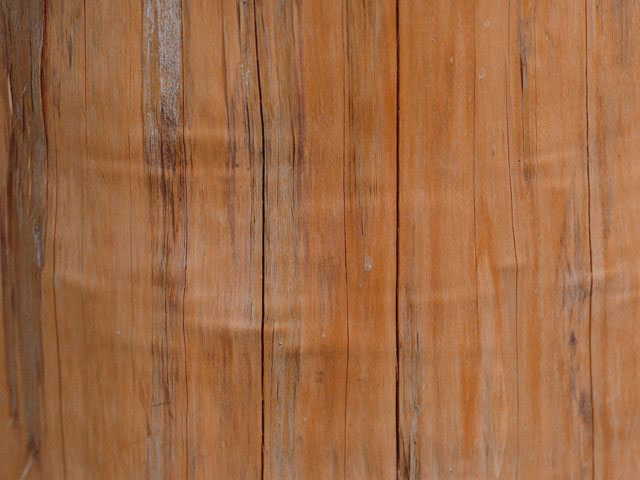
In the beginning, you need to find some appropriate wooden textures. You can do this using Google Images or use this one image. Open up this image and begin to stylize it a little bit. Select the Burn Tool (Brush: 200 px, Range: Midtones, Exposure: 30%) to add dark spots of any shape.

Ok, start with creating the applique. First of all, find the good wooden texture which will be brighter than background to create applique from it. I think, this one will be good. Open up this texture and bring it to the main canvas, then rotate it rotate 90 degrees using Edit > Transform > Rotate 90 CW as on my picture what you can see below.

Now, you’ve got the canvas what is so bright for the background. Try to decrease brightness for current layer with Image > Adjustments > Hue/Saturation:

Now it looks better, than before:

Ok, move to the next step. You need to find a good shape for applique. Get out the Custom Shape Tool to find the right shape on the standard Photoshop shape gallery. I tried this one:

Drag it onto your canvas like I’ve done in the below screenshot:

Now, make the shape selection (Ctrl + Left click on this layer on layer thumbnails), after that remove current shape layer, we don’t need it more.

Move the layer under automatically and press Ctrl+Shift+J to cut selected area to the new layer. Remove the layer under the applique to. Next thing to do is: apply following Blending Options to the current layer:
• Drop Shadow
• Inner Glow
• Bevel and Emboss


You can see the result below:

Ok, move to the next step. Load the applique shape with Select > Load Selection and expand this selected area about 7 px with Select > Modify > Expand.

Create a new layer below the current layer and fill the selection with white color.

After that remove the selection with Select > Deselect and change layer mode to Overlay. Then apply following Blending Options to the current layer:
• Inner Glow
• Bevel and Emboss


See the difference below:

Ok, and the last thing what we need to do: go back to the layer with wooden applique and start a little dodge-work. Using the Dodge Tool with moderate settings (Brush: 100 px, Range: Midtones, Exposure: 50%) do a little bit of dodge-work on the wooden shape.

After that select the Eraser Tool and find the right shape on the standard Photoshop shape gallery. I tried this one below:

Set up eraser opacity to 5% and start to make a little clear work.

That is it for now. We are done for this tutorial! Hope you like this tutorial.
