
In this Photoshop tutorial I’m going to show you how to design a mystic grunge-style ‘The X Files’ wallpaper. I was impressed by ‘The X Files’ and decided to make a background related to this movie.
Let’s start by creating a new document – in my case 1600×1200. After creating document, apply Filter > Render > Clouds:

Then add some noise with Filter > Noise > Add Noise with similar settings to these:

After applying this filter we have background view like this one:

For the next stylization apply Filter > Stylize > Emboss with similar settings to these:

To get the picture as below:

Then use Filter > Distort > Diffuse Glow with the next presets like this:

For the next picture:

Time to add a little metal detailed elaboration to the background. Try Filter > Artistic > Palette Knife, using similar settings:

You can see my result image below:

After apply Filter > Texture > Texturizer. Use the next parameters:

To get the next effect:

To finish off grunge texture, try Filter > Noise > Add Noise with similar settings to these:

To get the picture as below:

To make our background more contrast use Image > Adjustments > Brightness/Contrast with the next presets:

Now it’s time to add some cold blue color. Start by creating a new layer and apply color of #1285d6.
Change the layer mode for this layer to Multiply like this one:

Now another color – create another layer and fill it with a black color.

To finish off with this dark mystic grunge background apply Eraser Tool like on a picture below:

Actually, if you like you can use these brushes.
Now we need to finish this tutorial off by adding text to the background. Start by getting out the Horizontal Type Tool then write out your text like ‘THE X FILES’ and ‘I WANT TO BELIEVE’:

For text ‘THE X FILES’ we used the following advanced type settings:

And for text ‘I WANT TO BELIEVE’ the other one:

The result we can see on a picture below:

Well, we would like to add some darkness effects to our text. Do this by first right-clicking the layer in the layer’s palette then going into the Blending Options. When you’re in the Blending Options, click and apply the following layer styles/settings:


Looking great now:

To make an accent on a type ‘X’ get out the Elliptical Marquee Tool, then select an area and fill it with color of #ef193a as below:

Then apply Select > Modify > Contract (Contract by 3 pixels) and press Delete. We receive a picture like so:

Press Ctrl+D to deselect chosen area. To finish off red accent apply the following Blending Options:

To get the next effect:

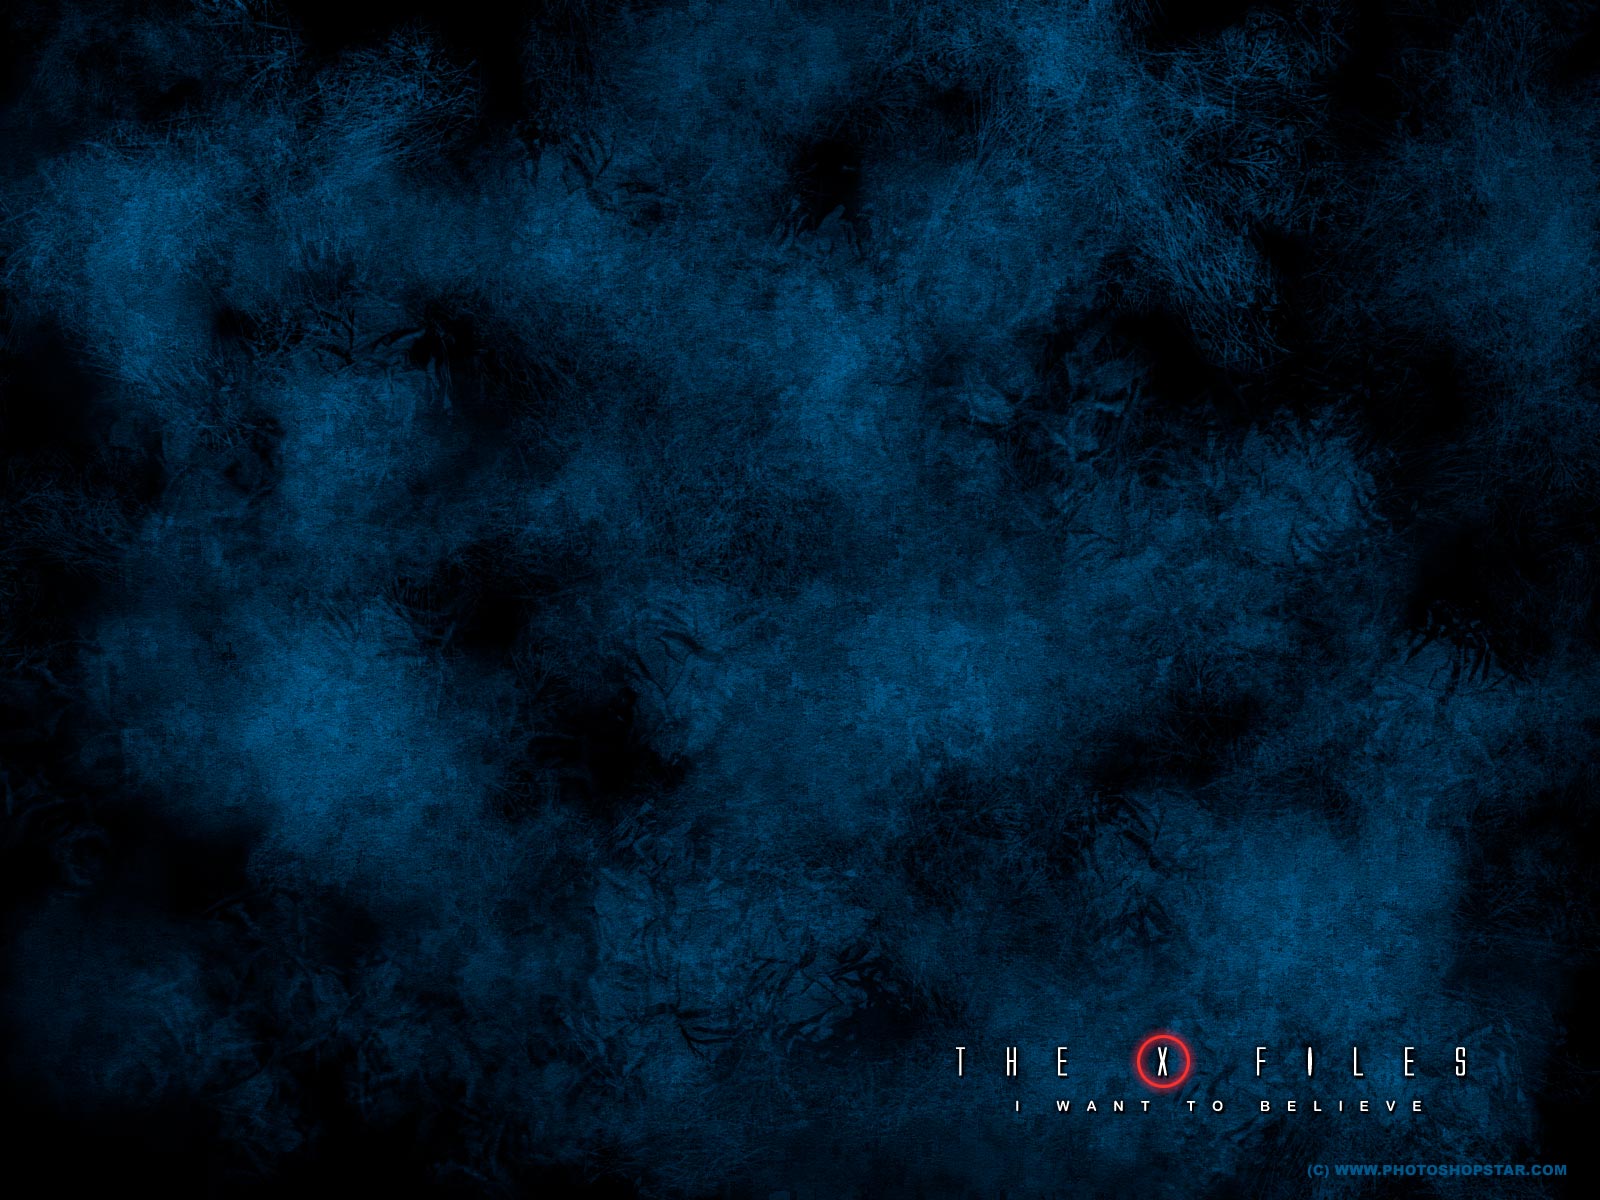
Well, our tutorial is done!
Thanks for reading this tutorial everyone, I hope you enjoyed it!
Also you can download our free The X Files background from here:
1024×768 | 1600×1200