In this Photoshop manipulation tutorial, you will learn you how to create a fantasy winter portrait.
You’ll learn how to combine several stock images into a cohesive scene using Photoshop, work with snow, adjust color, create lighting, enhance the depth of field and more.
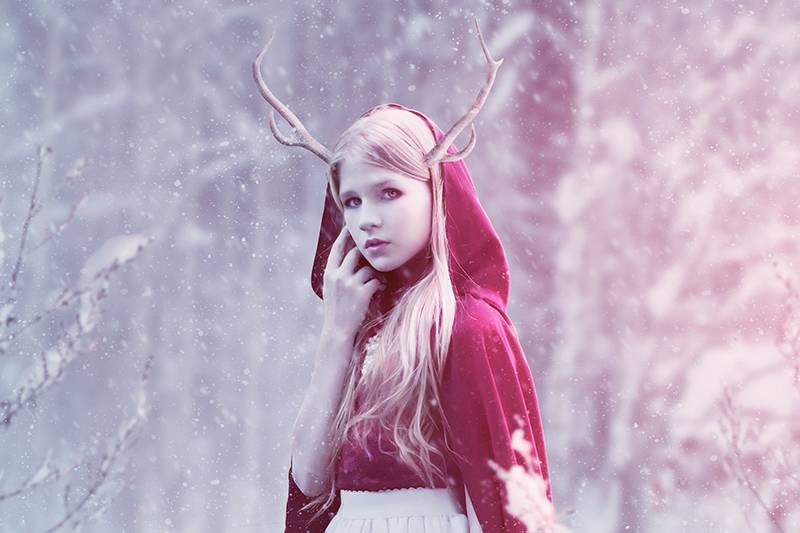
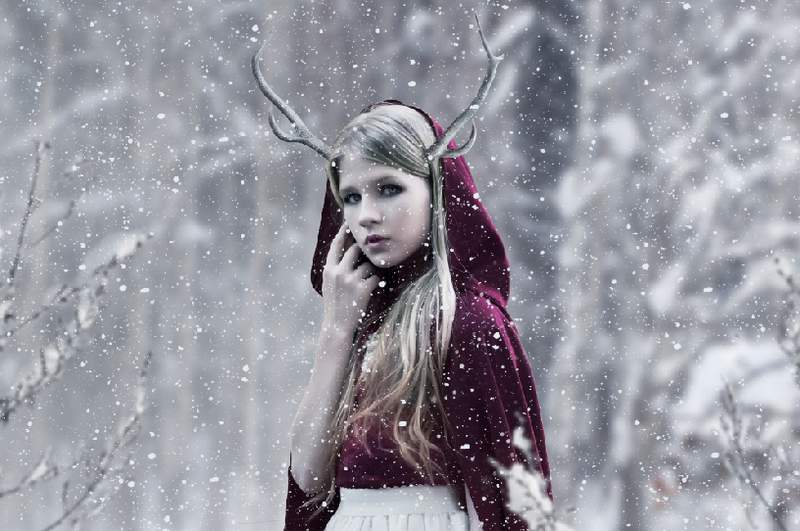
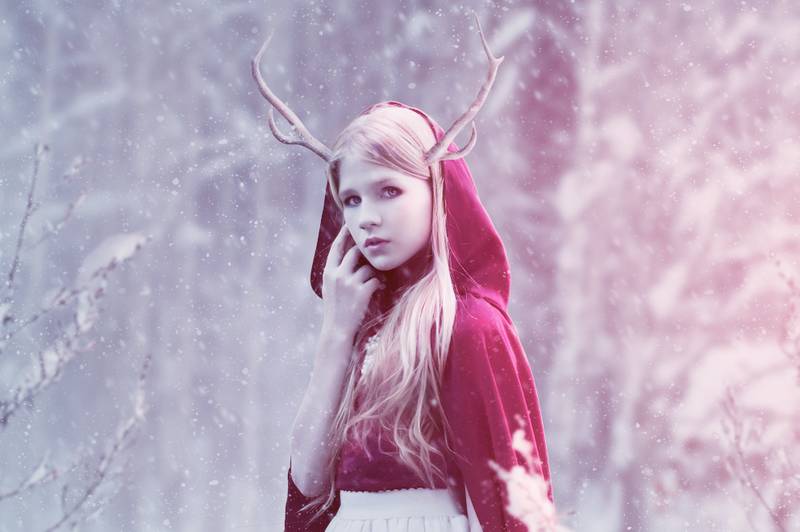
Final Image
Tutorial Details
- Program : Photoshop CS3+
- Estimated Completion Time : 90 minutes
- Difficulty : Intermediate
Resources
Step 1
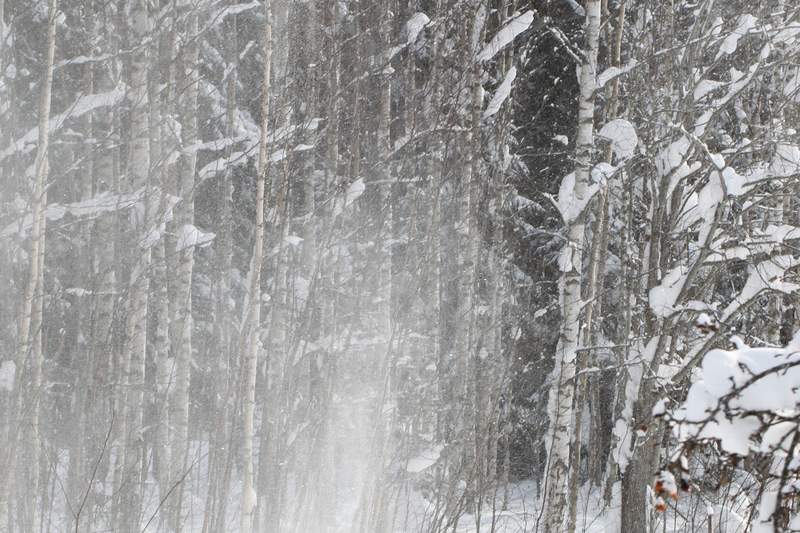
Create a new 2000×1333 px document in Photoshop and fill it with white. Open the winter image and drag it into the white canvas using the Move Tool (V) .
Step 2
Go to Filter > Blur > Gaussian Blur and set the radius to 11 px :
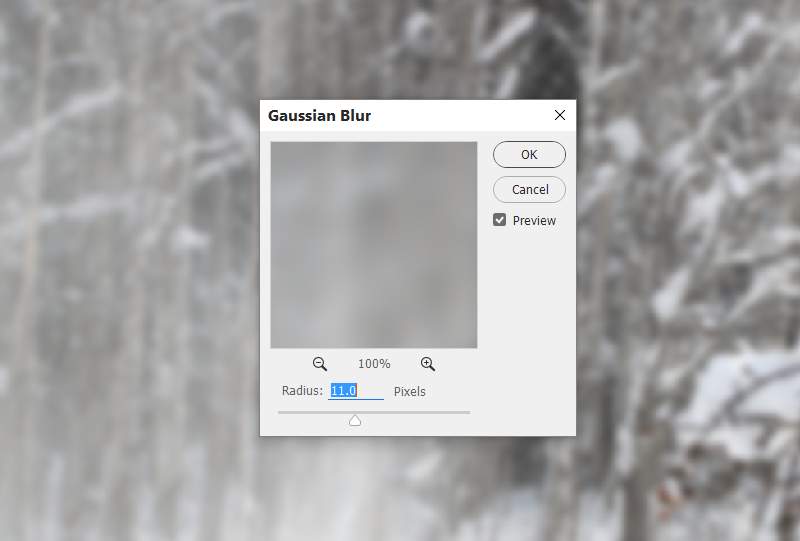
This step is to make the background separate from the model and give some depth to the scene.
Step 3
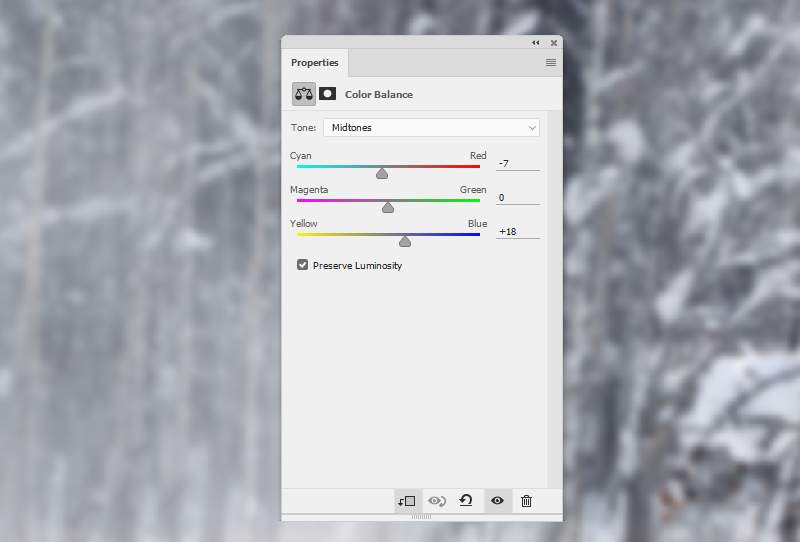
Select Layer > New Adjustment Layer > Color Balance and change the Midtones settings:
Step 4
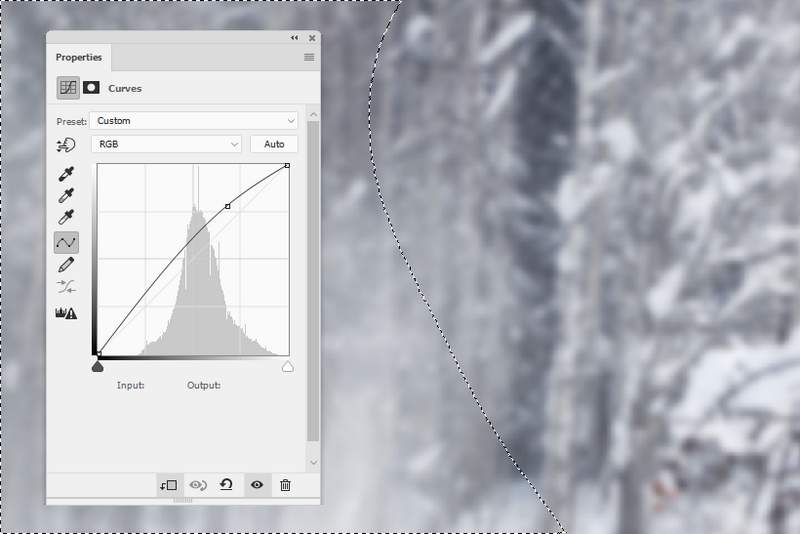
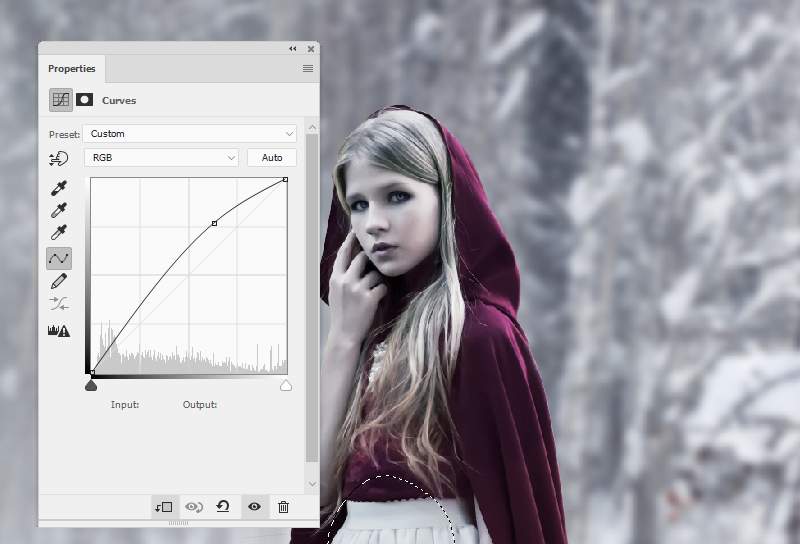
Make a Curves adjustment layer and increase the lightness. On this layer mask, activate the Brush Tool (B) and use a soft black brush to erase the right as we’ve aimed to make the left brighter.
Step 5
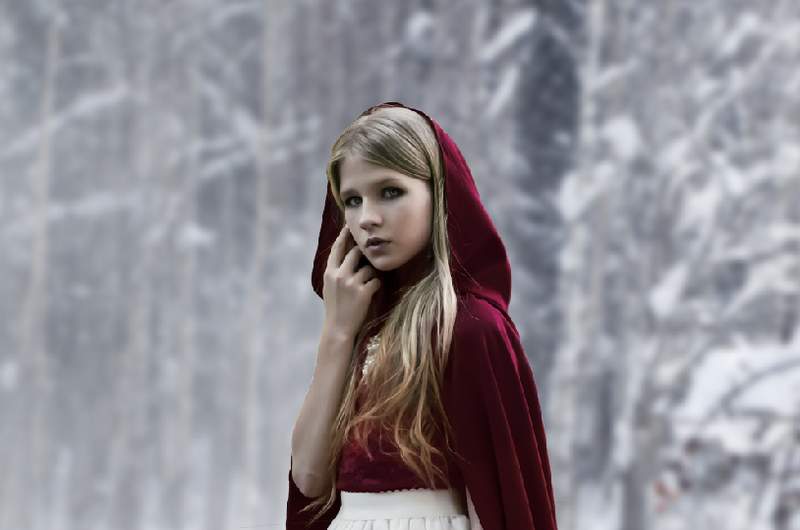
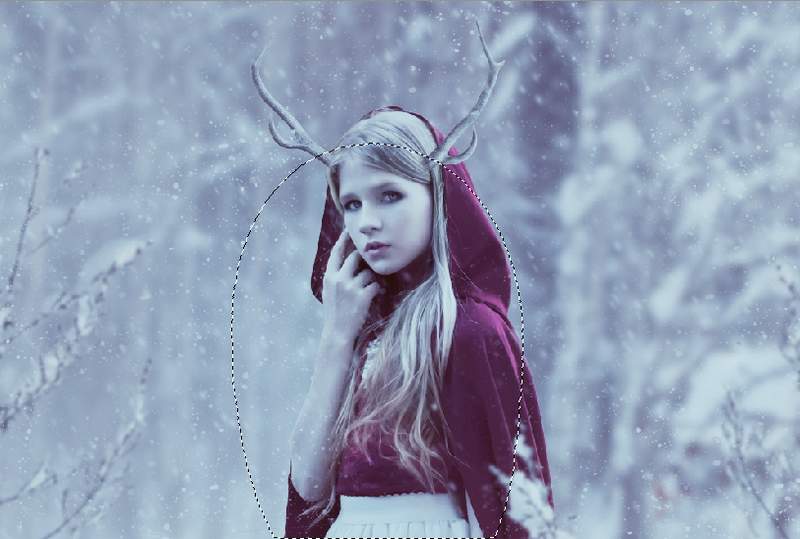
Cut out the model and place her in the middle of the canvas.
Step 6
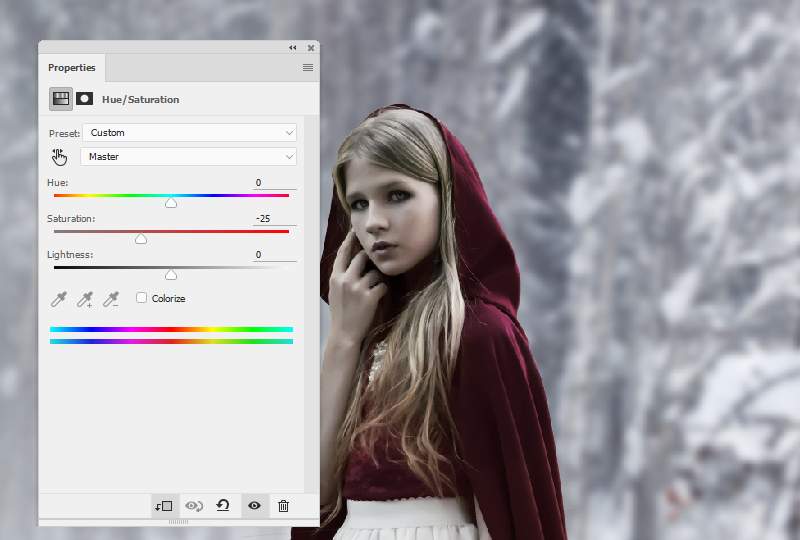
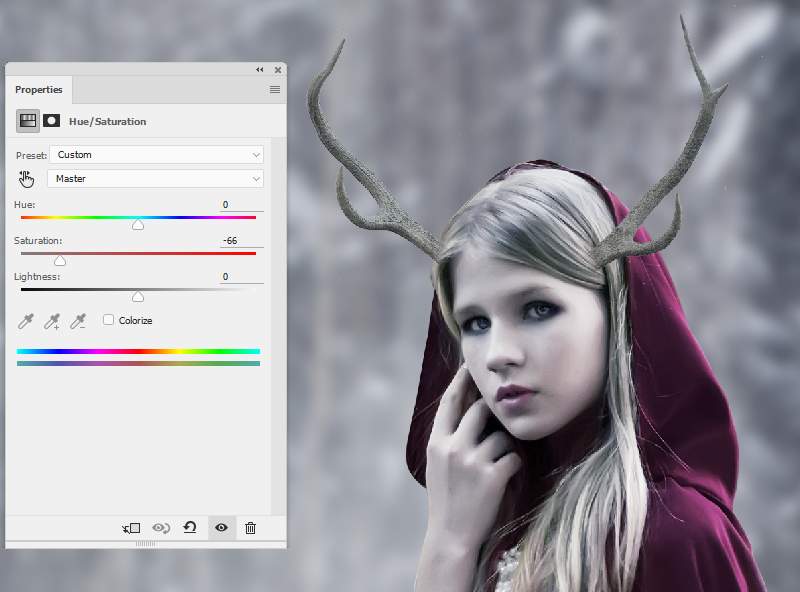
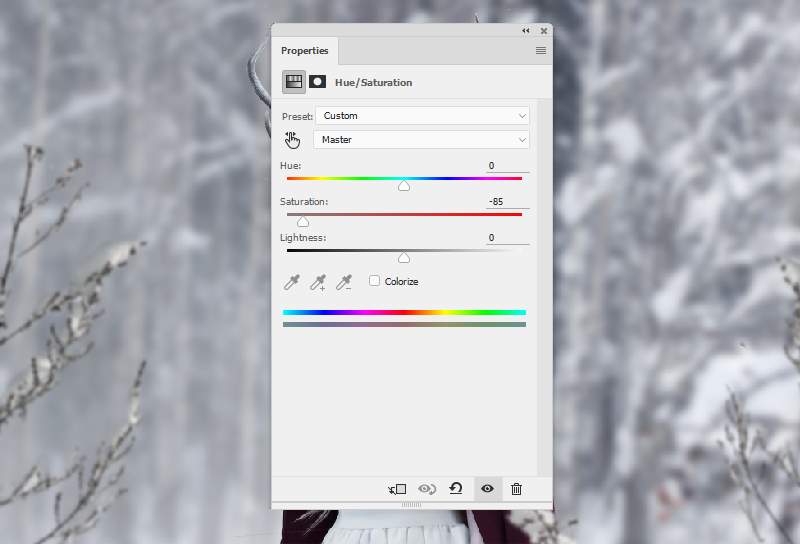
Make a Hue/Saturation adjustment layer and set it as Clipping Mask . Reduce the Saturation value to -25 .
Step 7
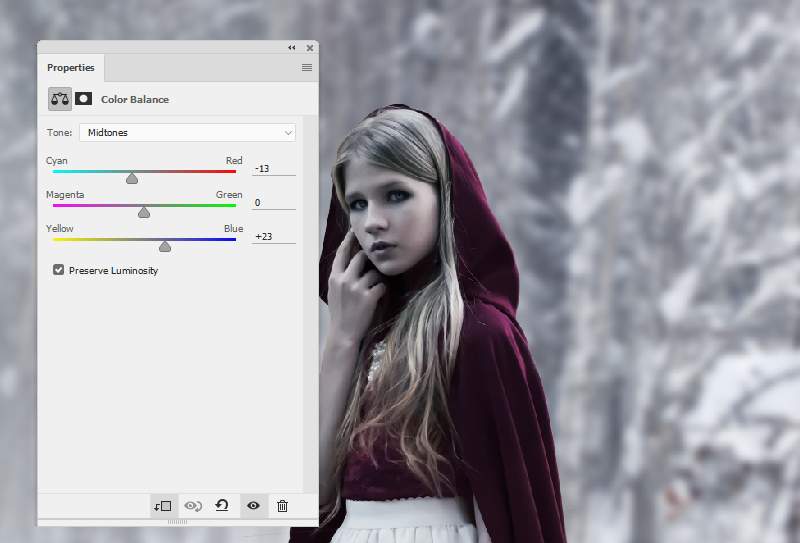
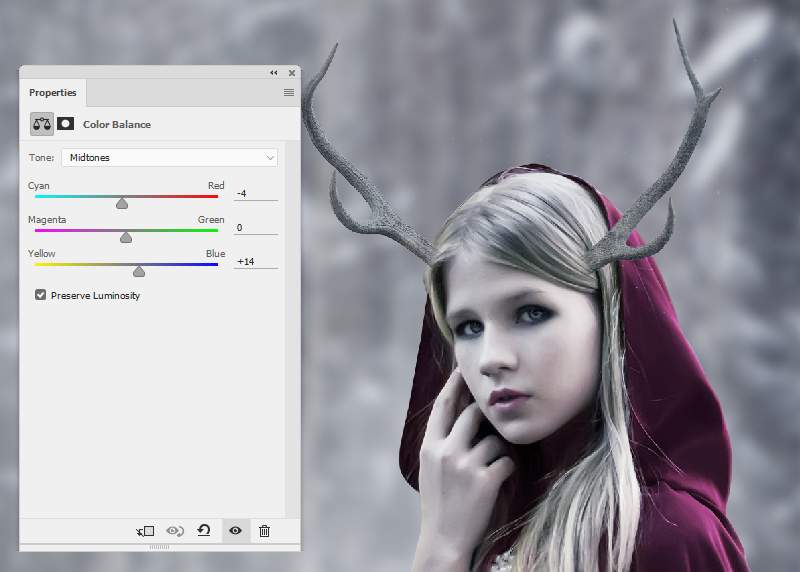
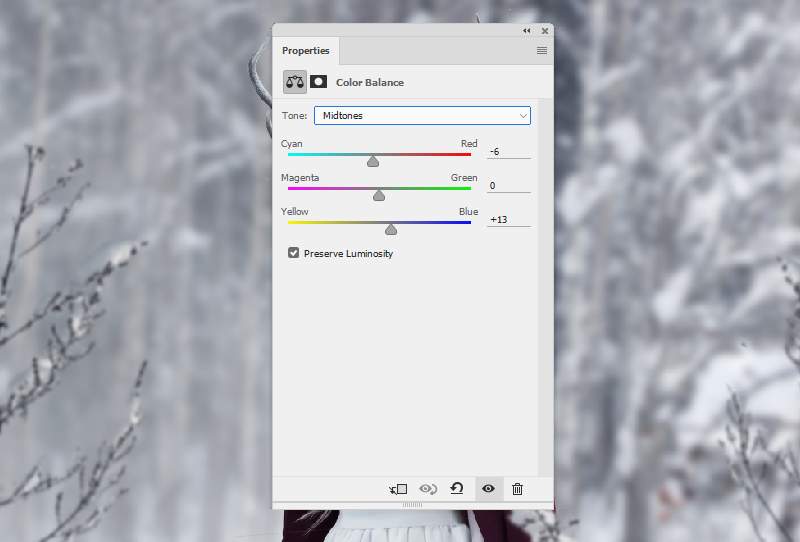
Add a Color Balance adjustment layer and change the Midtones settings.
Step 8
Create a Curves adjustment layer to brighten the model more. On the layer mask, use a soft black brush to erase the white skirt so it won’t be too bright.
Step 9
Make a new layer and use a soft brush with the color #b56989 to paint on the model lips so they look more vibrance. Alter this layer mode to Soft Light 60% .

Step 10
Open the horns image and isolate them from the background. Use the Lasso Tool (L) to grab the left part and place it in the left of the model’s head.
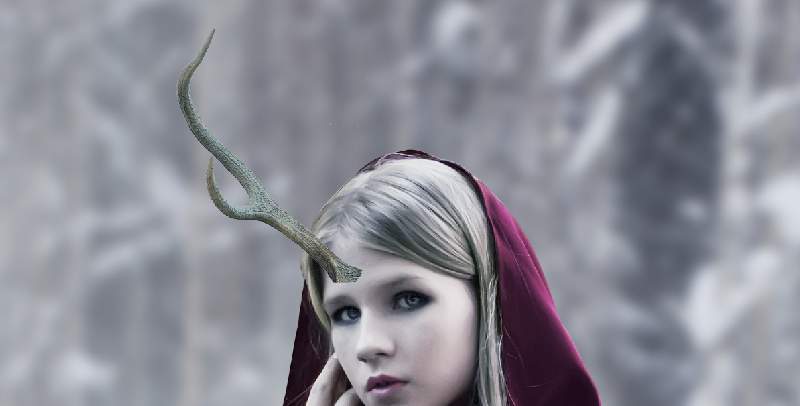
Add a mask to this layer and use a medium-soft black brush to erase the part on the model’s face and blend the rest with her head.
Step 11
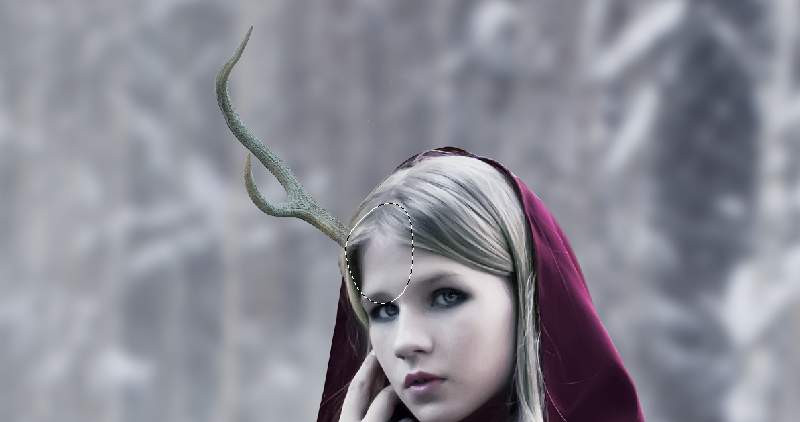
Add another horn part to the right of the model’s head using the same method.
Step 12
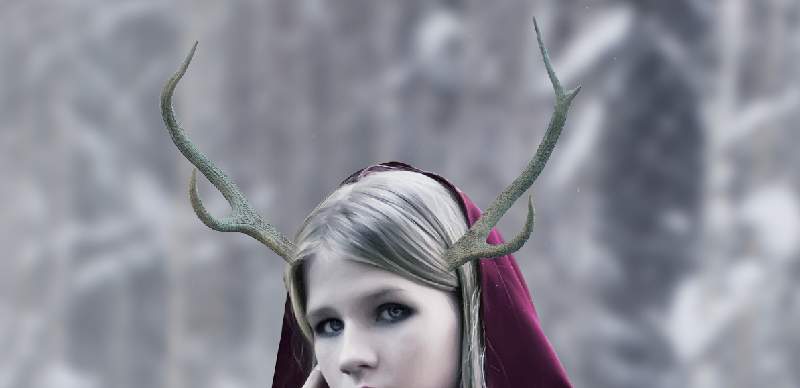
Select the horn layers and press Ctrl+G to make a group for them. Change this layer mode to Normal 100% and use a Hue/Saturation adjustment layer to desaturate the horns’ color .
Step 13
Add a Color Balance adjustment layer to match the horns’ color with the scene.
Step 14
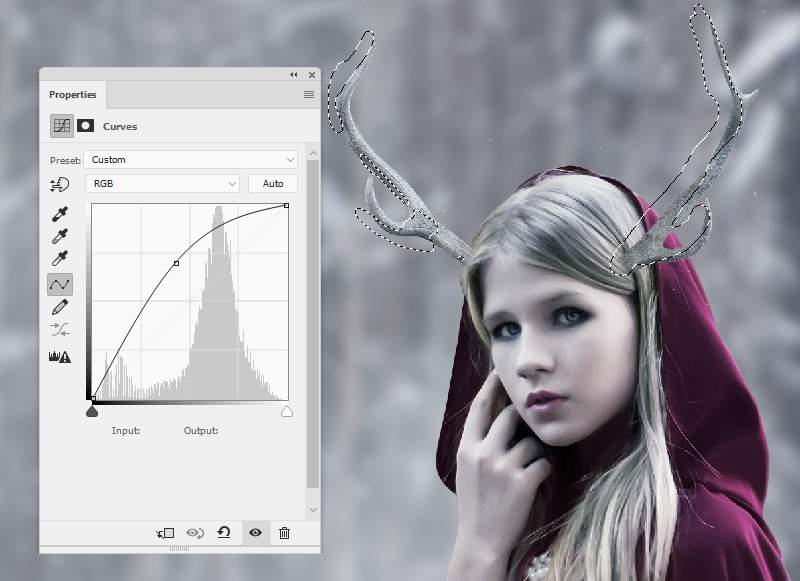
Create a Curves adjustment layer to bring more light to the horns, especially their right side. On the layer mask, paint on their left side so they won’t be affected or be less affected by this adjustment layer.
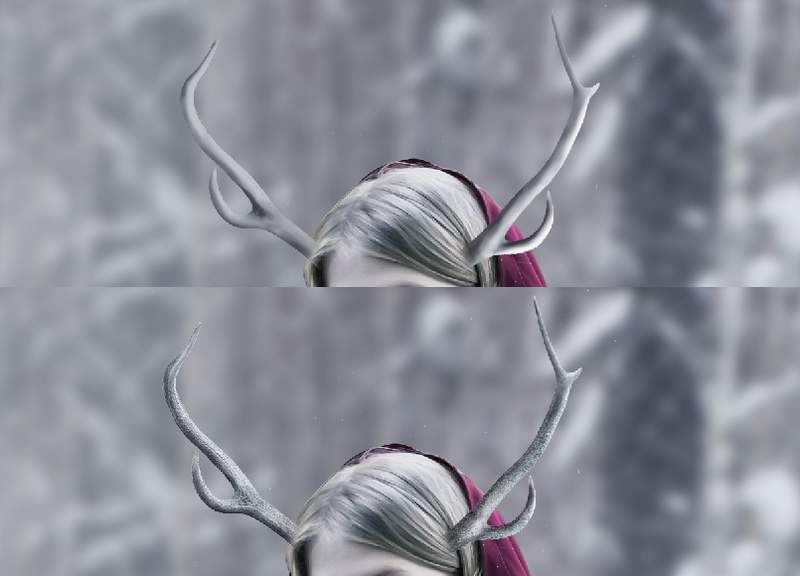
Step 15
On each of the horn layers, make a new layer, change the mode to Overlay 100% and fill with 50% gray.
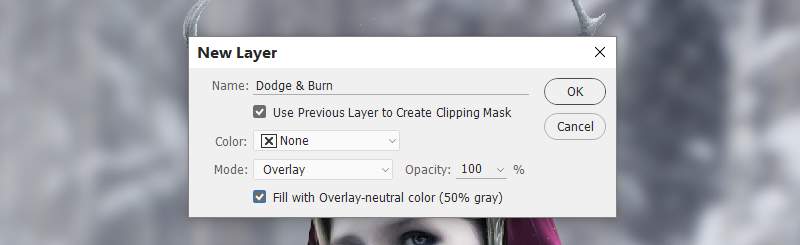
Select the Dodge and Burn Tool (O) with Midtones Range , Exposure about 10-15% to refine the light and shadow on the horns. You can see how I did it with Normal mode and the result with Overlay mode.
Step 16
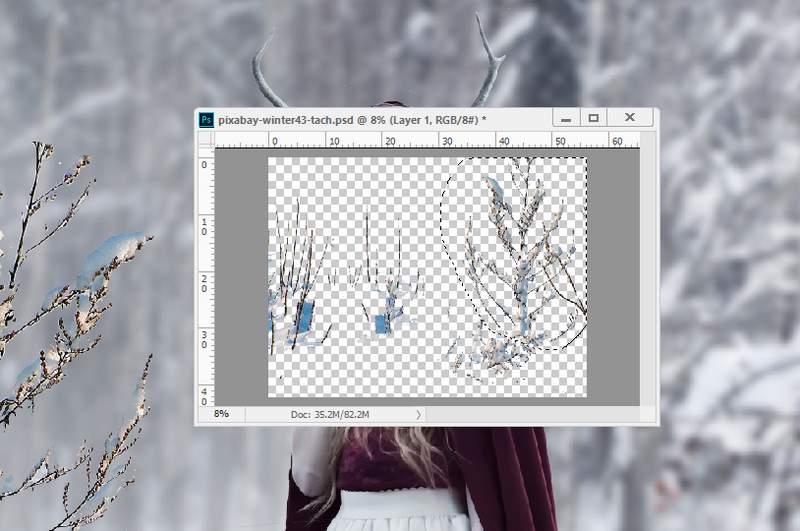
Open the branches image and cut out them using your own method. Select the branches on the right and add them to the left side of our main canvas. Flip it horizontally by choosing Edit > Transform > Flip Horizontal :
Step 17
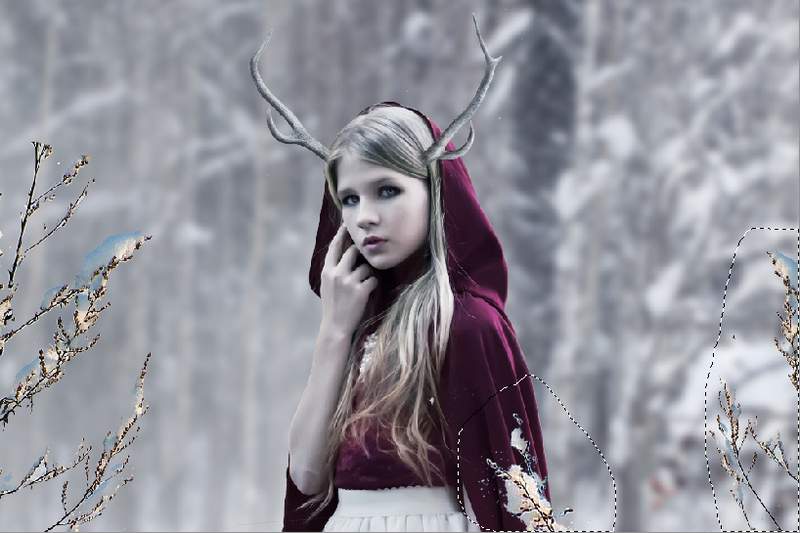
Duplicate this layer and move it to the right after flipping it horizontaly. Select other parts of the branches from the original image to add to the lower of the front.
Step 18
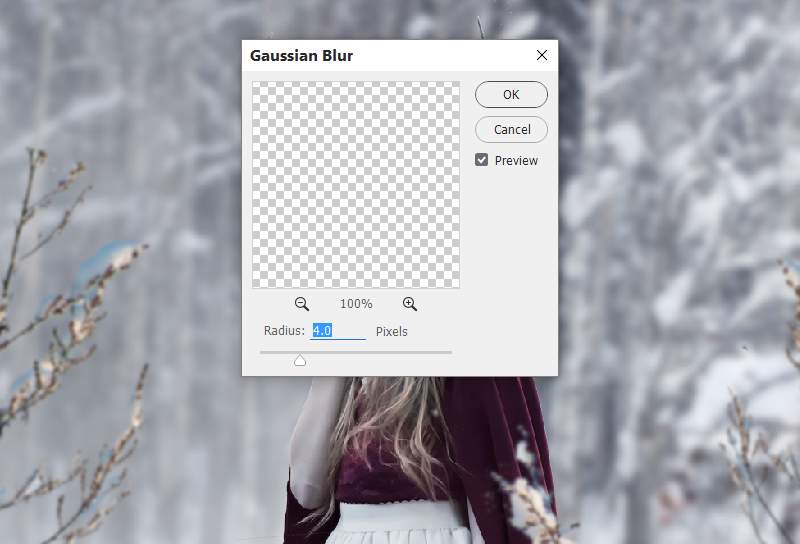
Apply a Gaussian Blur of 4 px to each of the branches layers to increase the depth of field.
Step 19
Create a group for the branches layers and add a Hue/Saturation adjustment layer to desaturate the branches.
Step 20
Use a Color Balance adjustment layer to change the branches’ color.
Step 21
Make a Curves adjustment layer to brighten the branches. Paint on the shadow side of the branches on the left so it won’t be affected by this adjustment layer.
Step 22
Create a new layer on top of the layers and change the brush to the snow ones. Select a brush you like with the color #e6ebf2 to spot on the canvas.
Add a mask to this layer and use a soft black brush to reduce the snow opacity and intensity.
Step 23
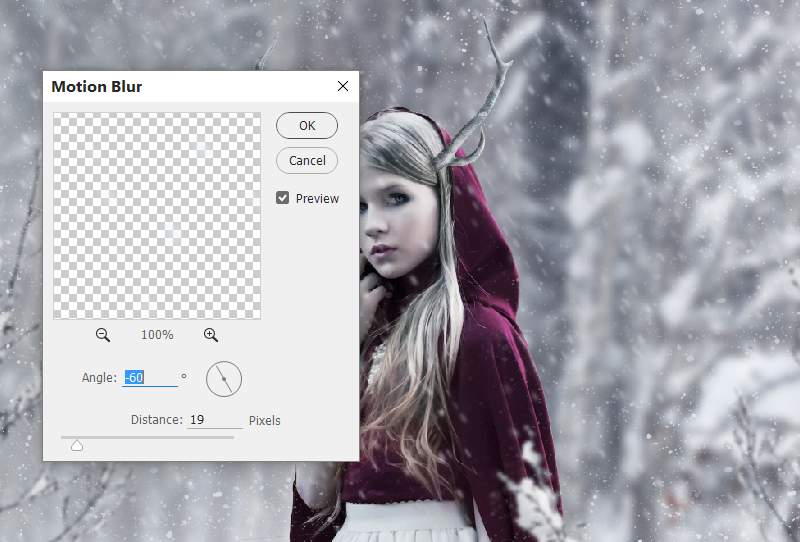
Paint with another snow brush on a new layer using the same color.
Apply a Motion Blur with the following settings to this snow layer.
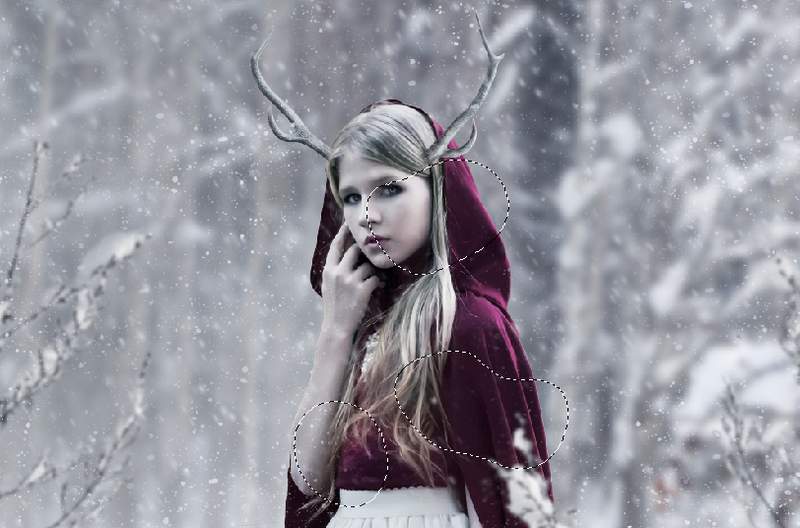
Step 24
Use a layer mask to reduce the snow visibility on the model.
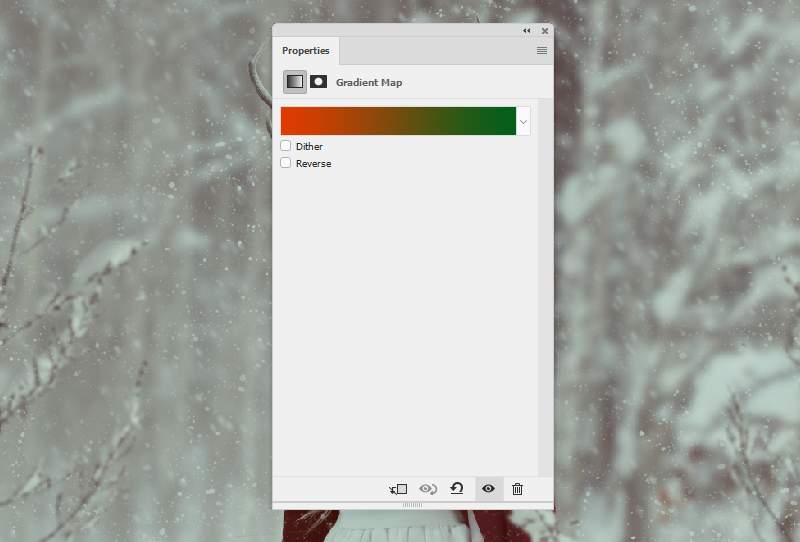
Step 25
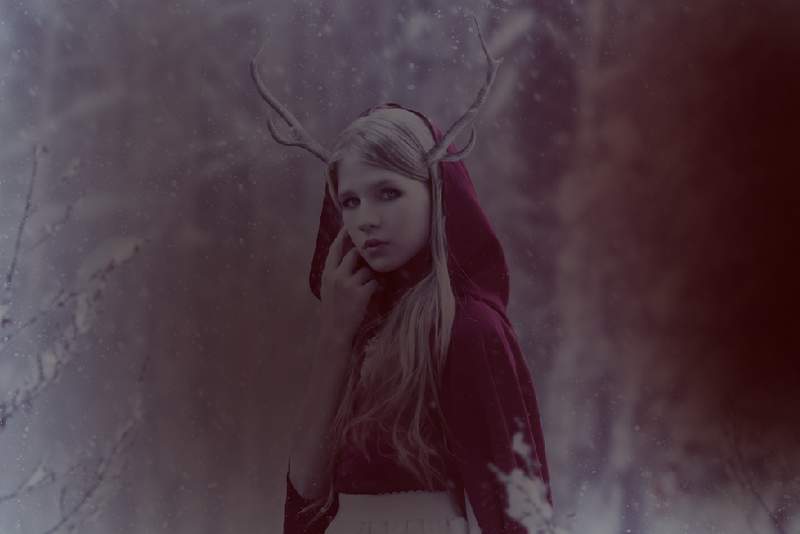
Create a Gradient Map adjustment layer on top of the layers and pick the colors #e13a00 and #00601b . Lower the opacity of this layer to 20% .
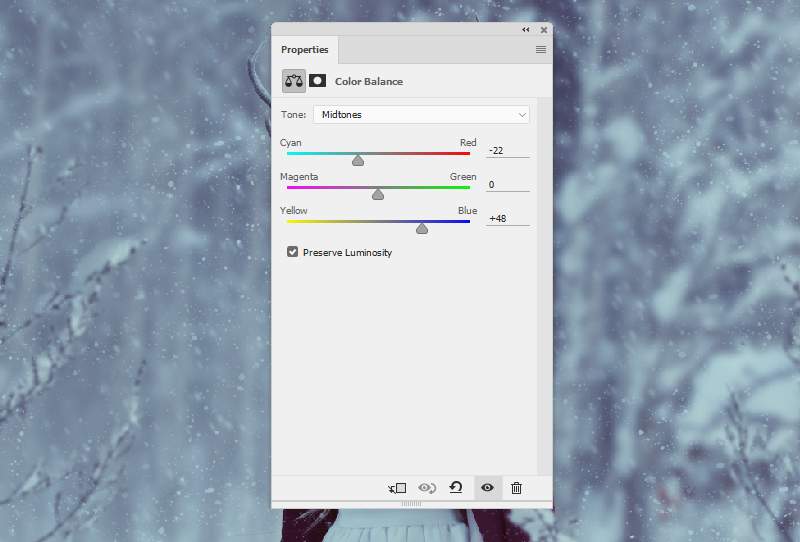
Step 26
Add a Color Balance and alter the Midtones values:
Step 27
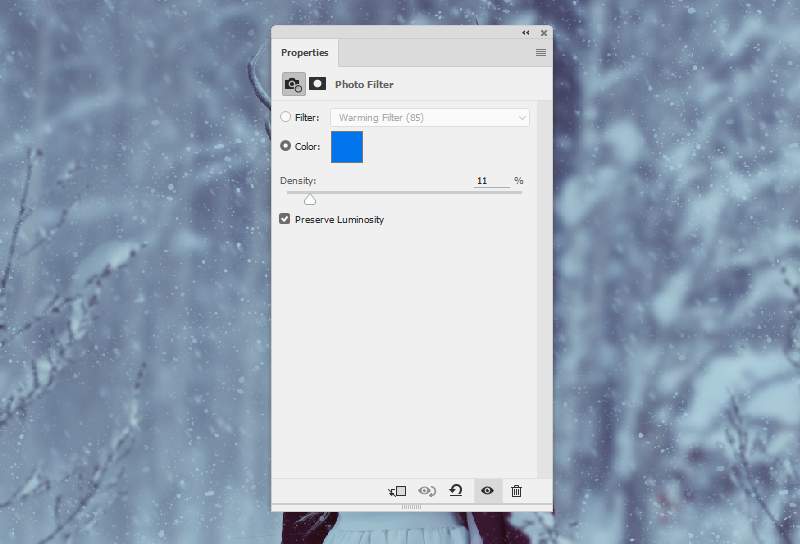
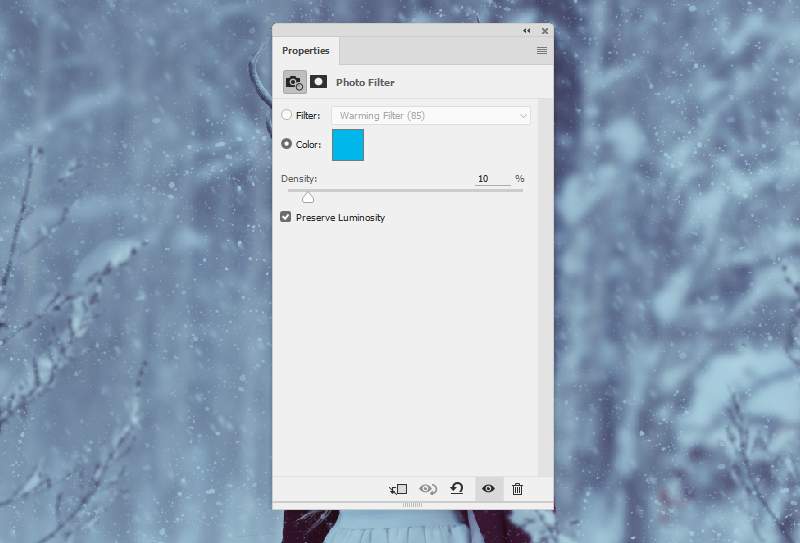
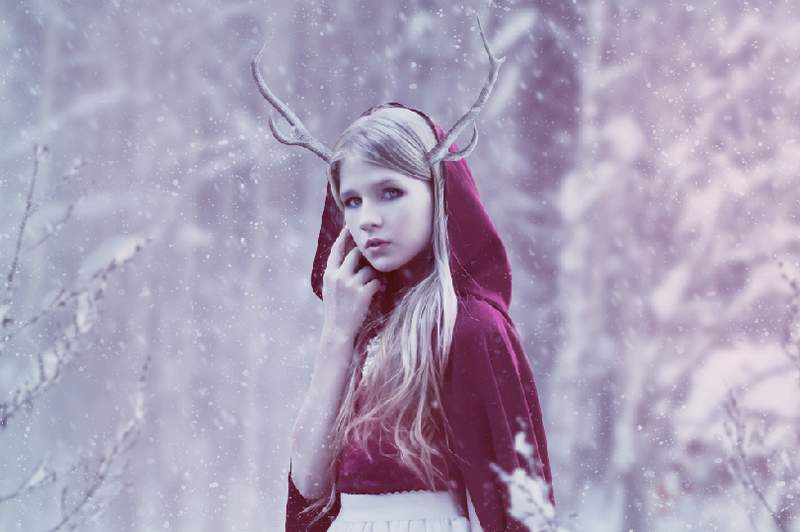
Make two Photo Filter adjustment layers and pick the colors #0075ec and #00b7ec .
Step 28
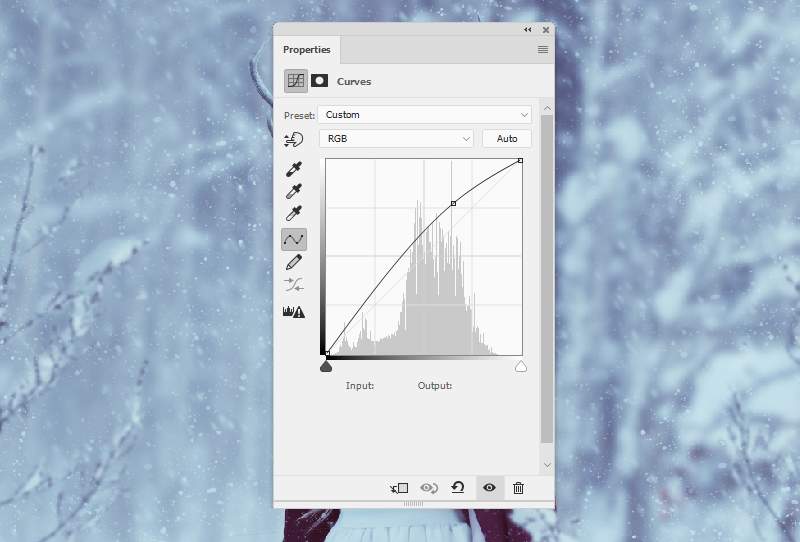
Create a Curves adjustment layer to bring more light to the whole scene.
Step 29
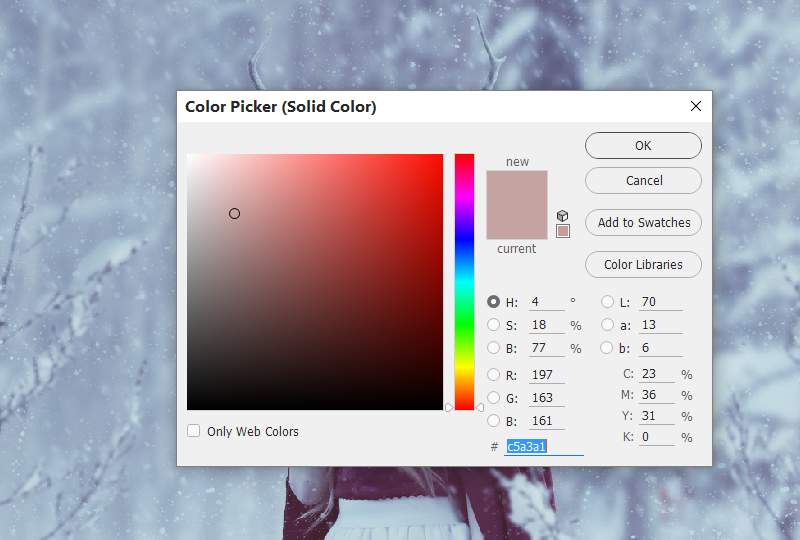
Make a Color Fill layer and select the color #c5a3a1 . Lower the opacity of this layer to 20% and use a soft black brush to erase the dreamy effect on the model, leave it visible on the background.
Step 30
Create a new layer and use a soft brush with the color #230202 to paint on the both sides of the scene. Change this layer mode to Linear Dodge 100% .
Step 31
Make a new layer and use a soft brush with the color #f4b2ad to paint highlight for the left, model and branches. Alter this layer mode to Overlay 100% .
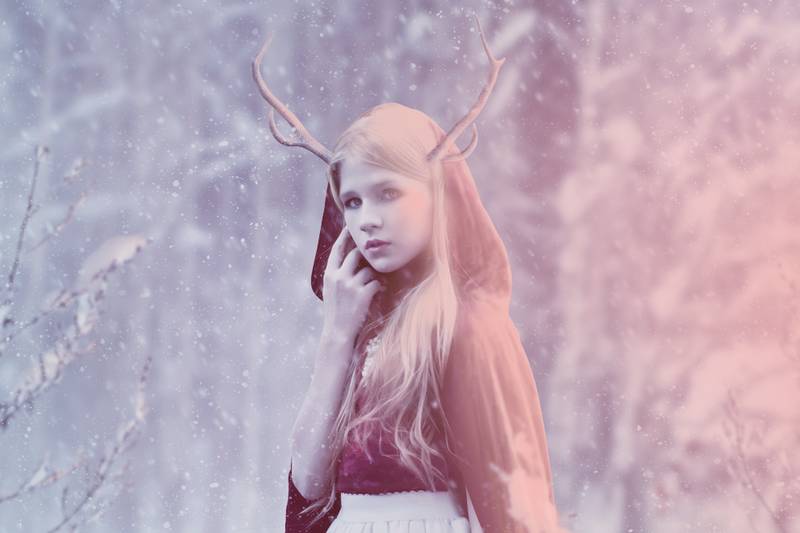
And We’re Done!
I hope that you enjoyed this tutorial.
