In this Photoshop tutorial, I’ll show you how to create a fantasy scene featuring a cat watching a magical fish.
You’ll learn how to combine several stock images and textures, retouching, make the light effect, enhance the color and more.
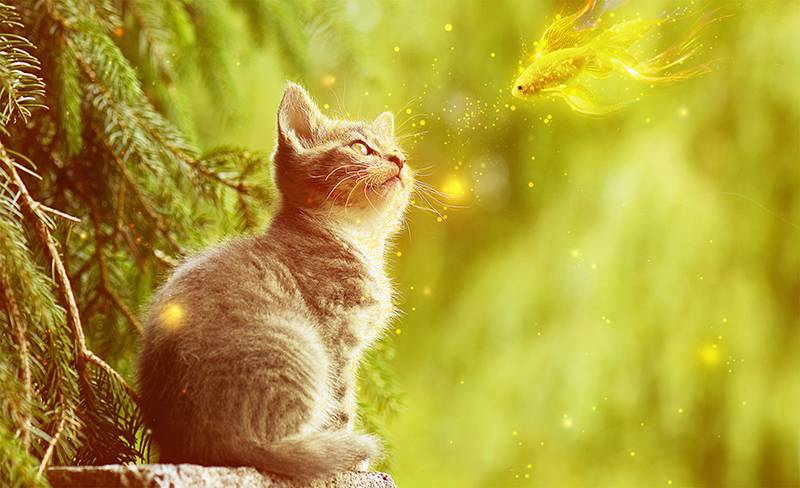
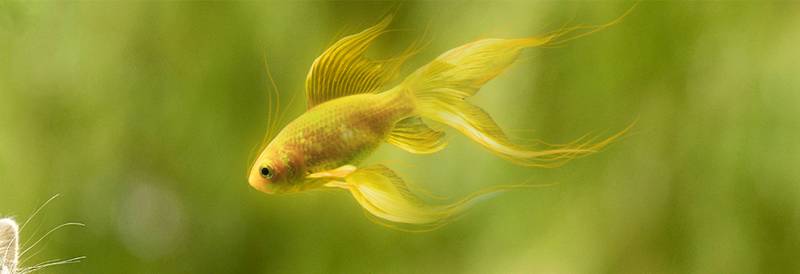
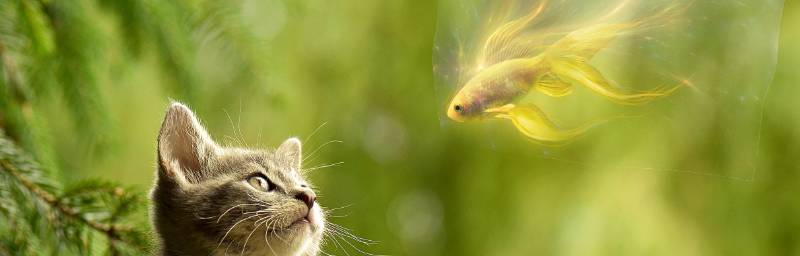
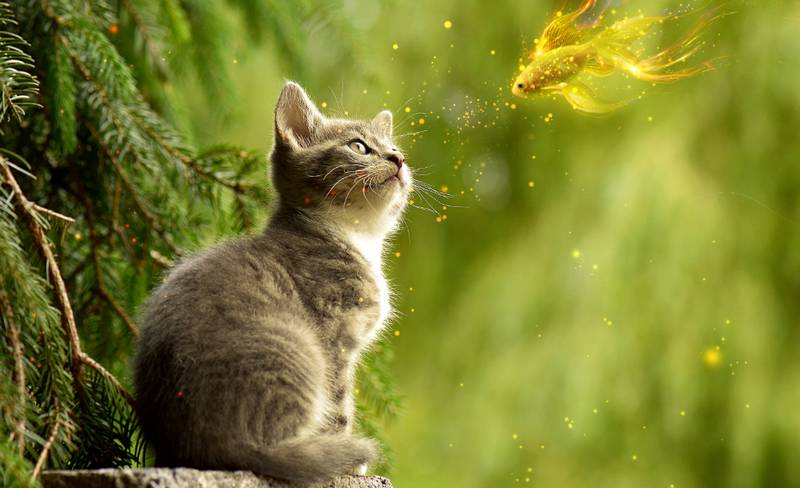
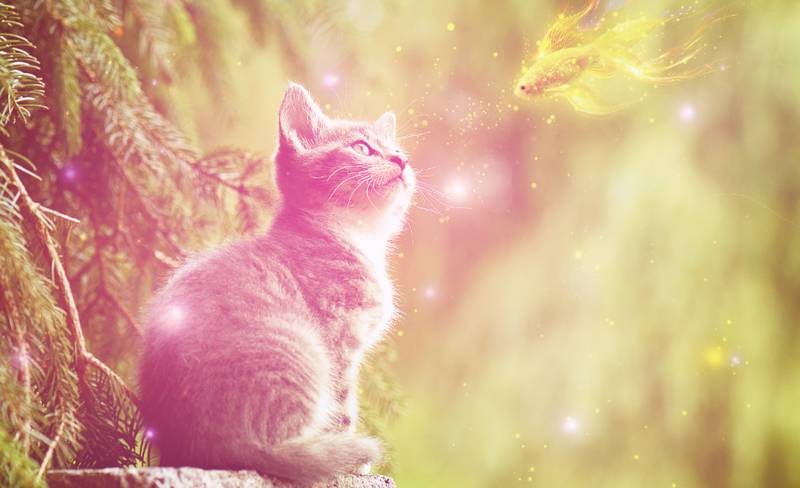
Final Image
Tutorial Details
- Program : Photoshop CS3+
- Estimated Completion Time : 60 minutes
- Difficulty : Beginner
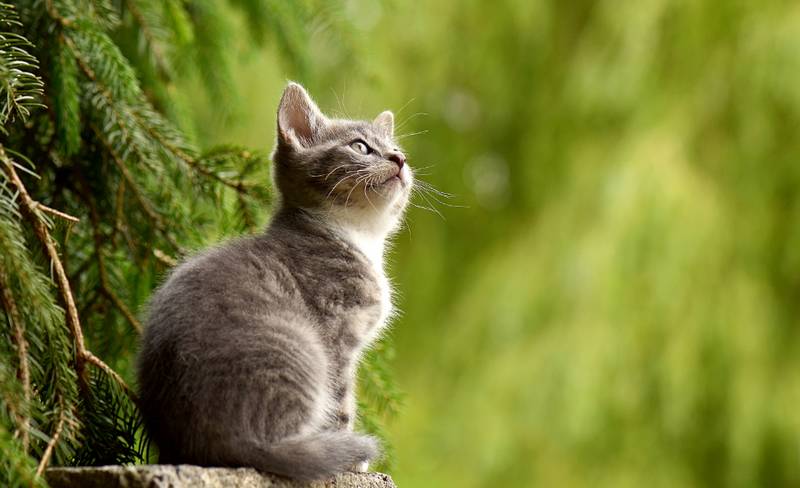
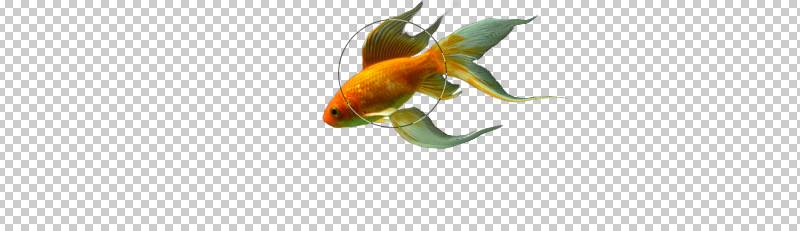
Resources
Step 1
Create a new 2000×1221 px document and fill it with white. Open the cat image and drag it into the white canvas using the Move Tool (V) . Use the Free Transform Tool (Ctrl+T) to resize the cat image to fit the size of the document.
Step 2
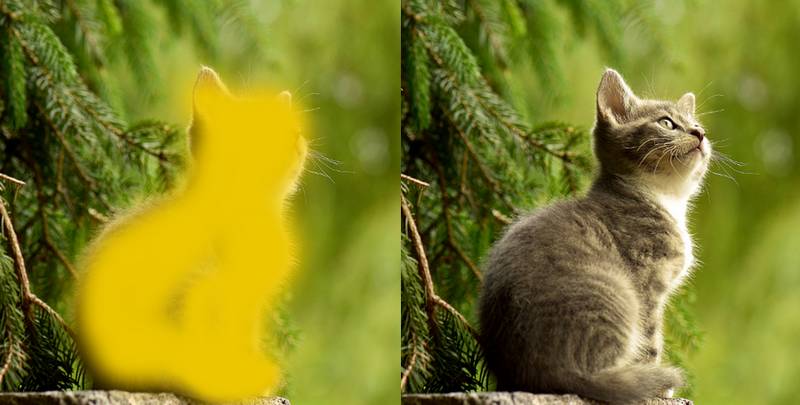
The cat seems a bit desaturated than the background. Hit Ctrl+Shift+N to make a new layer and activate the Brush Tool (B) . Use this brush with the color #ecc700 to paint over the cat. Change this layer mode to Color 20% .
Step 3
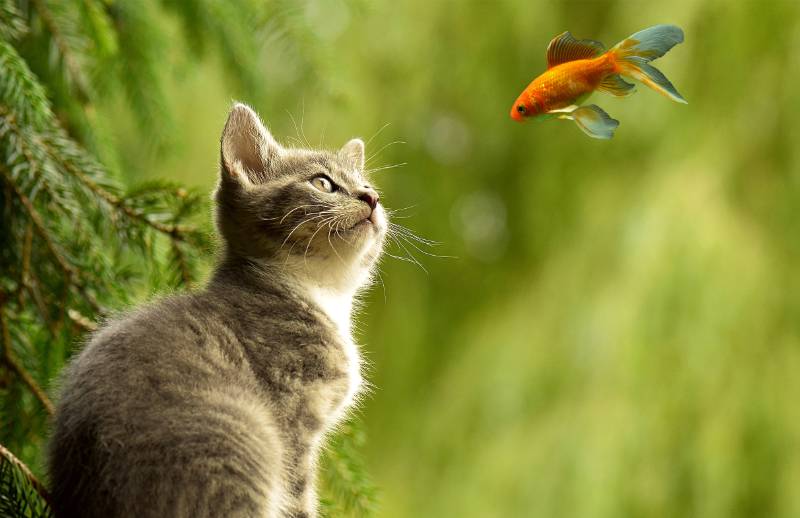
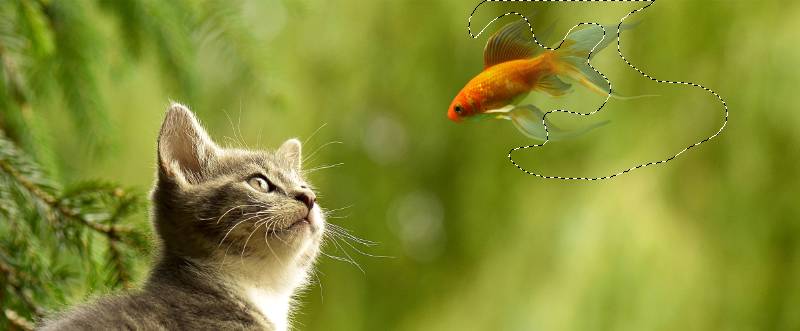
Cut out the fish and place it in the upper of the right side, remember to move it to fit the look’s direction of the cat.
Step 4
Go to Filter > Liquify and use the Forward Warp Tool to tweak the tail and fin, make them more curvy. It gives the fish a fantasy feel.
Step 5
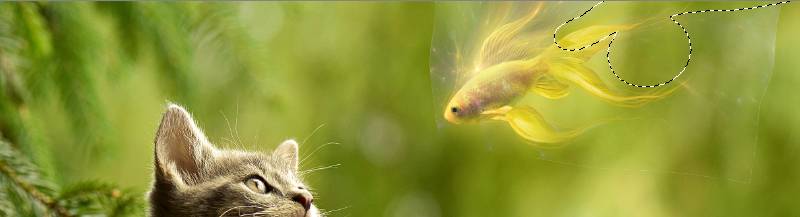
Click the second icon at the bottom of the Layers panel to add a mask to the fish’s layer. Use a soft black brush with the opacity about 20-30% to reduce the fin and tail visibility.
Step 6
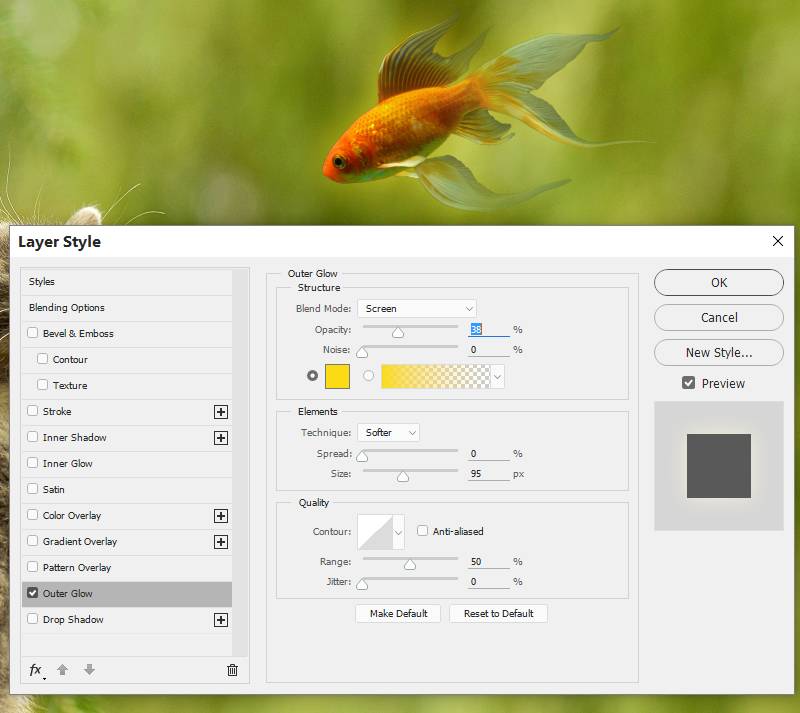
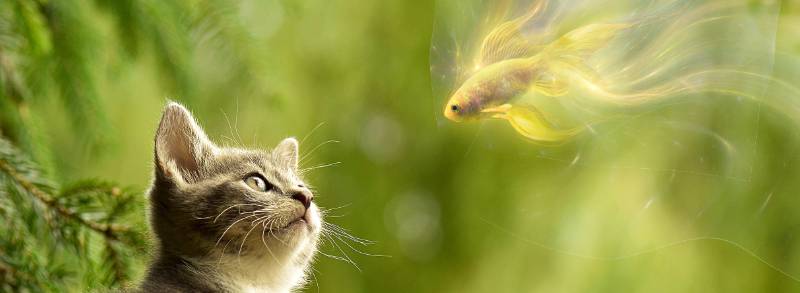
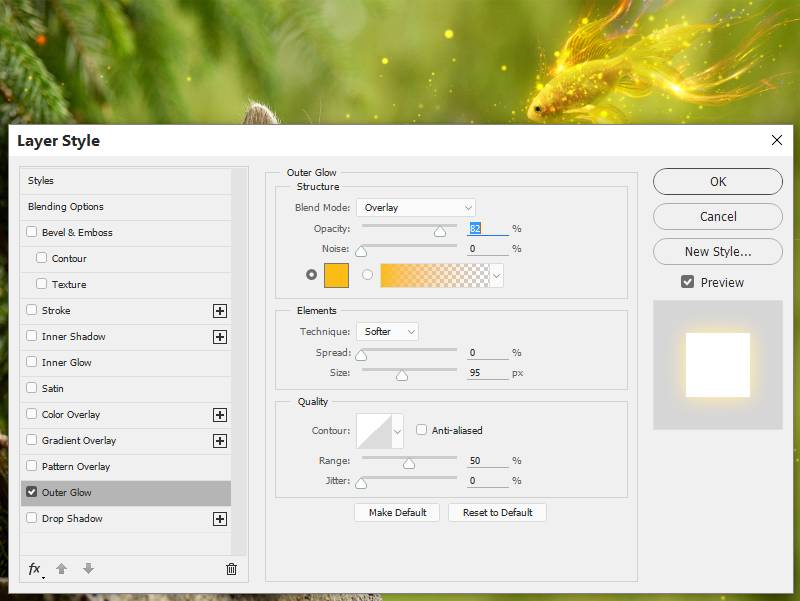
Double click the fish layer, choose Outer Glow. See the color of glow to #fadb15.
Step 7
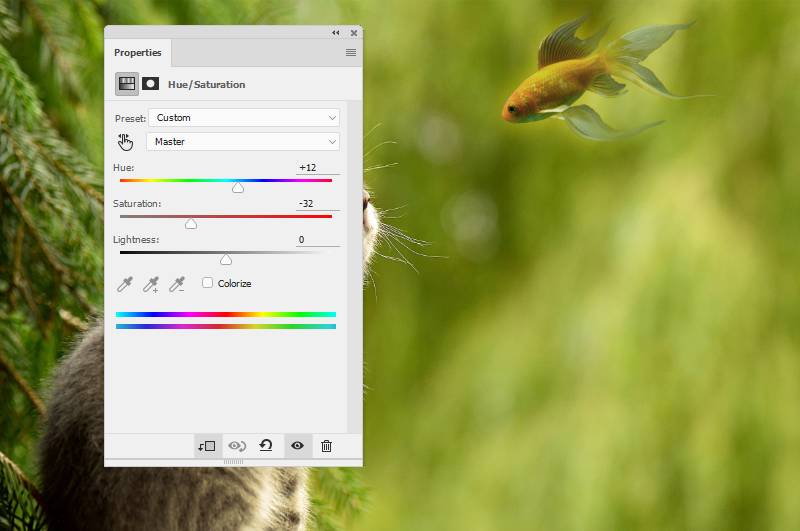
Make a Hue/Saturation adjustment layer and set it as Clipping Mask. Change the Master settings:
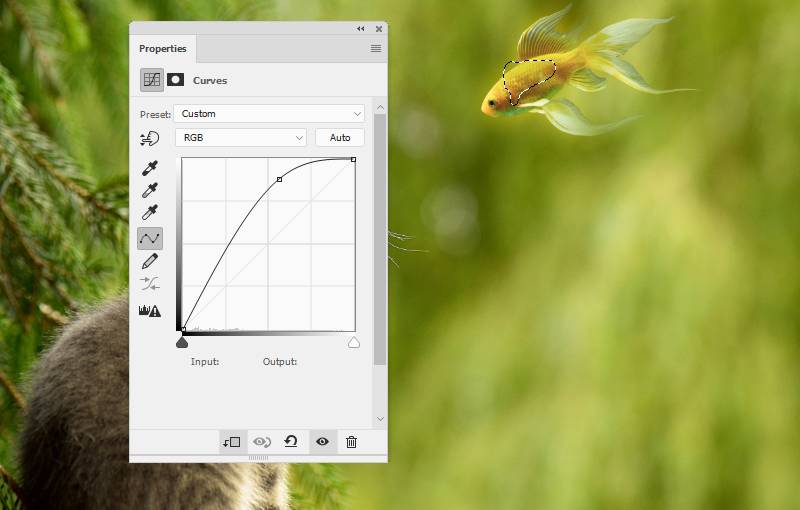
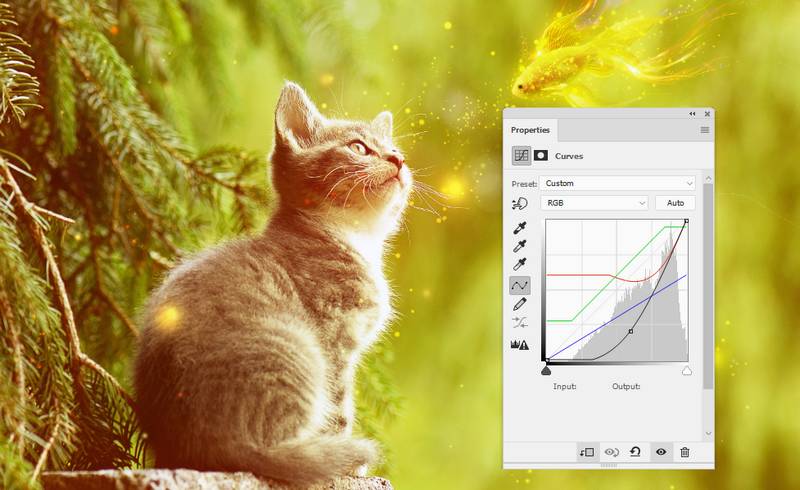
Step 8
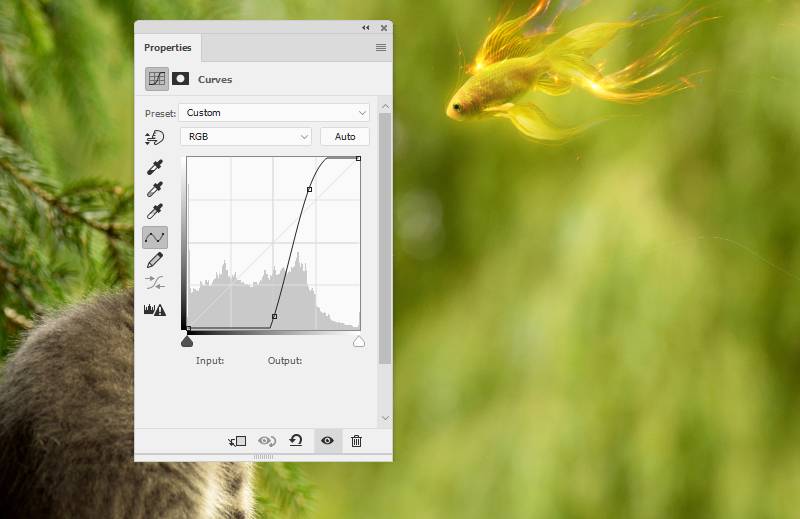
Create a Curves adjustment layer to bring more light to the fish. On this layer mask, use a soft black brush to paint on the upper of the fish’s body to reduce the light there.
Step 9
To make the fin and tail more golden, use a soft brush with the color #fadb15 to paint on there. Alter this layer mode to Color 100%.
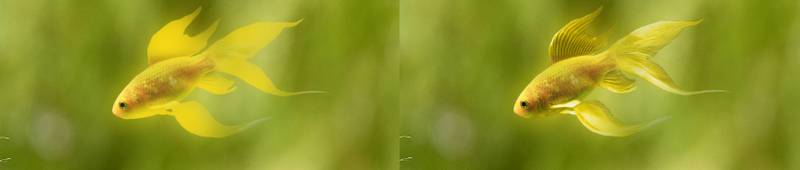
Step 10
Create a new layer (non-Clipping Mask) and use a small brush with the color #fabc15 to paint several curvy lines along the fish body, especially the tail and fin. It helps to increase the fantasy feel for the fish.
Step 11
On another layer, use the same brush but increase the size to spot on the tail of the fish. Change this layer mode to Soft Light 50%.

Step 12
Open the light image. Use the Liquify Tool to tweak the light form become like below:
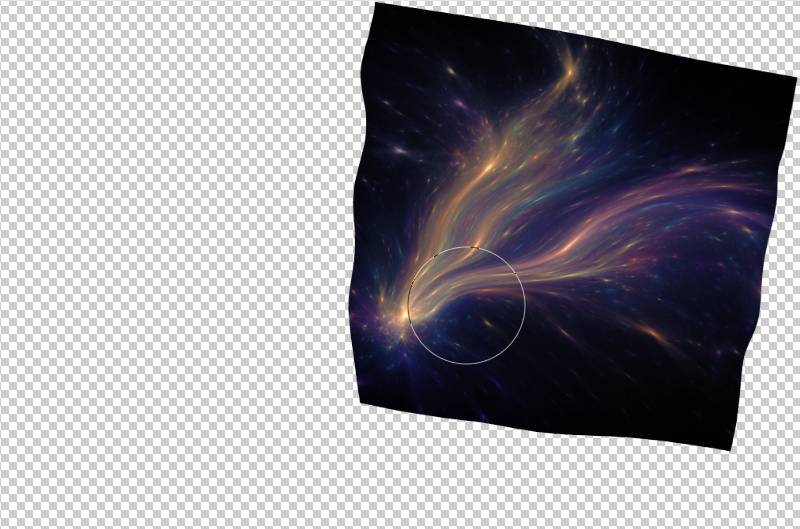
Place this image onto the tail and fin of the fish and change the layer mode to Screen 100%.
Use a layer mask to reduce the opacity of the effect as shown below:
Step 13
Duplicate this layer twice and put the over the fin and tail area. Use Ctrl+T with the Warp mode to make the lines of the effect follow the form and movement of the fish.
Step 14
Select all the effect layers and press Ctrl+G to make a group for them. Change this group mode to Screen 100% and use a Curves adjustment layer within the group to remove the unwanted white edges.
Step 15
Make a new layer on top of the layers and change the mode to Color Dodge 100%. Turn the foreground to #f9641b and hit F5 to alter the settings of this brush:
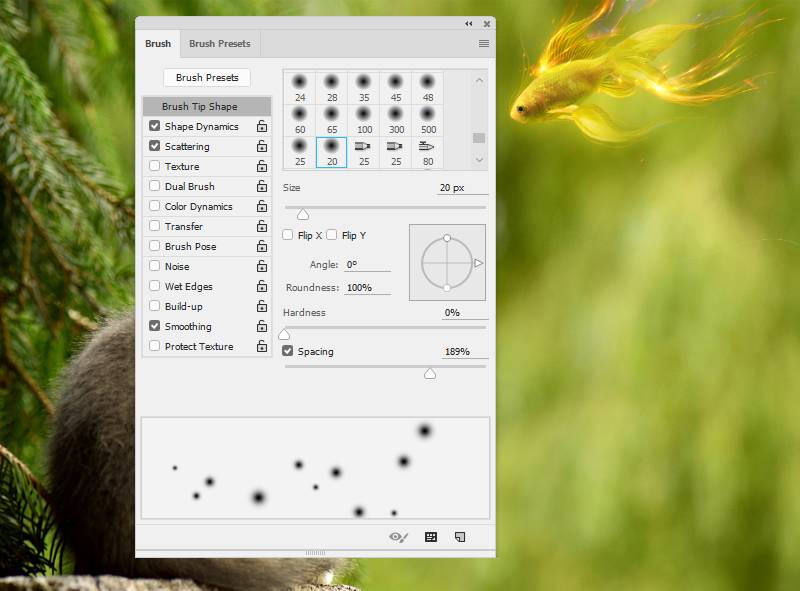
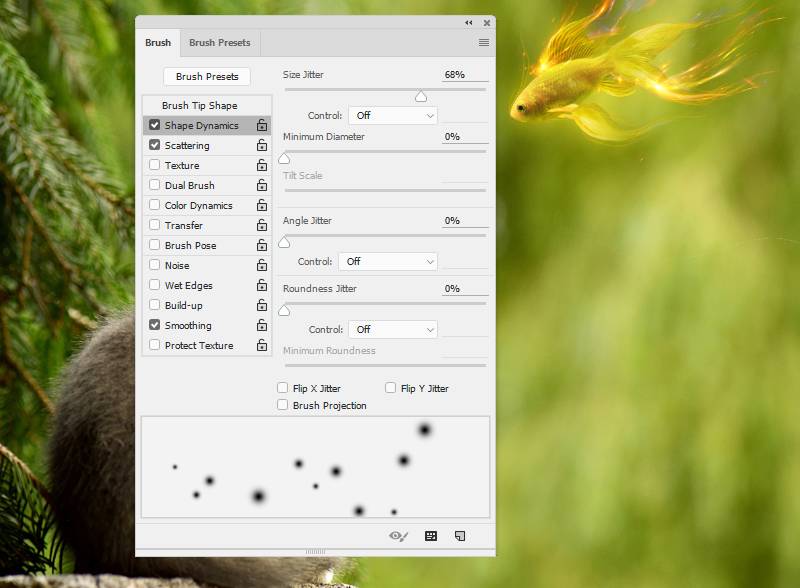
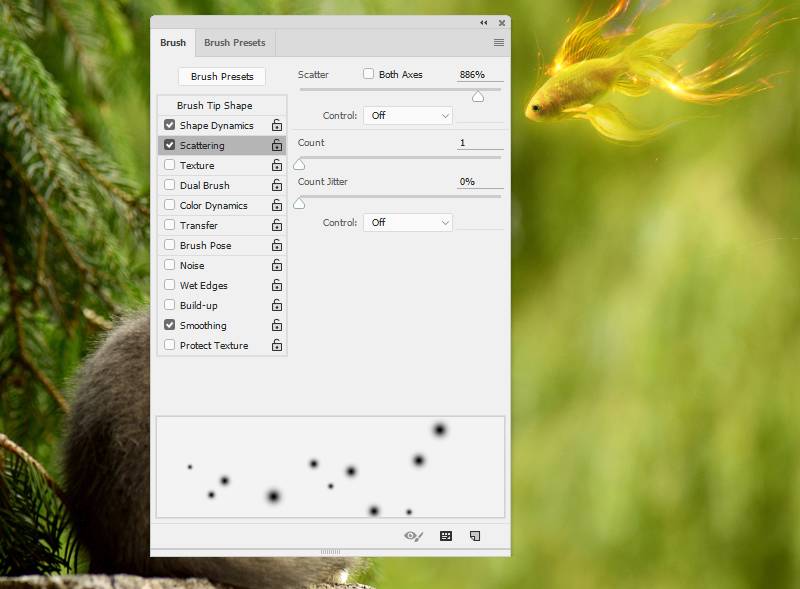
Paint sparkling spots around the fish and ca and remember to press [ and ] to change the size of the brush while painting:
Step 16
Hit Ctrl+G to make a group for this layer and change the group mode to Color Dodge 100%. Double click this layer, choose Outer Glow. Set the color of glow to #fabc15.
Step 17
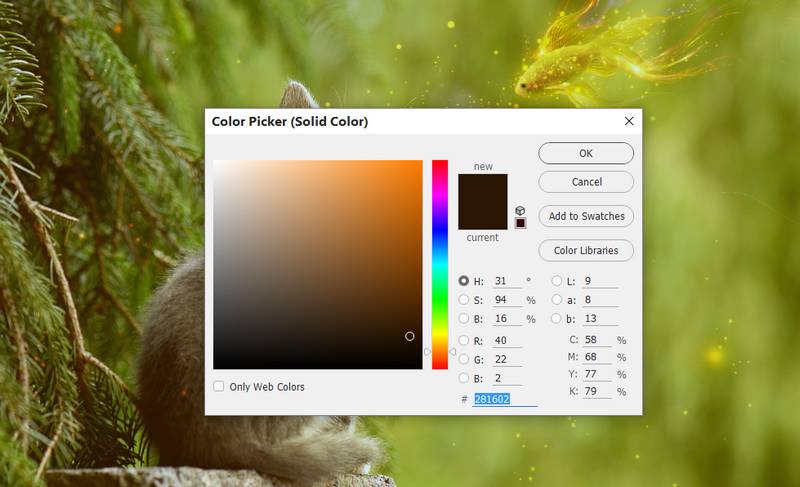
Make a Color Fill layer on top of the layers and pick the color #281602. Change this layer mode to Exclusion 100%.
Step 18
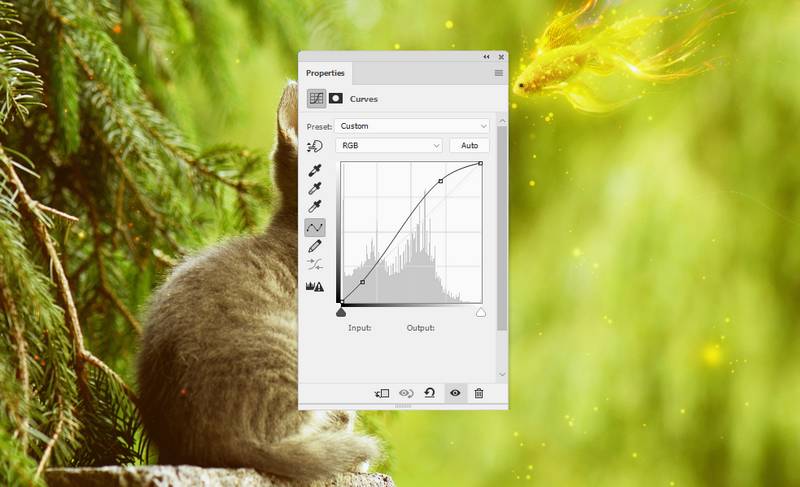
Create a Curves adjustment layer to increase the contrast of the whole scene.
Step 19
Open the star texture pack. Use “starry 6” image to add to the canvas and change the mode of this layer to Screen 100%.
Step 20
Use a Curves adjustment layer (set as Clipping Mask) to change the color and contrast of the effect, making it blended well with the existing background.
Step 21
Final step: Use a small brush with the color #fadb15 to paint yellow strands on the front of the cat where the yellow light of the fish reflects on.

And We’re Done!
I hope that you enjoyed this tutorial.
