
Here I’ll show you how to design a simple but stylish professional fashion-themed advert.
First of all you’ll have to start by making a new document; in my case 700×800 pixels, 72 dpi and fill it with any color. After that apply Gradient Overlay layer style for this layer.

It is very important to make move white color scroll and increase the area of white color. In future we will add to our advert some objects on white background, therefore, there should be no visible boundaries of objects backgrounds.

Ok, move to the next step. Start by getting out the Ellipse Tool, then create a new layer and make a few black round shapes on your canvas.

Then change layer mode to Overlay and set opacity up to 40%.

Ok, now find a nice, suitable stock photo to work with and bring it to the canvas as shown on my picture below:
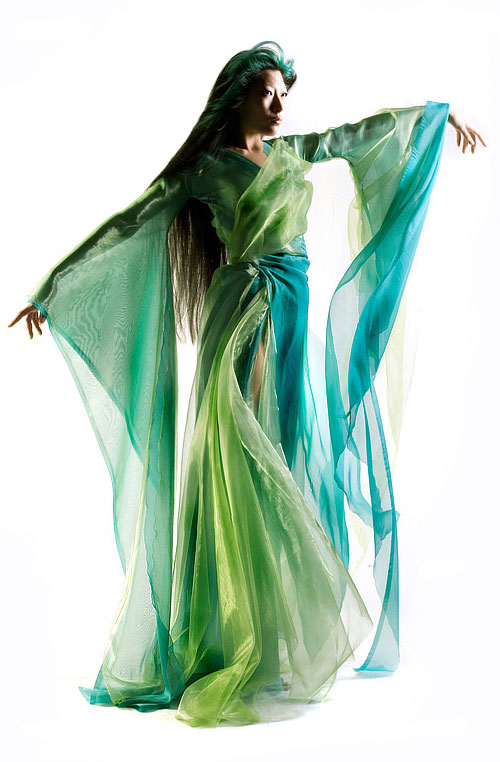

After that get out the Polygonal Lasso Tool and separate girl from the background.

Deactivate selection with Ctrl+D. Now, time to add some flowers to the back ground. Create a new layer, then select the Brush Tool and make some flower prints using these brushes.

Select these prints with Select > Load Selection and remove current layer. After that create new layer, then set foreground and background colors as #a2ca00 and #005b6b and apply Filter > Render > Clouds to selected area. Remove selection with Ctrl+D. See the result now:

Ok, after that use the Eraser Tool to clear woman’s body from prints, but don’t clear transparent mantle area now.

Then set eraser opacity up to 50% and make a little clear work on the transparent mantle area. You should receive something like this:

Looks good, isn’t it? Ok, go on. Now, you need to find some appropriate stock photo of the perfumes. Bring it to the canvas and reduce a little bit.
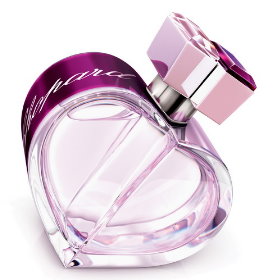

Ok, after that select the Eraser Tool to clear white background out the perfumes on top.

Then change it color from pink to some suitable. You can do this with Image > Adjustments > Hue/Saturation.

See the result below:

Looks good as for me! Move to the next step. To finish off the design part of advert I think, we should add some diamond on the white floor. Use my stock photo or feel free to use your own pictures. Open up the picture and bring some parts of the picture to our main canvas. You can make a couple of copies of each diamond. Reduce each diamond as shown on my screenshot.
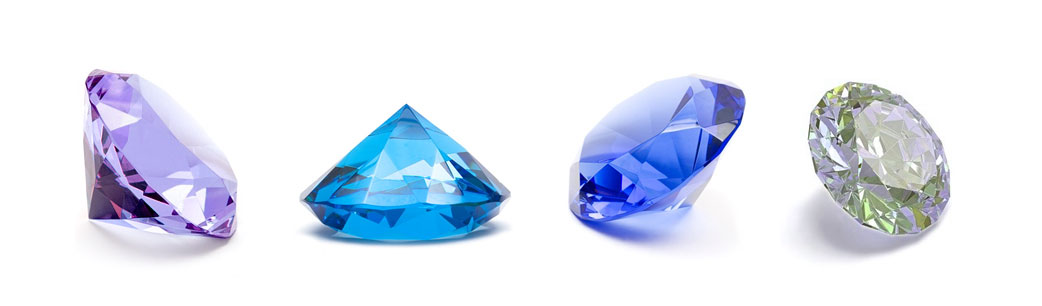

After that use the Sharpen Tool to make sharpen those diamonds what are in the foreground.

For diamond in the background use the Blur Tool.

This design wouldn’t be complete without some sort of text now, would it? Start by getting out the Horizontal Type Tool and write out some text with color of #005063. For this tutorial I used Bickham Script Pro font.

Well, we’re done for the tutorial! I hope you enjoyed it, even just a little bit. I hope you become a specialist in fashion-themed advert!
