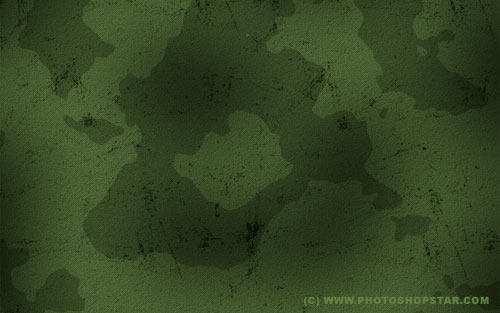
A quick Photoshop tutorial on the making of a military style texture.
Step 1
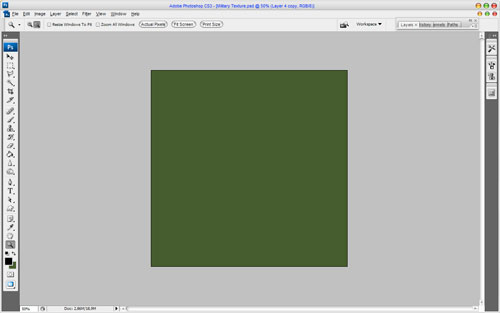
Create a new document with size of 1000 x 1000 pixels for this tutorial. Fill it with color #476031.
Step 2
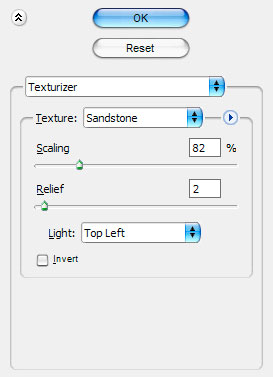
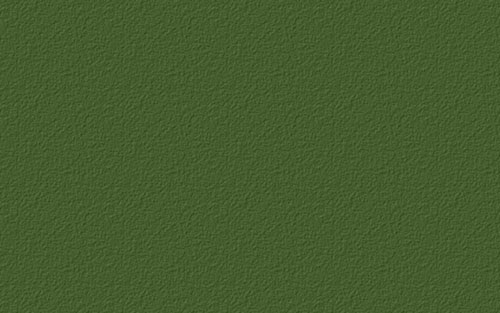
Go to Filter > Texture > Texturizer and use these settings:
Step 3
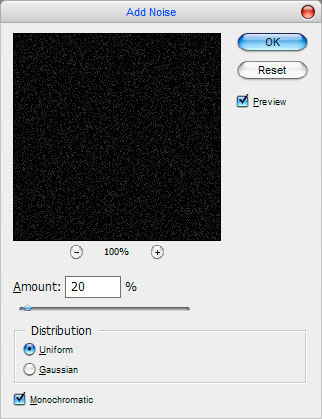
Create a new layer and fill it with black color (#000000). Go to Filter > Noise > Add Noise and use these settings:
After that actions mess with the layer mode & opacity/fill. I tried Screen with opacity of 50%.

Now, time to add grid to our background. Create a new document with size of 4×4 pixels and draw a skew line by using Pencil Tool as on picture below.

Then go to Edit > Define Pattern and save it as pattern. After that go back to our main document and fill the grid pattern on the new layer. Change layer style to Overlay and set opacity to 30% up for this layer.
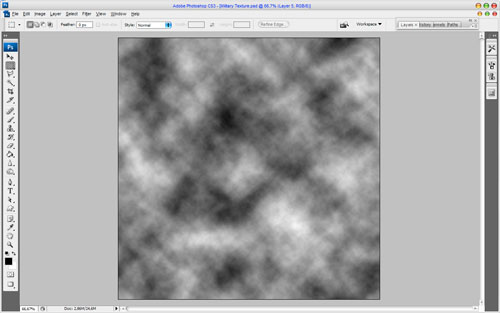
Ok, time to add military style texture. First of all press D to set up foreground and background colors black and white, then create a new layer and apply Filter > Render > Clouds:
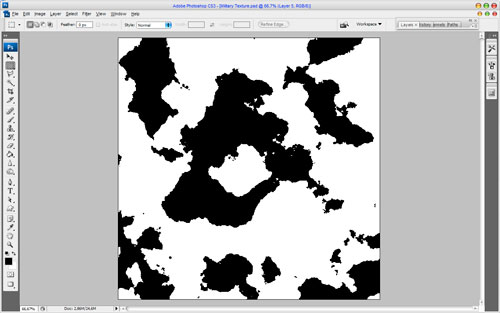
Now apply Image > Adjustments >Threshold with the next presets:
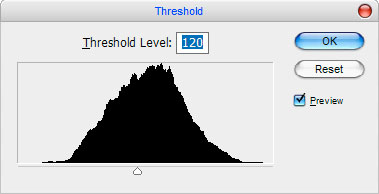
Now, we have picture like this one:
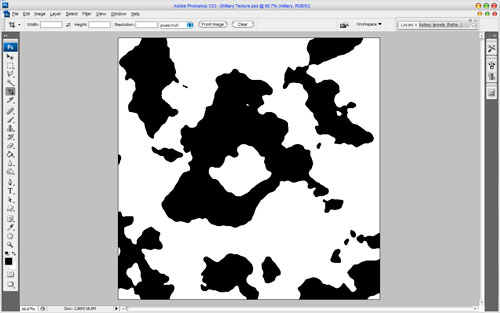
It doesn’t not look as real military pattern now. To make it more realistic apply Filter > Blur > Gaussian Blur using the next presets:
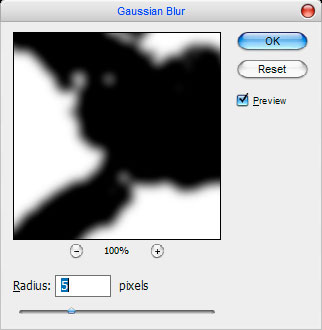
Your picture should look as mine:
After that go to Image > Adjustments >Threshold and set up the following presets:
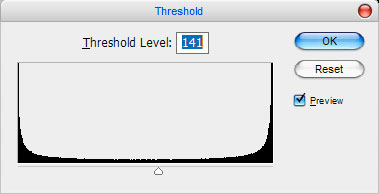
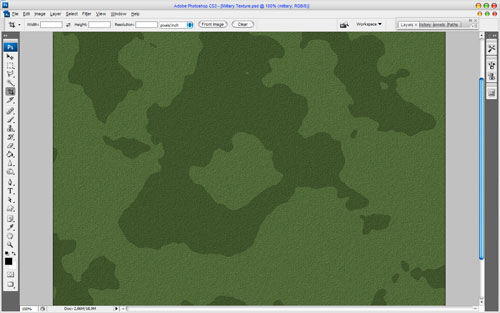
Now it looks better!
Mess with the layer mode & opacity/fill. I tried Multiply with opacity of 20%.
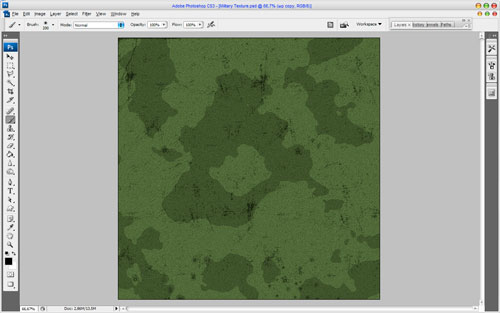
Time to add a little detail to the background. For this you can use Grunge brushes, which you can download from here. Use it on the new layer and set up layer opacity to 50%.
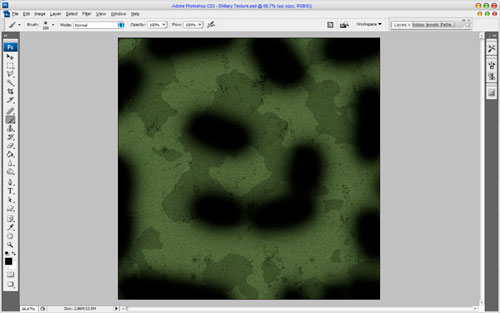
Now I want to make some dark places on the texture. For this create a new layer, then select Brush Tool (soft round brush with the size of 200 px) and make some black big spots on the canvas.
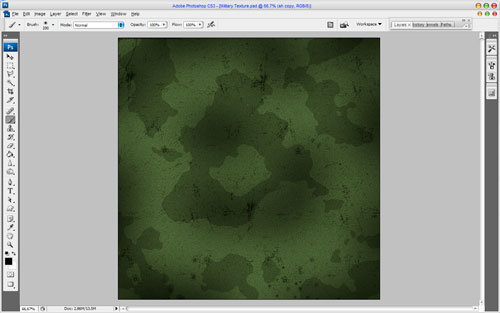
Then apply Filter > Blur > Gaussian Blur with presets as below:
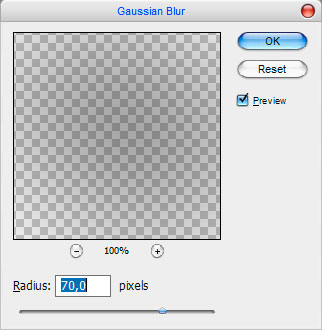
Set layer opacity to 70% up.
Well, we’re done for this tutorial! Our military style texture is ready!

