
This tutorial about how to create your own brushes and set up individual settings for it.
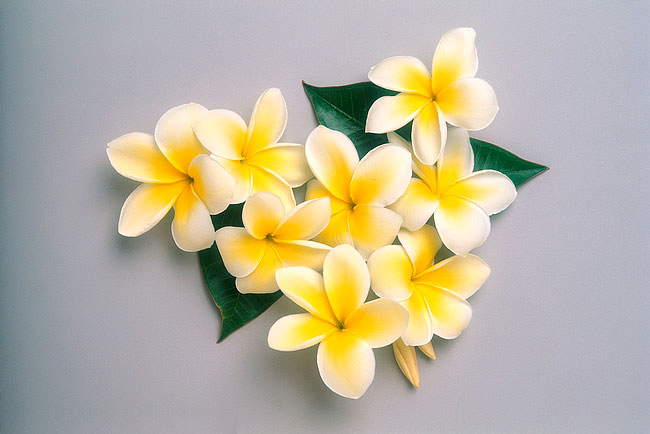
First of all, find some appropriate image to create the brush from it. I prefer to use this one. Actually, you can use different pictures for brushes if you want.
So, open the image and go to Image > Adjustments > Desaturate to make it black-and-white.
Then create a new brush with Edit > Define Brush Preset, enter the brush name, for example, Flower_1 and press Ok to save it, then it will show up in your brushes. Create a new document sized 1000×500 pixels with all the default settings, RGB, 72 dpi, white background etc (in the future for this tutorial we will create a couple of new documents with the same presets to demonstrate brush presets). Select the Brush Tool and find our created brush in brush palette:

So, your prints should look as mine:

It is simply method to create brush. Also we can make brush edges softer. For this go back to
Example.jpg and clear background with Eraser Tool. Now we have something like this:

Then go to Edit > Define Brush Preset again and save this brush as Flower_2. Create a new one document and make new brush prints:

Ok, now I would like to review more brush presets. Click the button ‘Toggle the Brushes palette’ on the Options Bar to open brush presets window or by choosing Window > Brushes. Here we can see a couple of presets. I would like to briefly review main of them.

Click the name of the action, such as Scattering, to reach the sliders to adjust it. After you’ve made the adjustments, use the check box to turn the effect on or off.

The result will be the next:

Don’t forget to add new brush to brush palette. Press the button selected on picture below then chose New Brush Preset.

Chose Texture action. Here you can set different parameters affecting the application of texture to brush prints. It is possible to use Photoshop textures or download your own.

Select a new one interesting action Dual Brush. In this action is possible to mix two different brushes.
Over the basis of a brush, installed in the main window palette and the second is configured in the window presets.

Select Color Dynamic action. If you use a graphics tablet and stylus, you can get the same sort of fade-out effect that you’d get in the real world by easing off the pressure on a brush or pencil. You have five options for each of these settings: Off, Fade, Pen Pressure, Pen Tilt, and Stylus Wheel. In this pane you can range color dynamic for the brush.

Also we can add some noise to the brush. You can see the difference on picture below:

Wet Edges creates a sort of watercolor effect when you paint.

Thank you all for reading this Photoshop tutorial, I hope you learned something!