
In this Photoshop tutorial I will introduce you to the wonderful world of blending modes.
Tutorial Details
- Program: Adobe Photoshop CS6 (CS3+ versions will work as well)
- Estimated Completion Time: 30 minutes
- Difficulty: Beginner
Resources
Intro to Blending Modes
So, what are blending modes? Well, when I first met them, they were this shady and scary part of Photoshop that seemed important somehow (because everyone was talking about it) but seemed too complex to learn. And boy was I wrong! Because blending modes are easy to learn once they’re properly explained and tremendously useful once you learn the ropes. And that’s why I am here, to make the process of learning blending modes as easy and painless as possible.
Before we delve into blending modes we have to understand another very important part of digital imaging: pixels. That’s because without pixels there would be no blending modes. How come? Let’s say that you open a photo in Photoshop. The photo is made of pixels. Pixels are little dots of different colors and they are the building bricks of the digital world. Wikipedia defines a pixel as “the smallest controllable element of a picture represented on the screen”. A regular 5×7 inch photo at 72 resolution – Web resolution – has 181440 pixels. Now imagine that each of those small pixels is formed by 3 smaller subpixels, each of them being able to display a single color: Red, Green and Blue. Each of these subpixels can have a value ranging from 0 to 255, 0 the minimum value and 255 being the maximum value. When the Green subpixel has a value of 255 it will emit green color at full intensity and when it has a value of 0 it will emit no color at all. The same goes for the Red and Blue subpixels.
Now let’s say that Green subpixel has a value of 255, Red subpixel has a value of 255 and Blue subpixel has a value of 0. What will be the color of the pixel? Let me answer that for you: the color of the pixel will be yellow. Why? Because in the additive mode (additive mode means that color is created by mixing light of two or more different colors hence the word additive) Red + Green = Yellow.
Interesting. Let’s go through a few more examples to be sure we understand this.
Let’s say that we have Blue subpixel at 255, Green subpixel at 255 and Red subpixel at 0. What will the color be? Again, I will answer that. The color will be Cyan. Hmm, it seems to be like a formula or something. Well, it is and once you memorize it, it will make things much easier in Photoshop. Here are the combinations:
Green + Blue = Cyan.
Blue + Red = Magenta.
Red + Green = Yellow.
Red + Green + Blue = White. (It makes sense because all the 3 base colors at full intensity will render a bright white light).
Lack of colors = Black. (This means that all subpixels will not emit any light – they will be at 0 intensity)
But what if we have the 3 subpixels at equal values? Let’s say that each subpixel will have a value of 30. This means that the color will be a very dark gray. If we start increasing the value of only one subpixel then the gray will start to shift towards that specific color emitted by the subpixel.
Step 1
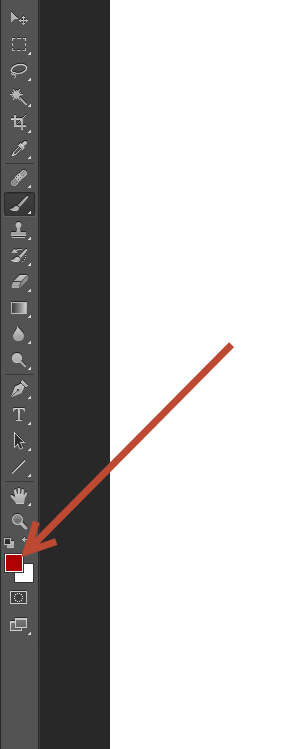
Well, enough talk, let’s start by testing some of this knowledge. Open Photoshop and double click on the little square indicating the foreground color in order to open the Color Picker window.
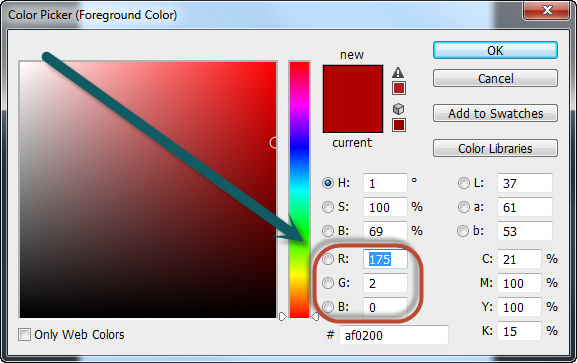
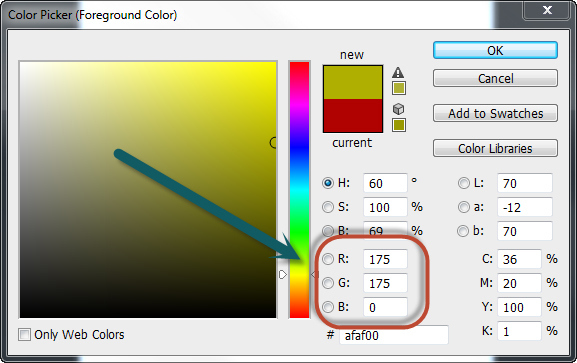
Notice the 3 text boxes where you can enter a value. R, G and B. Hmm, a little cryptic. Or not. R stand for Red, G for Green and B for blue. Sounds familiar, right? Notice how in my Color Picker window R (Red) has a value of 175, G (Green) has a value of 2 and B (Blue) has a value of 0. You will see in the upper box the red color. Now if you try and enter a 175 in the Green text box you will see how the color changes to a nice muted yellow. Go ahead and experiment with different values until you have a feel for how the colors work in Photoshop.
Step 2
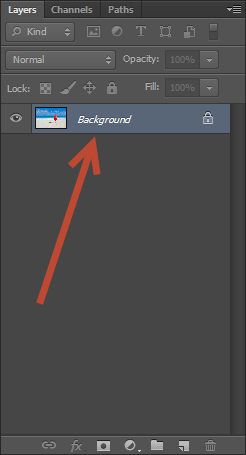
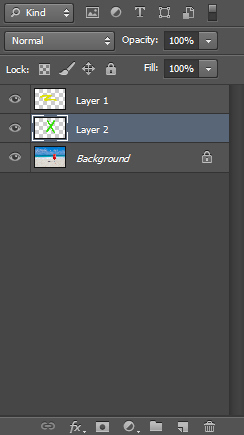
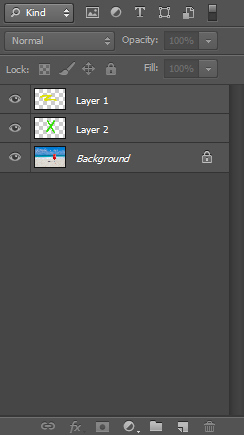
Ok, so now you know what pixels are. Let’s talk about another important part of Photoshop: layers. What are layers? Well, remember that I told you to open a photo? Take a look at the layers window (press F7 to open it). See where it says “Background”? That is a layer Photoshop automatically creates for every image we open. That layer is made up of pixels.
Step 3
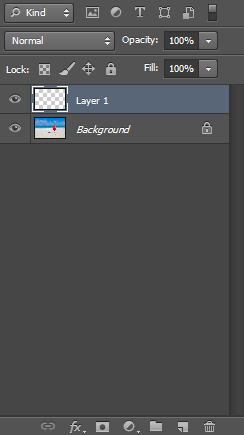
Now let’s make another layer. Press Ctrl + Shift + Alt + N and notice in the layer window that another layer has appeared and it’s named “Layer 1”. See that the little thumbnail shows some checkers? This means that the layer is transparent (has no pixels whatsoever).
Step 4
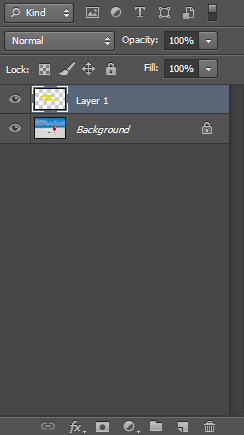
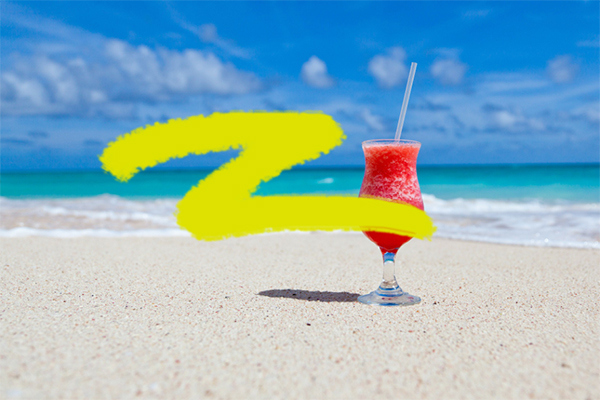
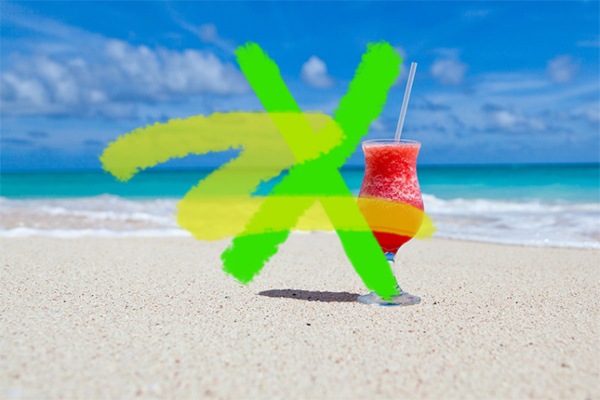
Open the Color Picker window and choose a yellow color. Pick the Brush Tool (B) and paint a couple of lines. Congratulations, you just created some pixels!
Step 5
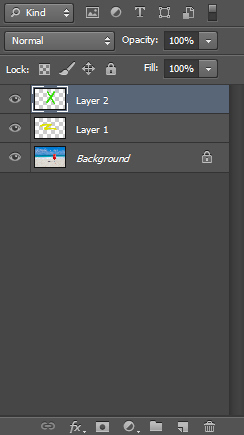
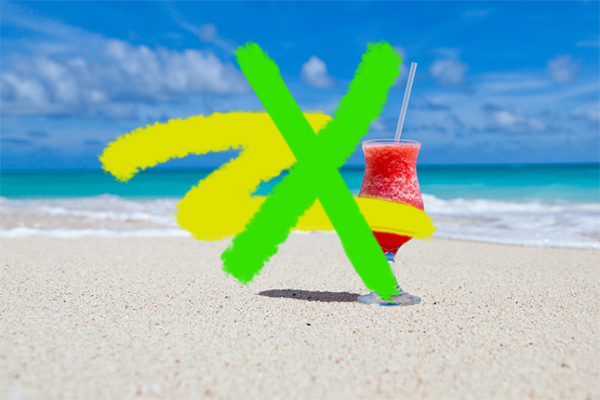
Now create yet another new layer by pressing Ctrl + Shift + Alt + N and paint with a green color on it. Note how the green color appears over the yellow color.
Step 6
Now try moving the layer with green painting below the layer with yellow painting (just drag the layer the “Layer 2” layer below the “Layer 1” layer with the mouse and drop). See how the layer with the yellow color (which is on top) covers the layer with the green color (which is below)? Now that’s an important thing to remember: pixels that are on the top layers cover pixels that are on the bottom layers. And when I say cover I mean that the pixels from the bottom layers are not visible at all if they are underneath the pixels from the top layers.
Step 7
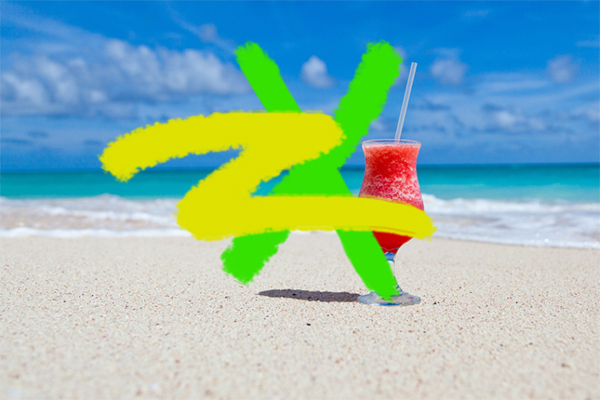
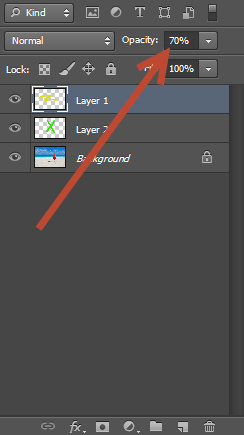
But there is a way we can change this behavior. Click on “Layer 1” once – it should be the topmost layer – and change its opacity to 70%. Note that although the yellow color is still visible we can see the pixels from underneath layers through it. The lower the opacity, the more visible the pixels from underneath layers will be.
Step 8
Let’s think about this opacity thing for a bit. How does it happen? Let’s say that a yellow pixel from the topmost layer – “Layer 1” In our case – has an R value of 225, a Green value of 225 and a Blue value of 0 (remember the formulas from step 1). Now let’s say that the pixel just below the yellow pixel (situated on “Layer 2”) has an R value of 0, a Green value of 225 and a Blue value of 0. Now in a normal situation Photoshop would simply render the yellow pixel with its original color thus covering the green pixel from underneath. But since we have lowered the opacity of the yellow pixel we are telling Photoshop that this is not a normal situation anymore and he should calculate and display a combined version of the upper (yellow) and lower (green) pixel based on the Opacity slider. The resulting pixel that is displayed on the screen is called a composite pixel. The calculation it’s based on a mathematical formula that you can look up on the Internet, but that’s not our main subject so we won’t go into detail. Instead I need you to understand this:
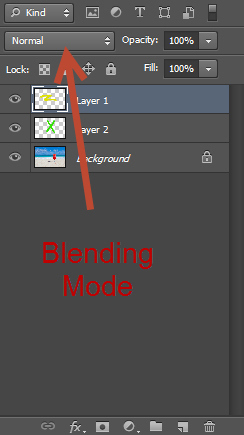
Layers are made from pixels. If we have layers on top of each other then we will have pixels on top of each other. Photoshop needs to calculate how to display the composite pixels on the screen based on certain settings each layer (and thus all its pixels) have – like Opacity. But there are more settings each layer can have, and one of those settings is …. you guessed: blending mode.
Step 9
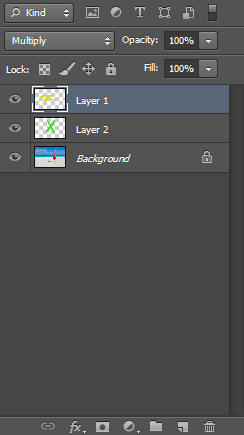
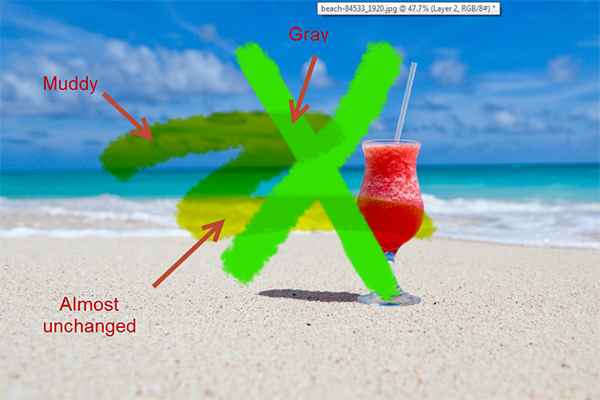
Now change the blending mode of the topmost layer (“Layer 1”) to Multiply and boost the Opacity back to 100%. Note how the yellow bright color has turned into a muddy one where it’s sitting over the blue, a gray one where it’s sitting over the green and it remained almost the same where it’s sitting over the white. Why? Because we just changed a layer setting and forced Photoshop to change its formula for calculating the composite pixels. If we change the blending mode of the top layer to Overlay, then Photoshop has to recalculate the composite pixels based on a new mathematical formula.
Let’s resume:
Each layer is made of pixels. Layers – and thus pixels – sit on top of each other. The pixels displayed on the screen are called the composite pixels. They are calculated based on different settings each of the layers has (amongst those settings there’s Opacity, Fill, Blending Modes, etc.) and calculated using special mathematical formulas.
Step 10
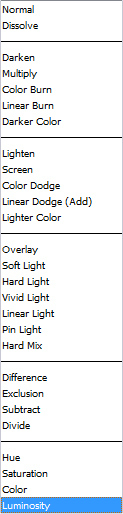
Blending modes are grouped logically into groups based on their effects:
Basic: Normal, Dissolve, Behind, Clear.
Darken: Darken, Multiply, Color Burn, Linear Burn, Darker Color.
Lighten: Lighten, Screen, Color Dodge, Linear Dodge, Lighter Color.
Contrast: Overlay, Soft Light, Hard Light, Vivid Light, Linear Light, Pin Light, Hard Mix.
Comparative: Difference, Exclusion, Subtract, Divide
Component: Hue, Saturation, Color, Luminosity.
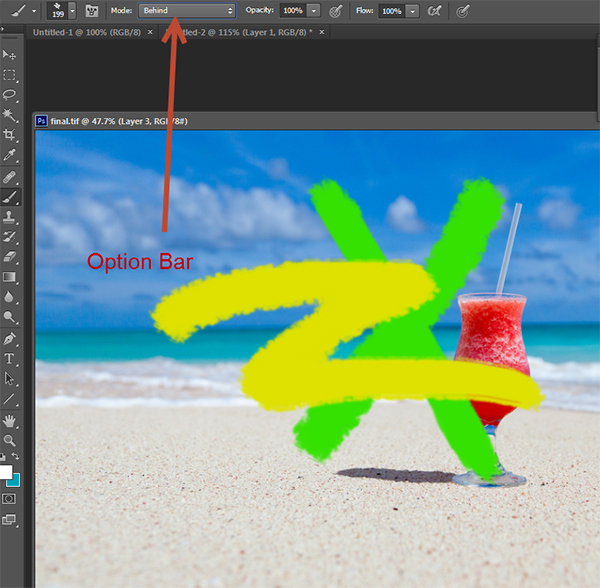
But blending modes are not available only for layers. They are also available for certain tools and you can change the blending mode of that tool by going to the Options Bar (the most upper bar).
Step 11
Normal is the default blending mode. In this layer mode pixels on the top layers cover the pixels on the bottom layer completely (unless the top layer has a low Opacity).
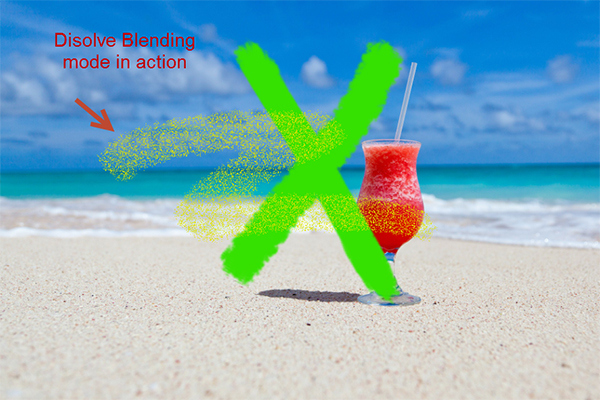
Dissolve is a peculiar blending mode for which there is not much use. If you change the blending mode of “Layer 1” to Dissolve notice how nothing happens. But if you lower the Opacity, you can see pixels disappearing randomly from “Layer 1”. The lower the Opacity, the more yellow pixels disappear, leaving us with something resembling a yellow spray.
Behind is a blending mode that is available only for Brush, Gradient and Clone Stamp. If you have one of these tools selected and you change the blending mode in the Options bar to Behind then every pixel you paint with that tool will be behind the pixels that are already visible on that layer.
Clear is available for the Brush tool and can be selected in the Options bar. When selected the Brush tool acts as the Eraser tool and deletes pixels on the layer we are painting on.
Conclusion
This is a complex subject for beginners and I have tried to explain it as best as I could. If you think you missed something then read this article again or open Photoshop Help (F1) and read about blending modes there too so you can have a broader perspective.