In this tutorial I’d like to share with you one very interesting method of stylization and Create a Forest Fairy Using Artistic Photo Processing. We are going to create a forest fairy from an ordinary photo of a girl.
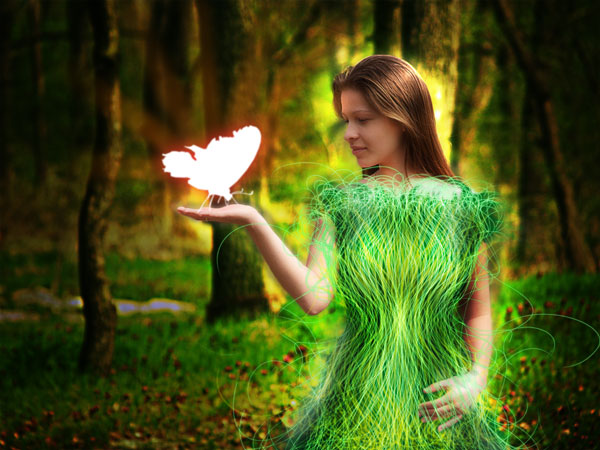
Final Image
Resources
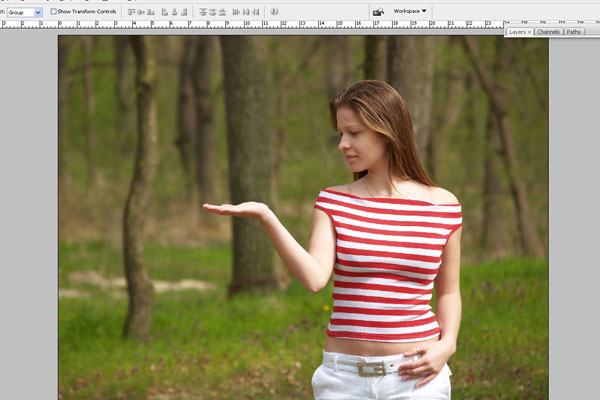
Step 1
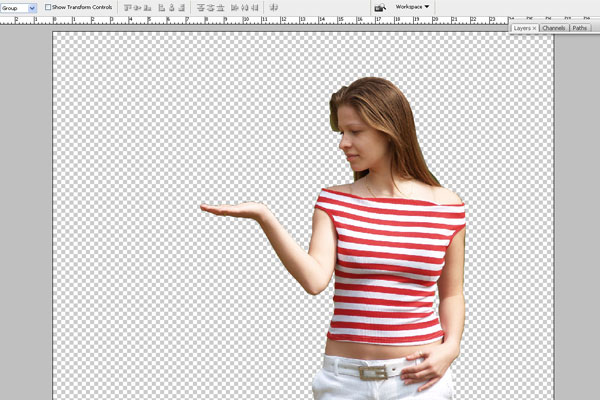
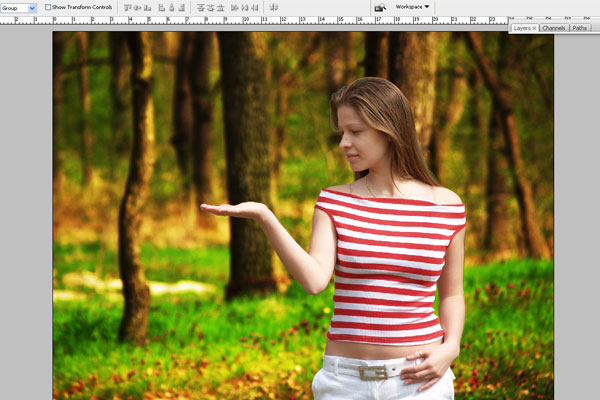
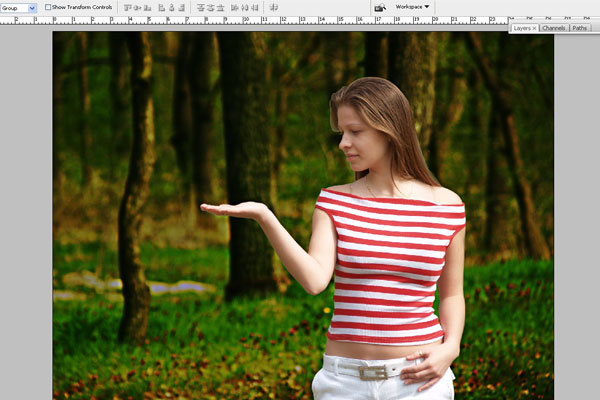
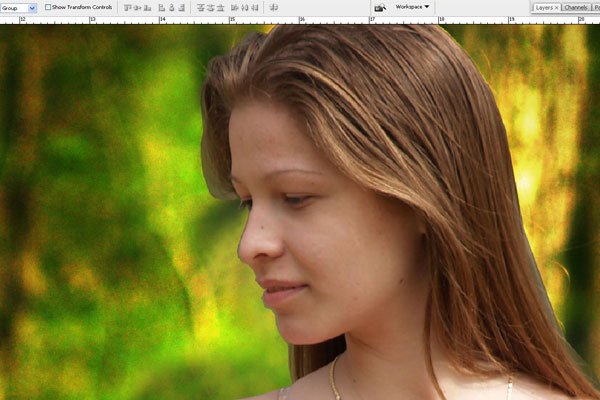
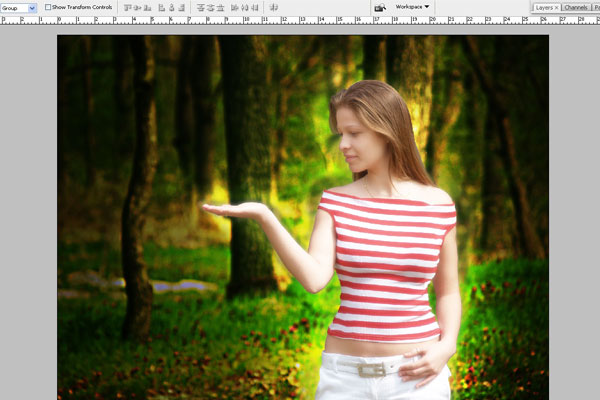
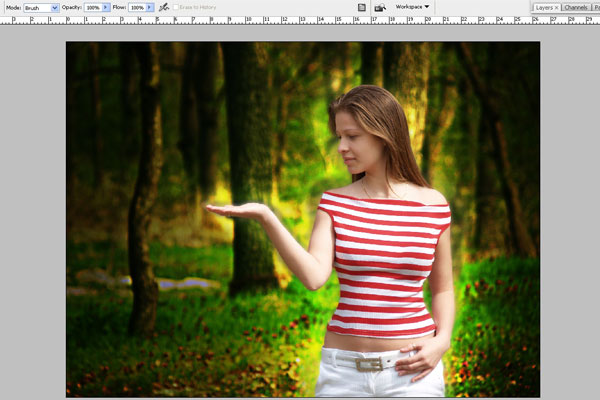
Open photo in Photoshop.
With the Polygonal Lasso Tool make a selection of the girl.
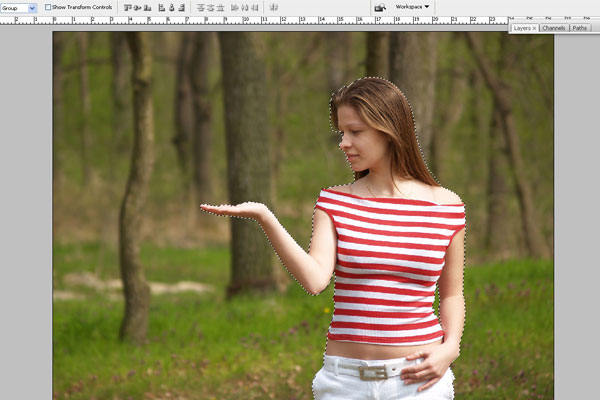
Copy the selection to a new layer by pressing Ctrl+J.
Step 2
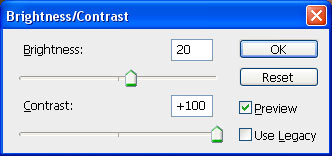
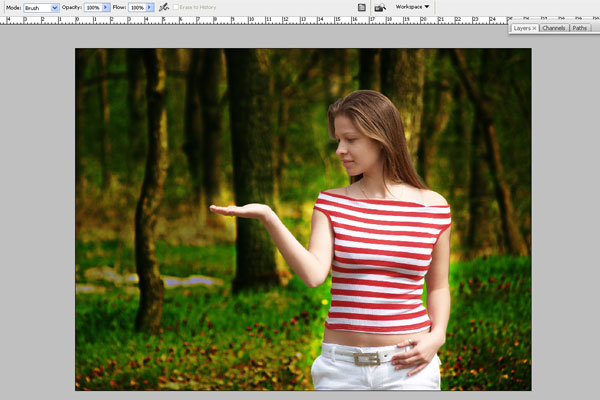
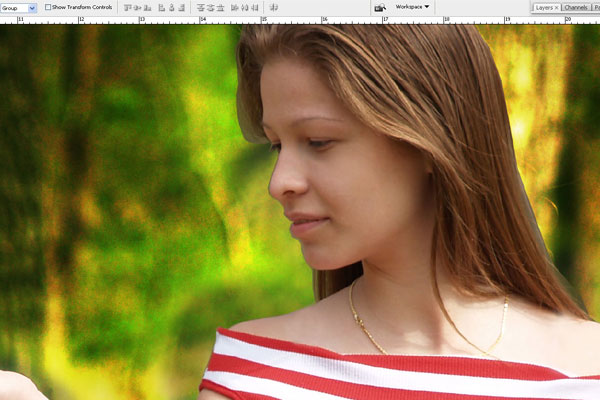
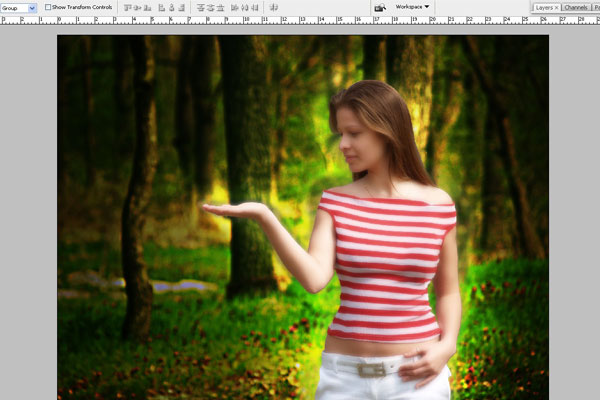
Let’s work on the background first. For this purpose select the layer with the original photo and work with it only, the layer with the girl should be over the layer with the photo. Apply to the layer Image > Adjustments > Brightness/Contrast with the following settings (double-click layer if it’s still set as the background layer to convert it to a regular layer):
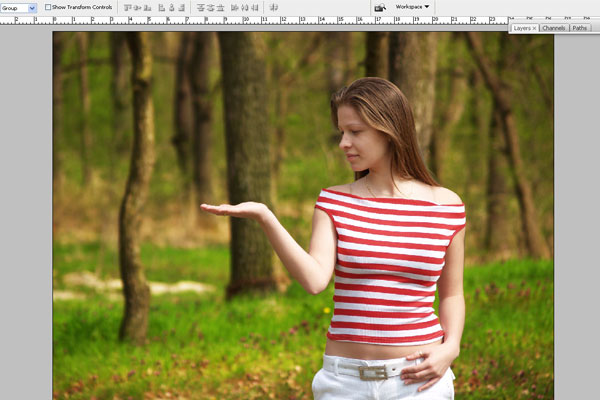
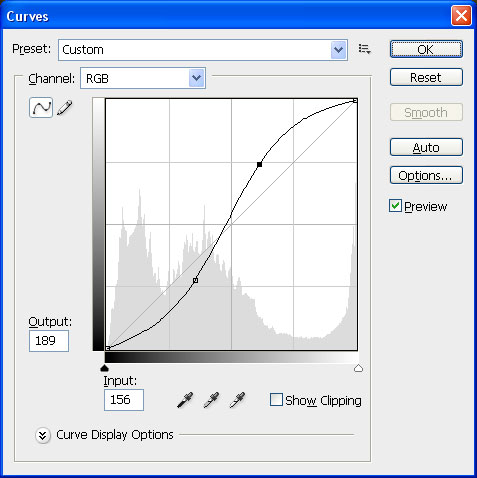
Apply Image > Adjustments > Curves.
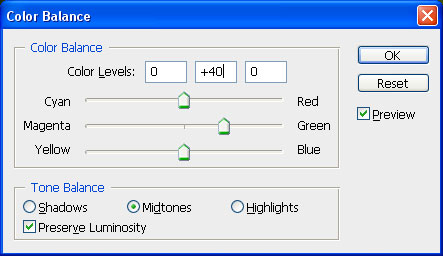
Finally apply Image > Adjustments > Color balance to add a little green.

Step 3
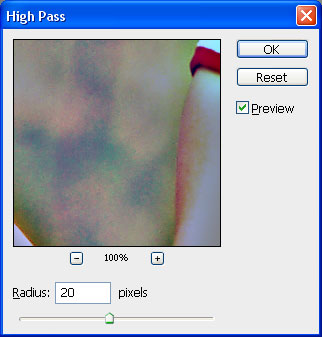
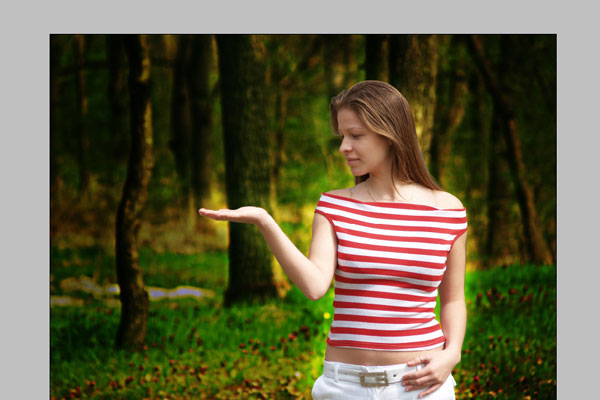
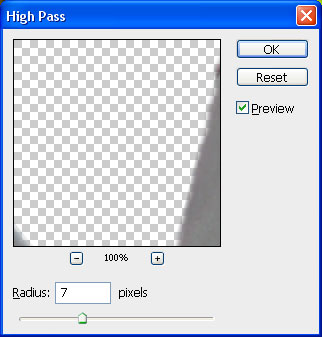
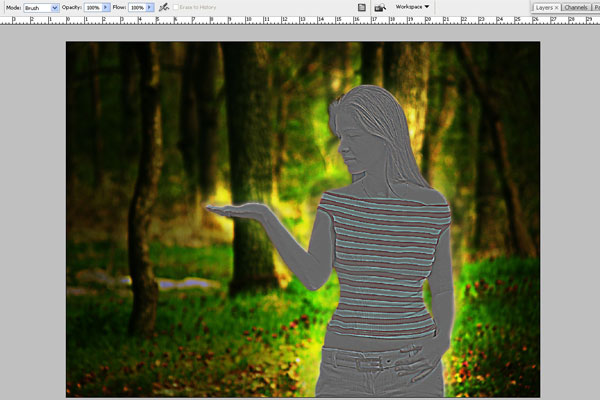
Let’s give the background more contrast and sharpen it. For this purpose duplicate the layer with the photo and apply Filter > Other > High Pass to the copied layer.
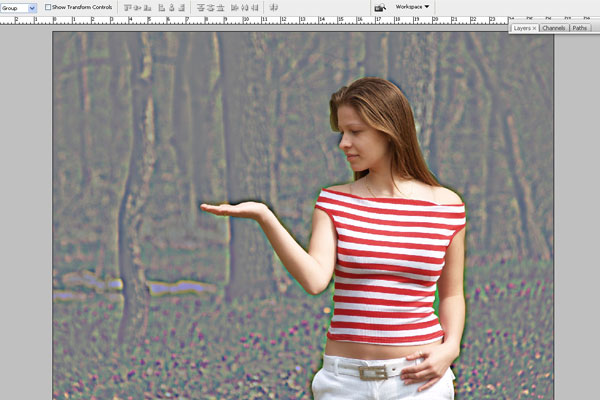
Set the layer mode to Multiply.
Select the Eraser Tool (Opacity: 70%) with soft-edged brush and erase this layer along the shape and contour of the girl – this will create the shining effect.
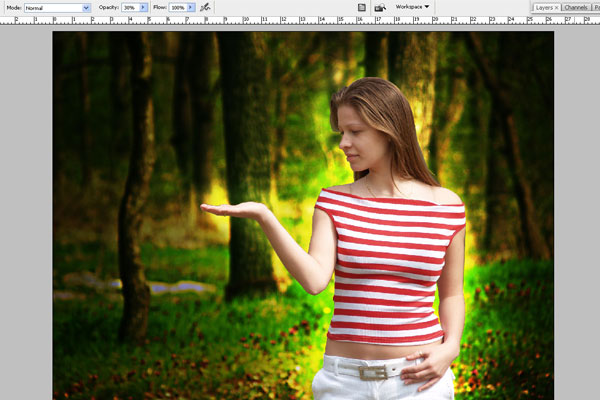
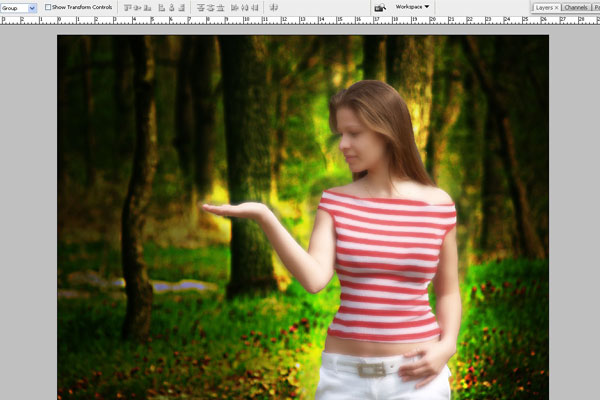
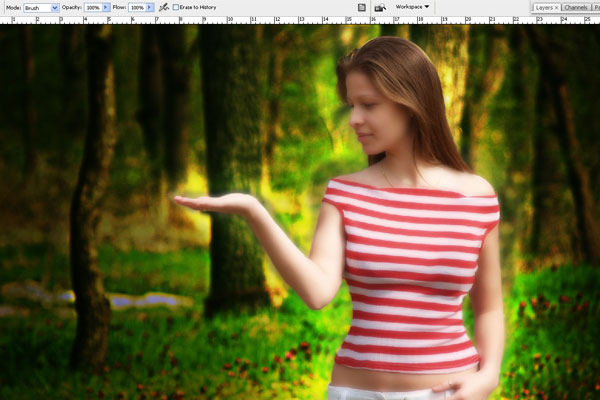
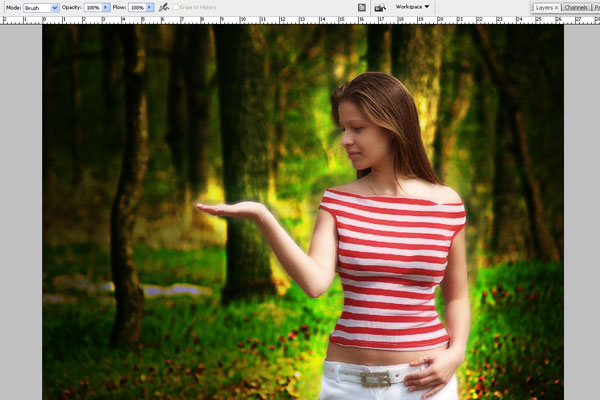
Let’s increase the shine around the girl. Create a new layer, place it over the background and below the layer with the girl that should be still above all the layers. Set Overlay blending mode for the created layer. Select a soft-edged brush, Opacity 30%, black color (#000000) and using the Brush Tool darken the edges on the new layer.
Change the foreground color to white (#ffffff) and dodge the background beyond the girl.
Step 4
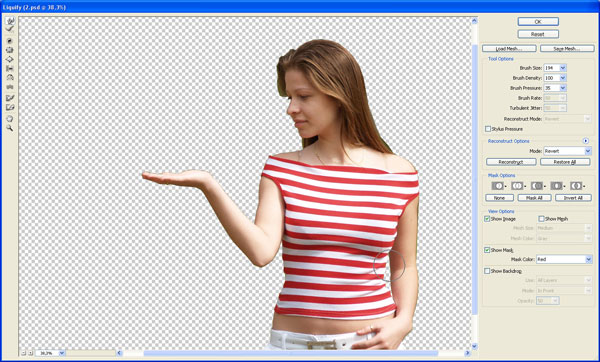
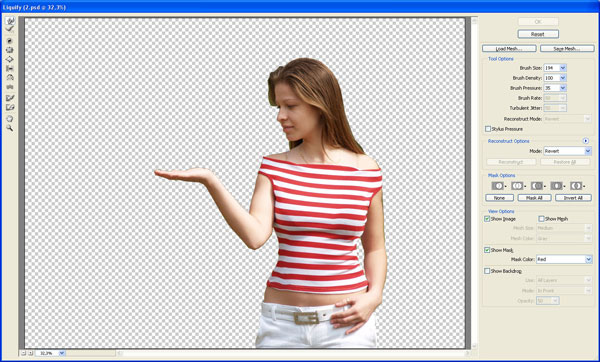
Let’s create the fairy now. To start select the girl layer. We are going to correct the contours of the girl a little by going to Filter > Liquify.
Brush Size: 194; Brush Density: 100; Brush Pressure: 35; Mode: Revert
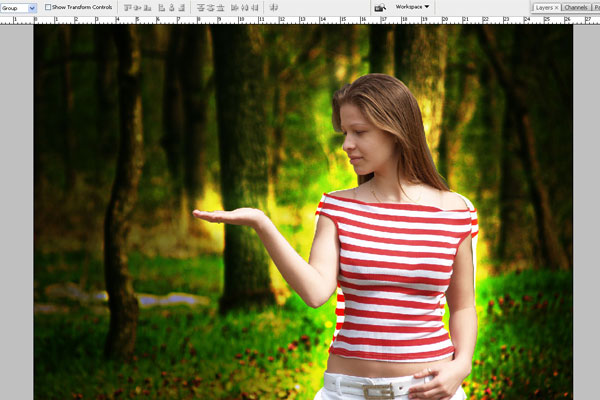
As we’ve corrected only the layer with the girl, the contours of the girl have remained the same on the layer with the photo, so it’s worth using the Clone Stamp Tool to correct the image. To begin with, create a new layer and place it under the layer with the girl. Then select the Clone Stamp Tool in Sample parameter, select All Layers tab and correct the image on the created layer.
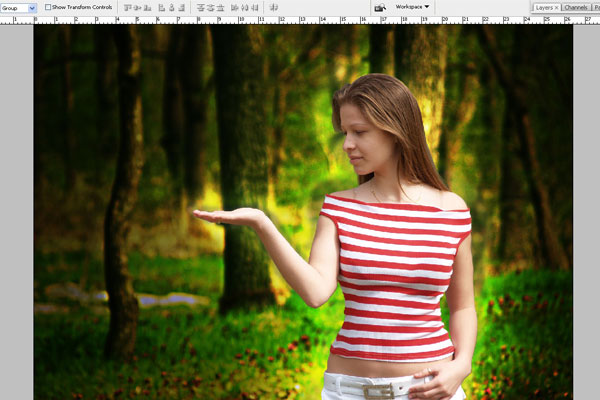
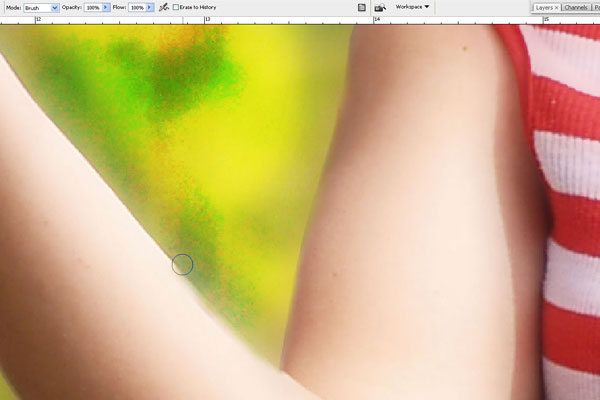
Now let’s correct the skin a bit and remove the shoulder straps from the shoulders.
Use the Healing Brush Tool for this purpose.
After moderate correction copy the layer with the girl and apply Filter > Blur > Gaussian Blur to the copied layer.
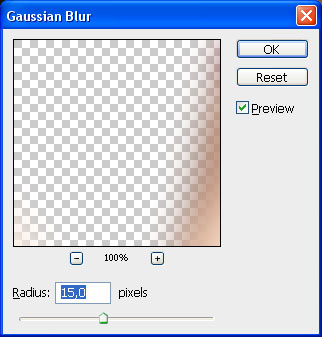

Change Opacity of this layer to 60%.
Then change layer mode to Screen for this layer.
Duplicate this layer and change the blending mode of the copied layer to Multiply.
Now we return to layer with the girl again (not to the blurred layer). Select a soft-edged brush with a small diameter and using the Eraser Tool erase the contour, due to this the contour of the girl will be a bit blurred, it will give the impression of a fairy tale.
Duplicate the layer with the girl (the one, that wasn’t blurred) and place it above all the layers.
Apply Filter > Other > High Pass to this layer.

Apply Image > Adjustments > Brightness/Contrast with next presets:

Set Soft Light blending mode to this layer.
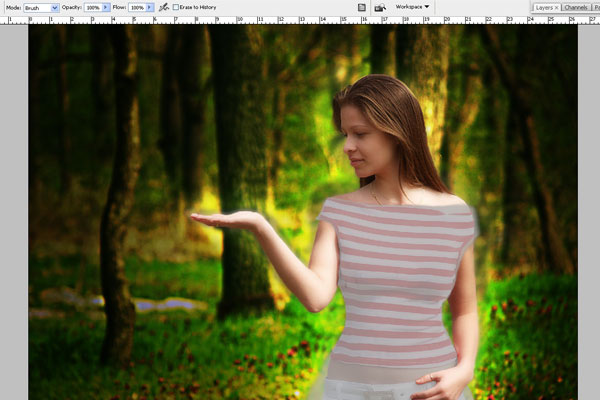
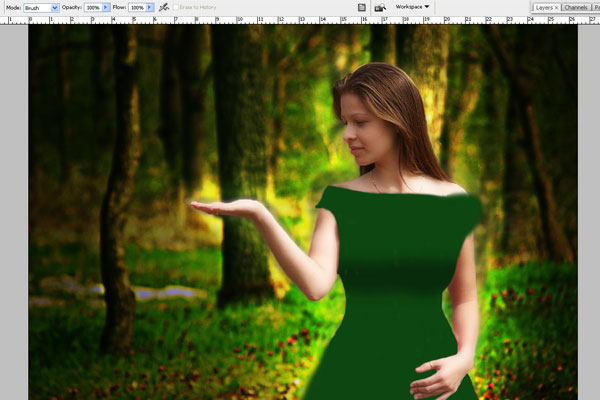
Step 5
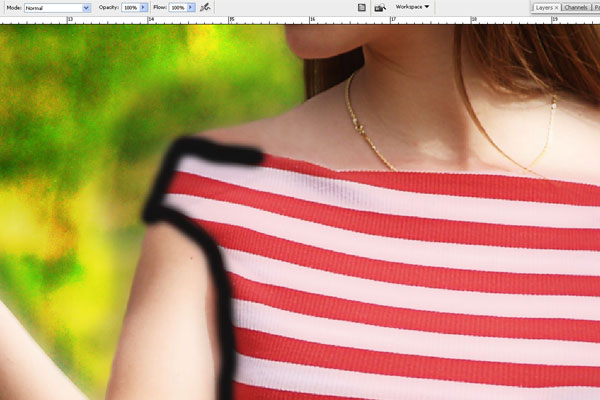
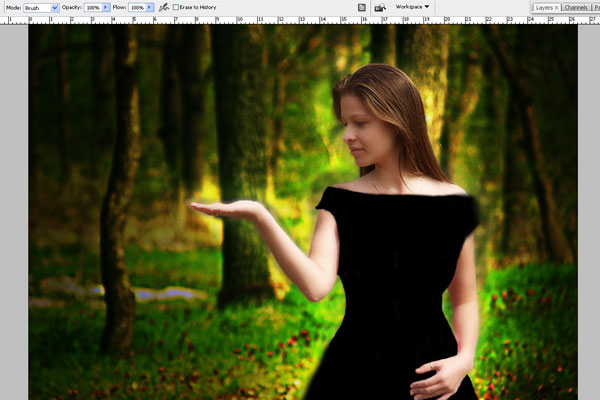
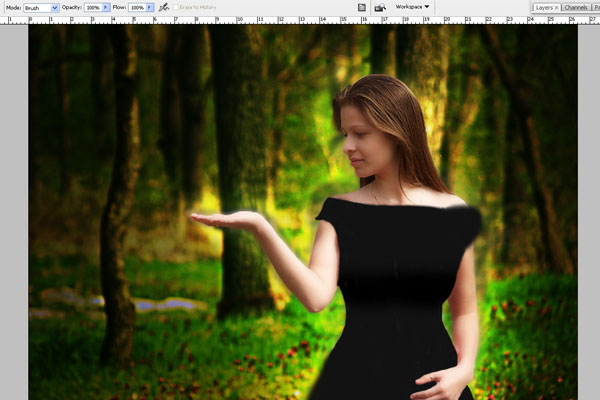
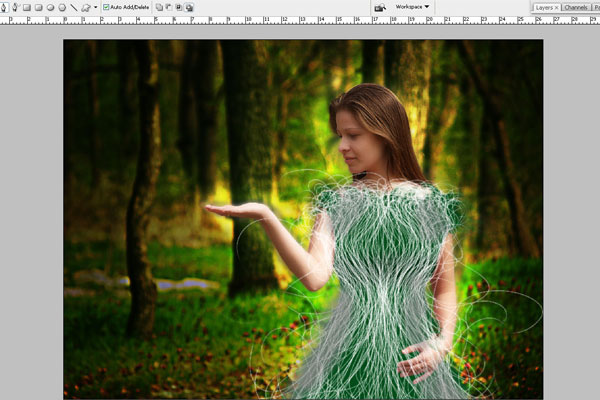
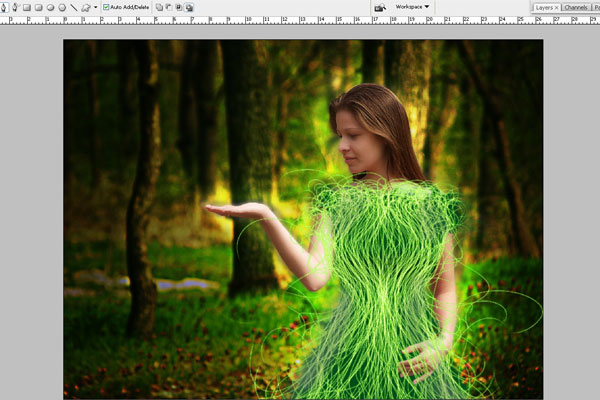
Create a new layer on top, select a soft-edged brush, black color (#000000) and just paint out the clothes of the girl, making it dress-shaped.
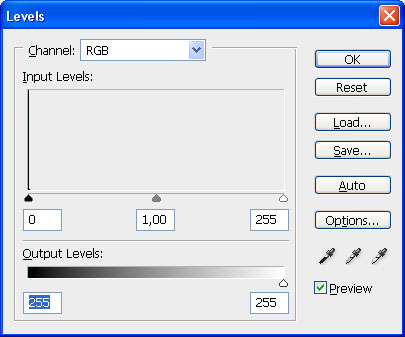
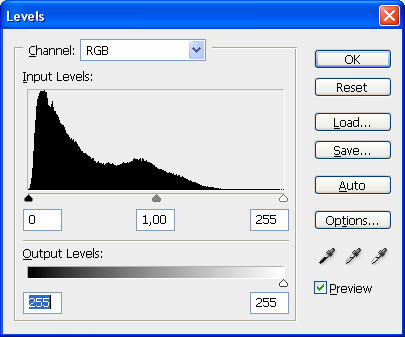
Duplicate the layer with the dress and apply Image > Adjustments > Levels to the copied layer.
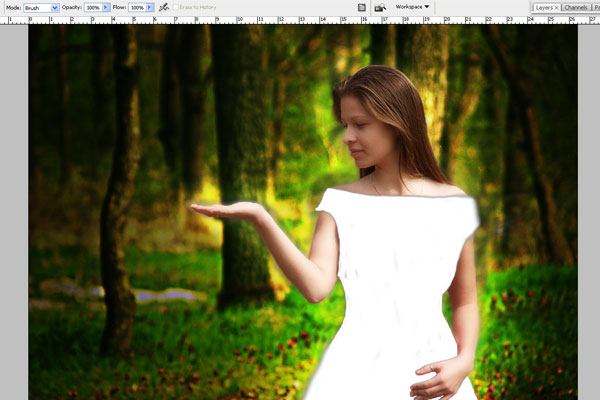
Reduce opacity of both layers with the dress to 50%.
Select the Eraser Tool and use it on the layer with the white dress to clean the chest area.
Increase the opacity of the layer with the black dress up to 100%, set the opacity of the layer with white dress to 10% and merge down the two layers.
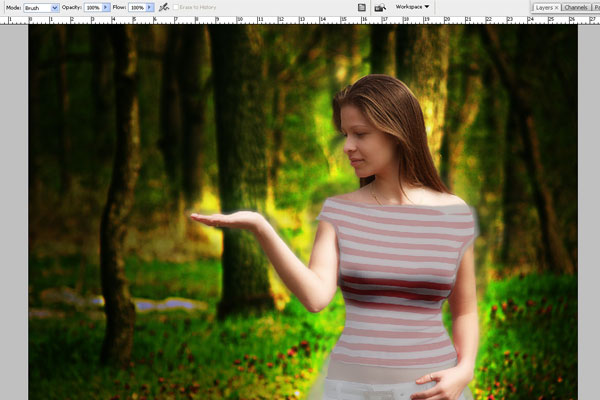
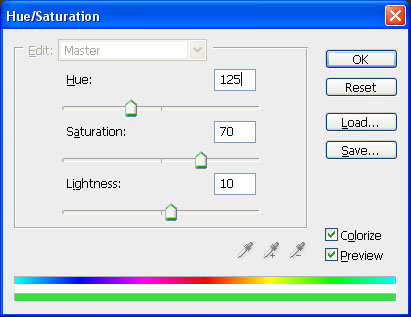
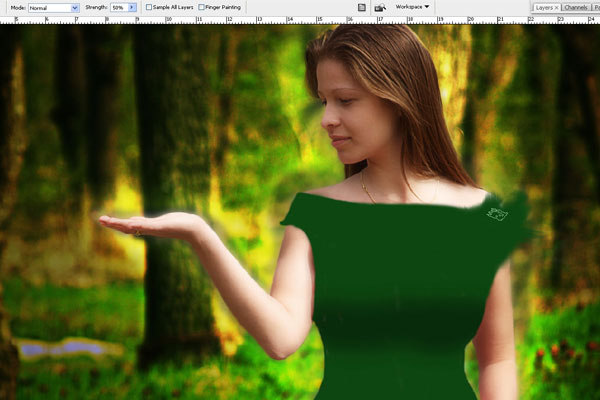
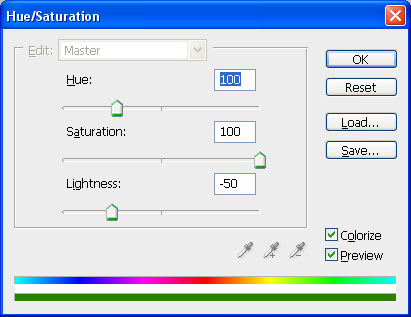
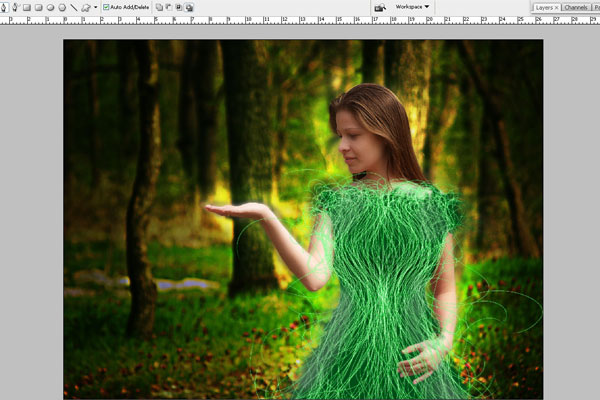
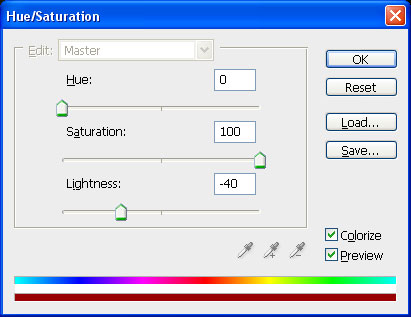
Now we change the color of the dress using Image > Adjustments > Hue/Saturation.
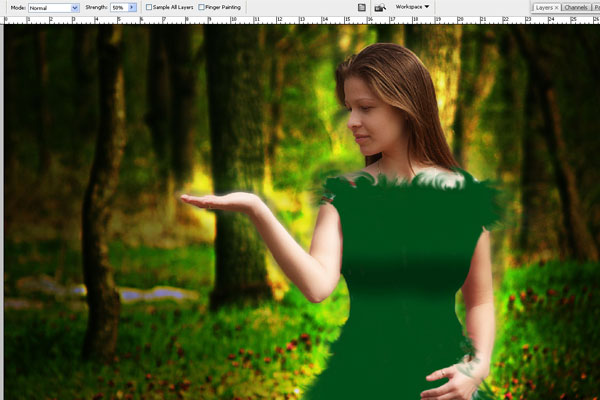
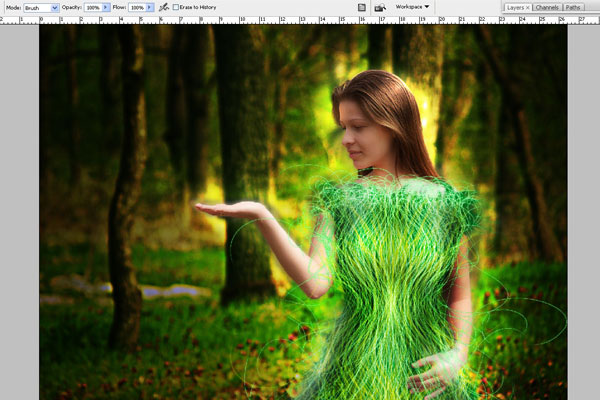
Select a Chalk brush and using the Smudge Tool (Strength: 50%) process the contours of the dress.
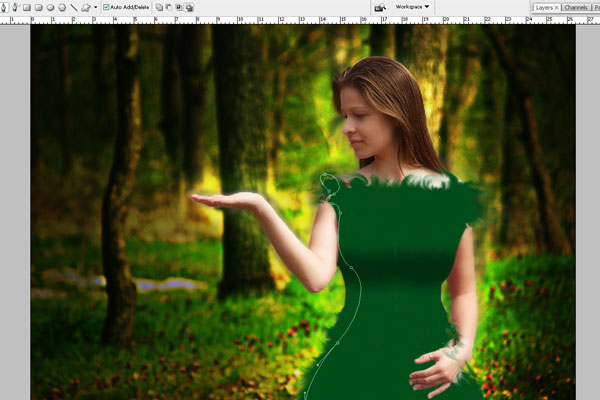
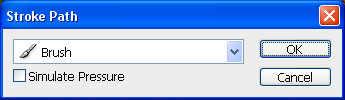
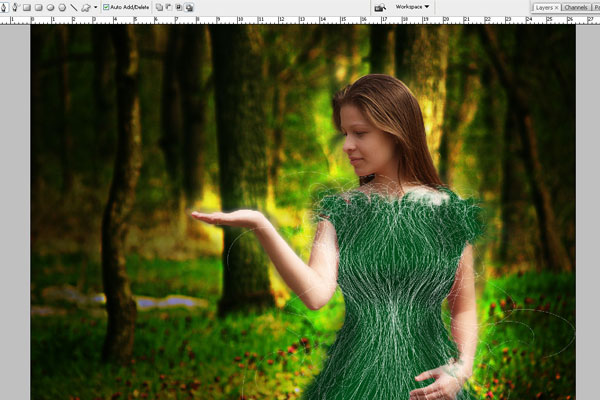
Create a new layer, select the brush again, 1px in diameter, white color (#ffffff), then using the Pen Tool (Paths mode), create a curve, taking into account the breast line, the curve should repeat the shape of the body a little.
A little dialog box will appear as in the screenshot. Choose Brush as a source in the dropdown menu.
Next right click again and select Delete Path.

Other curves are created using the same principle. To increase their amount, curves can be copied, transformed etc.
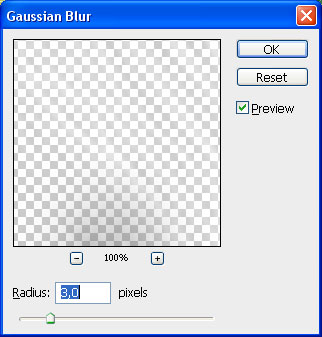
Copy the current layer with curves and put the copied layer under the original. Then apply Filter > Blur > Gaussian Blur to it.
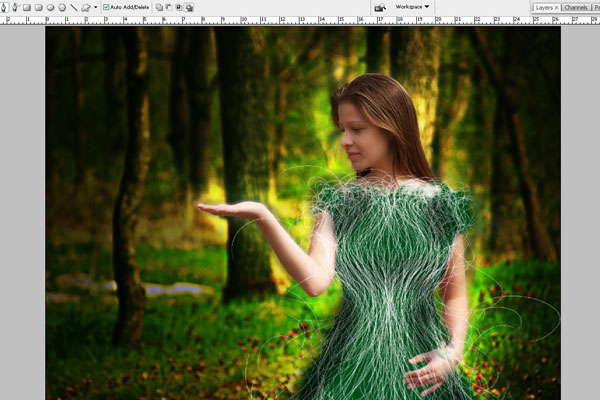
Set the opacity of the layer with blur-free curves to 60%.
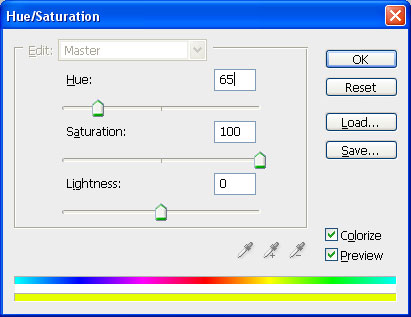
Apply Image > Adjustments > Hue/Saturation to the layer with blurred curves.
Copy the layer with blurred curves and apply Image > Adjustments > Hue/Saturation to the copied layer.
Apply Edit > Transform > Flip Vertical to this layer.

Now select a soft-edged brush, and correct this layer a bit by using the Eraser Tool.

Create a new layer, assign Overlay blending mode to it, select a soft-edged brush and using the Brush Tool darken the waist area to emphasize it, dodge in the chest area, also darken the hair and dodge the highlight on the hair, use black to darken (#000000), and white to dodge (#ffffff).
Step 6
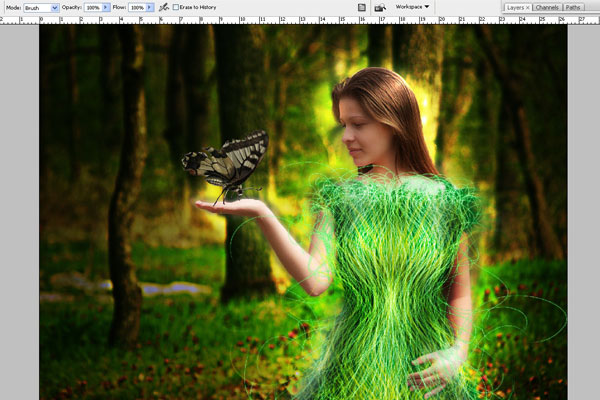
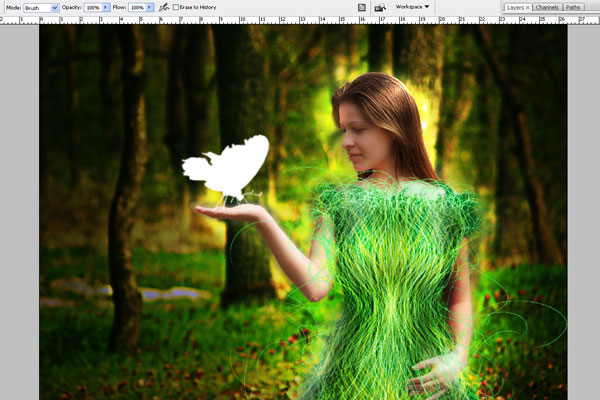
Open the Butterfly photo. Cut out the butterfly by using the Polygonal Lasso Tool, scale it down with Edit > Transform > Scale and paste it on girl canvas.
Apply Image > Adjustments > Levels to the layer with the butterfly.

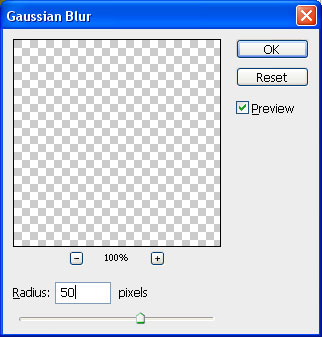
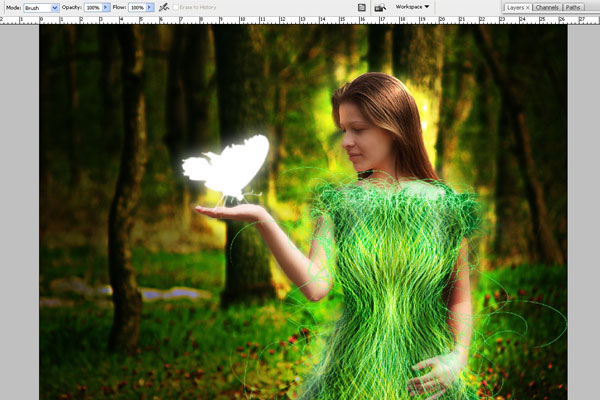
After that apply Filter > Blur > Gaussian Blur with similar settings to these:

Copy the layer with the butterfly, lower the copied layer by one position and apply Filter > Blur > Gaussian Blur.
Also apply Image > Adjustments > Hue/Saturation to this layer.

Create a new layer, lower it by two positions (the layer should be under the layer with the butterfly and under the layer with the glow around the butterfly) and using the Brush Tool create lines, the brush should be soft-edged, color #fc6d05.
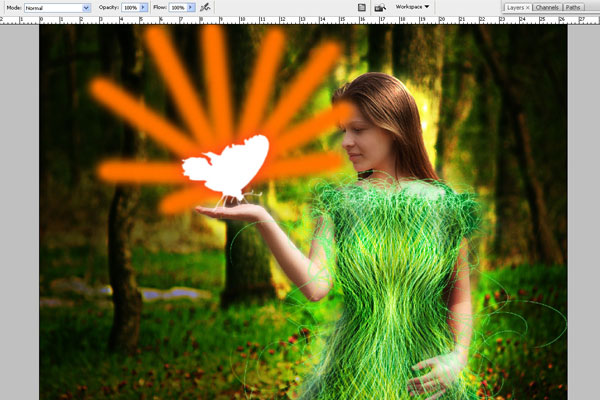
Then using the Eraser Tool erase the edges of the rays.
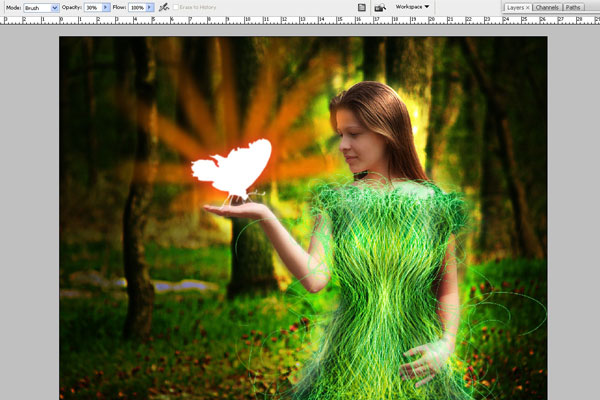
Finally assign Lighten blending mode to this layer and set the Opacity to 45%.
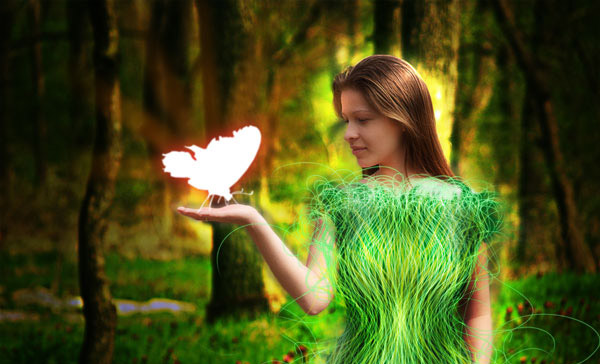
Final Image
Here is how your final result should look.