In this tutorial we will add some light rays to a photo in Photoshop.
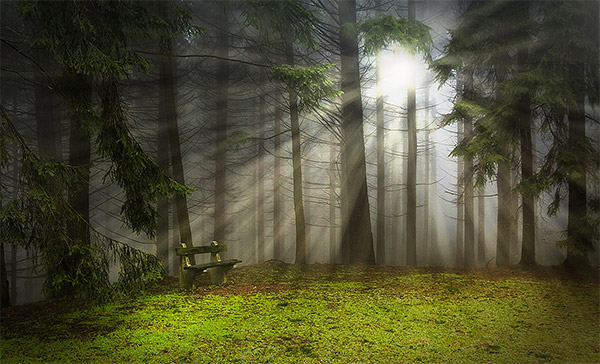
Final Image
As always, this is the final image that we’ll be creating:
Tutorial Details
- Program: Adobe Photoshop CS3
- Estimated Completion Time: 40 minutes
- Difficulty: Beginner-Intermediate
Resources
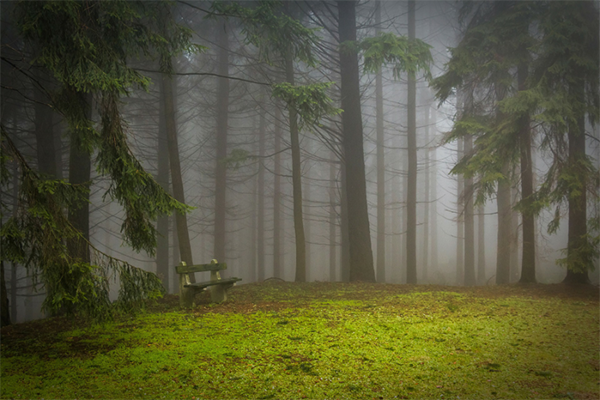
Step 1
Open the file “Forest”. This will be our base on which we will create a nice light ray effect.
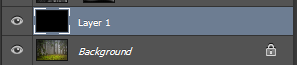
Step 2
In order to create light rays we need something to work with, some sort of random black and white image. In order to do that let’s start by creating a new layer (Ctrl + Shift + Alt +N). Fill this layer with black (by pressing D and after that Alt + Backspace).
Step 3
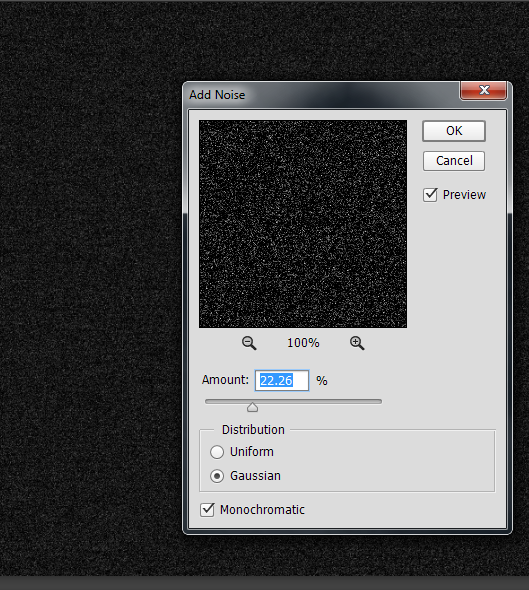
Add some random noise to this layer by going to Filter > Noise > Add Noise and use the settings shown below.
Step 4
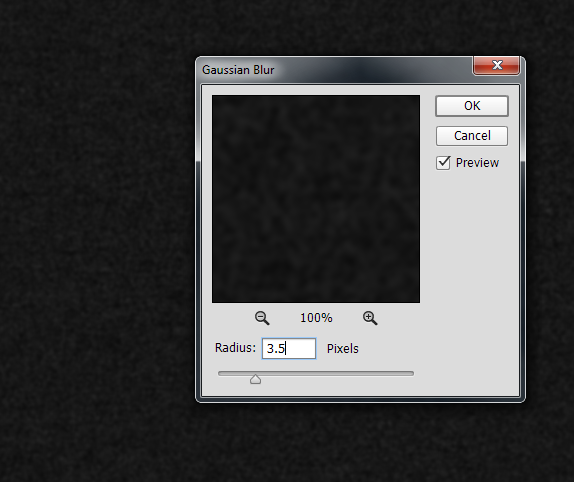
Let’s apply some Gaussian Blur to this noise layer. Go to Filter > Blur > Gaussian Blur and use the settings shown below.
Step 5
Let’s increase the contrast in our blurred noise layer. In order to do that apply a Curves Adjustment Layer to our blurred noise layer by going to Image > Adjustments > Curves and dragging the right and left slider towards the middle as shown in the image below.

Step 6
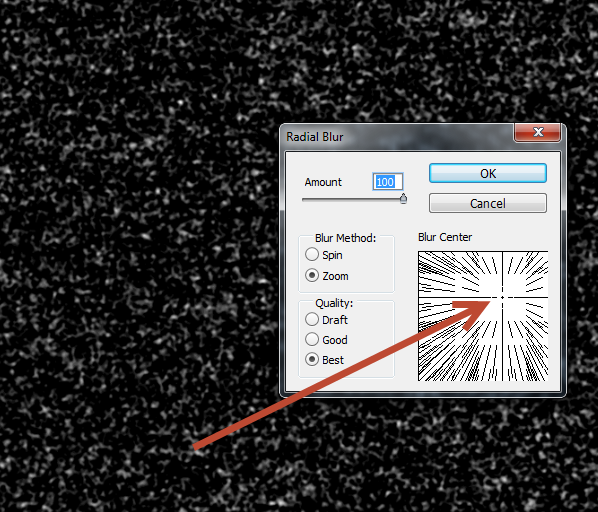
Now let’s create the actual rays of light. Go to Filter > Blur > Radial Blur and apply Zoom blur (100 Amount and Best Quality).
Drag the cross in the small right screen to the upper right section of the image.
Step 7
Now that we have our black and white rays of light let’s apply them to our forest scene. In order to get rid of the black color change the blending mode of the light rays layer to Soft Light. You will notice that the black colors have disappeared leaving use with the light rays only.

Step 8
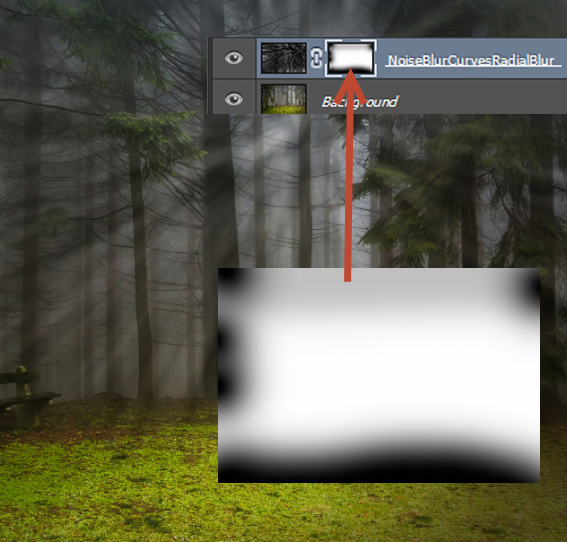
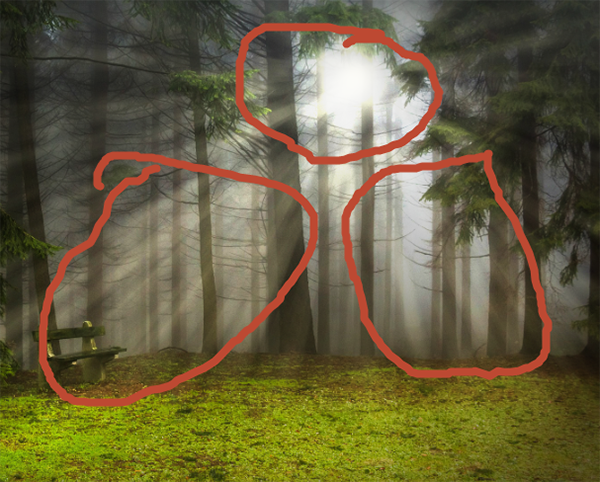
The light ray effect is too strong around the edges so let’s correct that. Add a layer mask to the light ray layer (Layer > Layer Mask > Reveall All) and paint with a black brush inside the layer mask around the edges to hide that area of the light rays.
Step 9
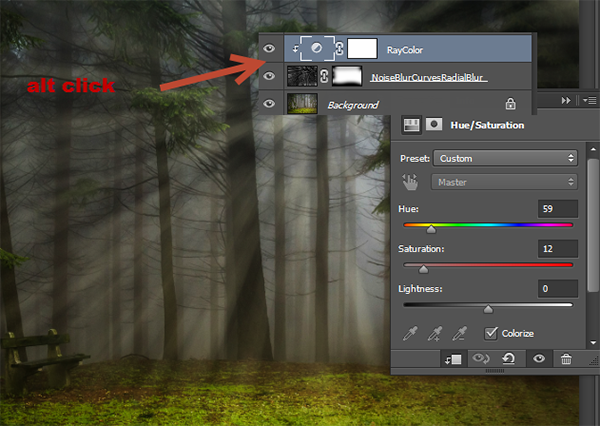
Now that we have some cool light rays let’s change their color to a more sunnier shade. Create a Hue/Saturation Adjustment Layer (Layer > New Adjustment Layer > Hue/Saturation) and drag the Hue slider to 59 and the Saturation slider to 12. Once you’re done adjusting the settings of the Hue/Saturation Adjustment Layer clip this layer to the light ray layer below (in order to clip a layer to another Alt-click between the two layers in the layer palette – this will limit the effects of the upper layer to the pixels of the second layer which in our case is the light rays layer).
Step 10
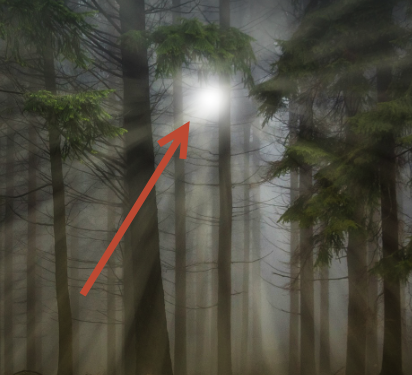
Select the standard round soft brush and with paint with white a little sun emerging from the trees at the origin of the light rays like shown in the image below. Keep the sun small – it’s not a supernova.
Step 11
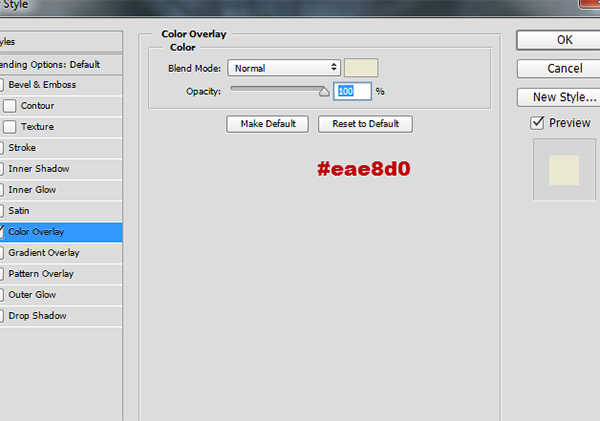
Double click the sun layer to open the Blending Options window and add a Color Overlay effect like shown in the image below. I used a very subtle yellow color but you can use a more intense color if you like.
Step 12
Our image is somewhat bland so let’s add some intensity to it. Create a new layer and change the blending mode to Overlay. Select the standard round soft brush and change the Opacity of the brush to 20%. Paint with white over the sun and some of the light rays to boost their luminosity.
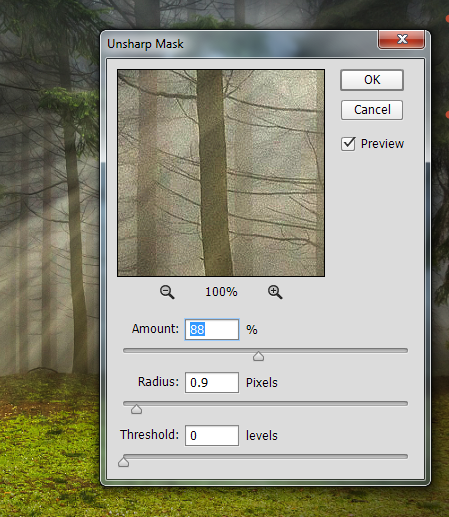
Step 13
The image looks good already but let’s improve it a bit more. Create a new layer from all the visible layers (Ctrl + Shift + Alt + E) and apply a sharpen effect by going to Filter > Sharpen > Unsharp Mask and using the settings shown below. Our image should look nice and crisp now.
And We’re Done!