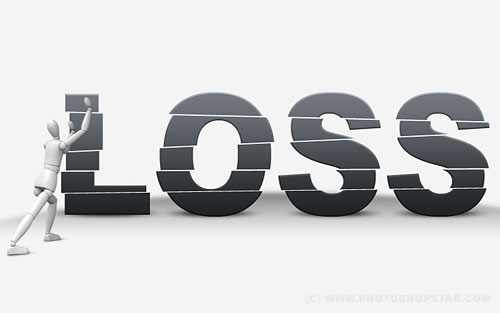
In this Photoshop tutorial I would like to show you creative way how to displace the text and get an interesting effect on it.
To start create a new document sized 1000×500 pixels and fill it with color of #f4f4f4.
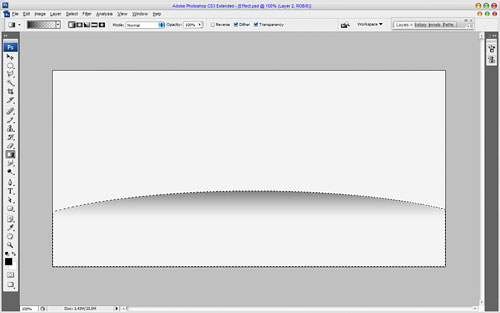
After that add some dark line to divide the floor from the wall. Get out the Elliptical Marquee Tool and create selection as shown on the picture which you can see below. Then fill this selected area with black to transparent gradient.
Remove selection with Ctrl+D and apply Filter > Blur > Gaussian Blur with similar settings to these:
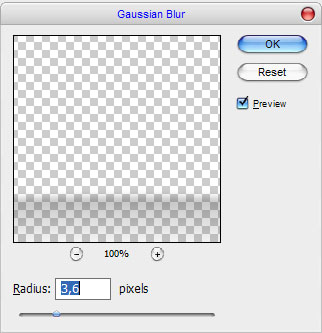
The result should look like this:
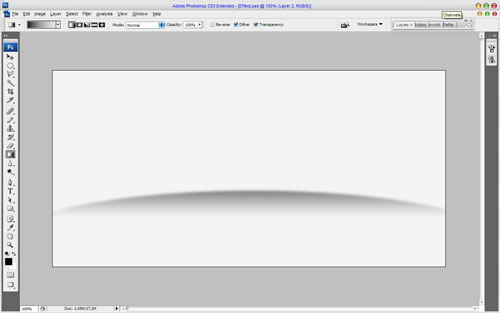
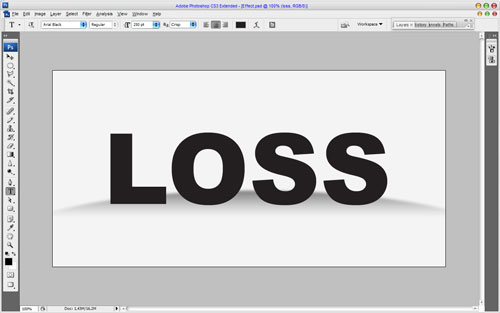
Move to the next step. Select Horizontal Type Tool to write out the text on the middle of canvas on whish we will demonstrate displaced effect.
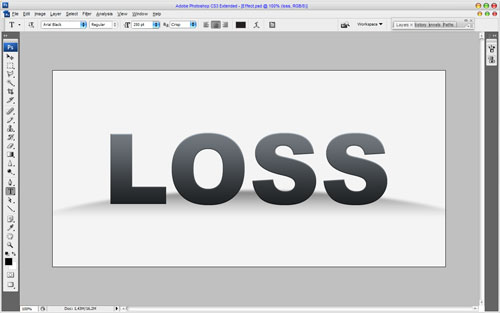
In the above image I’ve used Arial Black (250 pt, Crisp) as my font of choice. Then apply Bevel and Emboss and Gradient Overlay layer styles to this layer.
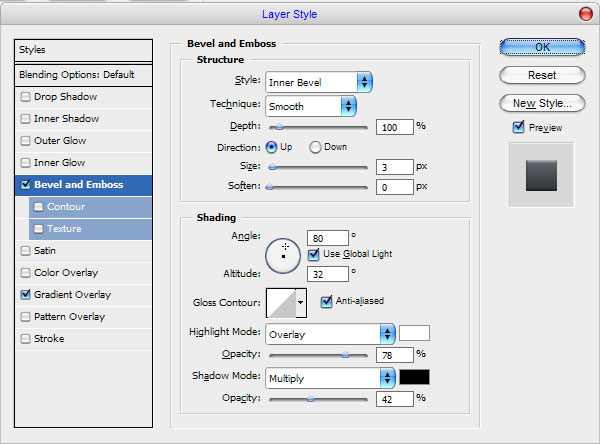
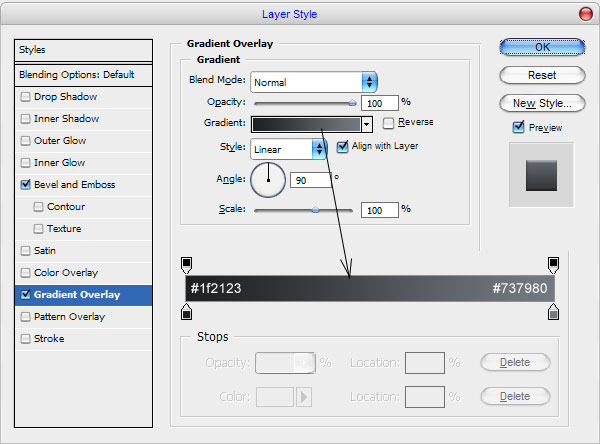
The result should be next:
Create a new one layer above and merge it with text layer to get all the styles in one layer. After that we need to add some shadow under the letters. Create a new one layer under the current and make elliptical selection with Elliptical Marquee Tool. Fill selected area with black color.

Remove selection with Ctrl+D and press Ctrl+F to apply the previous filter effect to this layer.
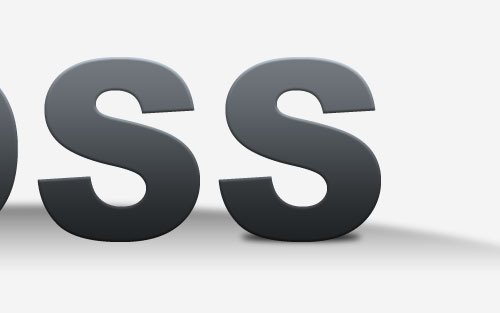
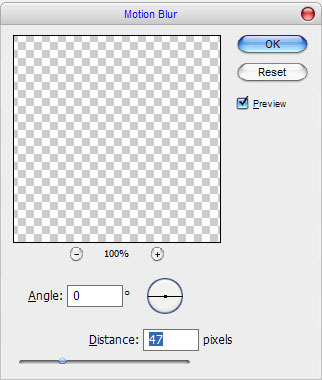
Then apply Filter > Blur > Motion Blur with next presets:
The result should be next:
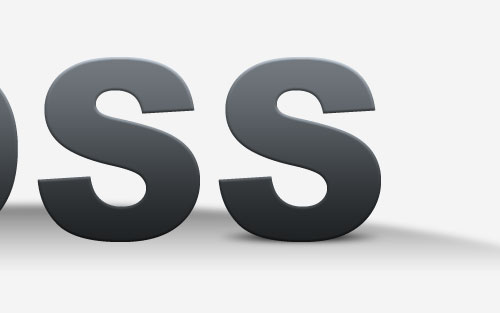
Duplicate this layer three of times with Ctrl+J to add the shadow under each letter.
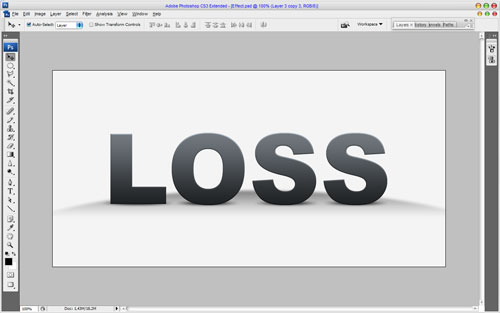
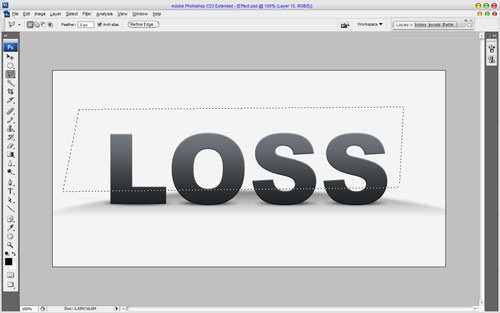
Ok, after that go to the text layer and start creating displace effect. Use the Polygonal Lasso Tool to create selection as you can see on the picture below.
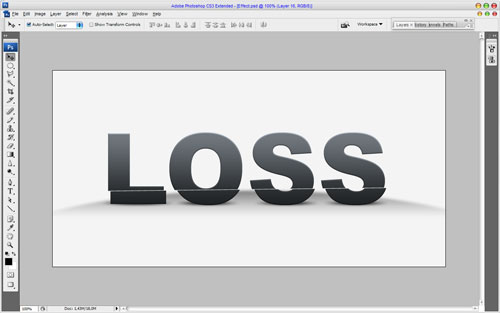
Press Ctrl+Shift+J to cut selected area on the new layer. Use Move Tool to move a new layer a little bit.
Make the same things a few times more.
Looks interesting, isn’t it? To finish off the effect I would like to add a robot that moves the text. The picture of robot you can download from here. Also feel free to use your own pictures. So, open up the picture and copy it to our main canvas with text. Then reduce the picture a little bit.
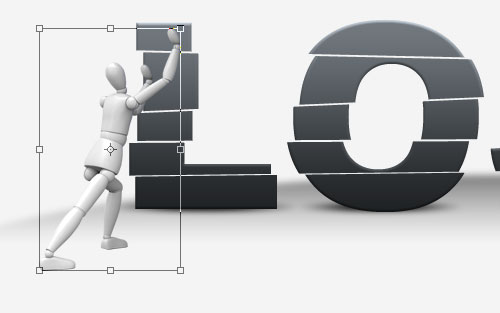
To finish off the tutorial we should add the shadow under robots’ leg. Create a new one layer under the current. Then use the Polygonal Lasso Tool to create selection which you can see on the picture below. After that fill this selection with black color.
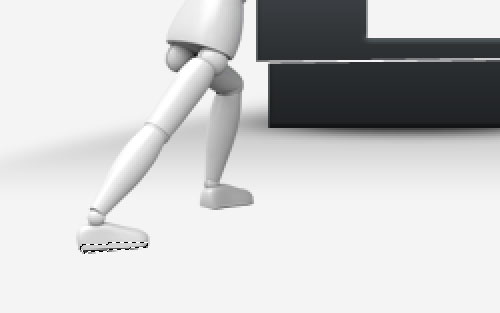
Deselect chosen area with Ctrl+D and blur the shadow with Blur Tool.

Then use the Smudge Tool (Brush: 10px, Mode: Normal: Strength: 33%) to bring the shadow realistic view.

Add the shadow under second leg in the same way.

Ok, we are done for now! We get creative displaced text effect. I am happy with the result, hope you to!

