
One more interesting tutorial how to create canvas texture imitation from the photography. Here I’ll show you the method how to simulate the maximum texture of canvas.
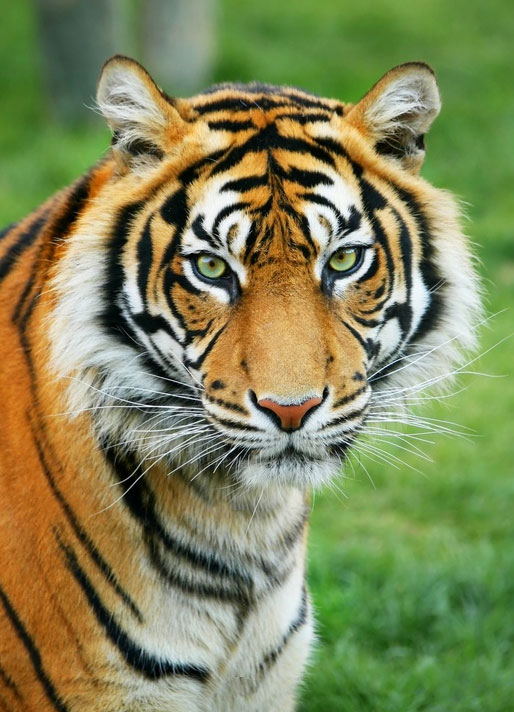
Before starting this tutorial you should find the suitable photography to work with. You can try to find it by using Google Images or feel free to use mine. Open up the photography and duplicate layer with Ctrl+J at first. After that desaturate copied layer with Image > Adjustments > Desaturate and set up opacity to 70%.
Merge two of these layers in one and apply Filter > Noise > Add Noise to the new layer.

The result should be next:

After that apply Filter > Blur > Gaussian Blur with next presets:

Hope, your result looks the same as mine on the picture below:

Ok, move to the next step. On this step you should stylize the photography a little bit with Filter > Sharpen > Smart Sharpen by using following presets:

See the difference below:

Ok, now create a new layer and fill it with black color. Then Filter > Noise > Add Noise to add the noise a little bit on this layer.

Then mess with the layer mode & opacity/fill. I tried Screen with opacity of 50%.

Now, duplicate noise layer with Ctrl+J and hide the copy (click on the eye, which indicates layer visibility). Go to lower layer and apply Filter > Blur > Motion Blur with next parameters:

Your effect should be the next:

Now, apply Filter > Sharpen > Sharpen to this layer two times.

After that go back to the hidden copy of layer and make it visible again. Apply Filter > Blur > Motion Blur with following parameters:

See the difference now?

Ok, now apply Filter > Sharpen > Sharpen two times for this layer also.

Then adjust brightness and contrast a little bit with Image > Adjustments > Brightness/Contrast. Use next parameters:

Your picture should look the same as mine:

And the last one thing that we need to do before finishing this tutorial to increase the sharpness with Filter > Sharpen > Sharpen:

On this step we are done. The final picture has nice canvas texture imitation effect isn’t it?
