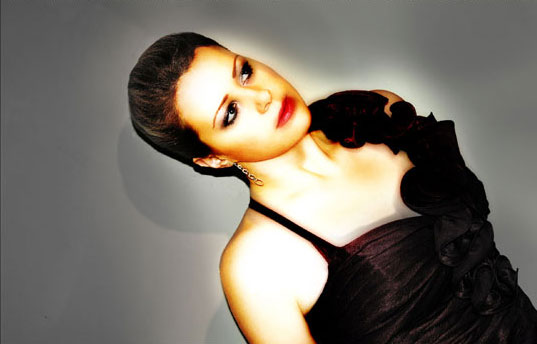
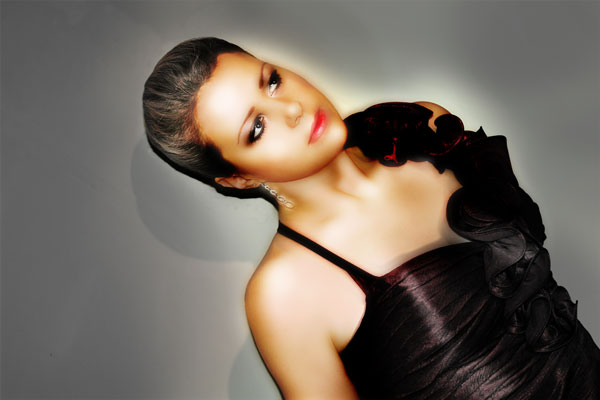
In this easy but useful Photoshop tutorial I’m going to show you how to make a golden shiny skin effect.
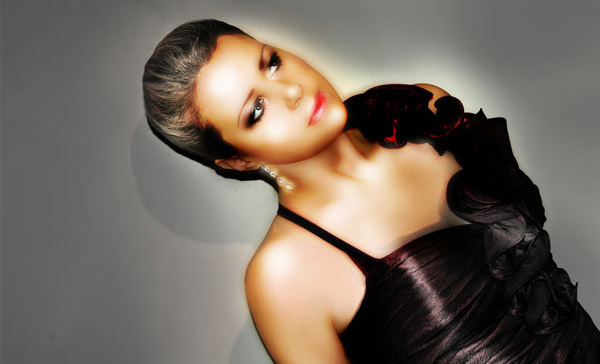
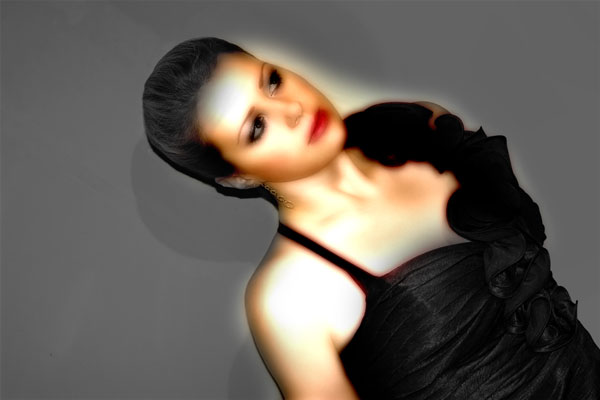
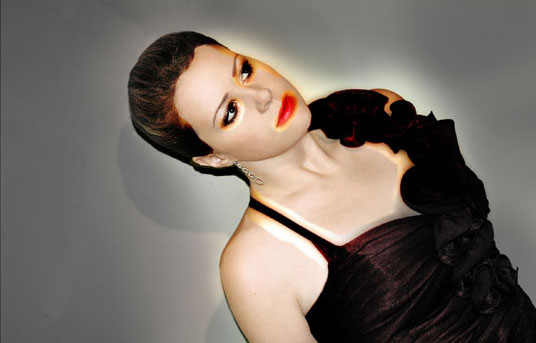
Final Image Preview
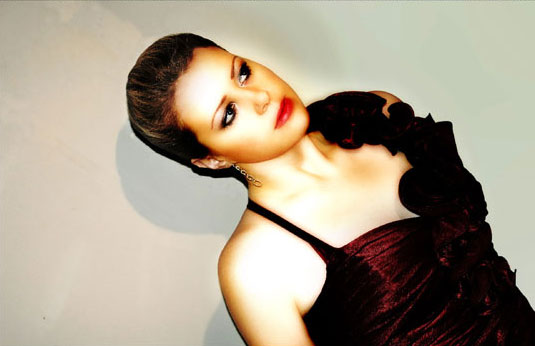
Resources
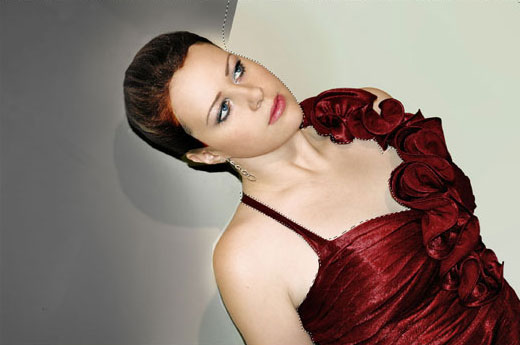
Step 1
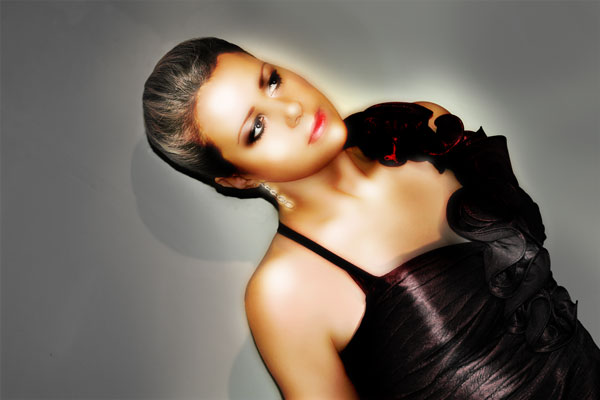
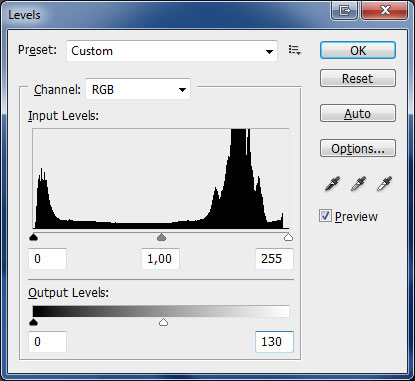
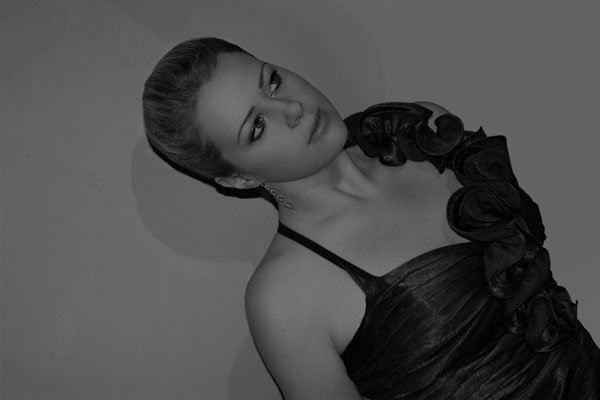
Download and open photo in Photoshop. We start by changing background. Duplicate background layer with Ctrl+J. On duplicated layer go to Image > Adjustments > Levels and apply following settings:

Desaturate layer by going to Image > Adjustments > Desaturate.
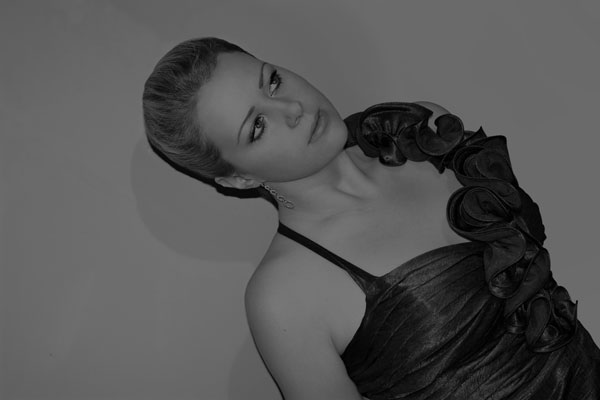
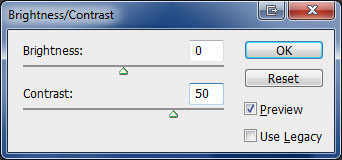
Increase contrast by going to Image > Adjustments > Brightness/Contrast.
Step 2
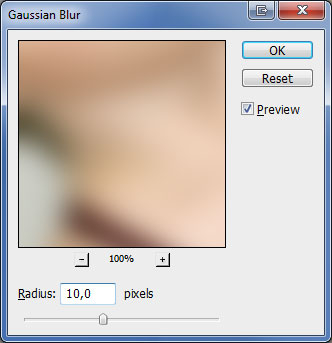
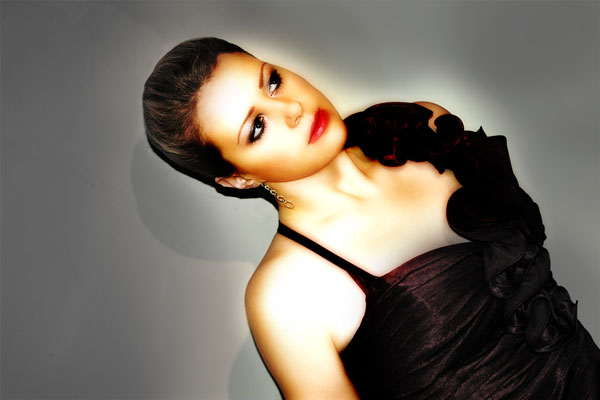
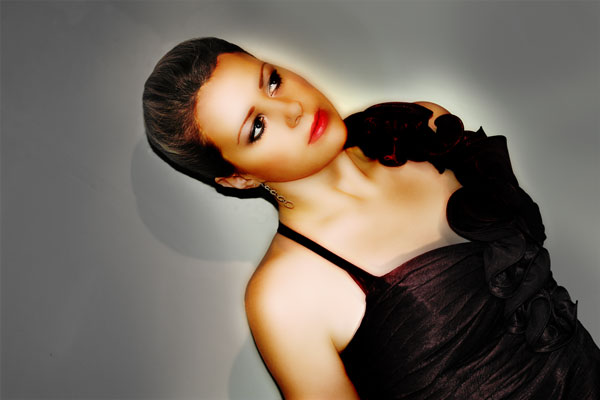
Duplicate again background layer and move it above all other layers. Go to Filter > Blur > Gaussian Blur.

Change layer blending mode to Linear Light.
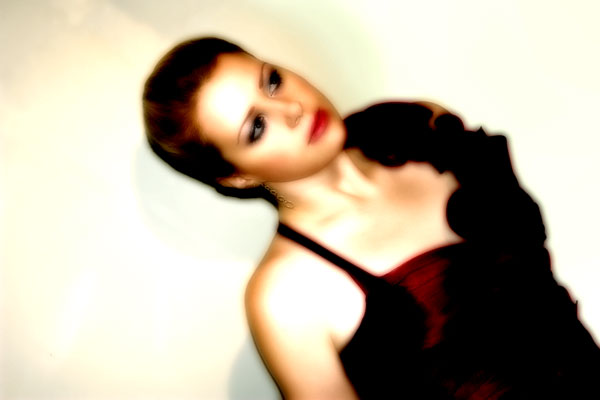
Select Eraser Tool. With a soft round brush clear all layer contents while leaving a little radiance on the girl’s face.
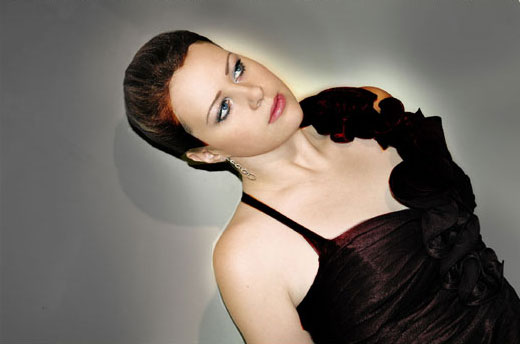
Step 3
Duplicate again background layer and move it above all other layers. Change layer blending mode to Hard Light to make photo clearer.
Select Eraser Tool and start cleaning again. This time leave girl’s hair and dress straps but remove background of the dress below the chest.
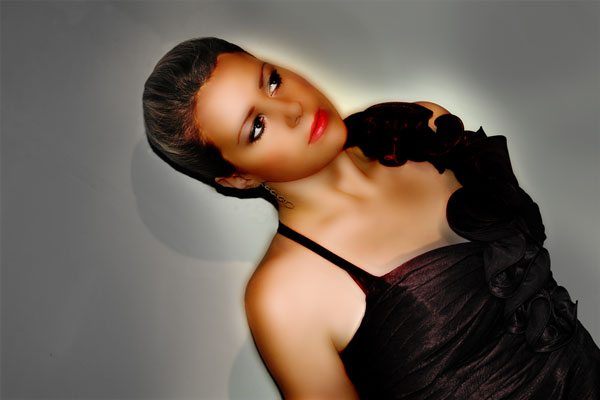
Step 4
Duplicate again background layer and move it above all other layers. With Polygonal Lasso Tool select girl’s skin, then invert selection by using Select > Inverse. Press Delete to clear selected area.
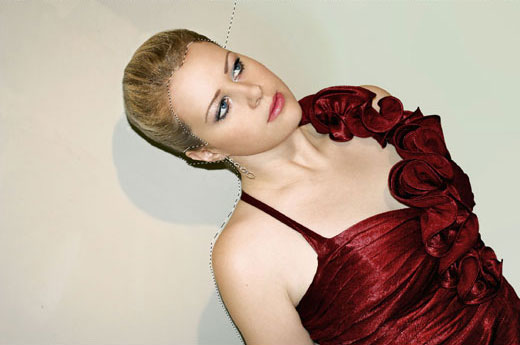
Remove selection by pressing Ctrl+D. Clear eyes and lips area still using Polygonal Lasso Tool.
Finally use Eraser Tool with soft round brush to make edges of the fragments softer.
Change layer blending mode to Hard Light.
Step 5
Duplicate again background layer and move it above all other layers. With Polygonal Lasso Tool select girl’s skin, then invert selection by using Select > Inverse. Press Delete to clear selected area and we will have only skin on this layer. Apply Filter > Blur > Gaussian Blur.

Change layer blending mode to Multiply.
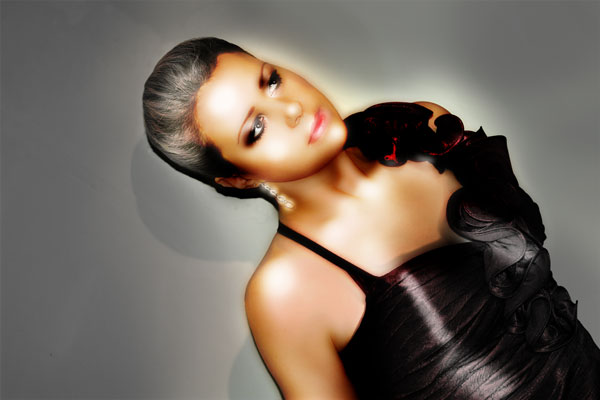
Skin now looks smoother. We still need to strengthen shining a little.
Step 6
Duplicate current layer and move it above all other layers.
Change layer blending mode to Screen on duplicated layer.
Reduce opacity to 40% for this layer.

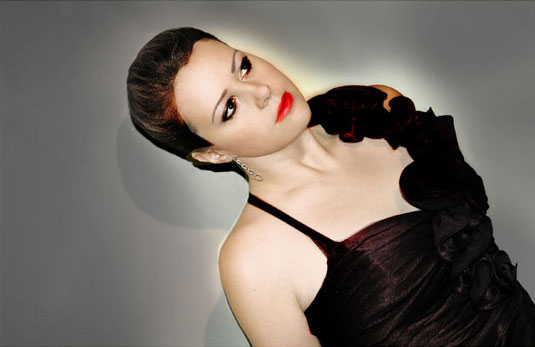
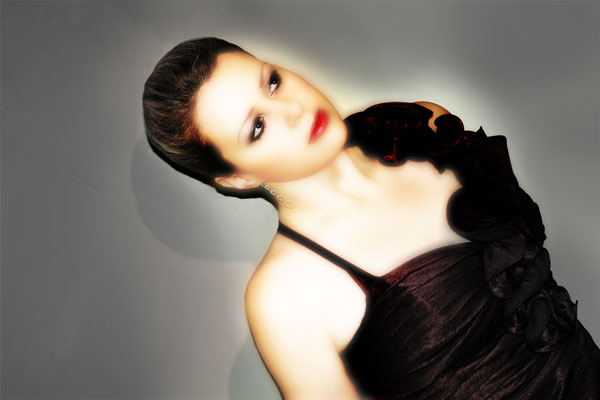
Step 7
Create a new layer above all other layers. Change layer blending mode to Soft Light. Select Brush Tool (opacity between 10%-40%) with soft round brush, black color and being to darken the cheeks, neck and eyes area. Change foreground color to white and create a glare on her forhead, shoulder, tip of the nose, hair, clothes, etc. (opacity between 70%-100%).
Duplicate current layer (Ctrl+J) to increase effect.
Change layer blending mode to Overlay on duplicated layer.
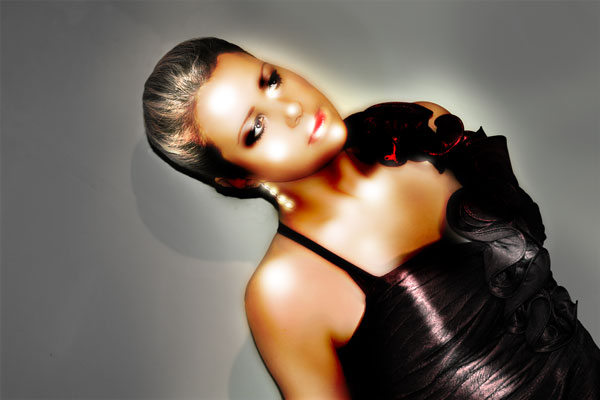
Reduce opacity to 30% for this layer.
Final Image